How to draw a zombie might sound spooky at first… but I promise you, this one is going to be adorable.
I still remember the first time I tried drawing a zombie. I wanted something creepy, but what came out looked more like a sleepy marshmallow with arms. And honestly? I loved it. That’s when I realized zombie drawing doesn’t have to be scary or complicated. It can be cute, simple, and actually really fun.
If you’ve ever thought:
- “I can’t draw scary characters.”
- “Zombies are too detailed.”
- “Mine never look right.”
I’ve been there too. That’s exactly why I created this easy how to draw a zombie tutorial. It breaks everything down into small, doable steps so you can actually enjoy the process instead of stressing over it.
All the drawings in this post are my own, and I designed this zombie to be beginner-friendly. Soft shapes. Simple curves. No complicated anatomy. Just fun.
Let’s draw together.

Why This Zombie Drawing Is Perfect for Beginners
When people search for how to draw a zombie, they usually find super detailed horror-style illustrations. Cool? Yes. Beginner-friendly? Not always.
This cute zombie drawing focuses on:
- Rounded shapes instead of sharp angles
- Simple facial features
- Minimal details
- Clear, clean structure
You don’t need fancy supplies. Just a pencil, paper, and maybe an eraser if you’re like me and adjust things halfway through.
Sometimes when I draw these Halloween-style characters, I light a candle, put on soft music, and just enjoy the quiet scratch of pencil on paper. There’s something so calming about building a character line by line.
Now let’s get into the steps.
Step 1: Draw the Zombie’s Head Shape
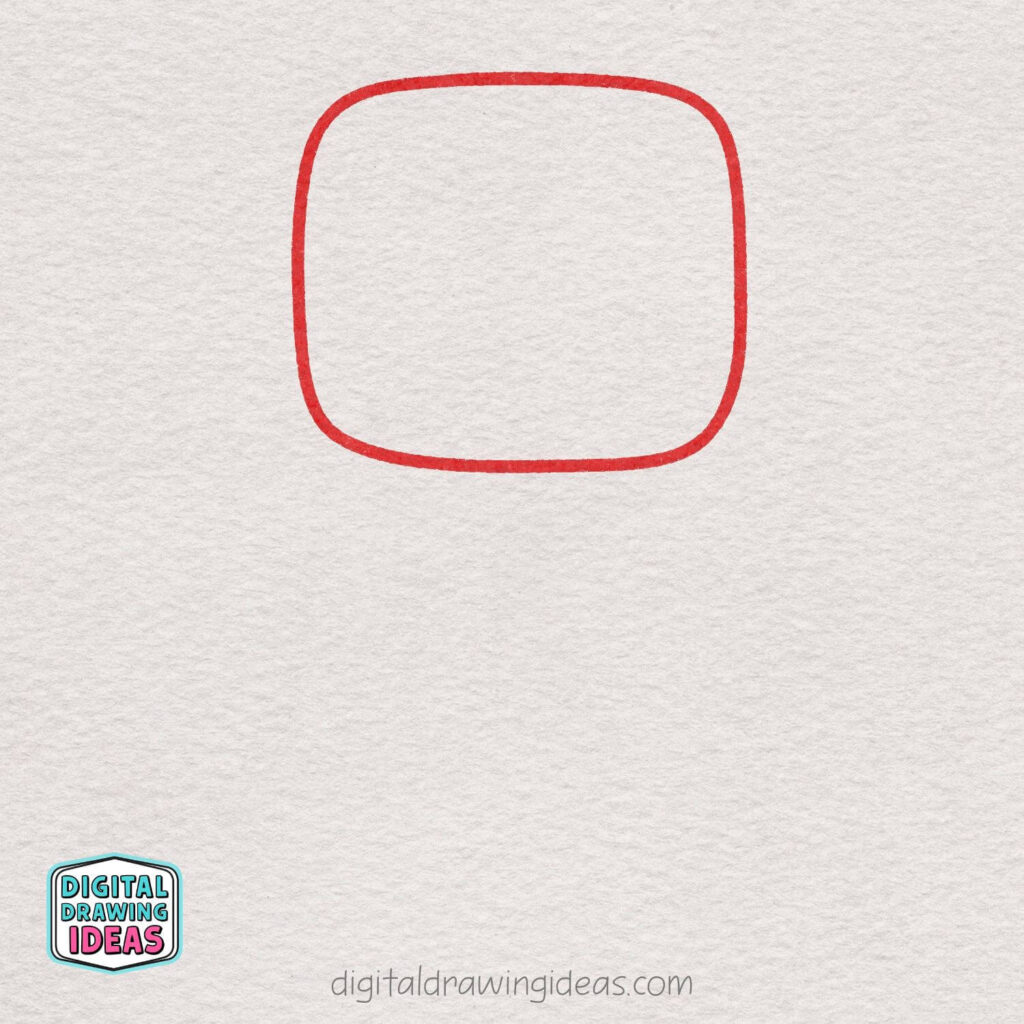
Start by drawing a large rounded square near the top of your page. Keep the corners soft and curved — not sharp — to give your zombie a cute and friendly look.
Make sure the bottom line is slightly flatter than the top so the head feels stable. Don’t worry about perfection — slightly uneven lines will make your zombie even more charming!
Step 2: Add the Cute Face
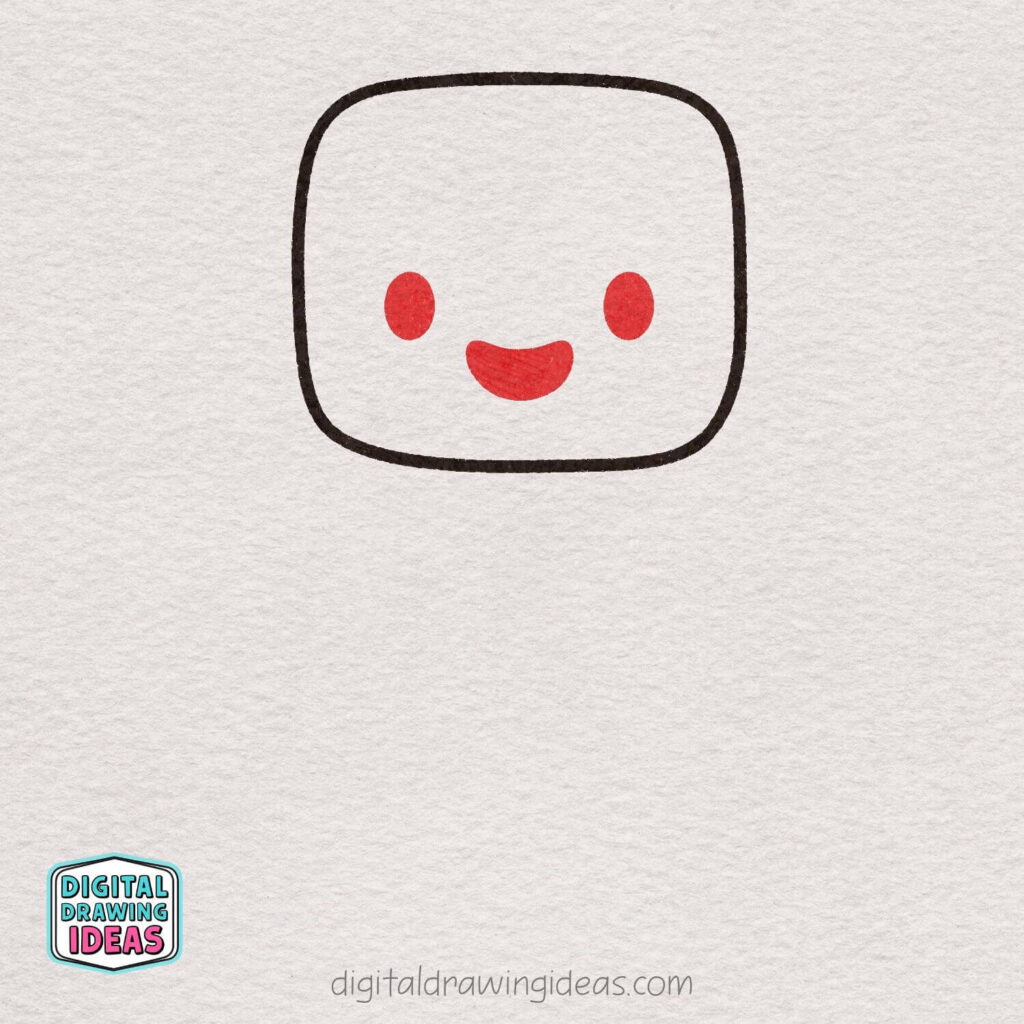
Now let’s bring your zombie to life! Draw two small vertical ovals for the eyes, spacing them evenly in the middle of the head.
Underneath the eyes, add a wide curved shape for the mouth — almost like a soft “U” shape. Keep everything simple and rounded to maintain that adorable, friendly expression.
Step 3: Draw the Ears
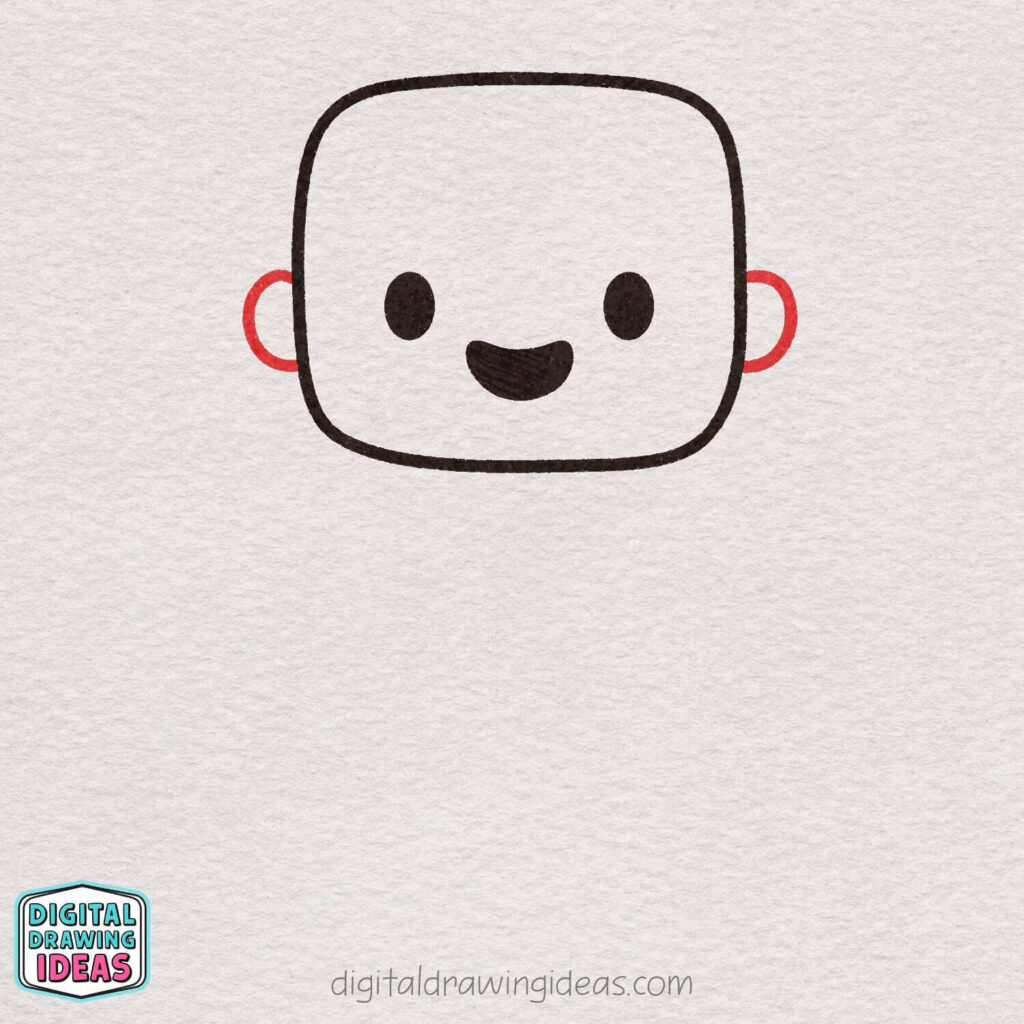
Let’s add some cute little ears! On each side of the head, draw a small curved “C” shape. Keep them simple and rounded so they match the soft style of the head.
Try to place them at the same height on both sides for a balanced look. Nice and easy — your zombie is starting to look even more adorable!
Step 4: Draw the Silly Zombie Brain
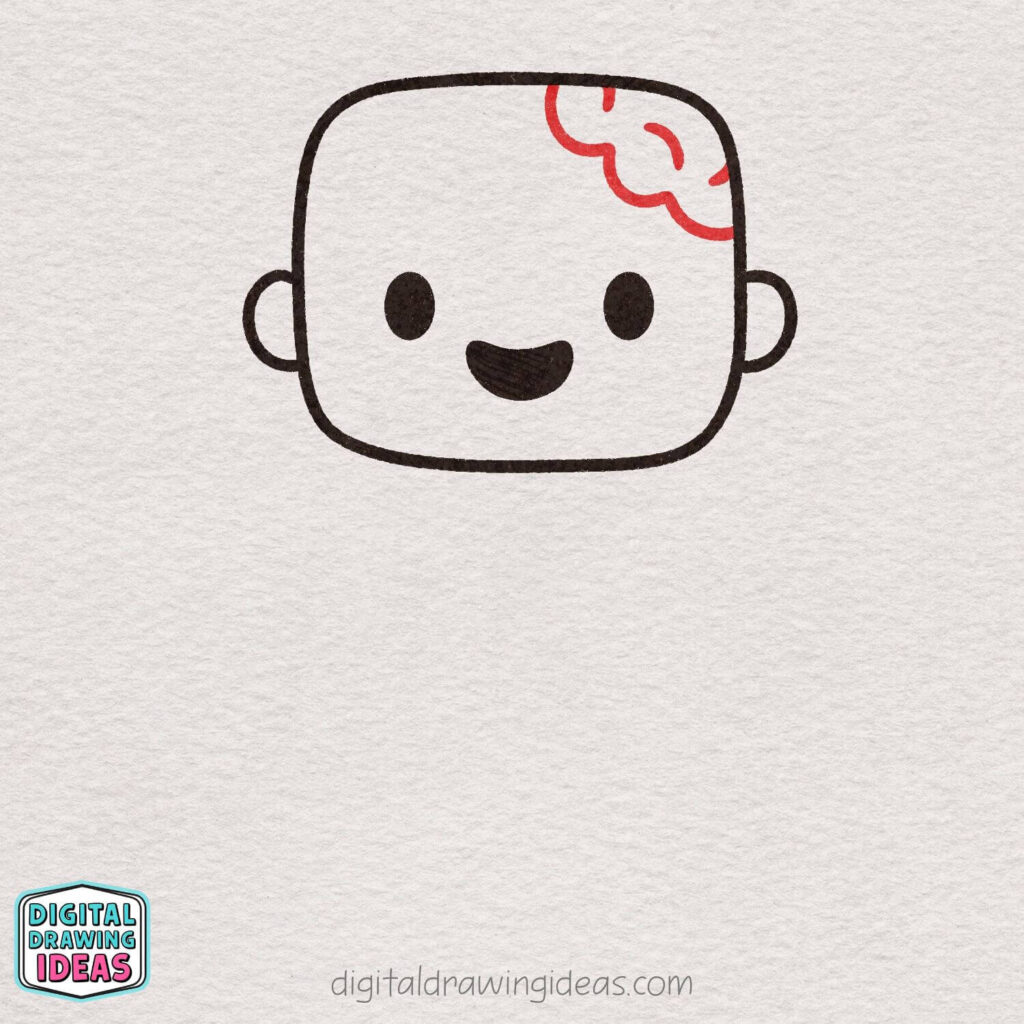
Time to add a fun zombie detail! In the top corner of the head, draw a wavy, cloud-like shape that overlaps the head outline slightly. This will be the exposed brain.
Use soft, bumpy curves to make it look squishy and organic. Then add a few short curved lines inside to give it that classic brain texture. Don’t make it too complicated — simple curves work perfectly!
Step 5: Add a Stitched Scar
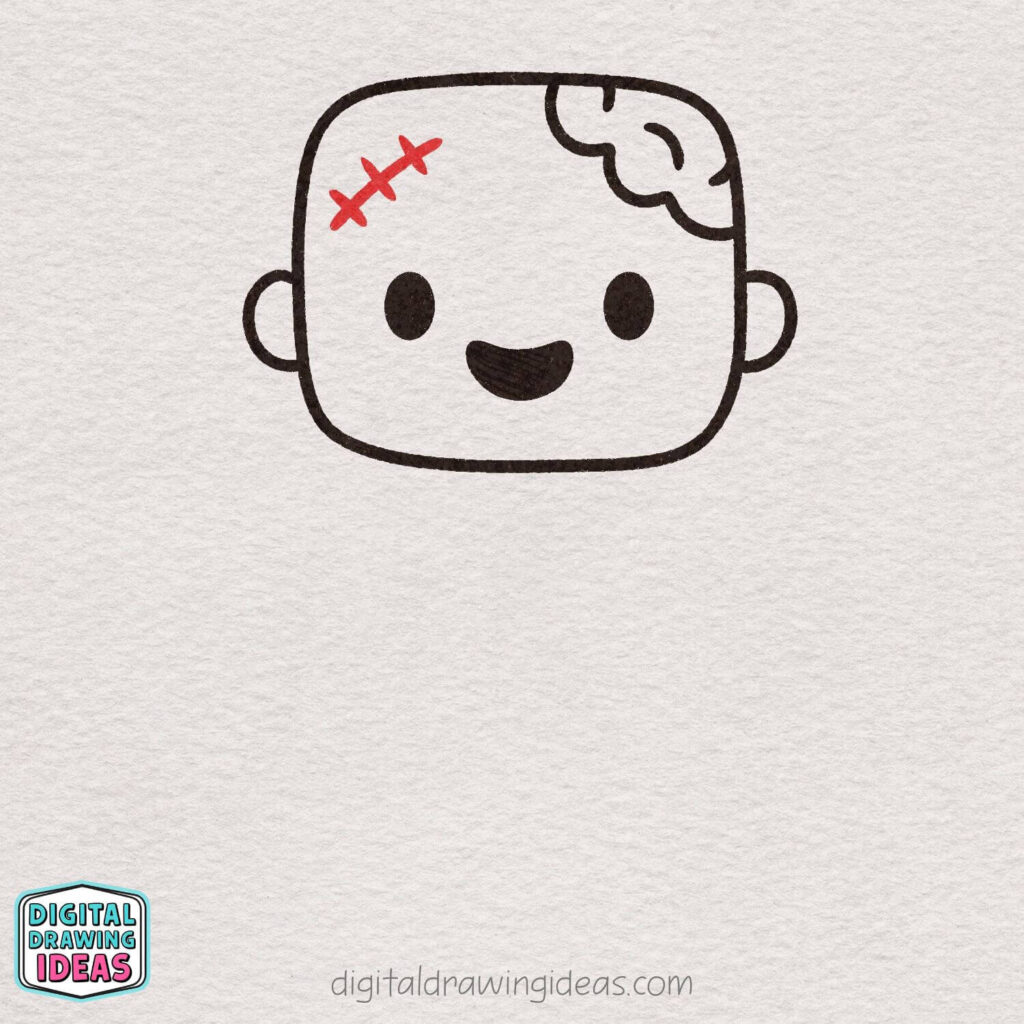
Let’s give your zombie a little character! On the upper side of the head, draw a short diagonal line for a scar.
Then add a few small crossing lines over it to create stitches. Keep the lines simple and slightly rounded so they match the cute style. Now your zombie has a fun, spooky detail!
Step 6: Start the Shirt
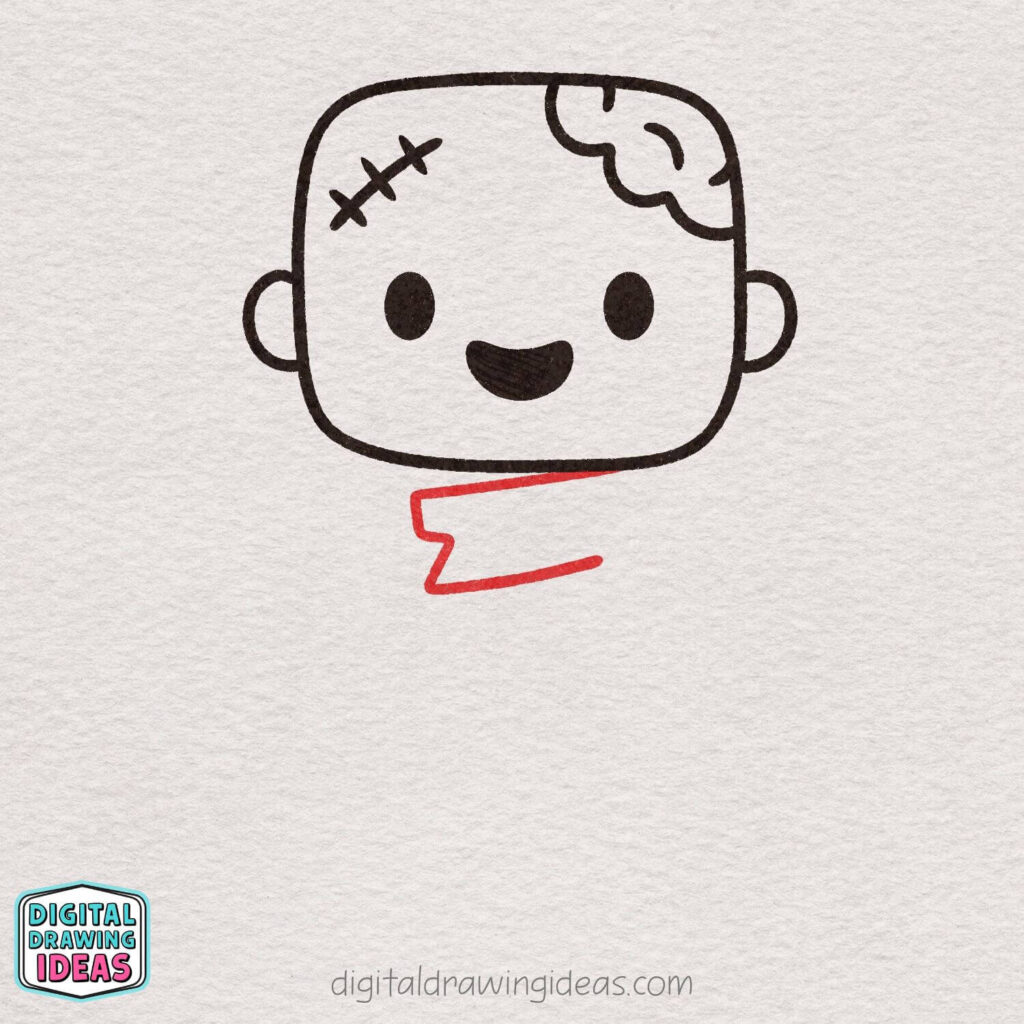
Now let’s begin drawing the body! Right under the head, draw a slightly zigzag, wavy shape for the top of the shirt.
Keep the lines soft and a little uneven to make the shirt look torn and spooky. Then add a curved line underneath to start forming the bottom edge. Your zombie is getting dressed!
Step 7: Draw the First Arm
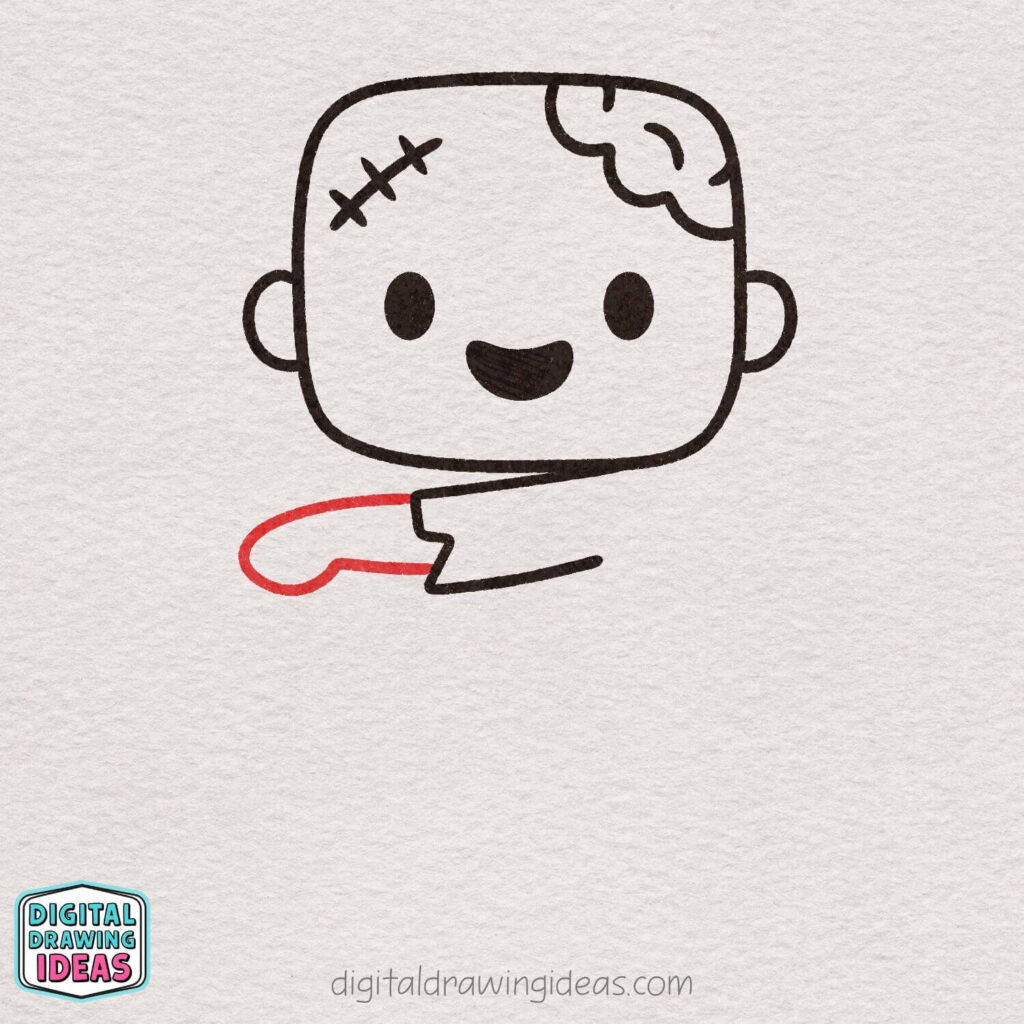
Let’s add one arm reaching out! Starting from the side of the shirt, draw a long rounded shape that curves outward.
Keep the end soft and oval to form the hand. Make the lines smooth and simple — we want the arm to look cute, not scary. Your zombie is ready to shuffle!
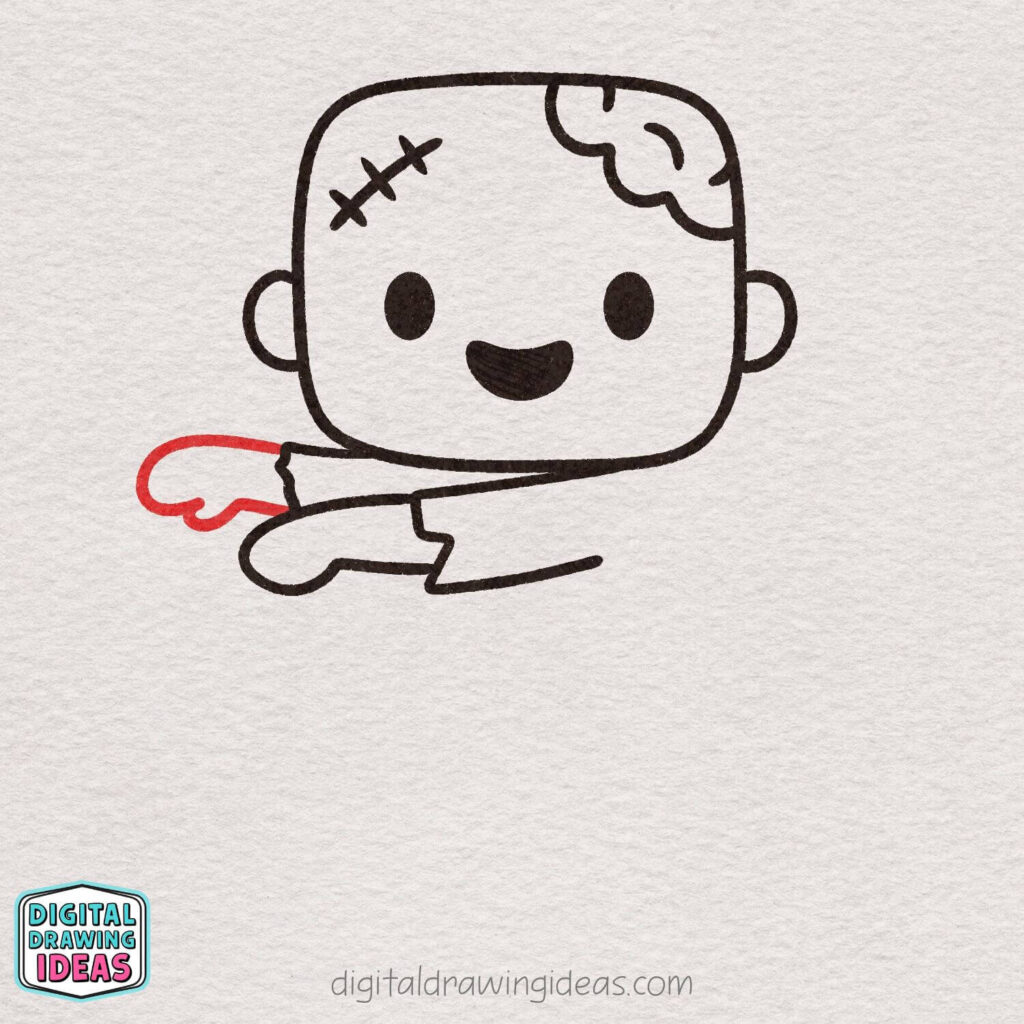
Step 8: Add the Back Sleeve
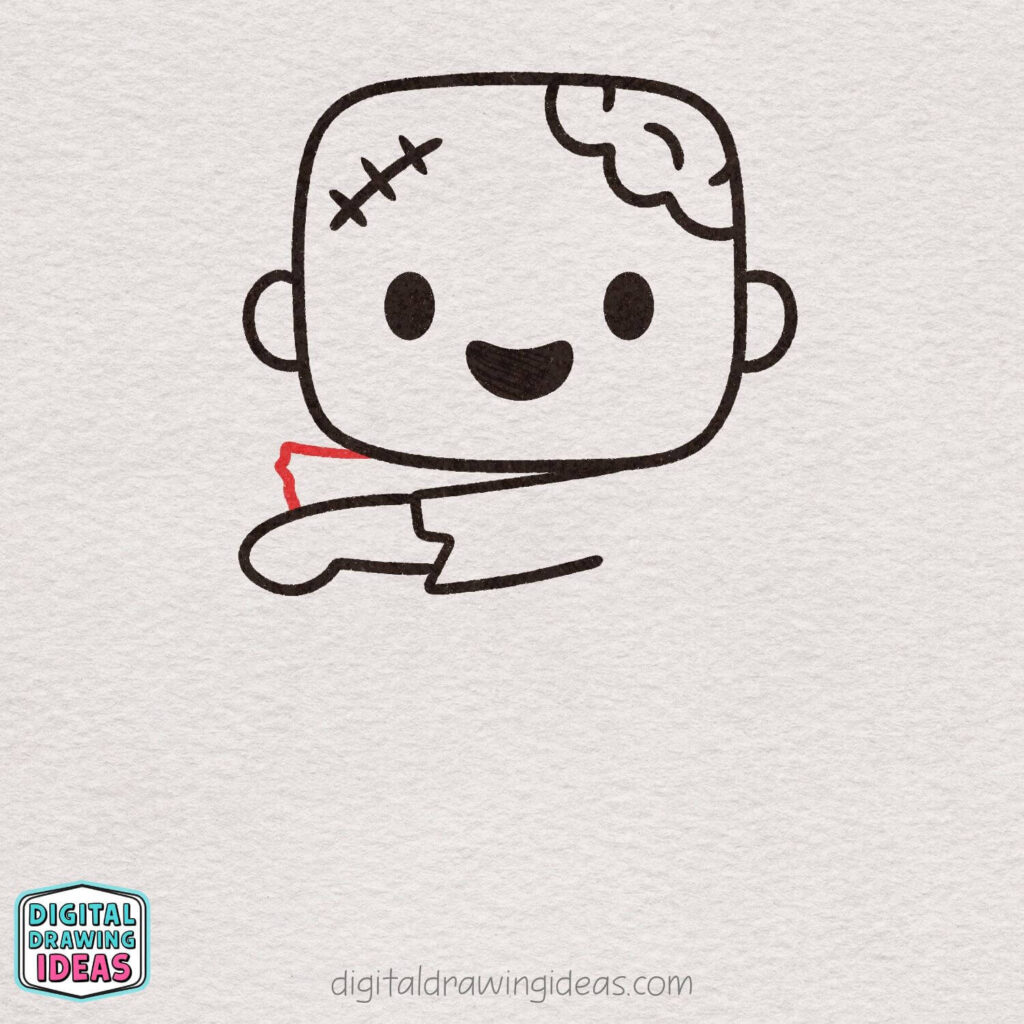
Now let’s draw the sleeve for the arm in the back. Just behind the first arm, add a small angled shape coming out from the side of the shirt.
Keep the lines short and slightly jagged at the edge to match the torn look of the shirt. This little detail helps show that the second arm is sitting behind the first one. Great job — your zombie is coming together!
Step 9: Draw the Back Hand
Now let’s finish the arm in the back! Starting from the sleeve you just drew, create a rounded hand shape extending outward.
Use soft curves and add a small wavy bump at the end to suggest simple fingers. Keep everything smooth and cute — even zombie hands can look adorable!
Step 10: Finish the Shirt
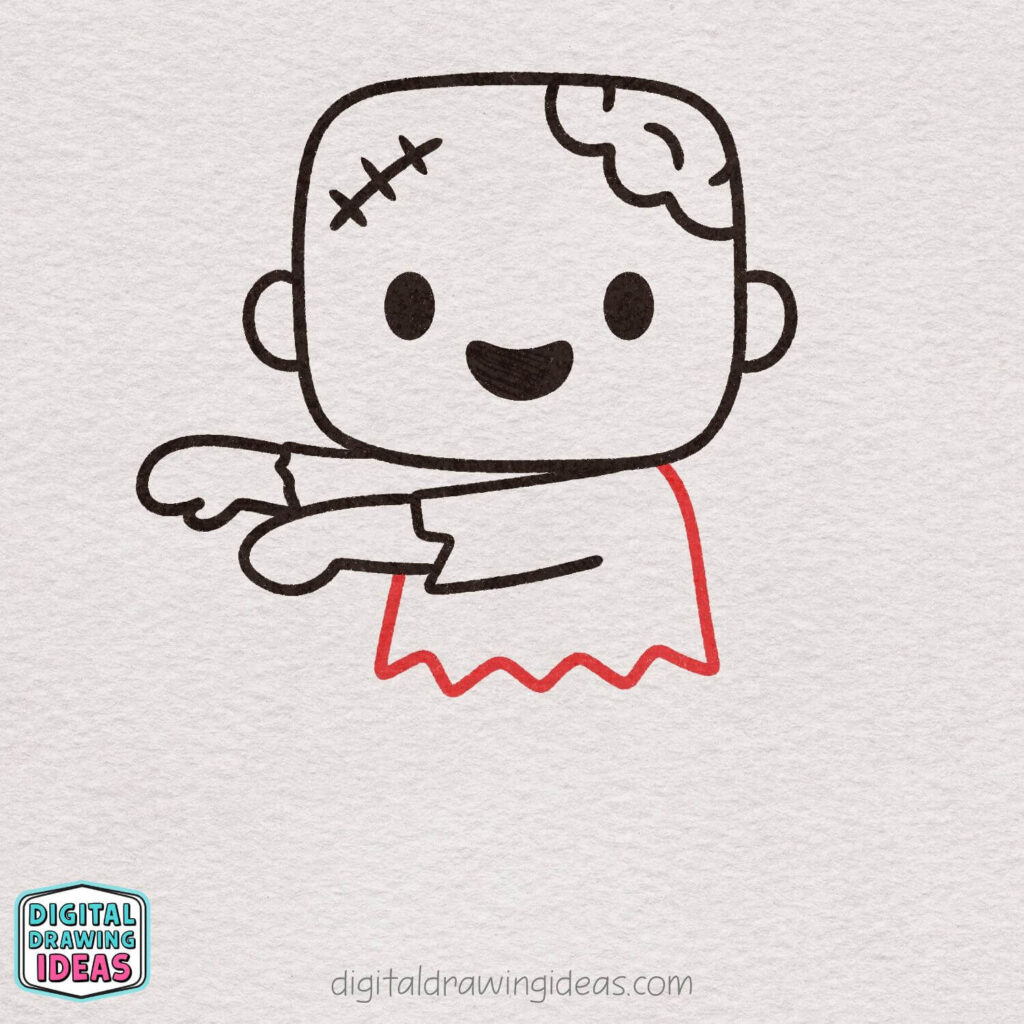
Now let’s complete the body! From just under the head, draw two slightly curved lines going down to form the sides of the shirt.
At the bottom, connect them with a wavy, zigzag line to create a torn edge. Keep the curves soft and uneven to give it that classic zombie look. Your little zombie is looking stylishly spooky!
Step 11: Draw the Zombie’s Pants
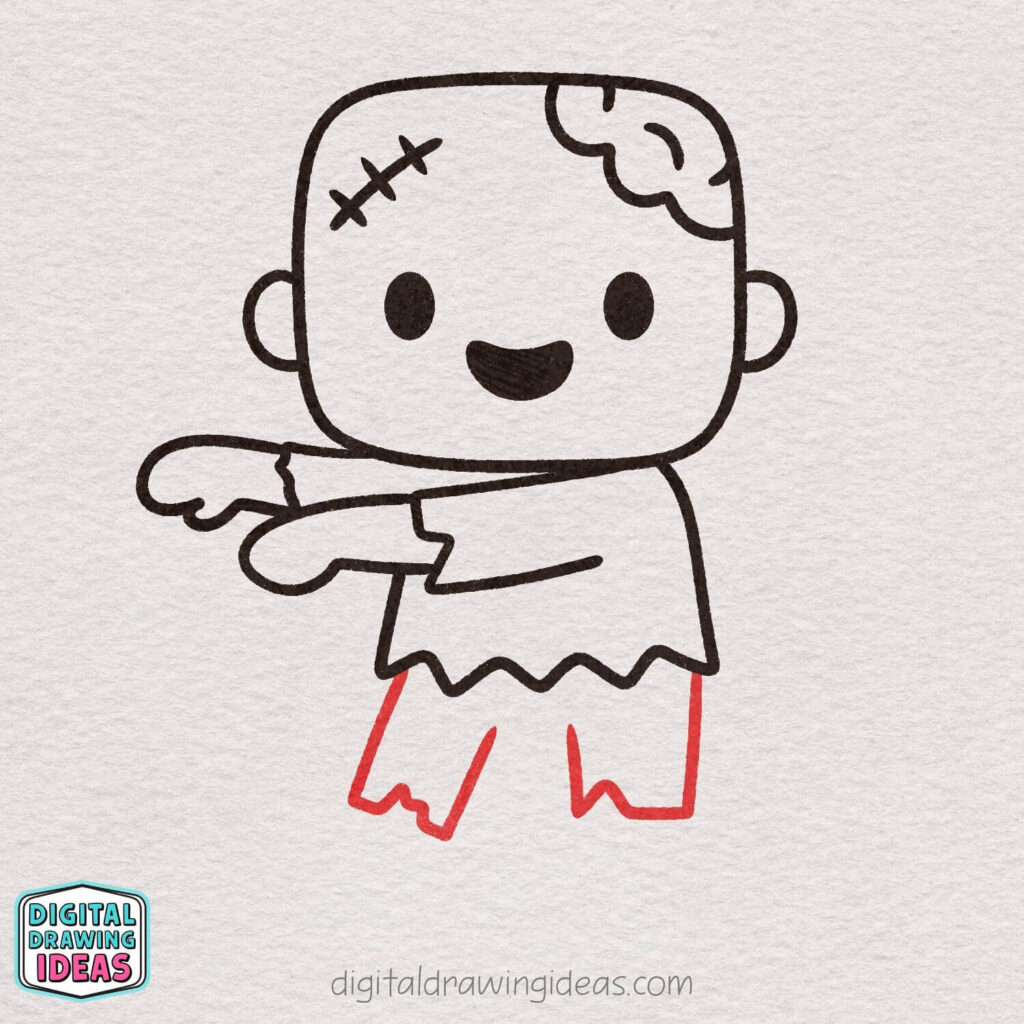
Let’s add the legs! Starting under the shirt, draw two slightly angled lines going down to form the pants.
Keep the bottoms uneven and jagged to make them look torn and ragged. Don’t forget to leave a little space between the legs so they’re clearly separated. Your zombie is almost ready to walk!
Step 12: Connect the Legs
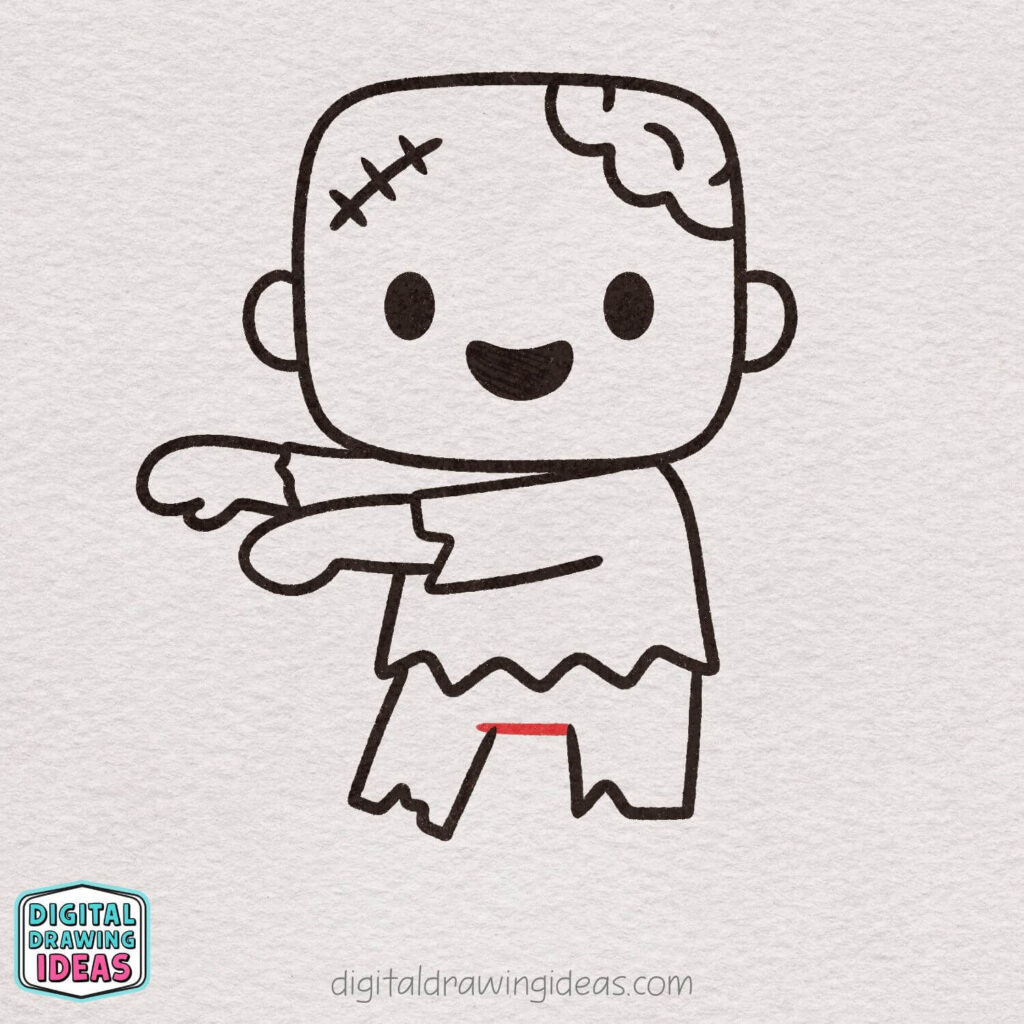
Now let’s connect the top of the pants! Draw a short horizontal line between the two legs, just under the shirt.
Keep the line small and simple — it just helps define the inside of the pants and separates the legs clearly. Tiny detail, big difference!
Step 13: Draw the Feet
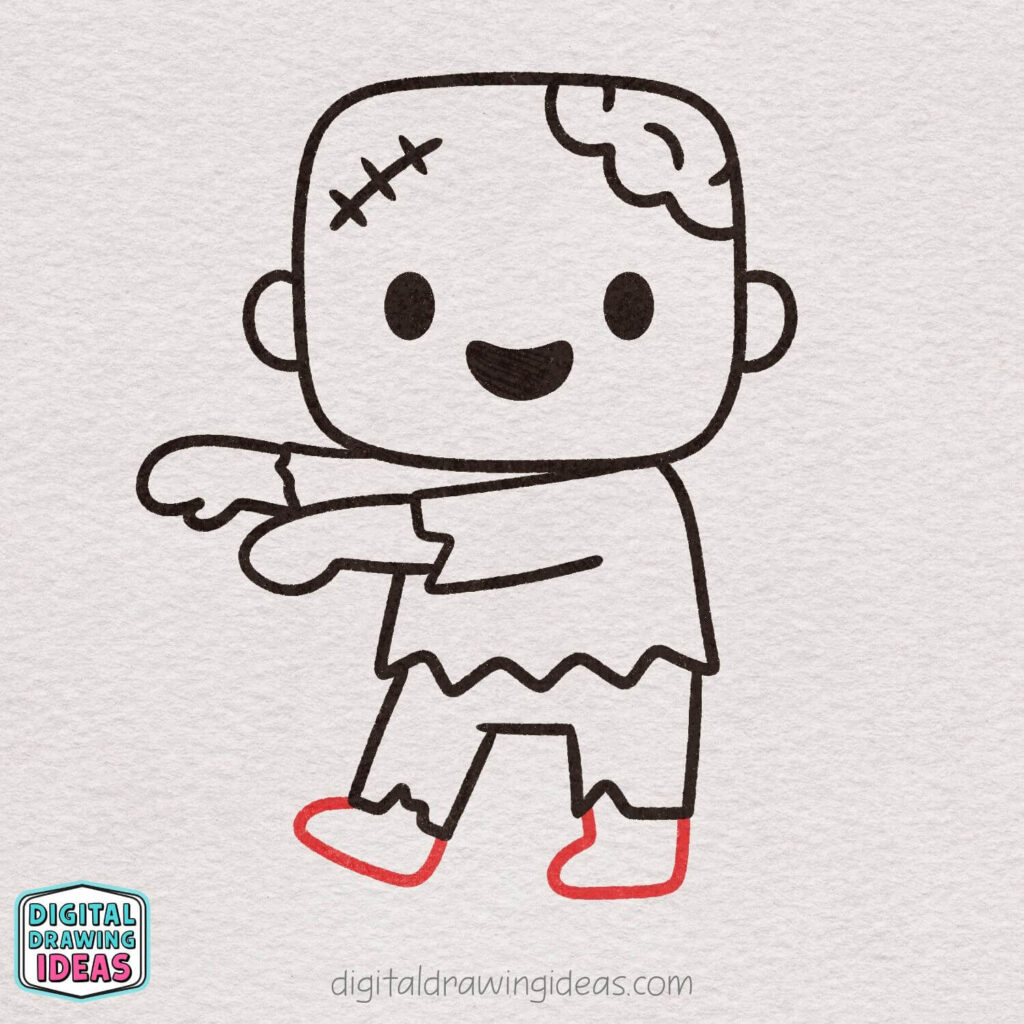
Now let’s add the feet! At the bottom of each pant leg, draw simple rounded shapes for the feet.
Keep them soft and slightly oval, without any shoe details. Let one foot angle outward a little to create that classic zombie shuffle pose. Barefoot and adorable!
Step 14: Trace and Clean Up
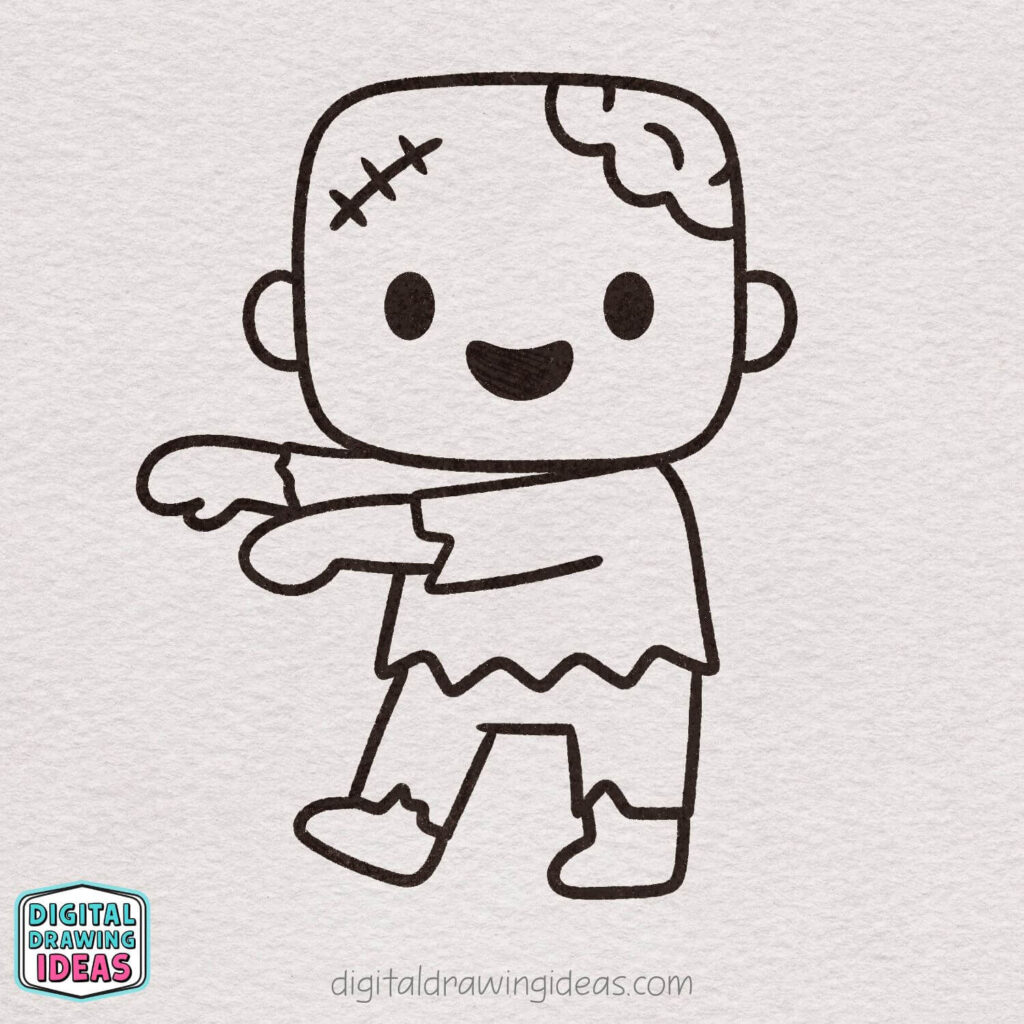
Now it’s time to go over your drawing with clean, confident lines. Carefully trace all the final outlines of your zombie.
Erase any extra sketch lines or overlaps so everything looks neat and clear. Take your time — smooth lines will make your cute zombie look polished and ready for coloring!
Step 15: Color Your Cute Zombie

Now for the fun part — coloring! Fill in the skin with a soft green shade to give your zombie that classic undead look.
Color the brain pink, the shirt orange (or any fun color you like), and the pants a darker shade for contrast. Don’t forget to keep the colors nice and even.
And that’s it — your adorable little zombie is complete! Great job!
Coloring Tips to Make Your Zombie Pop
When I color this zombie drawing, I like using slightly muted tones. A soft green skin color makes him look undead but still friendly.
You can try:
- Olive green or pastel green for the skin
- Light pink for the brain
- Warm orange or brown for the shirt
- Dark gray for the pants
Don’t feel stuck with my color choices though. One of my favorite things about drawing is seeing how different everyone’s version turns out. I’ve seen purple zombies, blue zombies, even rainbow zombies.
And honestly? They all looked amazing.
Common Drawing Struggles (And How To Fix Them)
If you’re learning how to draw a zombie and something feels off, here are a few quick fixes:
Problem: The head looks too flat.
Solution: Round the corners more. Soft curves instantly make it cuter.
Problem: The arms look stiff.
Solution: Add a slight curve. Even tiny bends make a big difference.
Problem: It doesn’t look “zombie enough.”
Solution: Add small details like stitches or torn clothing edges. Little touches create personality.
I’ve redrawn this character more times than I can count while refining it for the blog. Every version taught me something small about balance and shape.
Drawing really is practice mixed with patience.
Want More Cute Halloween Drawings?
If you loved learning how to draw a zombie, you’ll definitely enjoy these tutorials too:
- How to Draw a Skeleton – Cute Skeleton Drawing
- How to Draw a Mummy – Halloween Mummy Drawing Tutorial
- How to Draw a Ghost – Cute Halloween Ghost Drawing
I created these in the same beginner-friendly style, so you can build your own little Halloween character collection.
You can also follow me on Pinterest for daily drawing inspiration here:
Digital Drawing Ideas on Pinterest
And if you prefer watching tutorials, I share step-by-step drawing videos on my YouTube channel:
Digital Drawing Ideas on YouTube
I love seeing your drawings there.
Let’s Make This Interactive
Now I want to ask you something.
Did your zombie turn out goofy? Cute? Slightly chaotic?
I genuinely want to see it.
Save this tutorial on Pinterest and share your finished zombie in the comments. Tag me on Instagram @digitaldrawingideas so I can cheer you on. Seeing your versions is one of my favorite parts of running this creative space.
I know that drawing can sometimes feel intimidating. But I also know that once you start, something shifts. Your shoulders relax. Your focus sharpens. And suddenly, you’ve created something that didn’t exist before.
That’s magic.
Final Thoughts on How To Draw A Zombie
Learning how to draw a zombie doesn’t have to be complicated or scary. It can be playful, simple, and surprisingly relaxing.
This zombie drawing is proof that even “spooky” characters can feel warm and friendly. If you followed along step by step, you now have your own finished character. That’s something to be proud of.
And if you’re just starting your drawing journey, let this be your reminder:
You don’t need to be perfect.
You just need to begin.
Now tell me — what character should we draw next?

