How to draw a giraffe was one of those ideas that sat in my sketchbook for weeks before I finally brought it to life. I love drawing animals, but giraffes felt a little intimidating at first. So tall. So long. So… necky.
But here’s the truth: once you break it down into simple shapes, a giraffe drawing becomes surprisingly easy and honestly so much fun.
I created this step-by-step tutorial myself, sketching, refining, and redrawing until it felt simple enough for beginners and kids. If you’ve ever thought, “I’m not good at drawing animals,” I promise you — I’ve been there too. And this tutorial is for you.
Why Giraffes Look Hard (But Aren’t)
When people search for how to draw a giraffe, they usually struggle with:
- The long neck proportions
- Making the legs look balanced
- Drawing cute (not realistic and complicated) features
- Adding spots without making a mess
I designed this cute giraffe drawing to solve those exact problems.
Instead of starting with complicated guidelines, we build everything step by step using:
- Rounded shapes
- Soft curves
- Repeating simple leg forms
- Playful, uneven spots
That’s it. No stress. No perfection required.
Step 1: Draw the Giraffe’s Head Shape
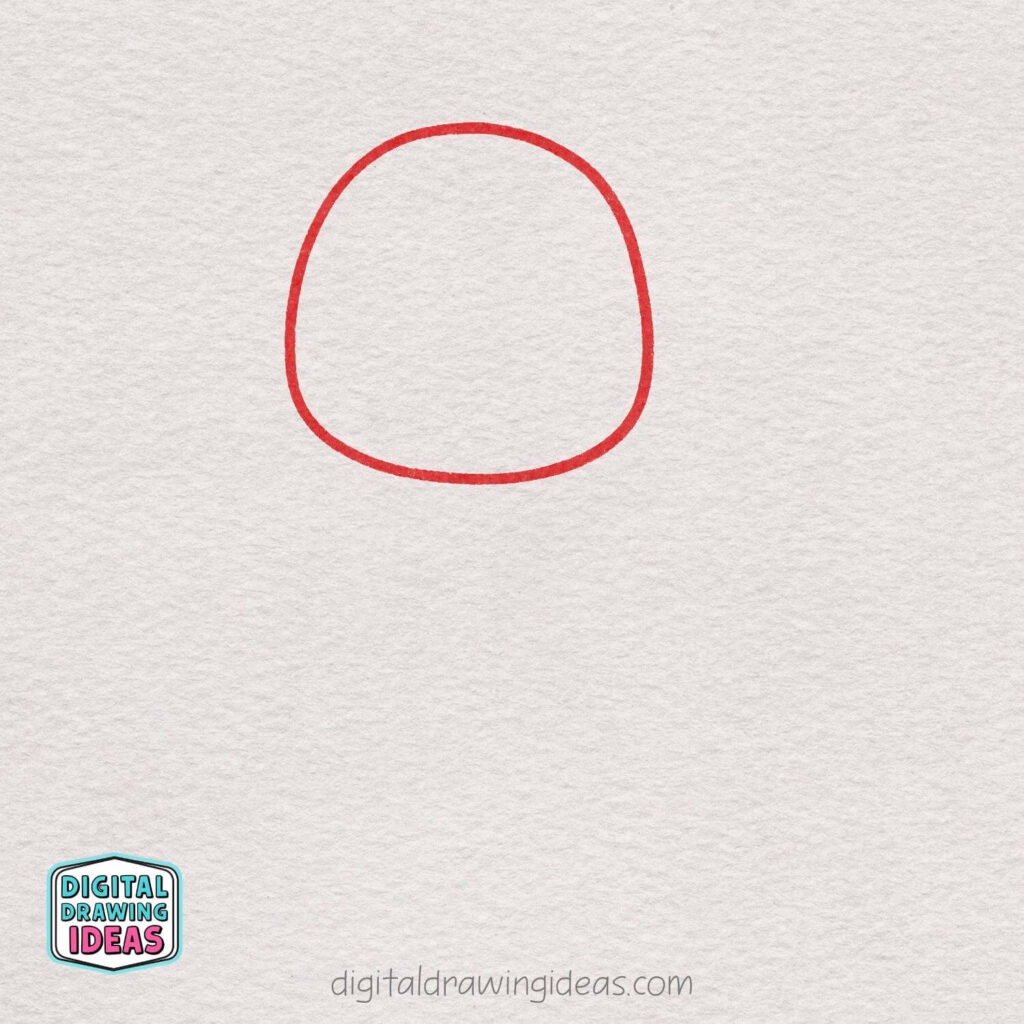
Start by drawing a rounded square shape near the top of your page.
Keep the corners soft and curved — not sharp — so it looks cute and friendly. The shape should be slightly wider at the top and gently rounded at the bottom.
This will be the base for your giraffe’s adorable head, so take your time and keep your lines smooth.
Step 2: Add the Cute Face
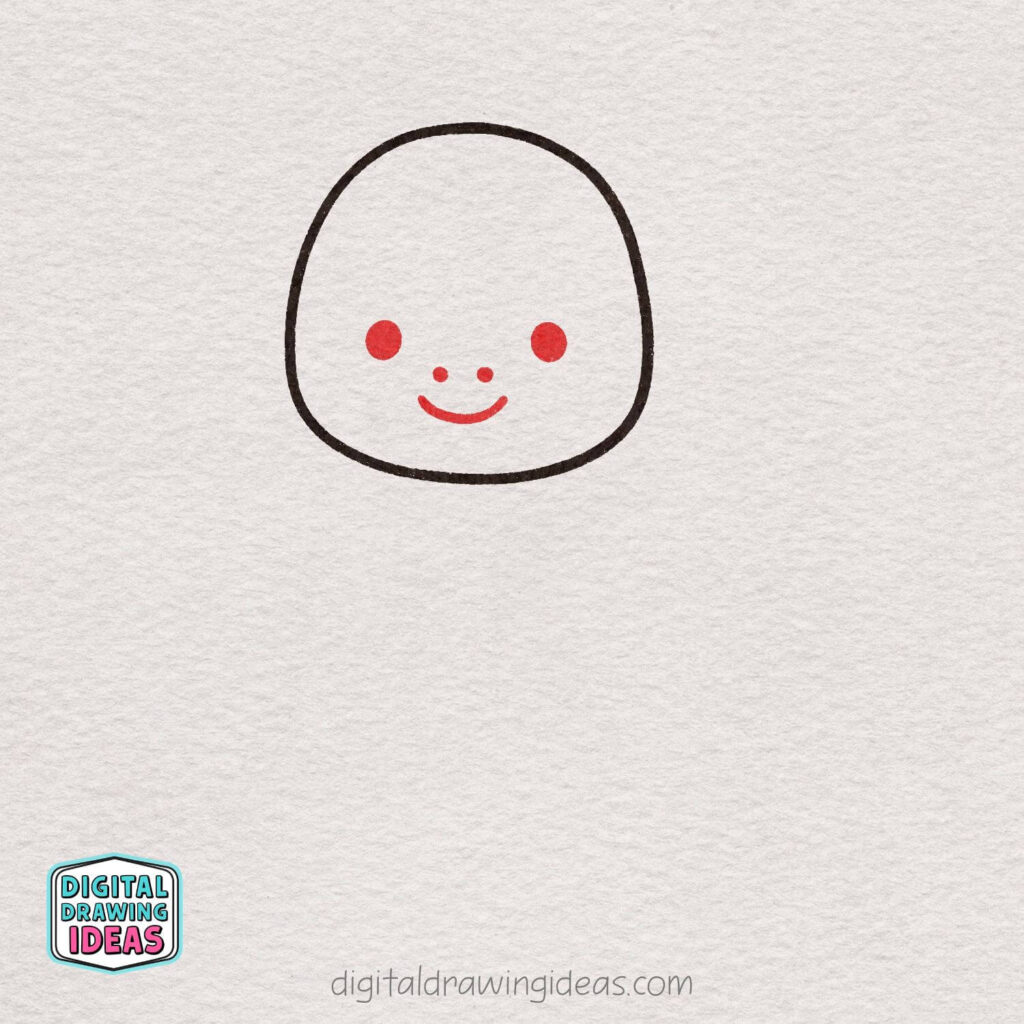
Now let’s give your giraffe a sweet little expression!
Draw two small circles for the eyes, placing them evenly in the middle of the head. Then add two tiny dots between them for the nostrils.
Finish by drawing a short, curved line underneath to create a happy smile. Keep everything small and centered so the face looks balanced and adorable.
Step 3: Draw the Ossicones
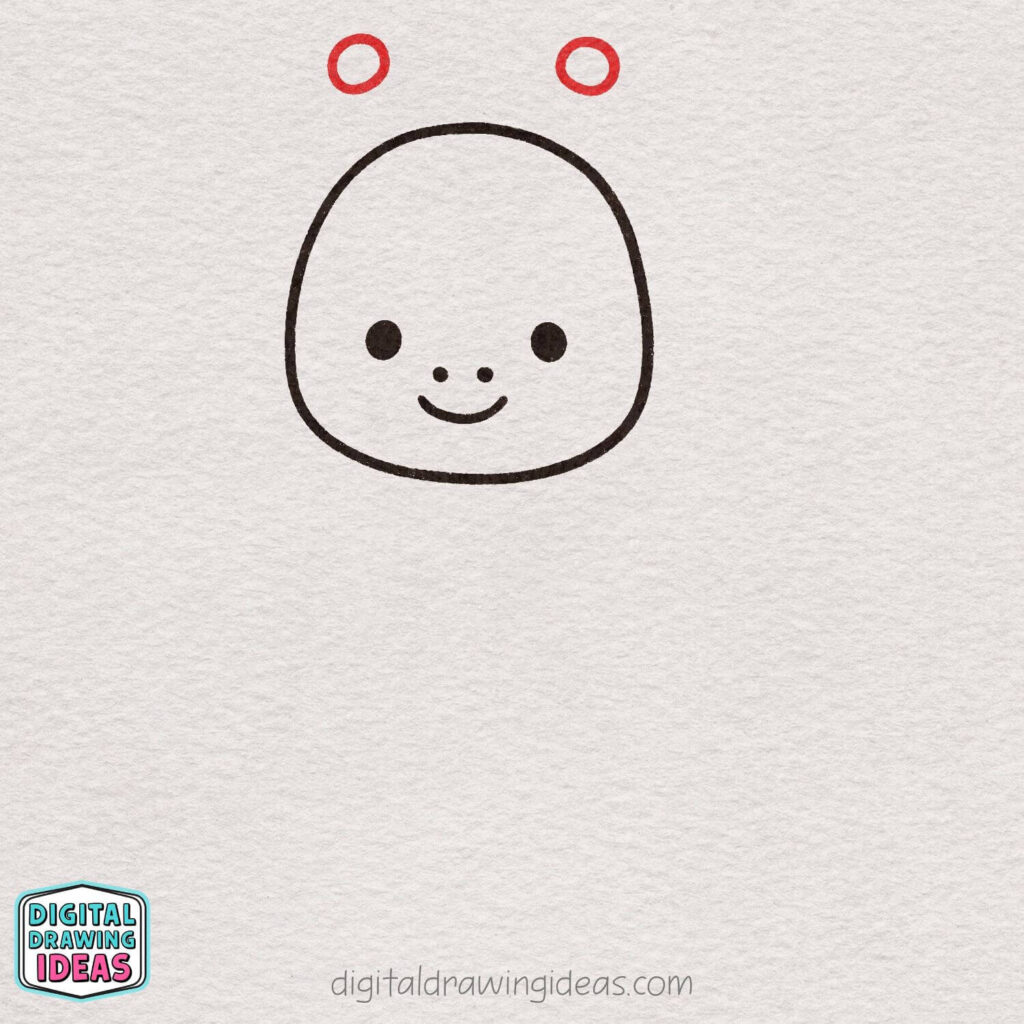
Now let’s add the giraffe’s little horns, called ossicones!
Above the head, draw two small circles, leaving a little space between them. Place one on the left side and one on the right side, keeping them evenly spaced.
These will sit on top of the giraffe’s head later, so try to align them nicely for a balanced look.
Step 4: Connect the Ossicones
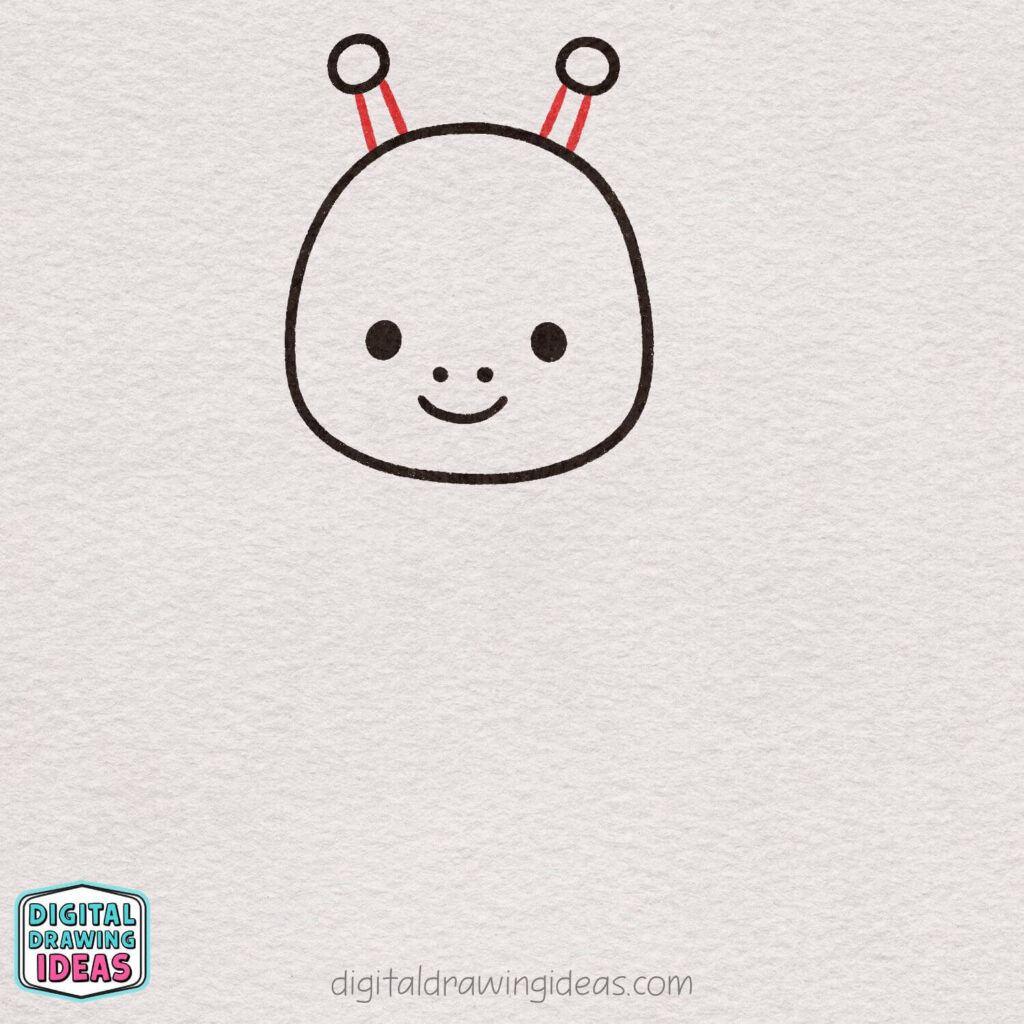
Now let’s attach the ossicones to the head.
From the bottom of each small circle, draw two short, slightly curved lines going down toward the top of the head. Keep the lines close together so they look like thin little stems.
Make sure both sides are about the same length so your giraffe looks nice and balanced.
Step 5: Draw the Ears
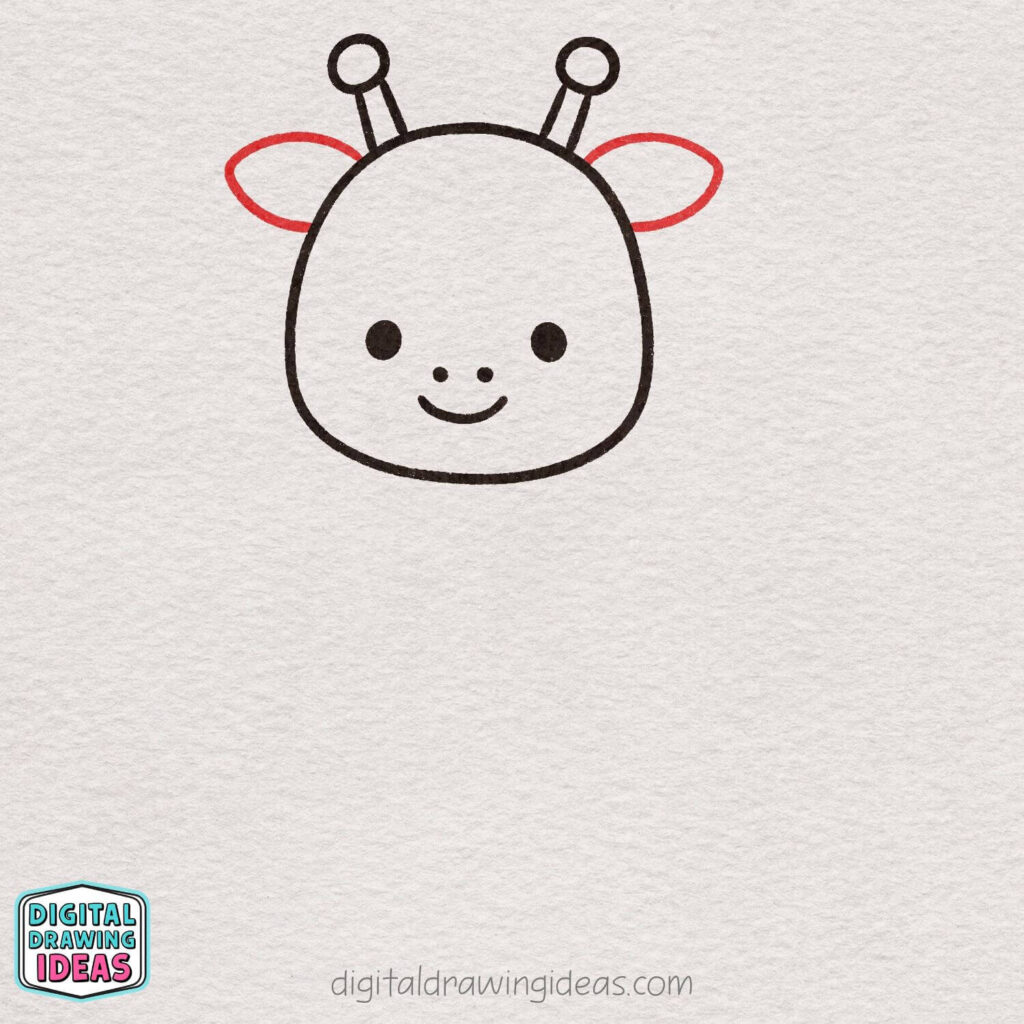
Let’s add some cute floppy ears!
On each side of the head, draw a sideways oval shape. Start near the top of the head and curve the line outward, then bring it back in to meet the head again.
Try to keep both ears similar in size and slightly angled upward so your giraffe looks extra adorable.
Step 6: Add the Inner Ear Details
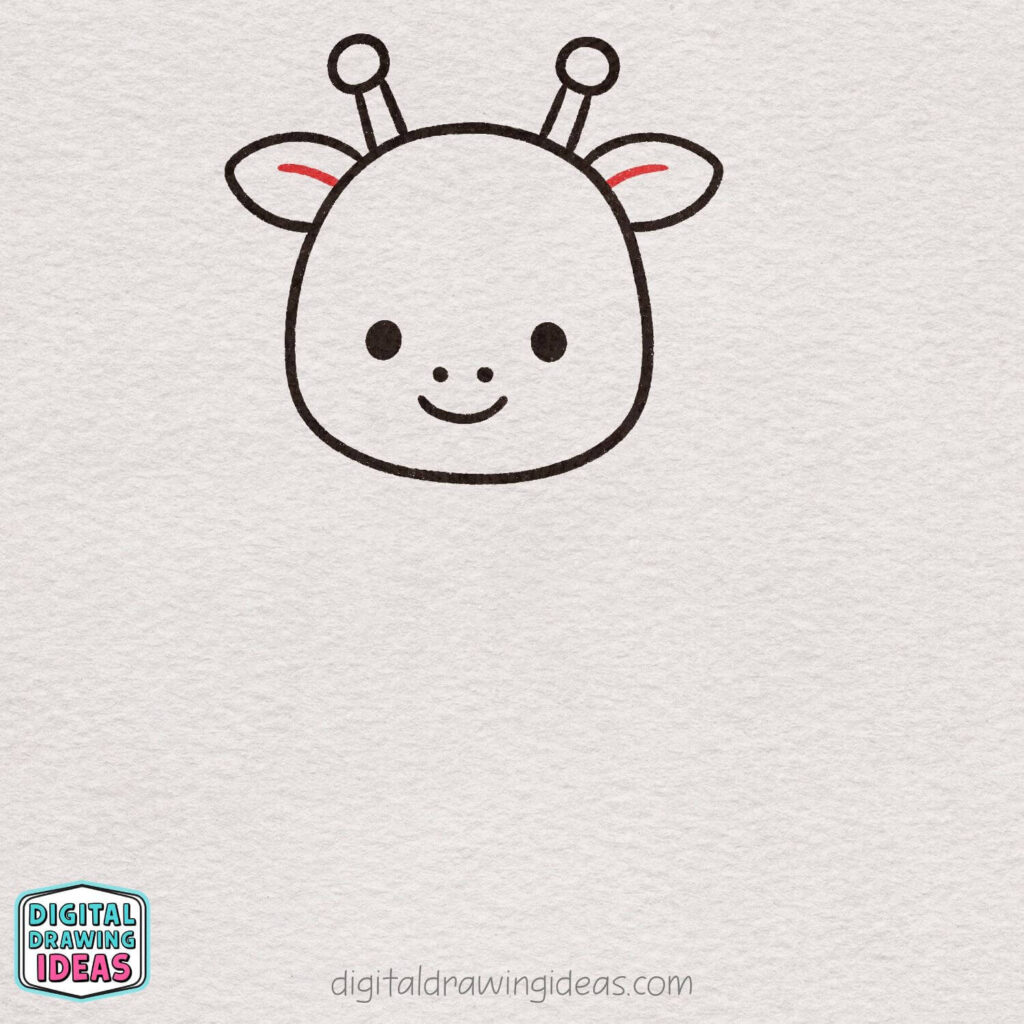
Now let’s give the ears a little extra detail.
Inside each ear, draw a short curved line that follows the shape of the ear. Keep the line soft and slightly curved, not straight.
This small touch makes your giraffe look more finished and even cuter!
Step 7: Start the Long Neck and First Leg
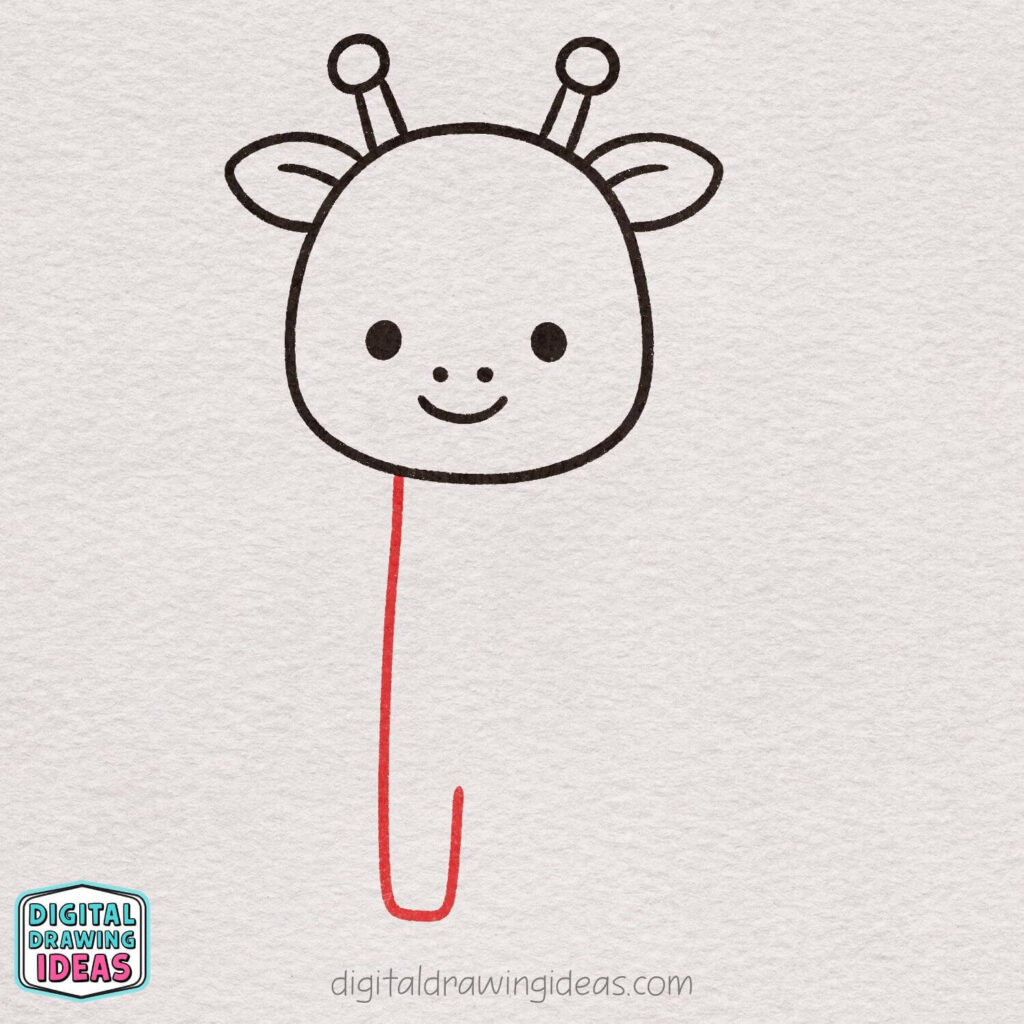
Let’s draw that tall giraffe neck!
From the bottom left side of the head, draw a long line going straight down. When you reach the bottom, curve it gently to the right to form a rounded corner.
The lower curved part will actually become the first front leg. Then draw a short line going slightly upward on the right side to begin shaping that leg.
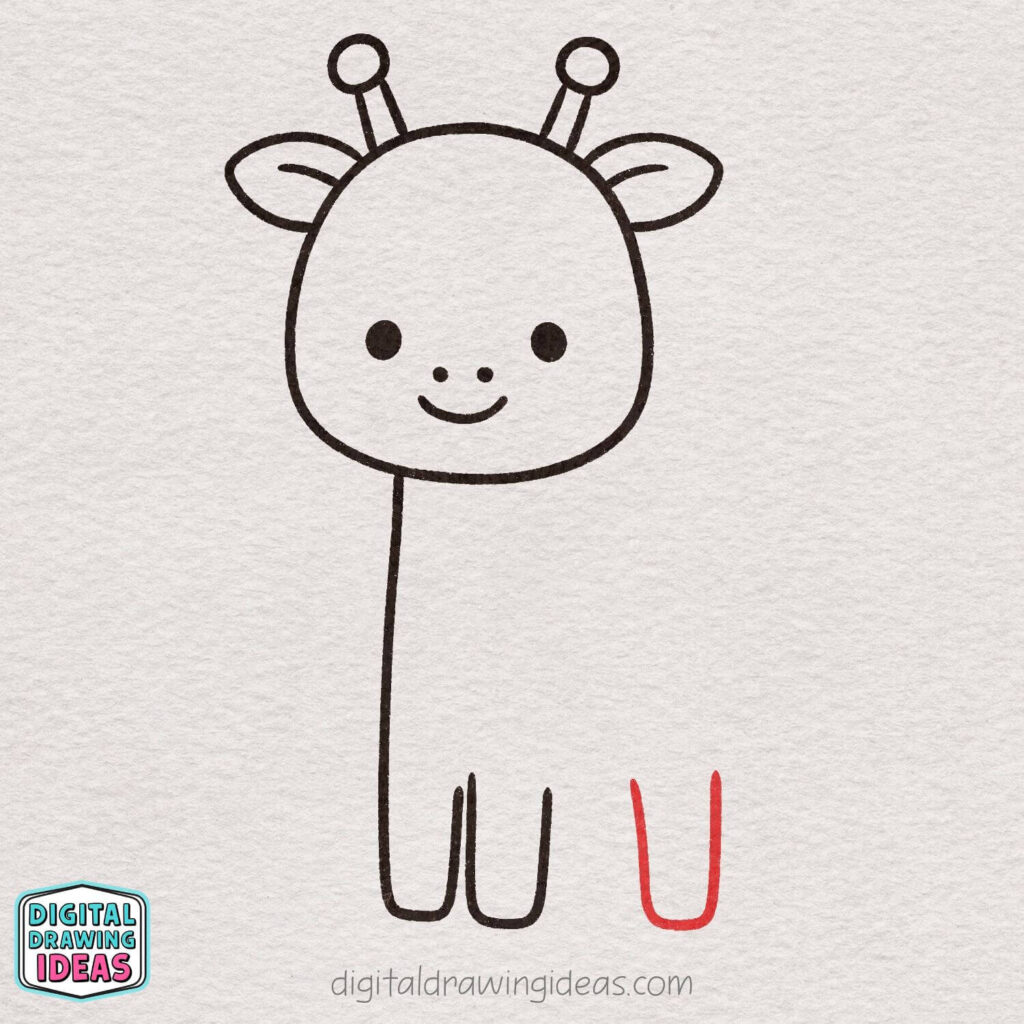
Step 8: Draw the Second Front Leg

Now let’s add the second front leg.
Next to the first leg, draw a long curved line going down. At the bottom, curve it around to create a rounded hoof, then bring the line back up.
Keep this leg about the same length and width as the first one so your giraffe stands nice and steady.
Step 9: Add the First Back Leg
Now let’s start drawing the back legs.
To the right of the front legs, draw a long line going down. Curve it at the bottom to create a rounded hoof, then bring the line back up, just like you did before.
Keep the shape similar in size to the other legs so your giraffe looks balanced and sturdy.
Step 10: Connect the Belly
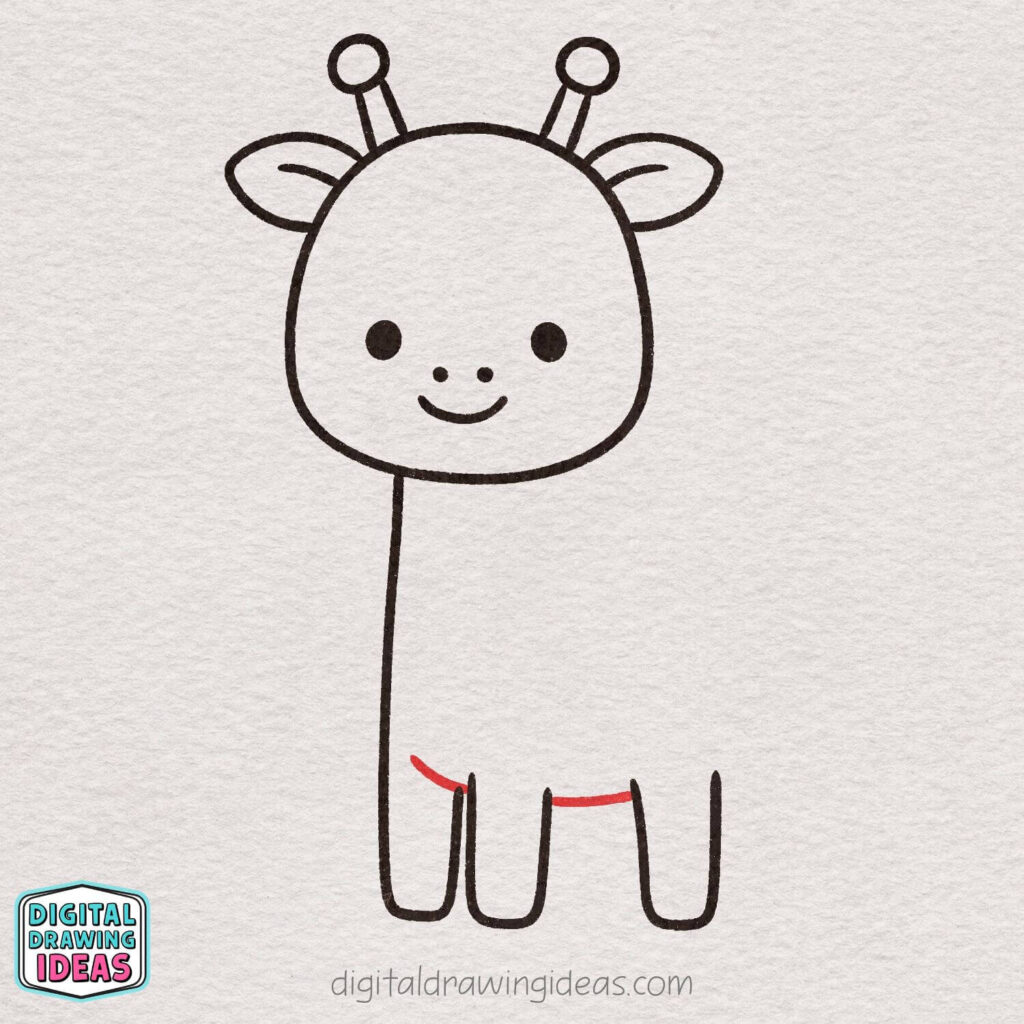
Let’s start shaping the giraffe’s body.
Draw a curved line from the bottom of the neck toward the top of the first back leg. Then add a short curved line between the two back legs to connect them.
These lines form the giraffe’s belly, so keep them soft and slightly rounded for a cute look.
Step 11: Draw the Second Back Leg
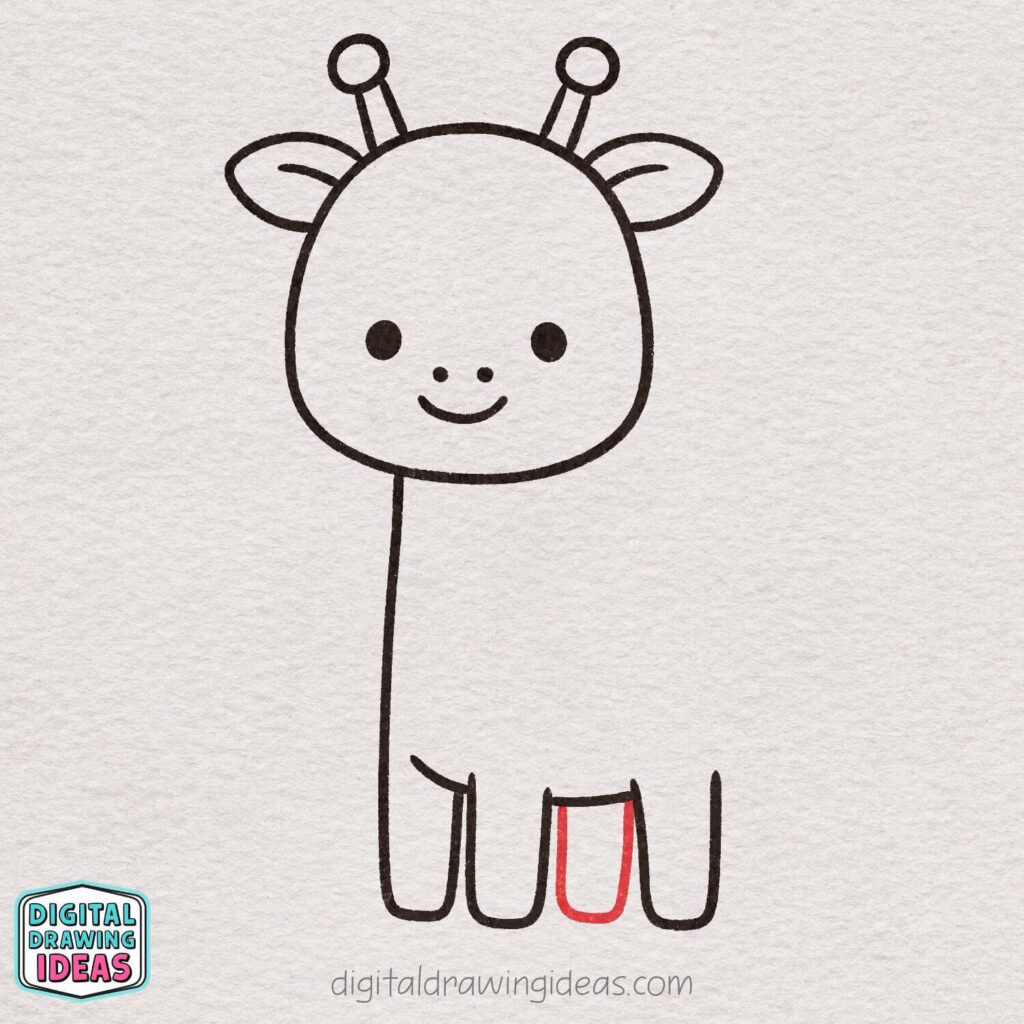
Now let’s finish the back legs.
Between the first back leg and the front leg, draw another long curved line down. Round it at the bottom to form the hoof, then bring the line back up.
Try to keep the spacing even so all four legs look neat and nicely aligned.
Step 12: Draw the Back and Body

Now let’s shape the giraffe’s body.
From the bottom right side of the head, draw a short line down to start the other side of the neck. Then curve the line outward and down to form the back and the rounded back side of the body.
Bring the line down until it reaches the top of the back leg. Keep the curve smooth and gentle for that soft, cute look.
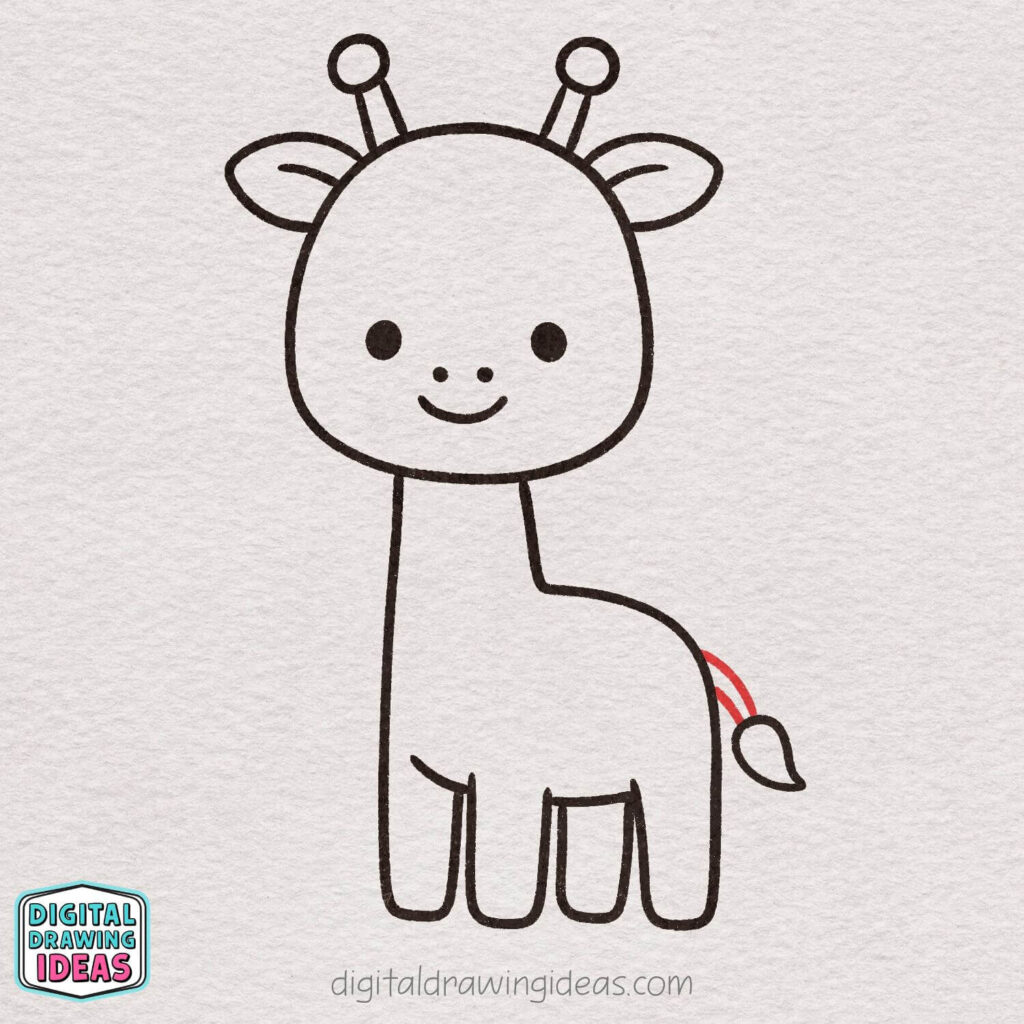
Step 13: Draw the Tail
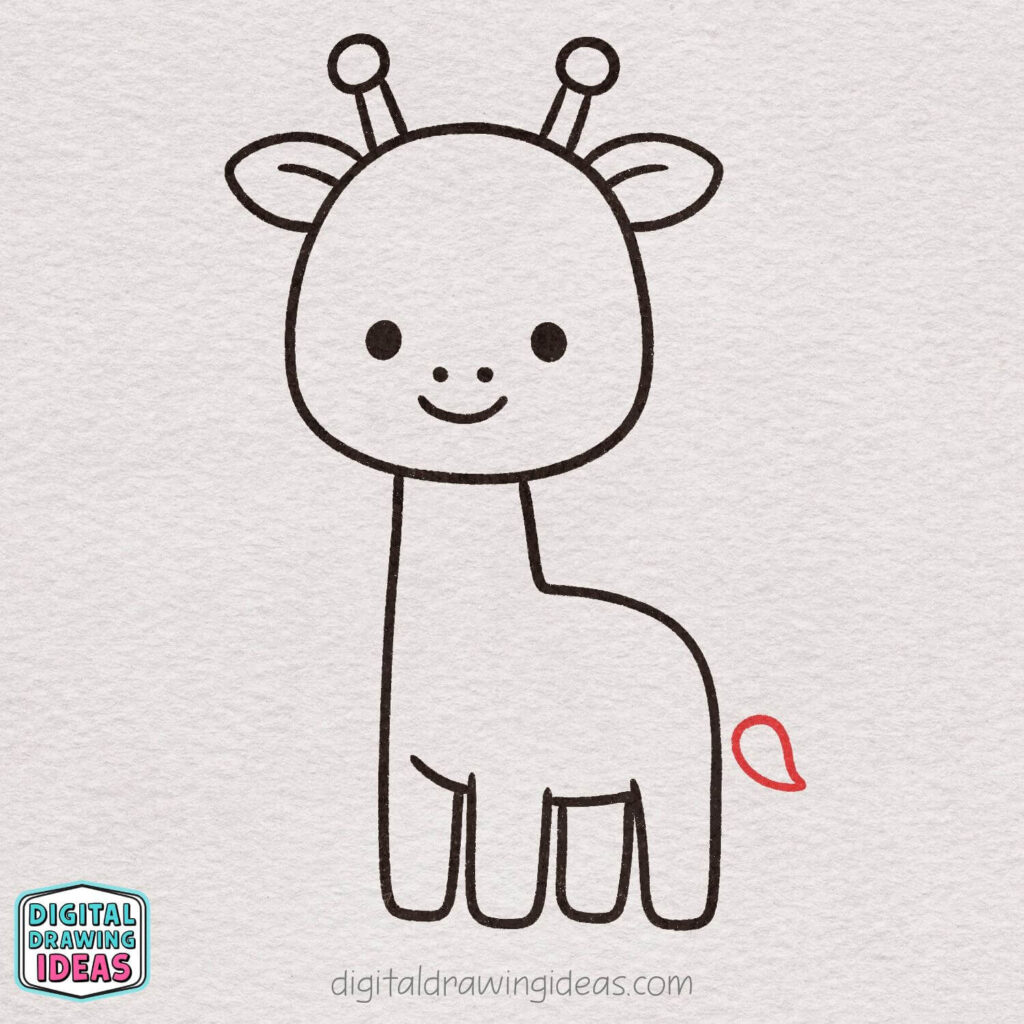
Let’s add a cute little tail!
On the right side of the body, draw a short curved line going outward. At the end, create a small teardrop shape for the fluffy tail tip.
Keep it small and slightly curved so it looks light and playful.
Step 14: Finish the Tail
Now let’s connect the tail to the body.
Draw a curved line from the body down to the fluffy tail tip. Add a second curved line next to it to complete the tail shape.
Keep the lines smooth and slightly curved so the tail looks soft and natural.
Step 15: Add the Hoof Lines
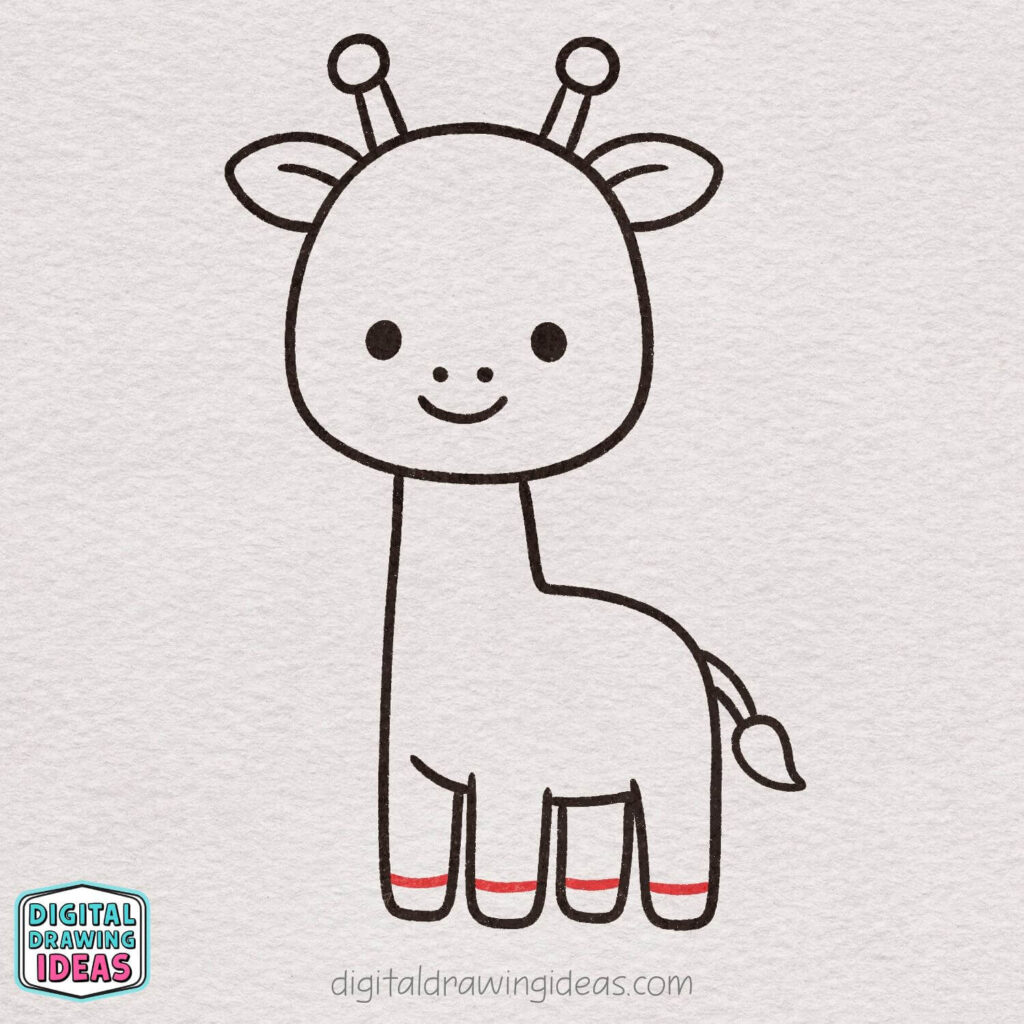
Now let’s add some simple hoof details.
Draw a short horizontal curved line near the bottom of each leg. Follow the rounded shape of the legs so the lines look natural.
These little lines separate the hooves and make your giraffe look more complete.
Step 16: Add the Mane
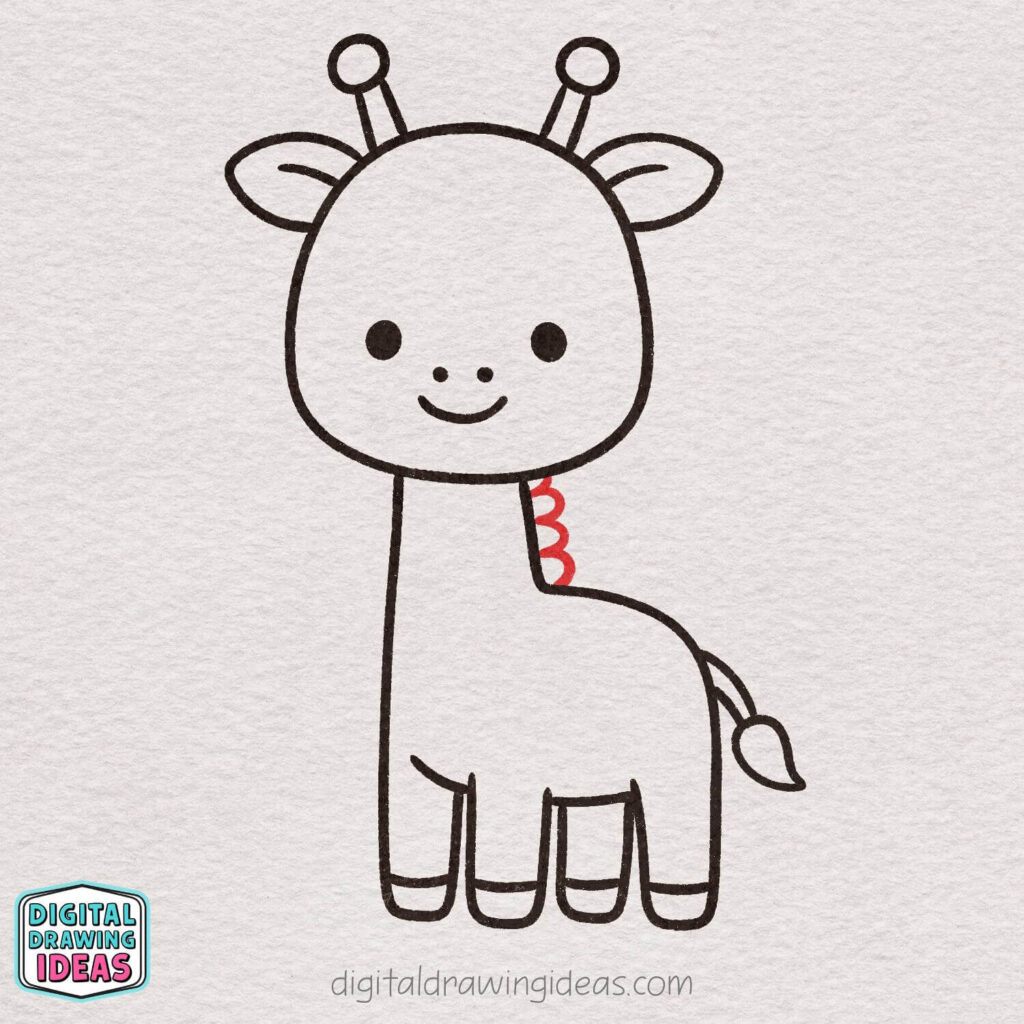
Let’s give your giraffe a cute little mane!
Along the back of the neck, draw a series of small, rounded bumps from just under the head down to the shoulder.
Keep the bumps soft and even, like tiny clouds. This gives your giraffe extra charm and personality.
Step 17: Draw the Spots
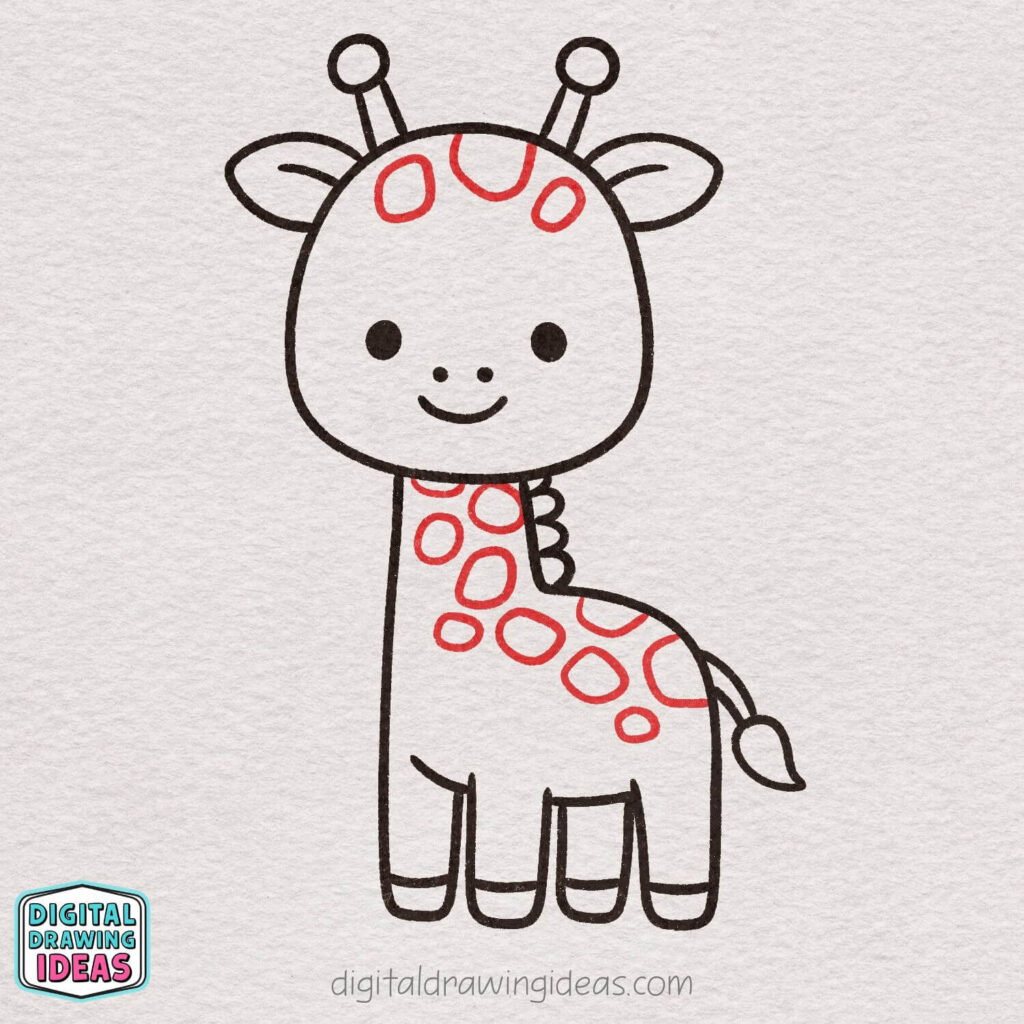
Now it’s time to add the giraffe’s fun spots!
Draw different sized oval and rounded shapes on the head, neck, and body. Try to vary the sizes to make them look more natural and playful.
Leave a little space between the spots so they don’t overlap too much. This makes your giraffe look cute and nicely patterned.
Step 18: Add Fun Background Details
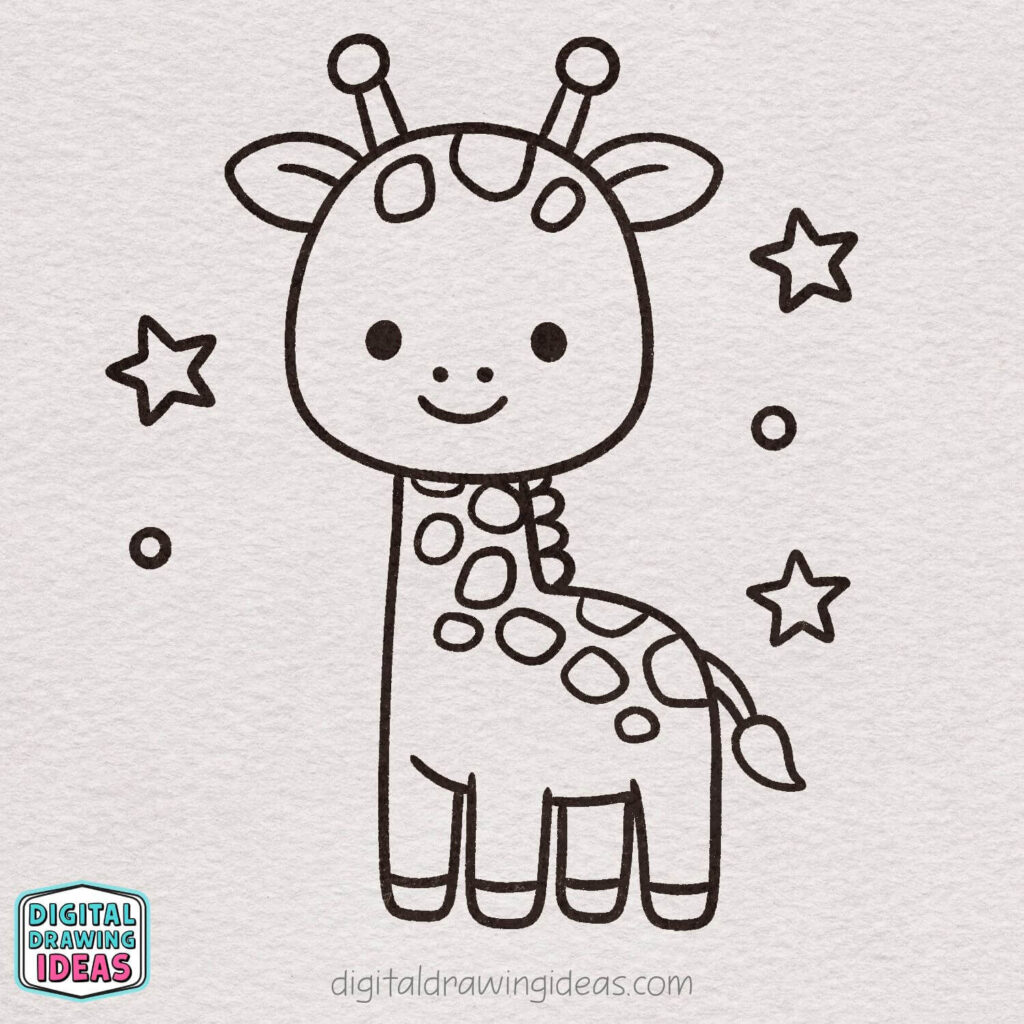
Let’s make your drawing extra magical!
Around your giraffe, draw a few simple stars and small circles. Spread them out so they frame the giraffe nicely without covering it.
These little details make your artwork feel playful and complete.
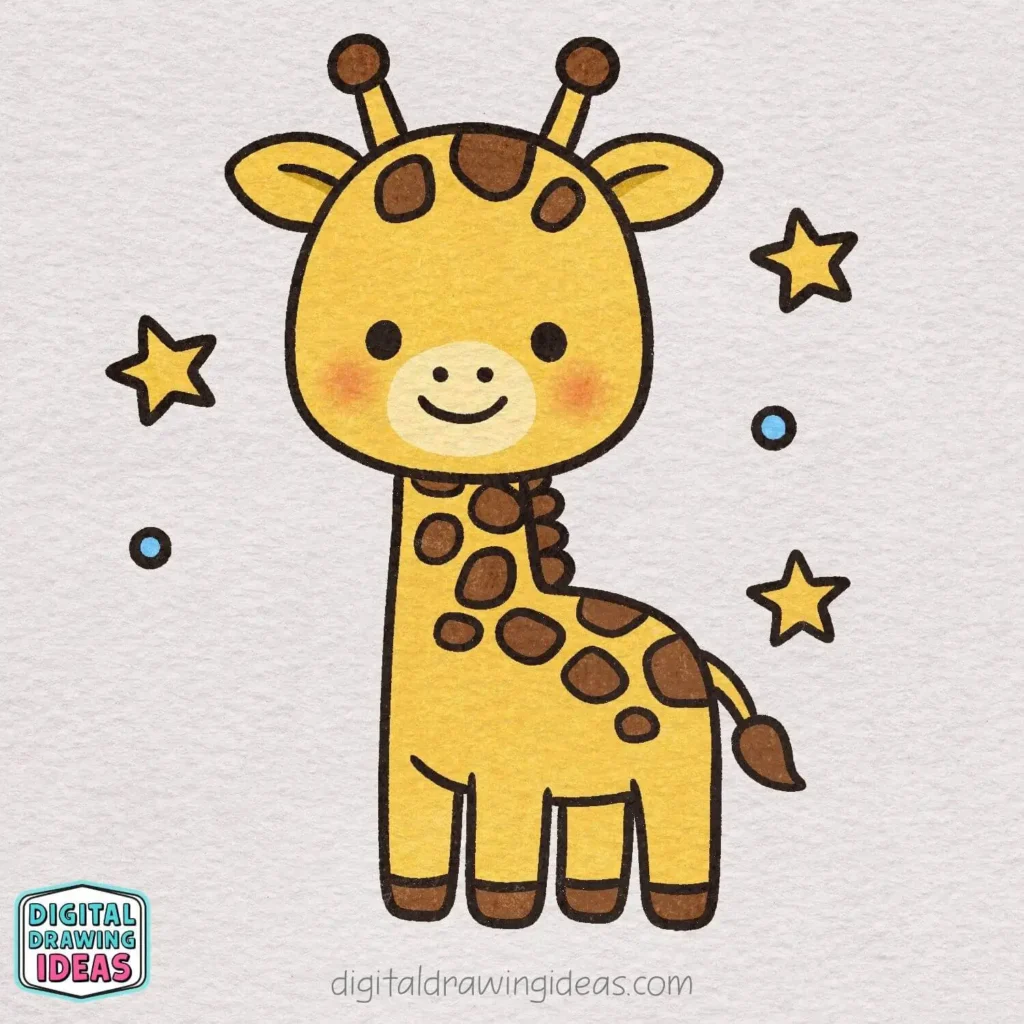
Step 19: Color Your Cute Giraffe
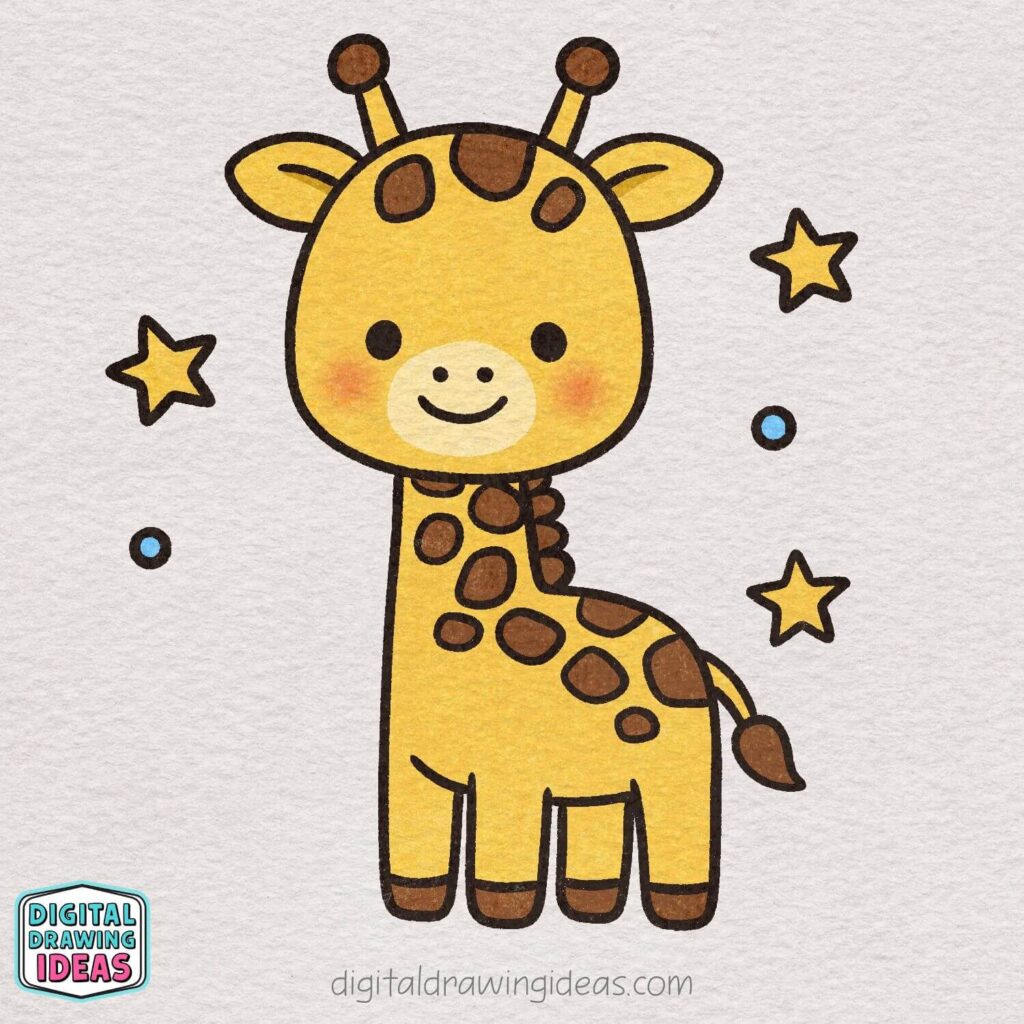
Now it’s time to bring your giraffe to life with color!
Use a warm yellow for the body and a darker brown for the spots, hooves, ossicones, and tail tip. You can add a soft pink blush on the cheeks for extra cuteness.
Color the stars bright yellow and the small circles blue to make them pop. Take your time and have fun — your adorable giraffe is complete!
My Personal Approach To Cute Animal Drawing
Whenever I create a new animal tutorial, I ask myself one question:
“How can I make this feel doable?”
I remember sitting at my desk with my sketchbook, coffee next to me, testing different neck shapes. The first few attempts? Way too realistic. Too stiff. Not cute at all.
So I simplified.
I rounded everything.
I made the head slightly oversized.
I softened every edge.
That’s when the drawing suddenly felt friendly instead of technical.
If your giraffe looks a little wobbly the first time — good. That means you’re learning. I still redraw my own tutorials multiple times before they feel right.
Make Your Giraffe Drawing Even Cuter
Once you’ve finished the basic giraffe drawing, you can personalize it:
- Add rosy cheeks
- Draw tiny eyelashes
- Make the stars bigger
- Turn it into a birthday card
- Create a whole safari scene
One of my favorite things is seeing how different everyone’s version turns out. Even when we follow the same steps, every drawing has personality.
If You Loved This Tutorial…
If you enjoyed learning how to draw a giraffe, you’ll probably love these too:
- How To Draw A Dinosaur – Cute Dinosaur Drawing Tutorial
- How To Draw A Horse – Cute Horse Drawing Tutorial
- How To Draw A Hamster – Cute Hamster Drawing
I design every tutorial the same way:
Simple shapes.
Clear steps.
Beginner-friendly structure.
Let’s Stay Connected
If you try this how to draw a giraffe tutorial, I would genuinely love to see your version.
You can:
- Save more ideas on my Pinterest
- Watch drawing videos on my YouTube channel
- Tag me on Instagram @digitaldrawingideas
Seeing your drawings honestly makes my day. It reminds me why I started creating these tutorials in the first place.
Final Thoughts – You Can Do This
Learning how to draw a giraffe doesn’t require talent. It requires patience, simple shapes, and a little courage to start.
I know how frustrating it feels when your drawing doesn’t match what’s in your head. I’ve erased entire pages before getting something I liked. But every sketch teaches you something.
So here’s my encouragement to you:
Draw the giraffe.
Draw it again.
Draw it slightly differently.
Your creative confidence grows every single time.
And if this giraffe was your first step into animal drawing — I’m so happy you started here.

