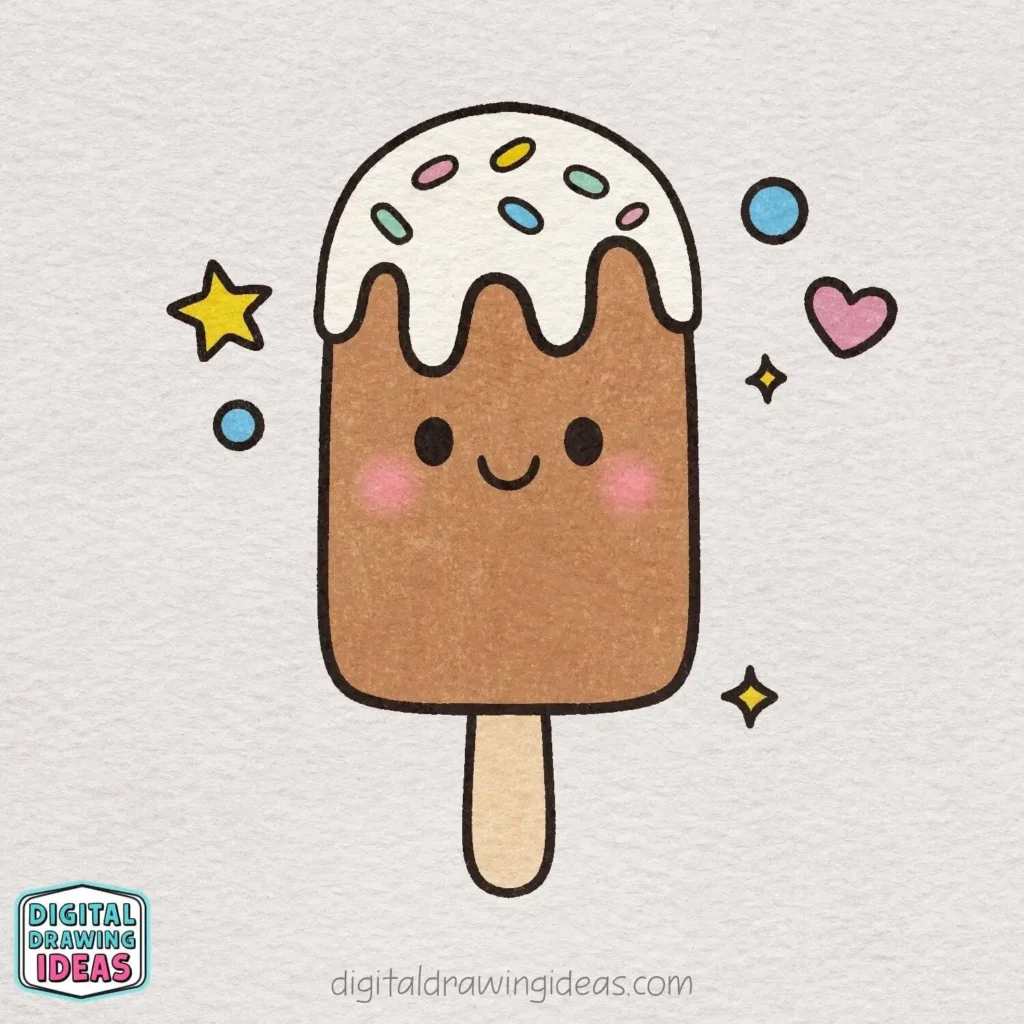
How to draw a popsicle might sound super simple at first… but I promise, once you add a cute face, melty icing, and colorful sprinkles, it becomes one of the most fun little drawings ever.
I still remember the first time I doodled a popsicle like this. It was one of those “I just want to draw something quick and cute” moments… and suddenly I had a whole page full of smiling desserts. That’s the magic of a good popsicle drawing—it’s simple, but ridiculously addictive.
If you’ve ever felt like:
- your drawings look too stiff
- you don’t know how to make things look “cute”
- or you just want something easy and relaxing to draw
…you’re in the right place.
This tutorial is designed to be beginner-friendly, stress-free, and actually fun. No perfection needed. Just grab a pen and let’s draw together.
Why I Love Drawing Cute Popsicles
There’s something about food doodles that instantly makes a page feel more alive.
For me, drawing cute desserts (like this popsicle) became my go-to when:
- I felt stuck creatively
- I didn’t have much time
- or I just needed something relaxing after a long day
And honestly? A smiling popsicle just makes everything better.
If you enjoy this, you’ll probably also love these:
(Yes… I clearly have a thing for cute food drawings.)
Step 1: Draw the Top Curve
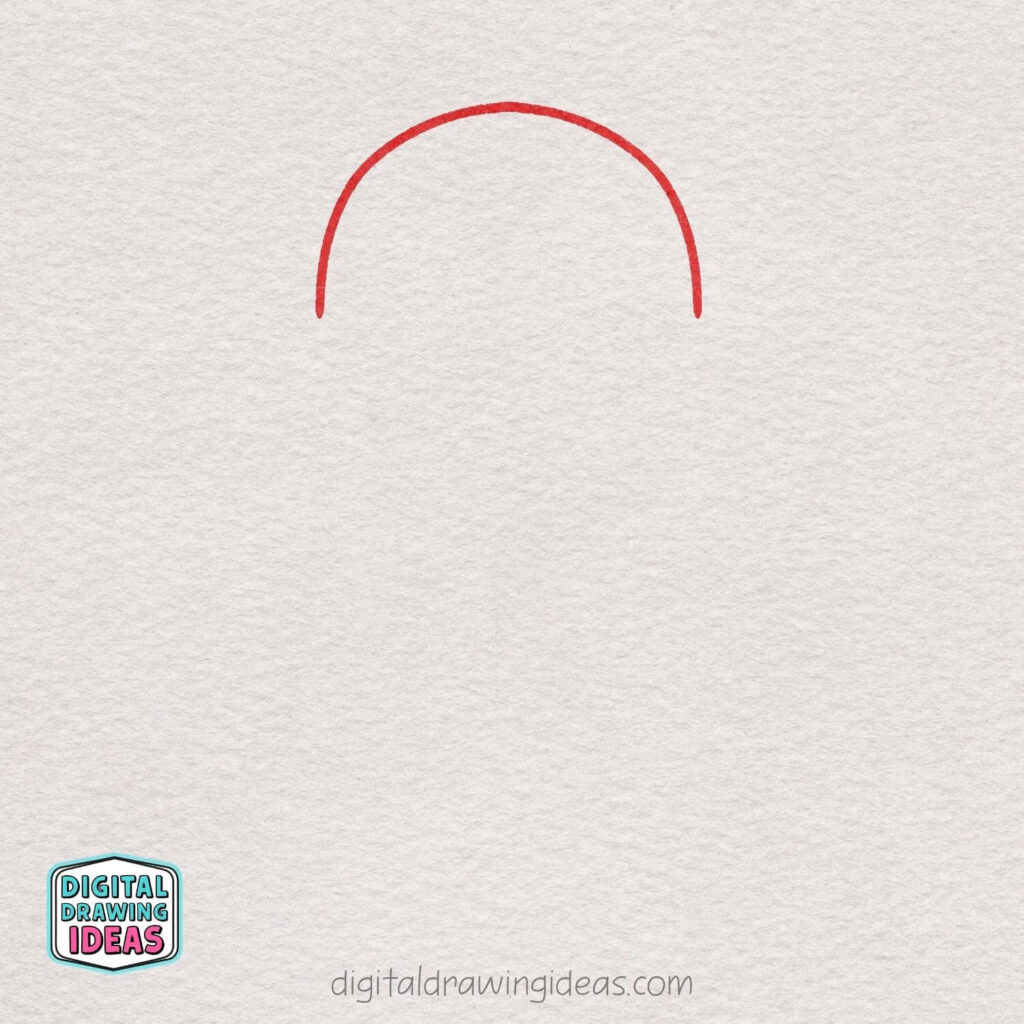
Start by drawing a soft, upside-down U-shaped curve. This will be the top part of your popsicle, so keep the line nice and smooth.
Don’t worry about making it perfect—just aim for a rounded, even shape!
Step 2: Add the Dripping Icing

Now draw a wavy line under the top curve to create the dripping icing effect. Let the lines go up and down like soft waves for a cute, melty look.
Keep it playful—no two drips need to be the same!
Step 3: Draw the Popsicle Shape
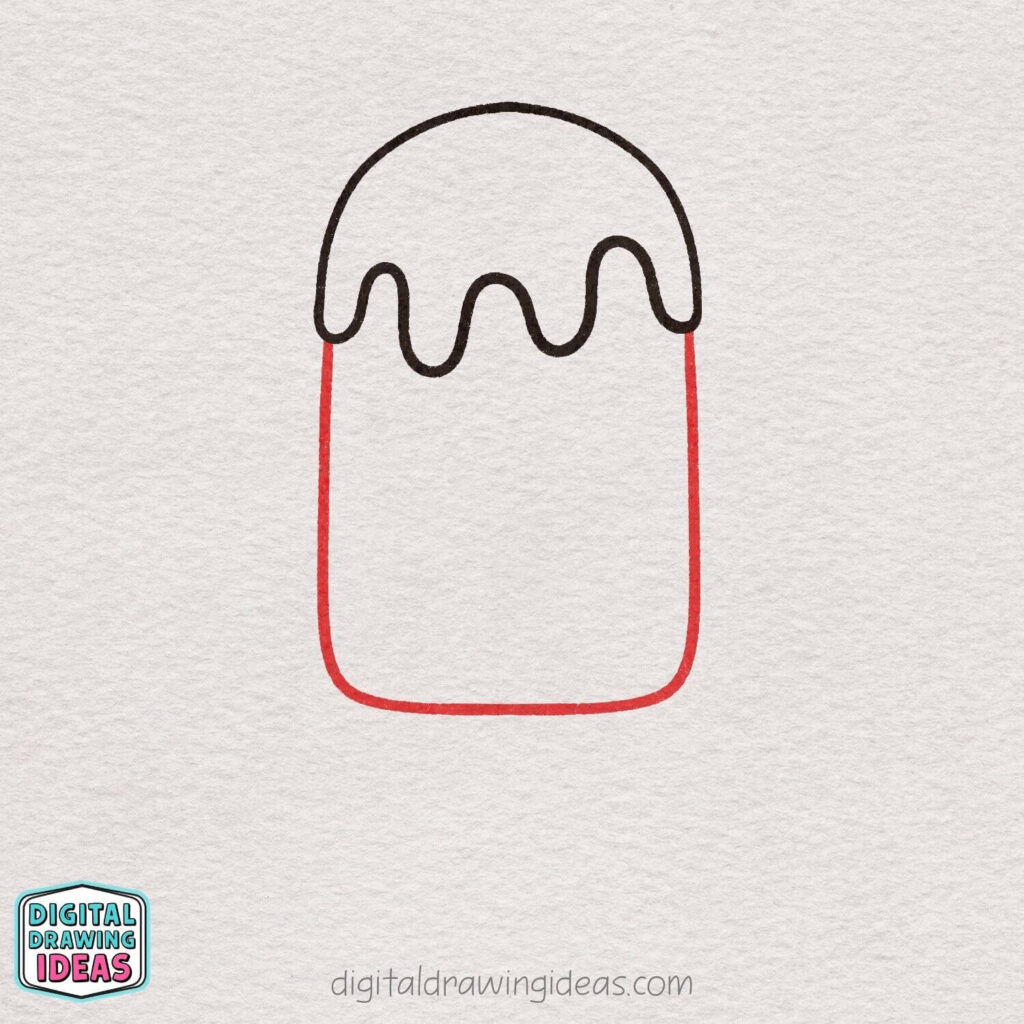
From the ends of the dripping line, draw two straight lines going down. Then connect them at the bottom with a soft, rounded curve to form the popsicle body.
Keep the corners nice and smooth for that cute look!
Step 4: Add the Stick
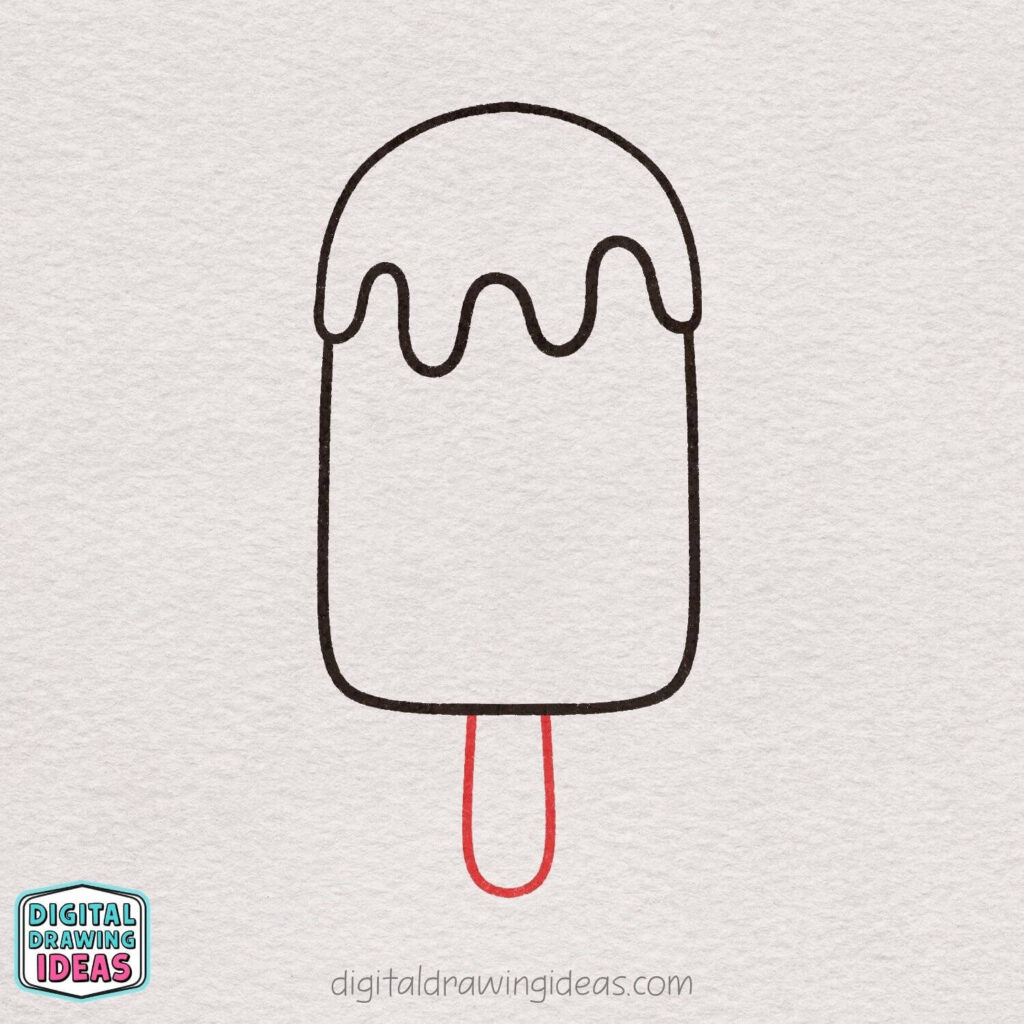
Draw a long, rounded shape under the popsicle for the stick. Keep the bottom slightly curved to match the soft, cute style. Make sure it’s centered so your popsicle looks balanced!
Step 5: Draw the Cute Face
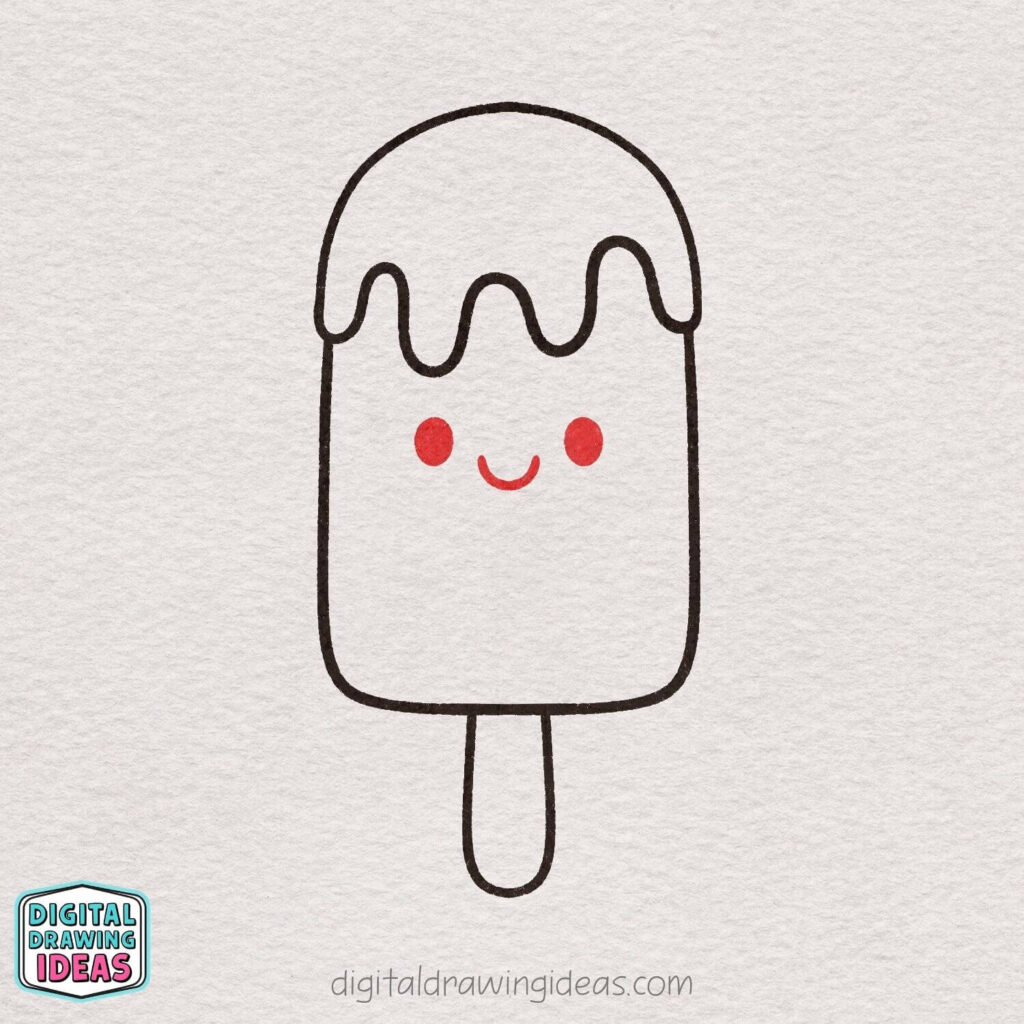
Add two small circles for the cheeks and a tiny curved line for the smile in between.
Place them in the center to give your popsicle a sweet, happy expression. Keep everything simple and soft for that kawaii look!
Step 6: Add the Sprinkles
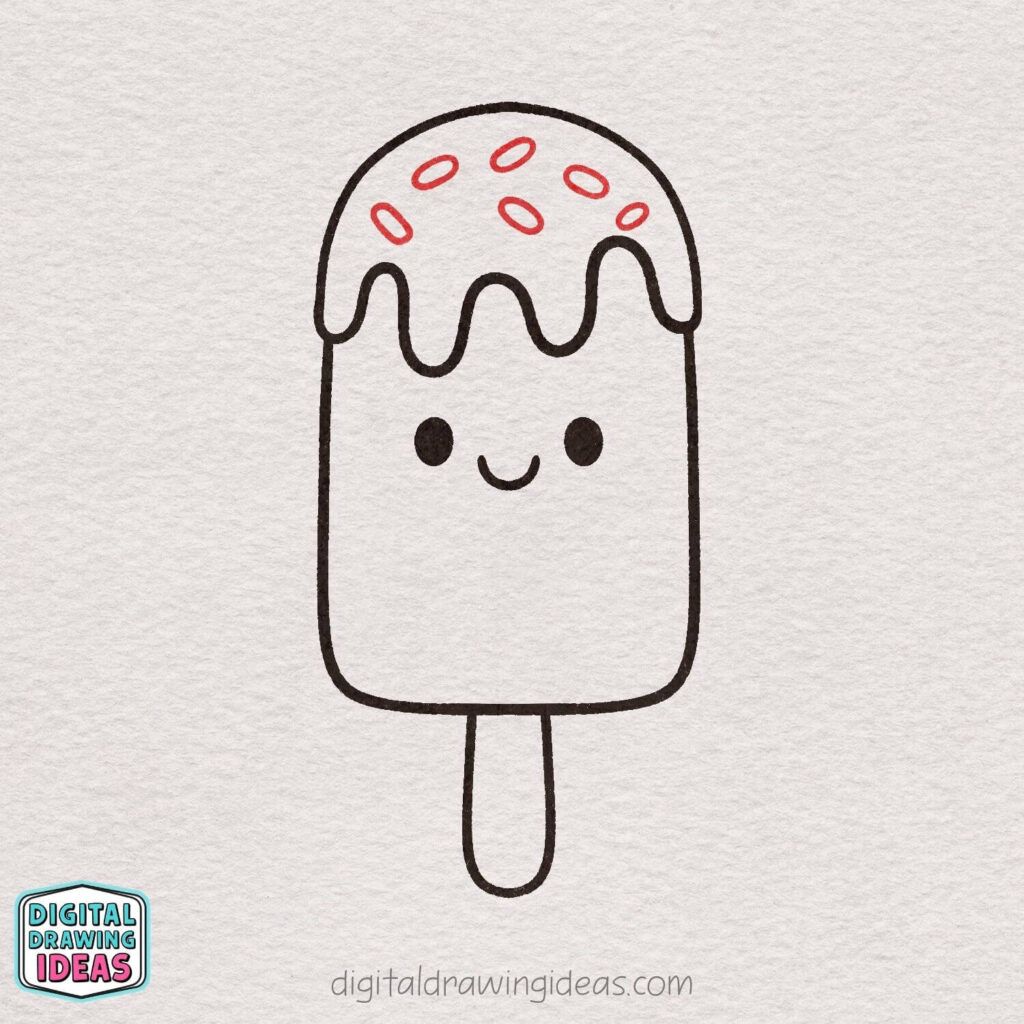
Draw small oval shapes on the icing to create cute sprinkles. Scatter them around evenly, but don’t worry about making them perfect or symmetrical.
A little randomness makes it look more fun and playful!
Step 7: Add Cute Decorations Around It
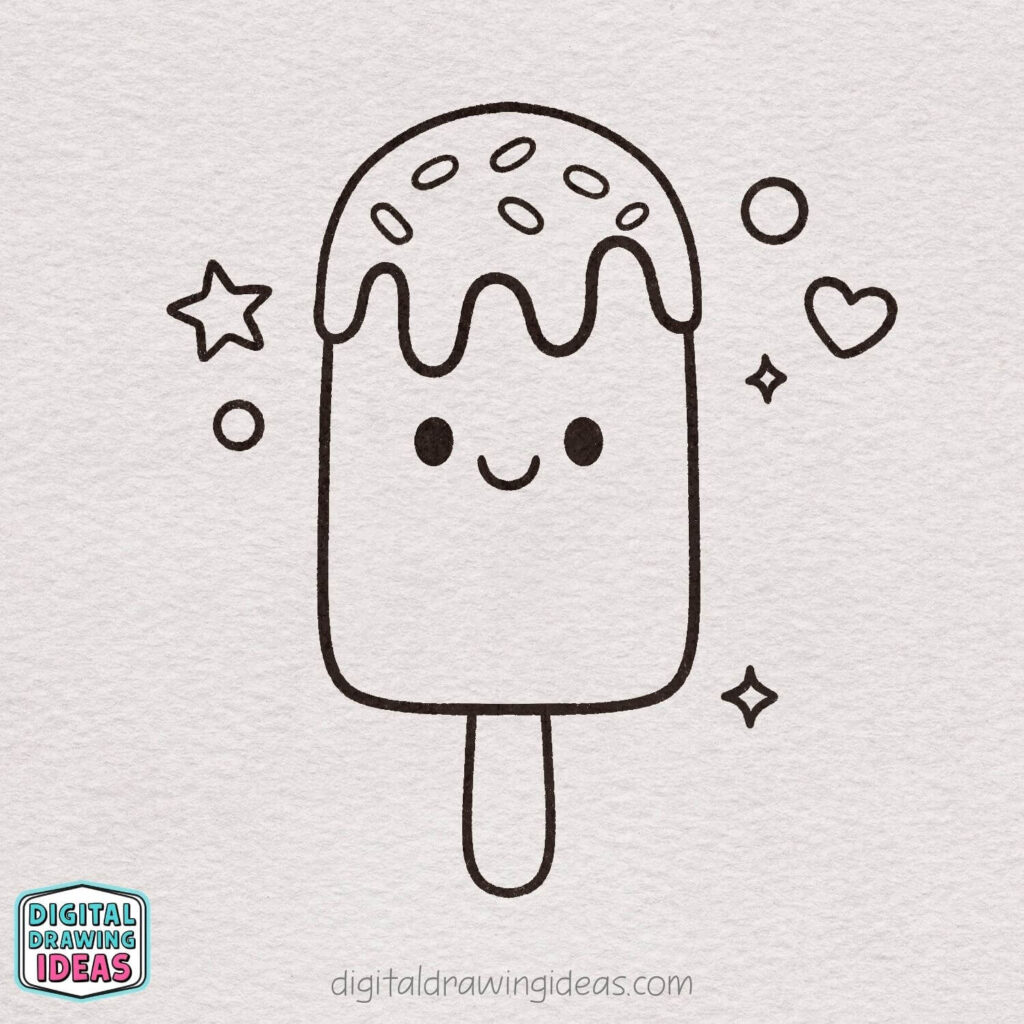
Draw a few simple shapes like stars, circles, sparkles, and a little heart around your popsicle.
Spread them out to make the drawing feel more fun and lively.
Keep the shapes small and playful so they don’t take attention away from your cute popsicle!
Step 8: Color Your Popsicle

Now it’s time to bring your drawing to life with color!
Use soft browns for the popsicle, creamy white for the icing, and bright colors for the sprinkles and decorations.
Add a little blush on the cheeks for an extra cute finish!
Tips To Make Your Popsicle Drawing Even Cuter
If you want to level up your popsicle drawing, here are a few tricks I personally use:
- Make the eyes slightly uneven → it adds personality
- Add blush → instant cuteness boost
- Use soft, warm colors → feels more cozy and friendly
- Don’t overthink symmetry → cute drawings are rarely perfect
I used to over-correct every line… and honestly, that made my drawings look stiff. Letting go a little is what made them feel alive.
Want More Cute Drawing Ideas?
If you enjoy this style, I share a lot more over here:
- Follow me on Pinterest:
Digital Drawing Ideas Pinterest - Watch step-by-step videos:
Digital Drawing Ideas YouTube Channel
I post new ideas regularly, especially if you love:
- cute food drawings
- kawaii doodles
- simple step-by-step tutorials
Final Thoughts (And A Tiny Creative Challenge)
Now you know exactly how to draw a popsicle, and I hope it felt easy, fun, and a little relaxing too.
The best part? You can customize it however you want:
- different icing colors
- chocolate drizzle
- even tiny accessories
Here’s a little challenge for you:
What if you draw a whole collection of cute popsicles, each with a different personality?
I’d love to see what you create.
If you try this tutorial:
- save it on Pinterest
- share your drawing
- or tag me on Instagram @digitaldrawingideas
I genuinely love seeing your versions—it’s honestly the best part of creating these tutorials.
And remember: your drawings don’t have to be perfect to be adorable.

