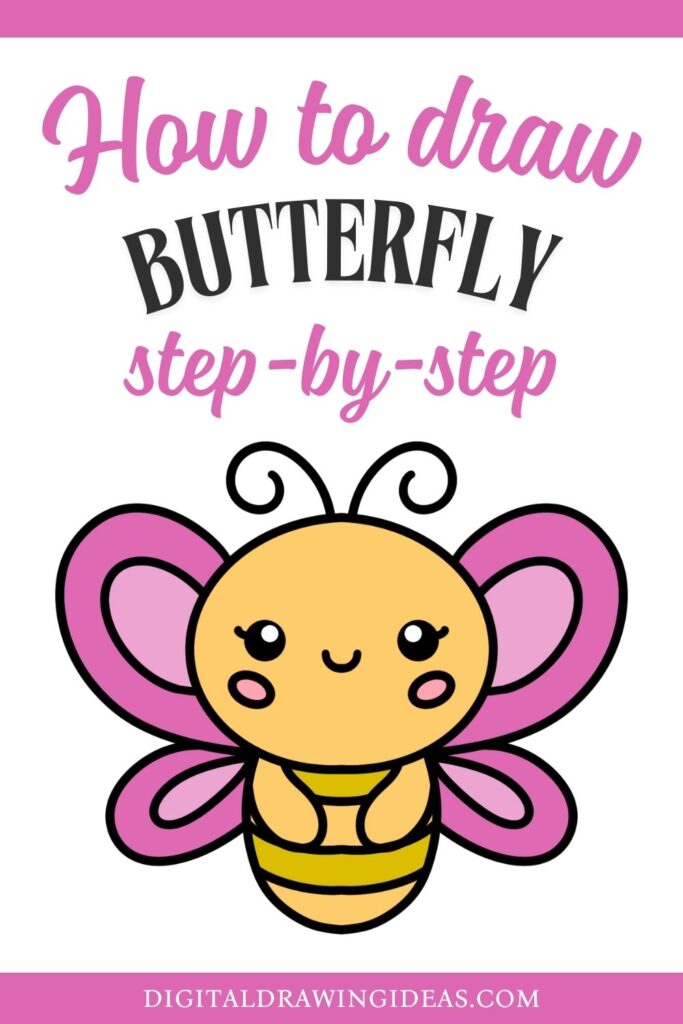
How to draw a butterfly – Have you ever looked at a butterfly and thought, “I wish I could draw one!” Well, good news—today, you’re going to do exactly that! This tutorial will guide you through an easy and fun way to create an adorable cartoon-style butterfly. No complicated details, just simple shapes and a bit of creativity. Whether you’re a beginner, a kid, or just someone who loves cute drawings, this tutorial is for you!
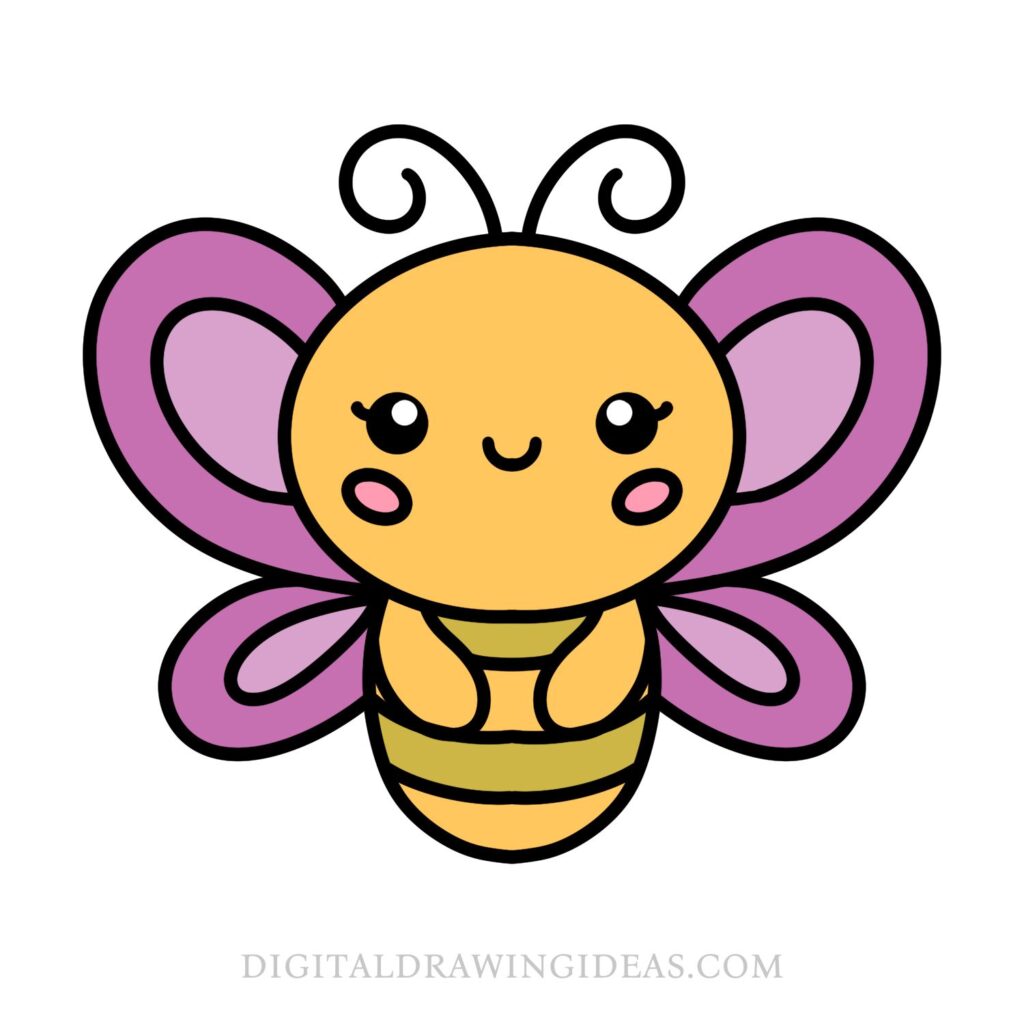
So grab your pencil, and let’s make some butterfly magic happen! 🦋✨
Step 1: Draw the Basic Shapes
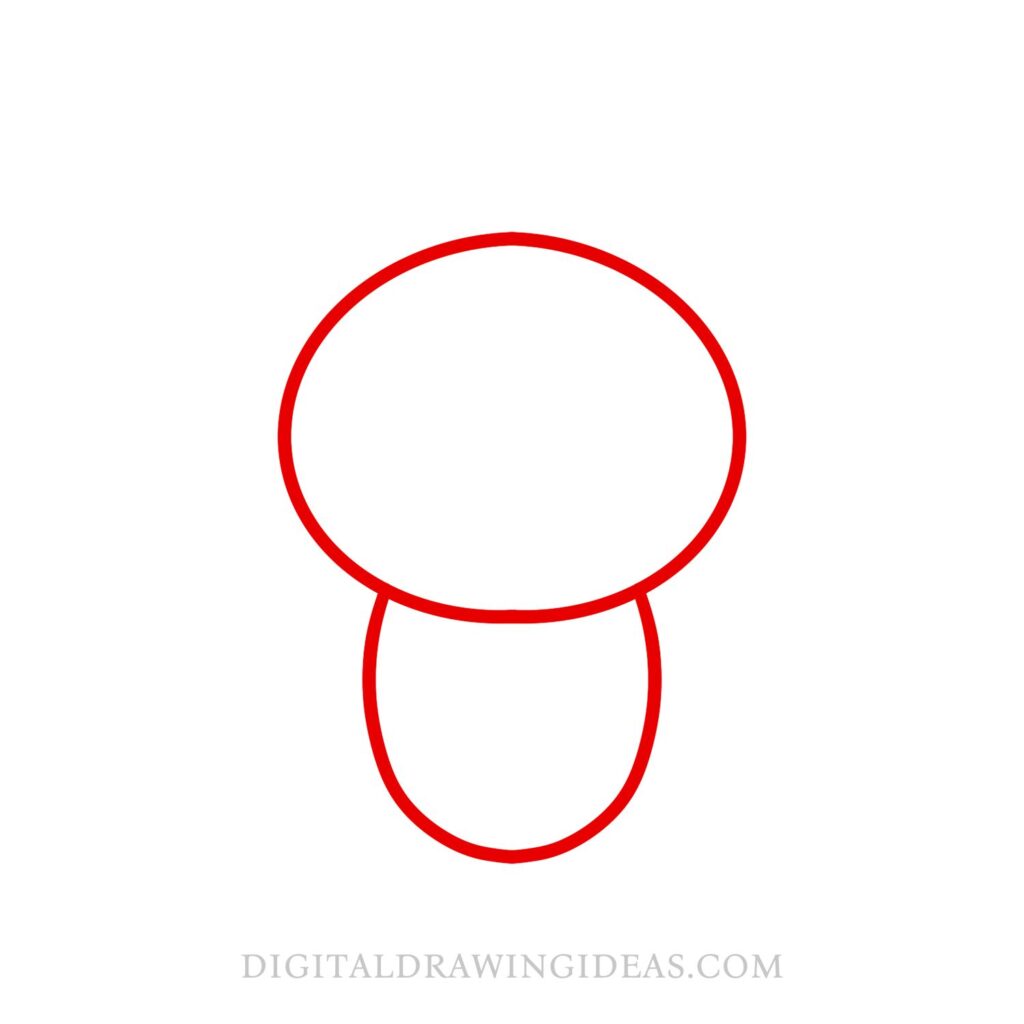
Start by sketching two simple shapes—an oval for the head and a slightly larger oval for the body below it. Think of it as a mushroom shape for now! Keep your lines light so you can refine them later.
Step 2: Add the Facial Guide and Arm Shapes
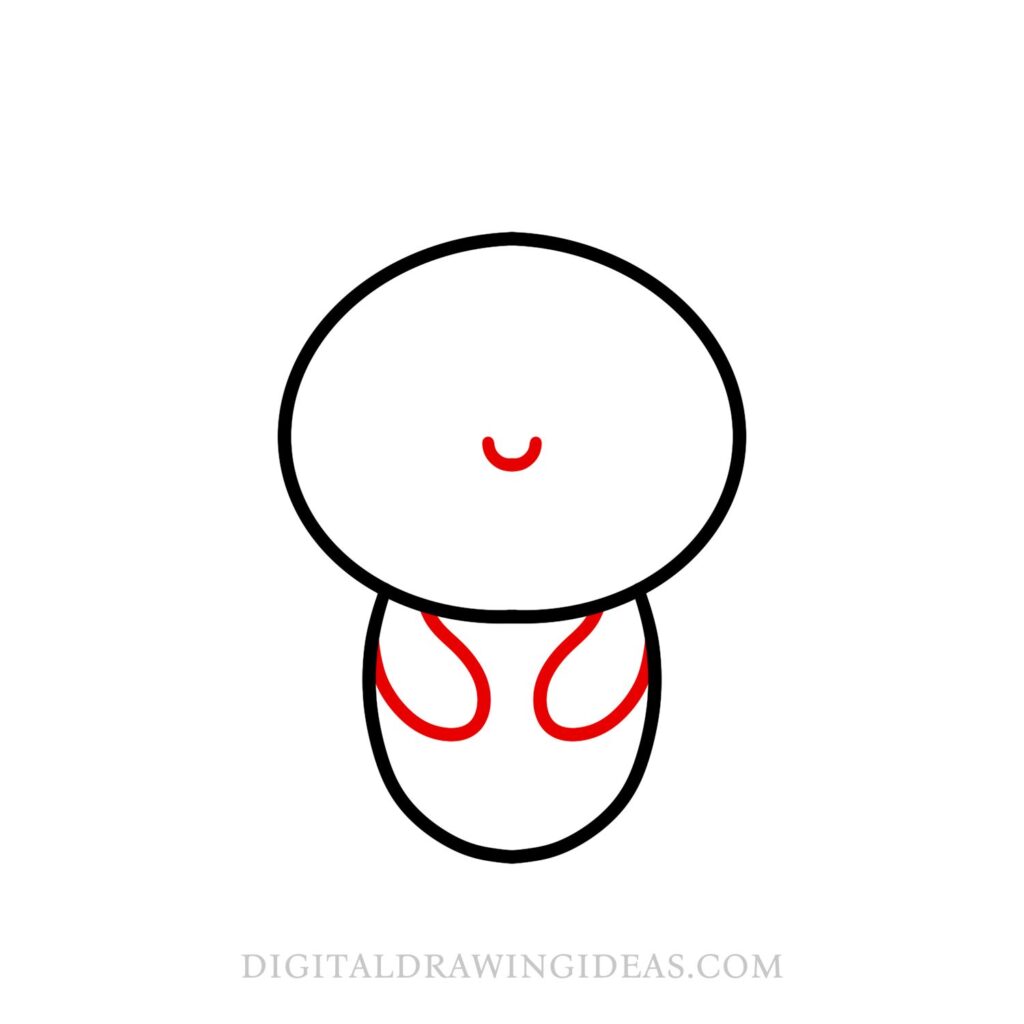
Now, let’s bring some life to our butterfly! Draw a small, curved line in the center of the head—this will be the mouth. Then, add two curved shapes on the sides of the body for the little arms. Cute already, right?
Step 3: Draw the Face Details
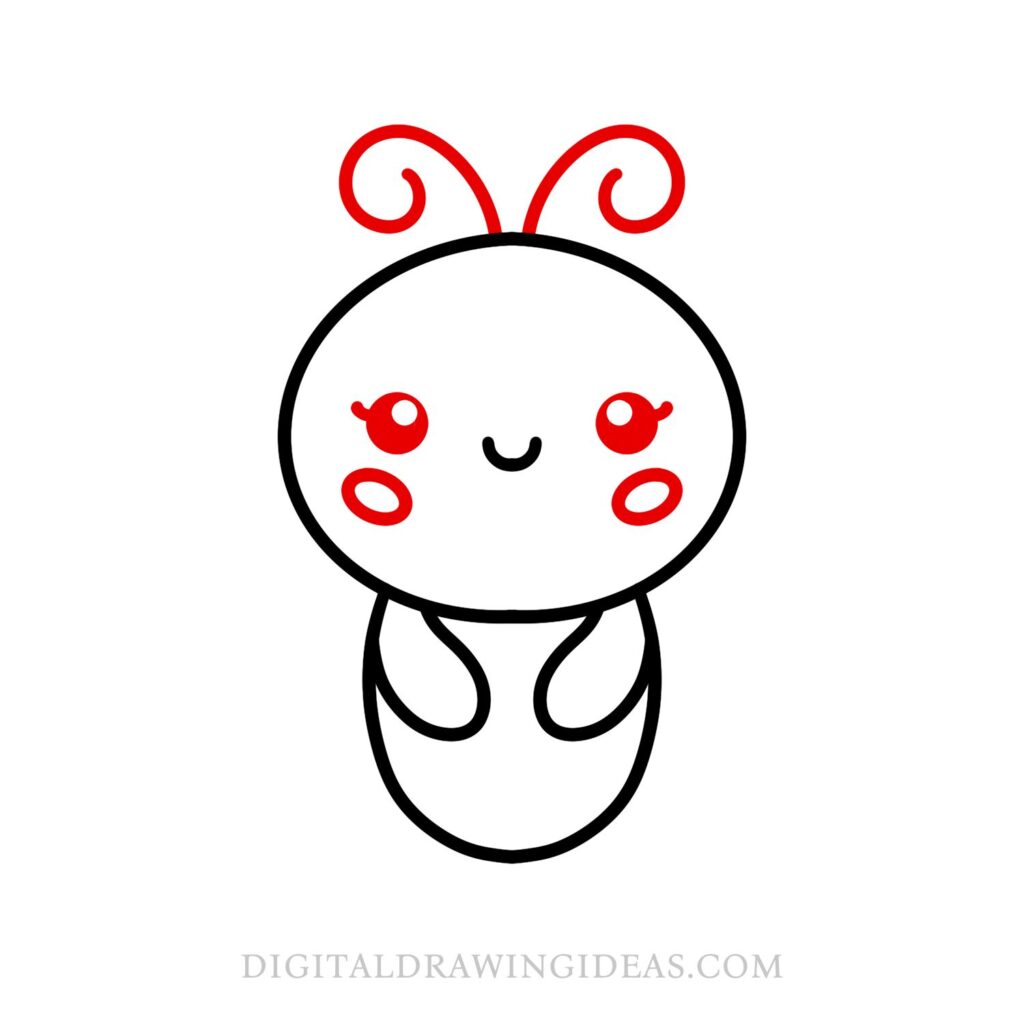
It’s time to give your butterfly some personality! Add two round eyes with small curved lashes to make them extra cute. Then, draw two rosy cheeks to give your butterfly that friendly and cheerful look.
Step 4: Add the Antennae
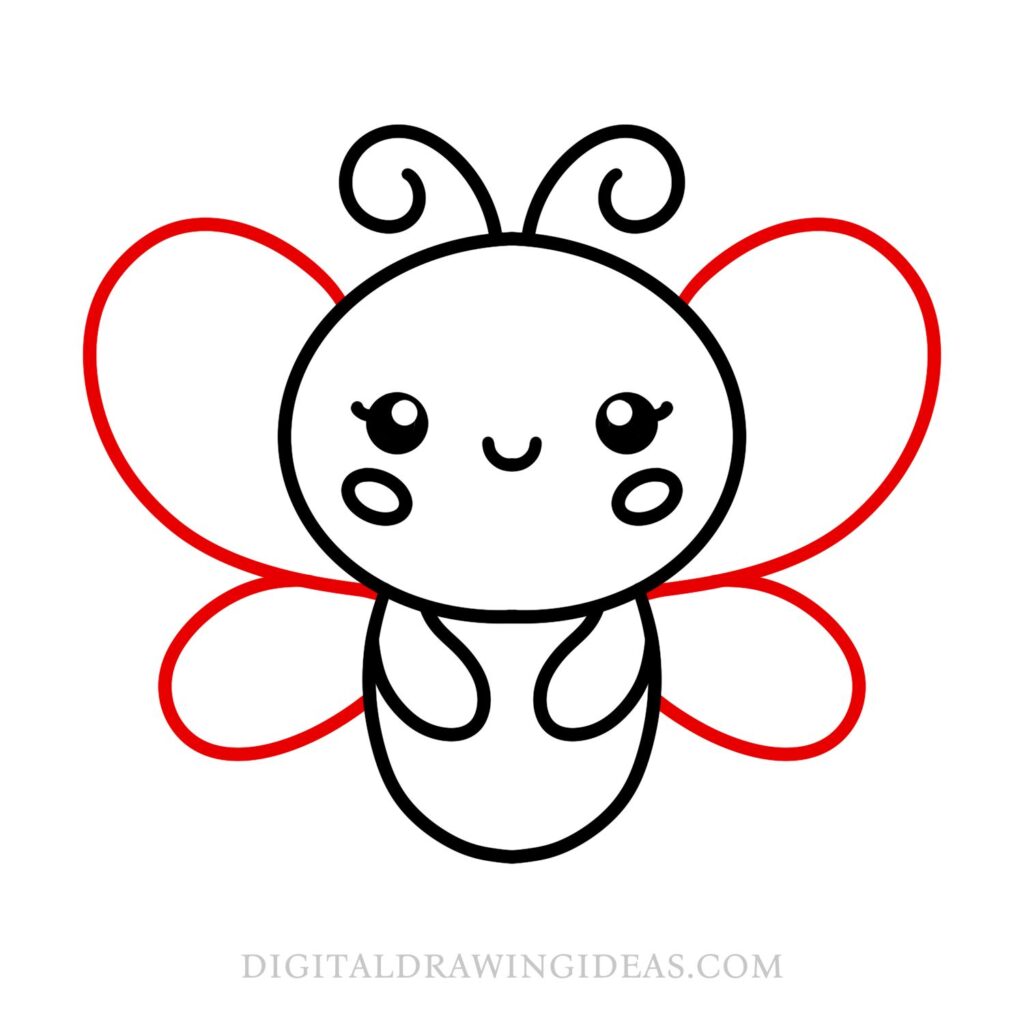
What’s a butterfly without its signature curly antennae? Draw two swirling lines coming out from the top of the head. Feel free to make them as curly as you like—this is where you can add a bit of flair!
Step 5: Sketch the Wings
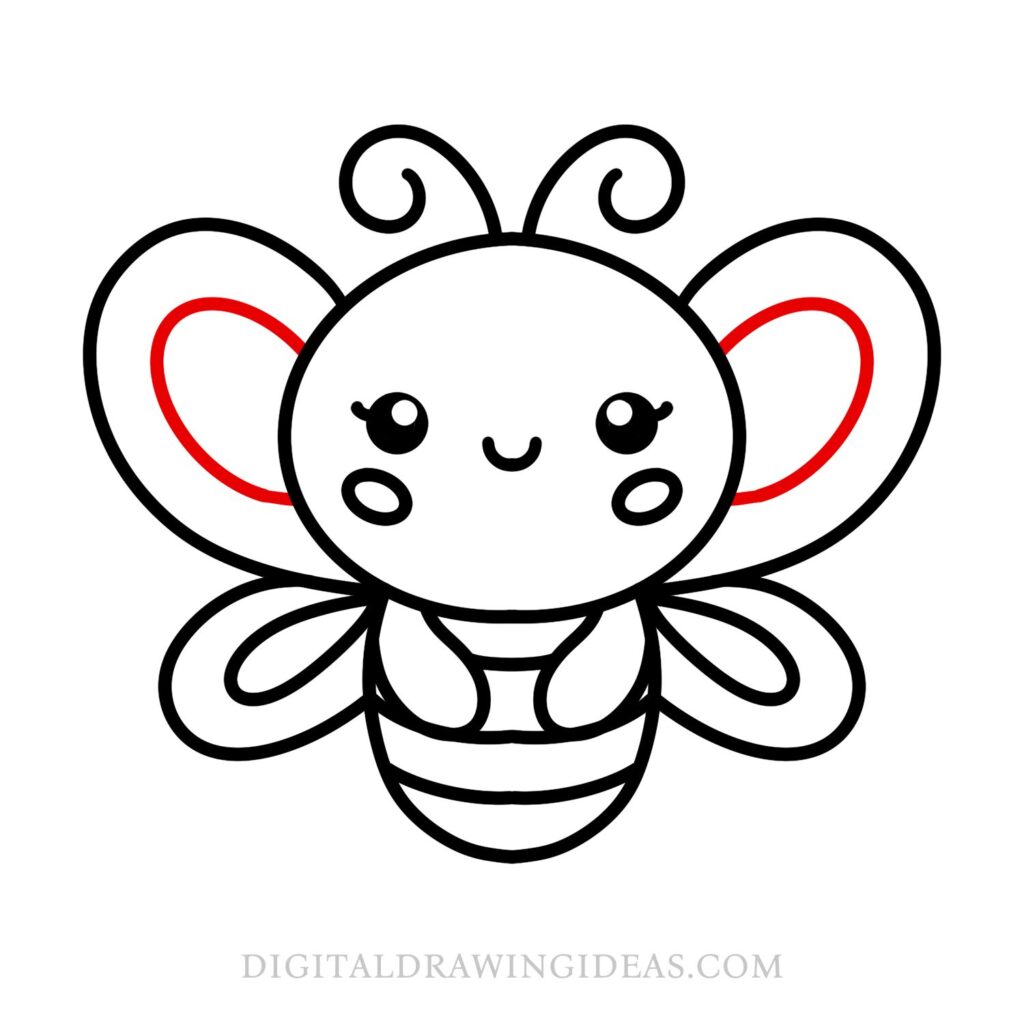
Now, let’s give our little friend its beautiful wings! Draw two large rounded wing shapes on each side of the body. Think of butterfly wings as heart-shaped loops—just let your hand flow naturally!
Step 6: Add Inner Wing Details
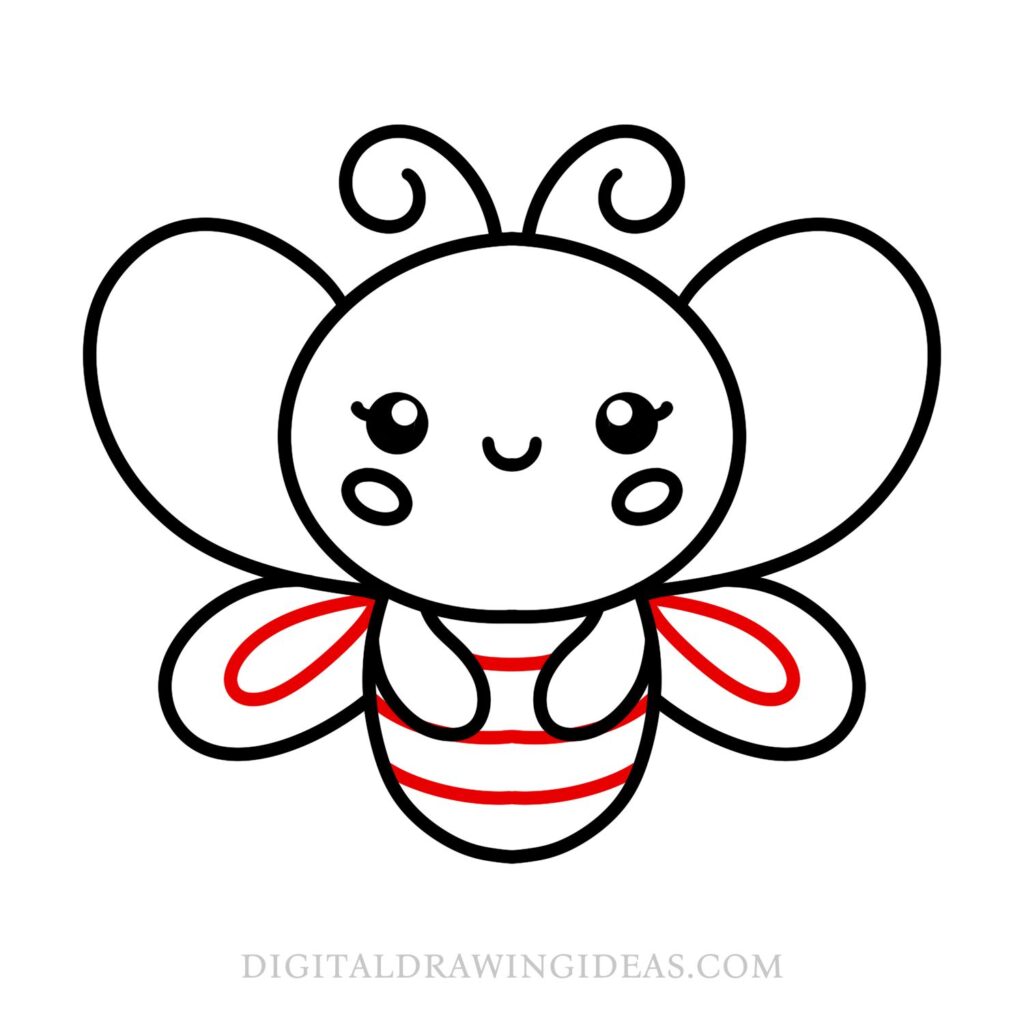
To make the wings even more interesting, draw smaller curved shapes inside each wing. This adds a layered effect and makes your butterfly look more dynamic.
Step 7: Draw the Final Details
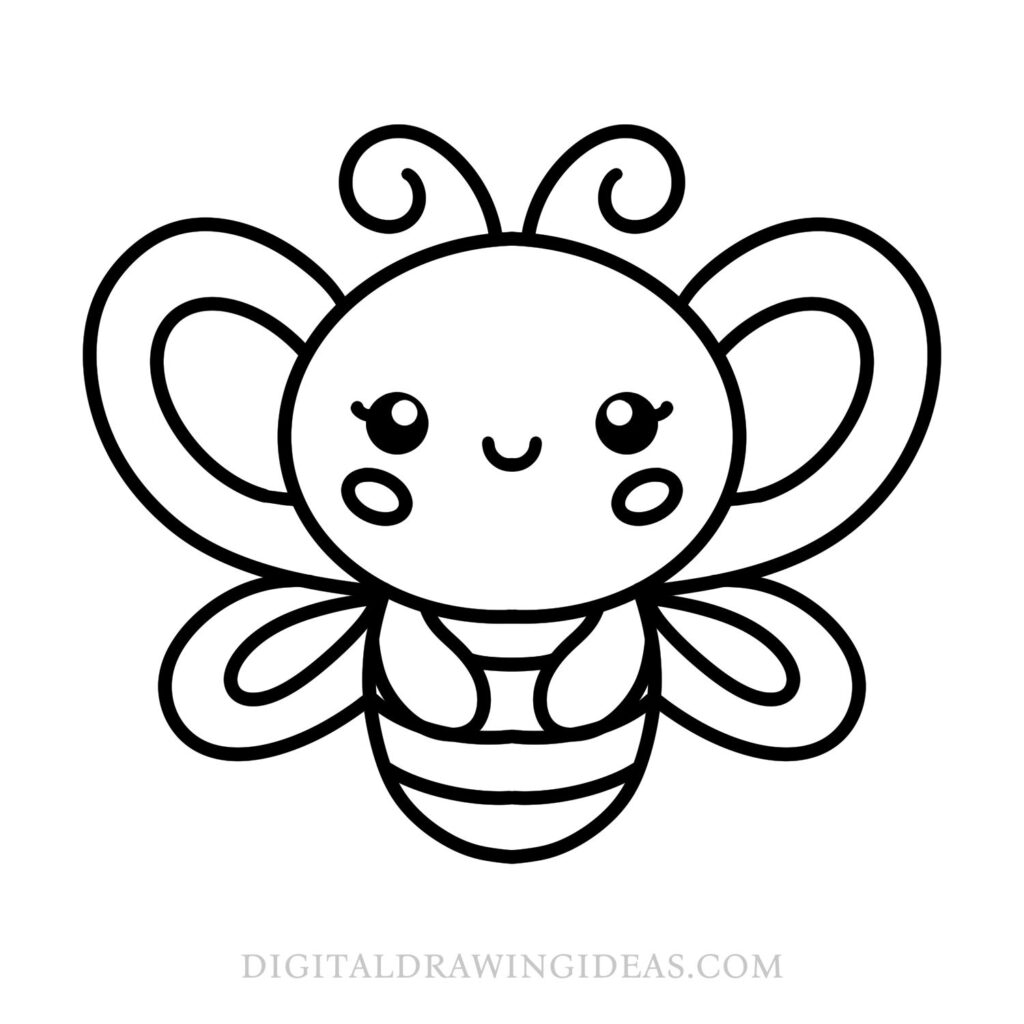
Let’s add the finishing touches! Draw small oval shapes on the wings to give them extra detail, and add horizontal lines to the body to create that classic butterfly stripe pattern.
Step 8: Outline and Color Your Butterfly
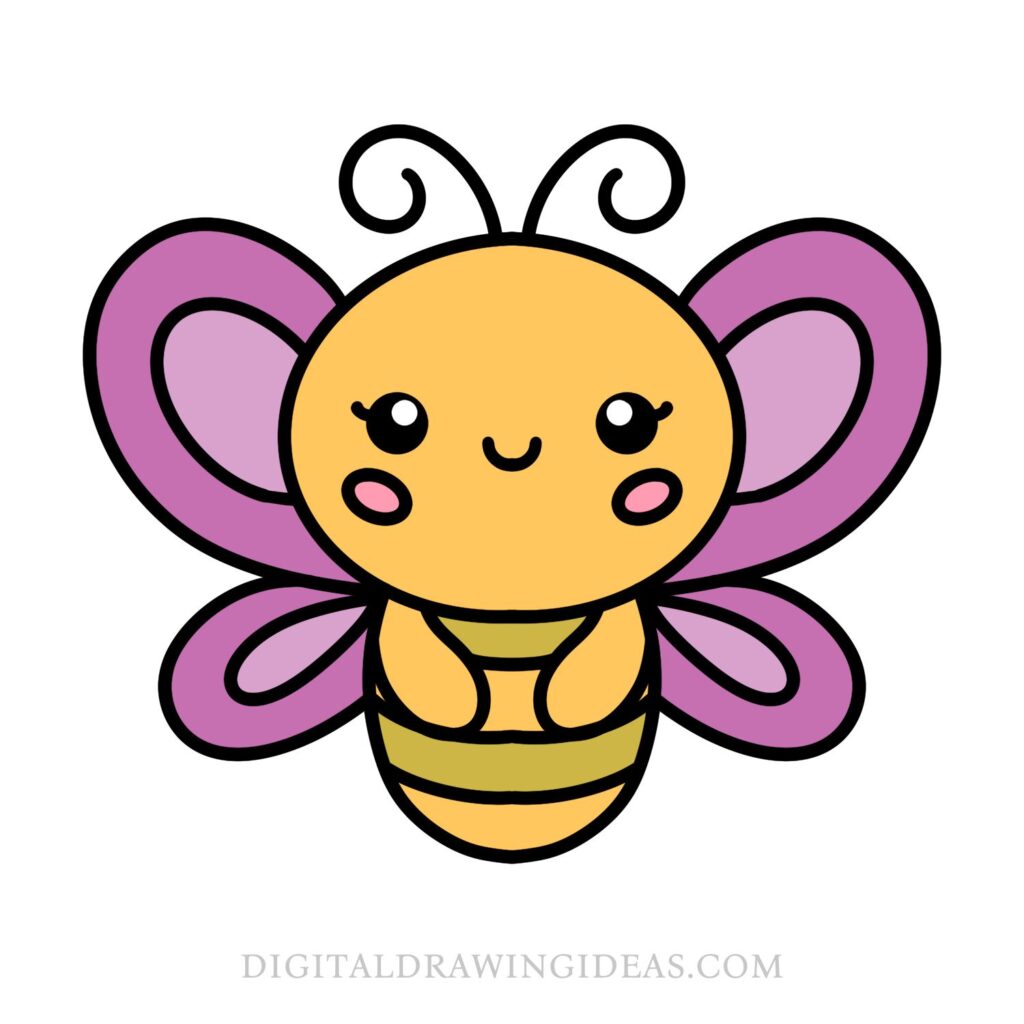
Finally, trace over your pencil sketch with a darker pen or marker, erasing any extra lines. Now comes the best part—coloring! Feel free to get creative. You can use bright yellows, pinks, purples, or even a rainbow effect. Let your imagination run wild!
Who Should Try This Butterfly Drawing?
This tutorial is perfect for: ✅ Kids who love simple and cute drawings
✅ Beginners looking for an easy butterfly sketch
✅ Anyone who wants to add adorable doodles to their journal or planner
✅ Scrapbook lovers who want a charming butterfly decoration
No matter your skill level, this drawing is for you!
Keep Drawing and Have Fun!
Drawing is all about having fun and enjoying the process. Don’t stress about making it perfect—every little line you create is part of your unique style. Keep practicing, keep doodling, and most importantly, keep enjoying the magic of creativity!
Now, go ahead and show off your adorable butterfly! 🦋🎨
Share on Pinterest – How to draw a butterfly
