Whenever someone asks me how to draw a Christmas present, I instantly smile, because drawing gifts has always been one of my favorite holiday doodles. There’s something incredibly cozy about sitting down with a cup of tea, the scent of cinnamon in the air, and sketching out tiny bows and cheerful boxes.
Years ago, when I was just starting out, I struggled with making bows look cute instead of stiff. So I started simplifying the shapes, keeping everything rounded and soft. Over time, this little experiment became one of my most-loved Christmas drawings.
If you’re here because
• you want a cute Christmas present drawing for your journal,
• you’re looking for a kid-friendly tutorial, or
• you simply want a relaxing creative break,
I know this step-by-step guide will be just what you need.
And don’t worry—if you’ve ever felt unsure about drawing bows or gift boxes, I’ve been in that exact same place. That’s why I created this tutorial: to make the process simple, friendly, and genuinely enjoyable.
Before we begin, if you love holiday drawings, you might also enjoy my tutorials for the Christmas hat, the candy cane, or the Christmas gnome.
For even more inspiration, you can also visit my
• Pinterest page: DigitalDrawingIdeas
• YouTube channel: DigitalDrawingIdeas
Step-by-Step: Cute Christmas Present Drawing
All tutorial steps below come directly from my own hand-drawn illustrations.
Step 1: Draw the Center of the Bow
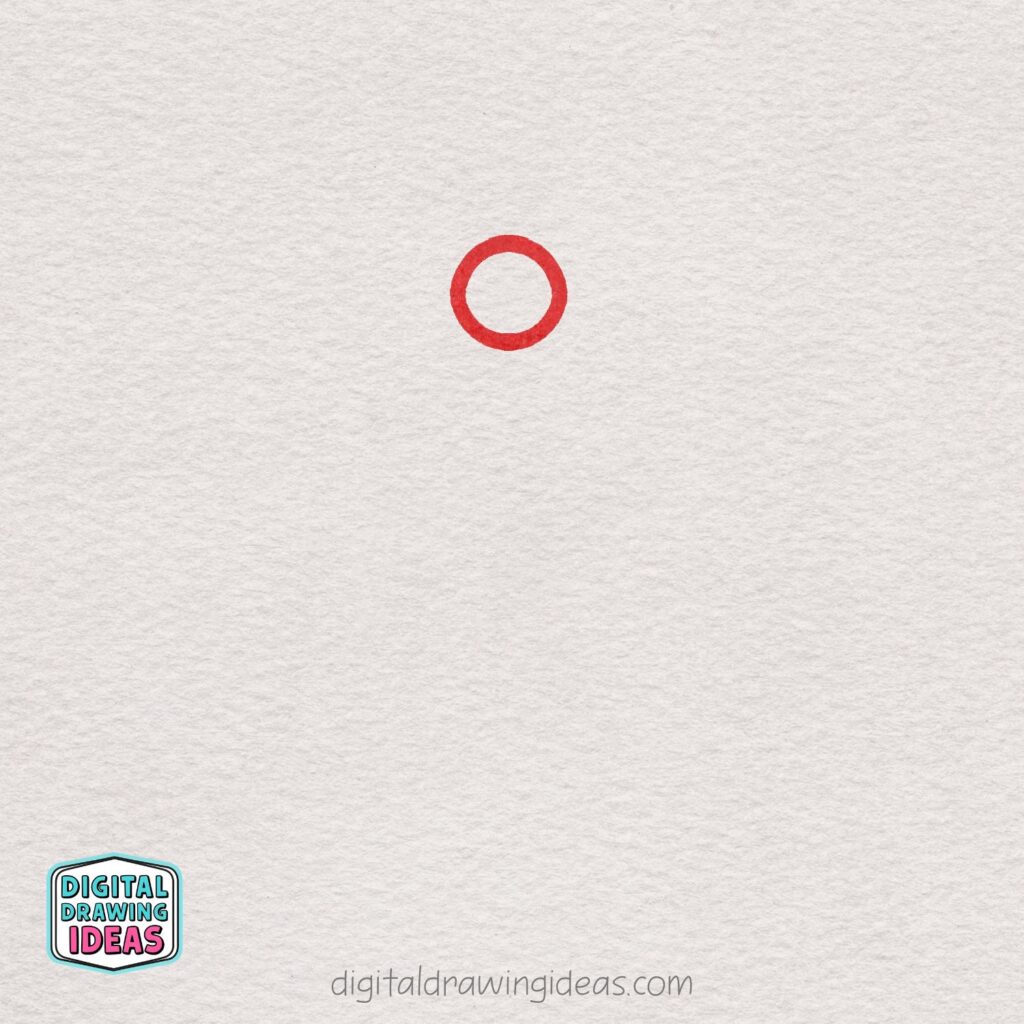
Start by drawing a small red circle near the top of your page.
This will become the middle of your Christmas bow, so keep it simple and nicely rounded.
Don’t stress about perfection—this tiny shape is just the starting point for building your cute gift illustration!
Step 2: Add the Bow Loops
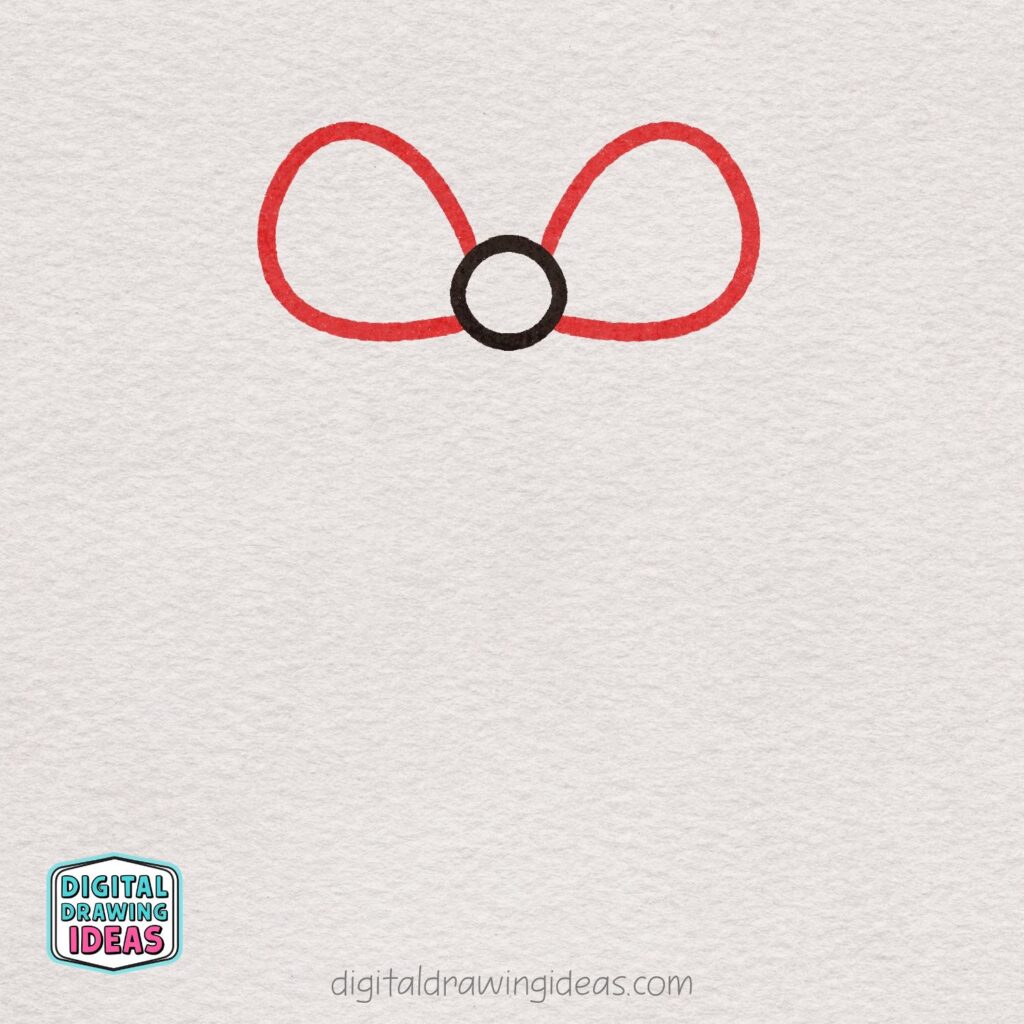
Now draw two large loops on each side of the circle, just like in the image. These curved shapes form the main parts of the bow, so make them wide and rounded for an extra cute look.
Let each loop connect smoothly to the circle—this helps the bow feel soft and balanced.
Take your time and enjoy shaping these playful curves!
Step 3: Add Inner Bow Details
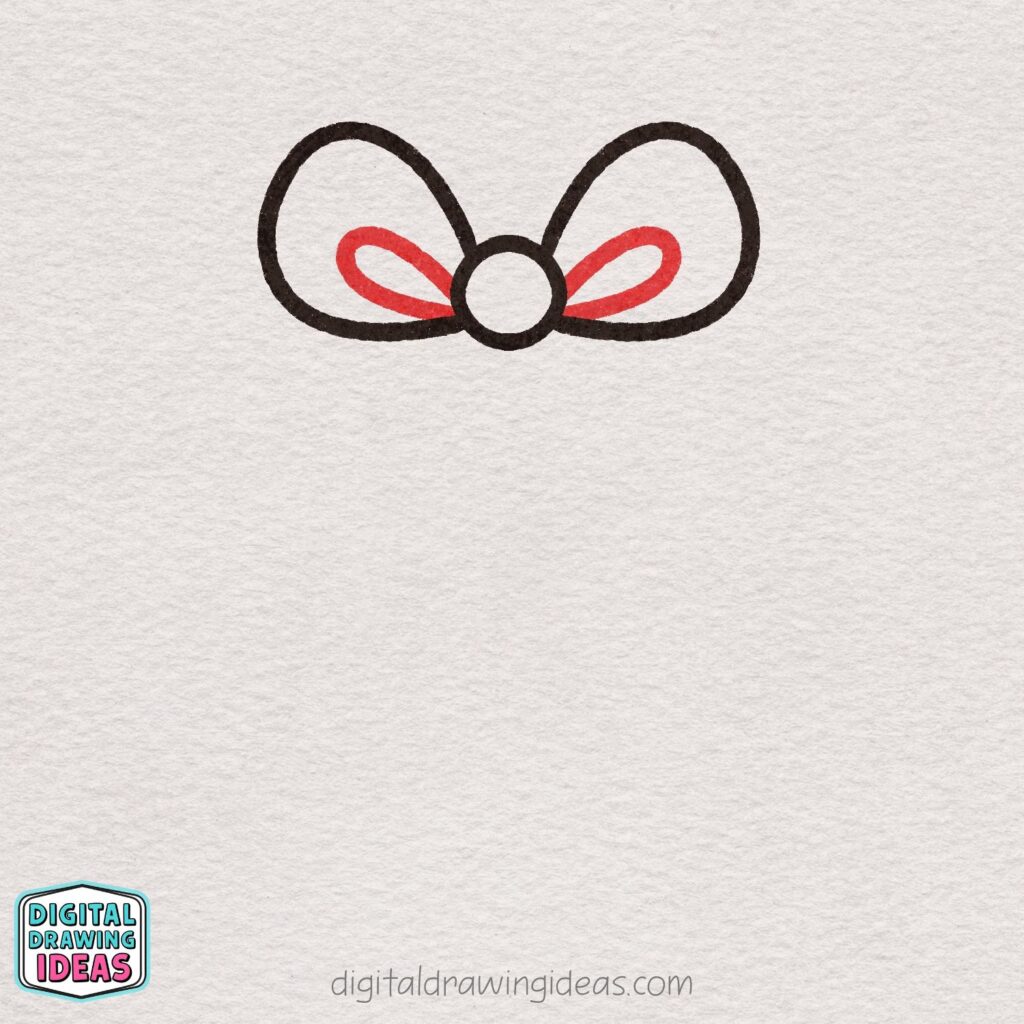
Inside each bow loop, draw a smaller curved shape that follows the same flow as the outer lines. These inner details give the bow more depth and make it look fuller and cuter.
Keep the curves smooth and let them taper nicely toward the center circle—this simple touch brings your bow to life!
Step 4: Draw the Ribbon Tails
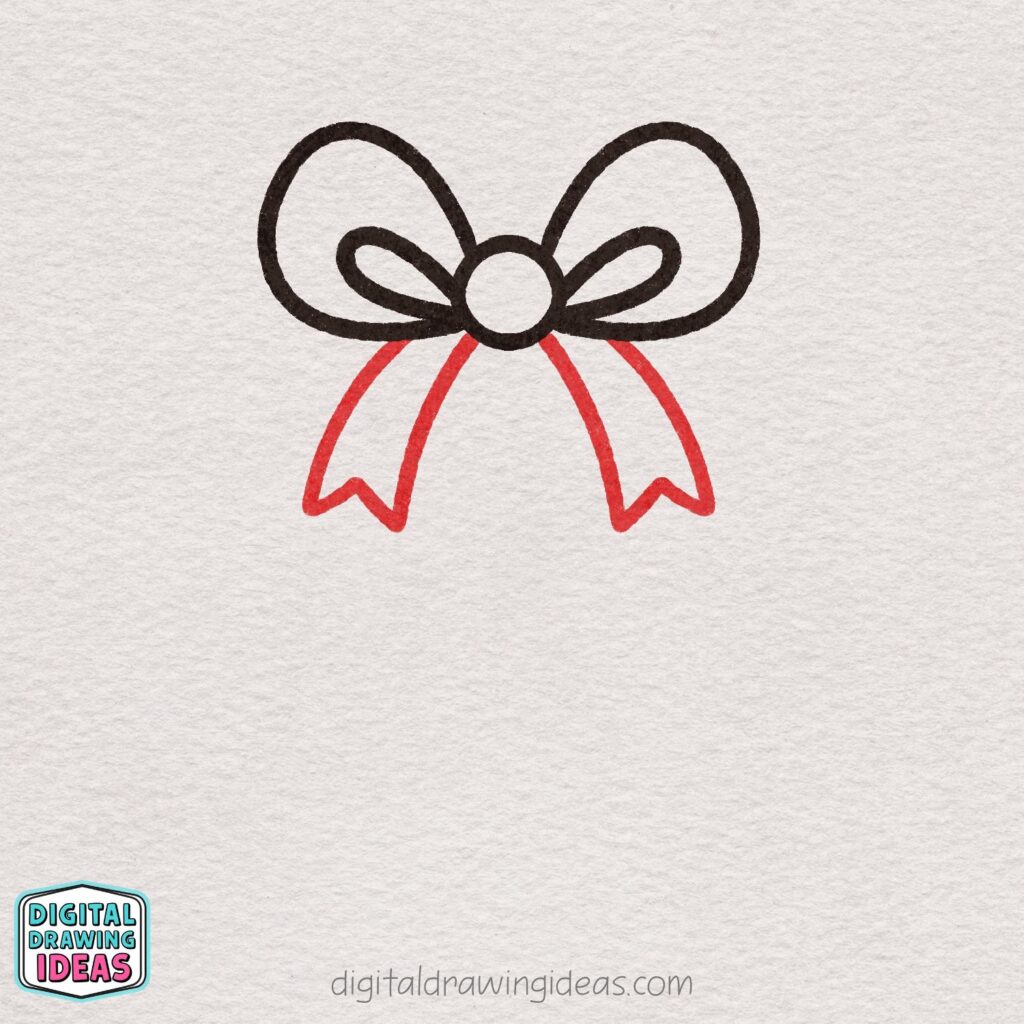
Next, add two long ribbon tails hanging down from the center of the bow. Let them curve gently outward, giving the ribbon a soft, flowing look.
Finish each tail with a small V-shaped cut at the bottom—this classic ribbon detail makes your bow look extra polished and festive!
Step 5: Outline the Gift Box Base
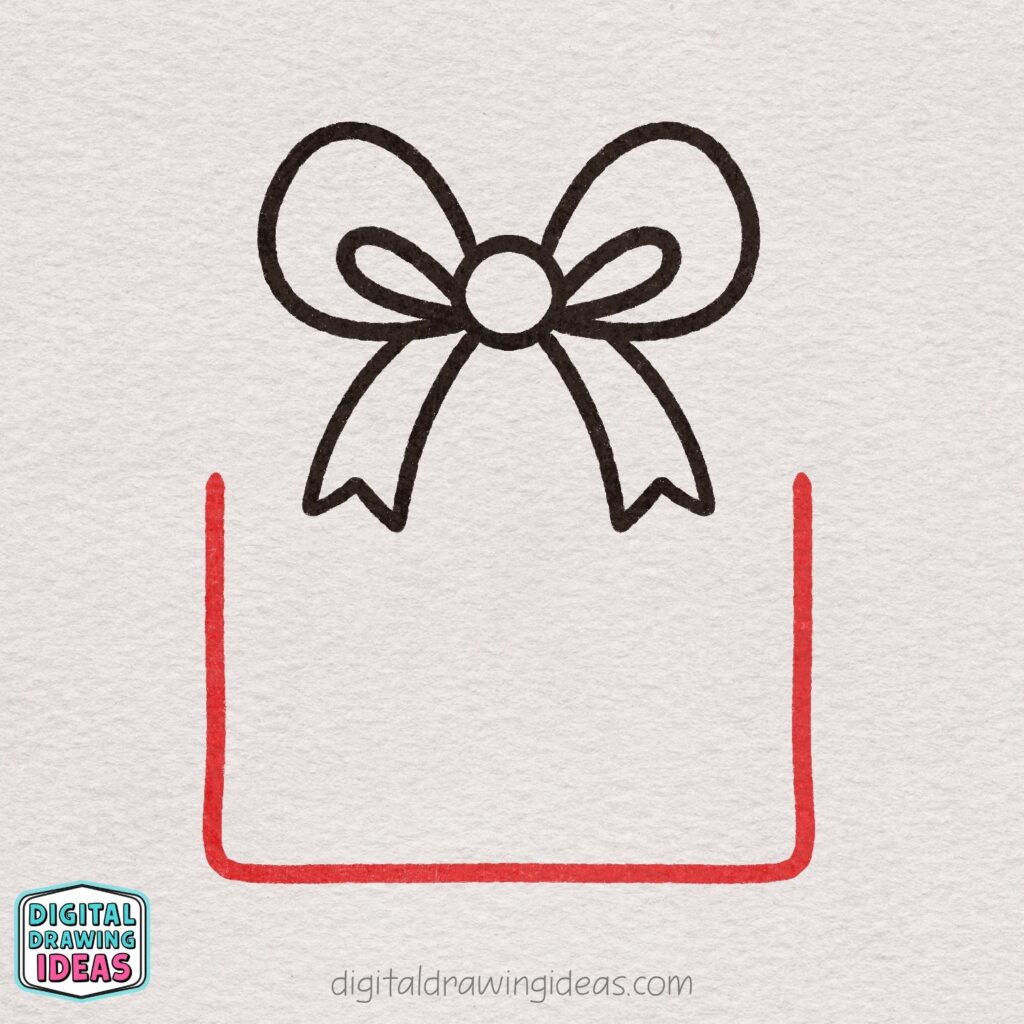
Draw a large U-shaped outline beneath the bow to form the main part of the gift box. Keep the corners slightly rounded to match the soft, cute style of the drawing.
This simple shape sets the foundation for your present, so make sure it’s wide enough for all the ribbon details you’ll add next!
Step 6: Add the Horizontal Ribbon Stripes

Draw two straight horizontal lines across the gift box, evenly spaced from each other.
These stripes create the ribbon wrapping around the present.
Keep the lines parallel and extend them from one side of the box to the other—this simple detail instantly makes your gift look more festive and neatly wrapped!
Step 7: Add the Vertical Ribbon Stripes

Now draw two vertical ribbon lines running from the bow down to the bottom of the gift box.
Place them close to the center so they line up neatly with the bow above.
These stripes complete the classic ribbon cross pattern, making your present look fully wrapped and ready for gifting!
Step 8: Draw the Top Lid of the Present

Sketch a wide, rounded rectangle shape above the box to create the gift’s lid. Let the sides curve gently downward so it sits neatly behind the bow and ribbon.
This lid should be slightly wider than the box base, giving your present a charming, sturdy look—like it’s ready to be unwrapped!
Step 9: Trace and Clean Up Your Lines

Go over your entire drawing with smooth, confident strokes to strengthen the final lines. This step helps define the shapes clearly and gives your present a polished, finished look.
You can erase any sketchy or faint marks underneath so only the clean outline remains.
Now your Christmas present is ready for color!
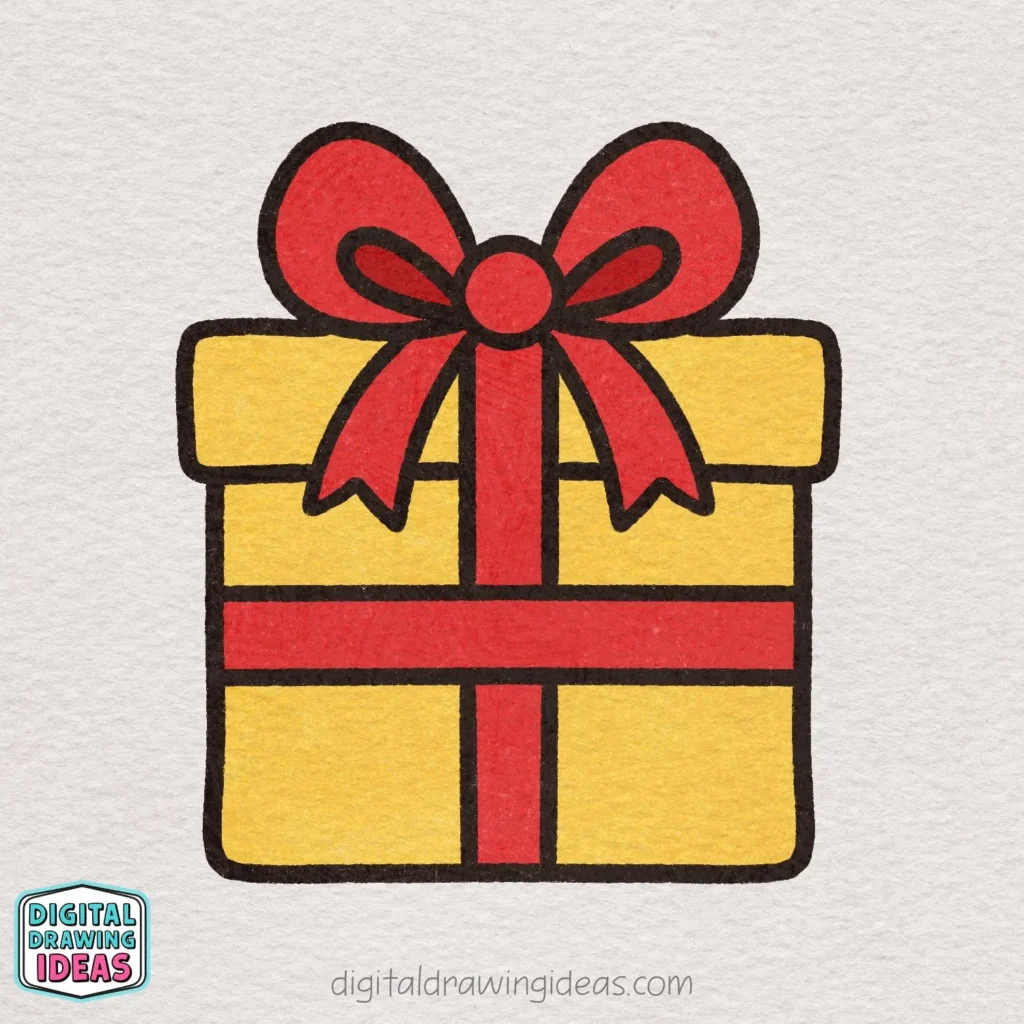
Step 10: Color Your Christmas Present

Now for the fun part—add color to bring your drawing to life! Fill the bow and ribbon with a bright, festive red, then color the gift box in a warm yellow or any shade you love.
Keep your coloring smooth and even, and feel free to add shading if you want extra depth.
Once you’re done, you’ll have a cheerful Christmas present ready to celebrate the holidays!
Why This Method Works So Well
I’ve tried drawing presents in every possible style—minimalist, super detailed, watercolor-inspired, bold outlines—and I always return to this simple, rounded version. It’s friendly, easy to follow, and perfect for beginners or anyone who wants a quick holiday doodle.
A few reasons this method works so well:
• The bow is built from simple, familiar shapes.
• The ribbon stripes help guide your proportions naturally.
• The final coloring step adds charm without needing advanced skills.
If your goal is to learn how to draw a Christmas present without overthinking it, this structure makes the whole process smooth and enjoyable.
Extra Tips to Make Your Christmas Present Drawing Pop
Try these ideas if you want to personalize your drawing:
• Modify the bow shape or size to fit your style.
• Use different ribbon colors—gold, green, pastel, or even patterned.
• Add tiny patterns like stars, dots, snowflakes, stripes, or holly.
• Draw multiple presents to create a full festive scene.
For more holiday tutorials, don’t forget to browse:
• How to Draw a Christmas Hat
• How to Draw a Candy Cane
• How to Draw a Christmas Gnome
Final Thoughts: You Can Absolutely Do This
I hope this tutorial helped you understand how to draw a Christmas present in a relaxed, beginner-friendly, and genuinely fun way. Holiday doodles are a wonderful way to slow down, get creative, and enjoy a few peaceful moments.
If you try this drawing, I would really love to see it.
Share your creation on Pinterest and tag me at DigitalDrawingIdeas or show it off on Instagram by tagging @digitaldrawingideas.
What colors did you choose? Did you add patterns or extra bows?
Let me know on Pinterest—your ideas always inspire others too.
And if you want more festive drawing inspiration, explore the linked tutorials above. I can’t wait to draw with you again soon!

