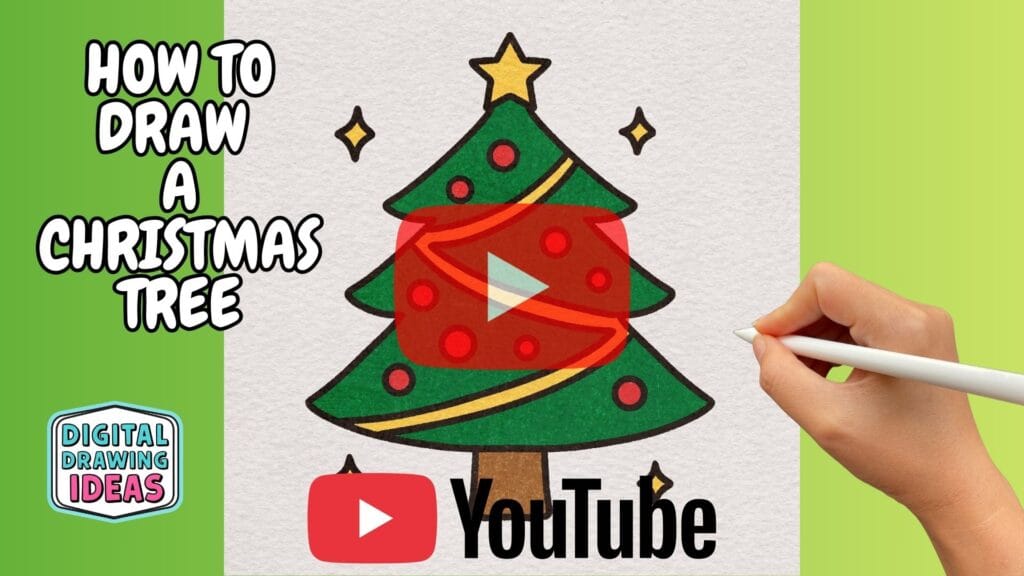
Every holiday season, I find myself surrounded by sketchbooks, markers, and that familiar craving to draw something festive. And what could be more iconic than a cozy little Christmas tree? If you’ve ever wanted to learn how to draw a Christmas tree, this easy and cute Christmas tree drawing tutorial is for you.
Whether you’re sketching in your journal, creating printable cards, or just looking for a mindful winter art project, I’ll show you each simple step to draw your own festive masterpiece — straight from my own sketchbook.

I still remember the first time I tried to draw a Christmas tree as a kid. The branches looked more like triangles, the ornaments were floating in the air, and let’s not even talk about the star! But over time, with practice (and a lot of doodles during December evenings), I developed a method that’s easy to follow and so much fun.
Grab your pencil, some markers, and maybe a cup of hot chocolate — and let’s draw together!
Step 1: Draw the Star on Top

Let’s start your Christmas tree drawing by adding a small star near the top of your page. Use light strokes to sketch the outline, then trace over it once you’re happy with the shape. The new part is shown in red, so you can easily spot what to draw.
This little star will soon shine brightly on top of your Christmas tree—great start!
Step 2: Outline the Top Branches

Now, draw two curved lines starting from the bottom of the star and slanting outward to form the top section of your Christmas tree. Notice how the lines gently curve downward — this gives your tree a nice, full shape.
Your tree is already starting to take shape — looking great so far!
Step 3: Add the Middle Branches

Below the first section, draw another set of curved lines that extend outward a bit wider than the top ones. This will form the middle layer of your Christmas tree and start giving it that classic triangular shape.
Nice work — your tree is starting to look fuller and more festive!
Step 4: Draw the Bottom Branches

Add a wide curved section beneath the middle layer to complete the outline of your Christmas tree. Make sure this part extends out the farthest—it’s the base that gives your tree a balanced, full look.
Fantastic job! Your Christmas tree shape is now complete and ready for all the fun decorations to come.
Step 5: Add the Tree Trunk

Draw a short, slightly curved rectangle centered beneath the tree to form the trunk. This part will support your tree and make it look grounded and sturdy.
Perfect — your Christmas tree now has a solid base to stand on!
Step 6: Draw the Garland

Add a few gently curved lines running across the tree to create a flowing garland. Let the lines follow the shape of each tree layer to make them look naturally draped.
Your tree is really starting to look festive — the decorations are coming together beautifully!
Step 7: Thicken the Garland

Draw another set of curved lines just below the first ones to make the garland look fuller. Keep the spacing even so it appears like a ribbon wrapping gracefully around the tree.
It’s looking so cheerful now — your Christmas tree is really coming to life!
Step 8: Add Christmas Ornaments

Draw several small circles across the tree to represent the ornaments. Space them out evenly along each layer, making sure they don’t overlap the garland.
These decorations instantly add a festive touch — your Christmas tree is starting to sparkle with holiday cheer!
Step 9: Draw Sparkles Around the Tree

Add a few diamond-shaped sparkles around your Christmas tree to make it shine. Place them randomly near the top, sides, and bottom for a balanced, glowing effect.
Now your drawing really captures that magical holiday sparkle — just one more step to go!
Step 10: Color Your Christmas Tree

It’s time to bring your drawing to life! Color the tree a rich green, the trunk a warm brown, and the star a bright golden yellow.
Fill in the ornaments with cheerful red, and don’t forget to make the garland shine with a golden hue.
Beautiful work — your Christmas tree is complete and glowing with holiday spirit!
Watch the Christmas tree Drawing Tutorial on Youtube

A Few Extra Tips Before You Go
If you enjoyed this Christmas tree drawing tutorial, here are a few creative ideas to take it even further:
- Add little presents under your tree or cute candy canes hanging from the branches.
- Try using metallic gel pens or watercolor markers for a sparkling effect.
- Experiment with different garland shapes — ribbons, beads, or even fairy lights!
- Make it personal — add your name or a short message at the bottom of your drawing.
And if you’re in the mood for more cozy art sessions, I think you’ll love these tutorials too:
- How to Draw a Deer – Cute Deer Drawing Tutorial
- How to Draw a Dragon – Cute Dragon Drawing Tutorial
- How to Draw a Rose – Easy Rose Drawing
Final Thoughts
Drawing is one of those things that makes even the coldest winter day feel warm. I hope this guide on how to draw a Christmas tree inspired you to grab your sketchbook and create something festive and fun.
I’d love to see your version! Share your drawings on Pinterest or tag me on Instagram @digitaldrawingideas so we can spread some Christmas creativity together.
Remember — it’s not about perfection; it’s about enjoying the process, one doodle at a time.


