There’s something wonderfully calming about sitting down with a warm drink, opening my sketchbook, and deciding how to draw a goat in the cutest, softest style possible. Maybe it’s because goats have always made me smile with their curious little faces and wobbly legs. Or maybe it’s because simple animal drawings were the first thing that made me fall in love with art years ago.
Whatever the reason, I know how frustrating it can feel when you want to draw something adorable… but you’re not sure where to start. I’ve been there too. I remember staring at blank pages thinking, “Why does everyone else make this look effortless?”
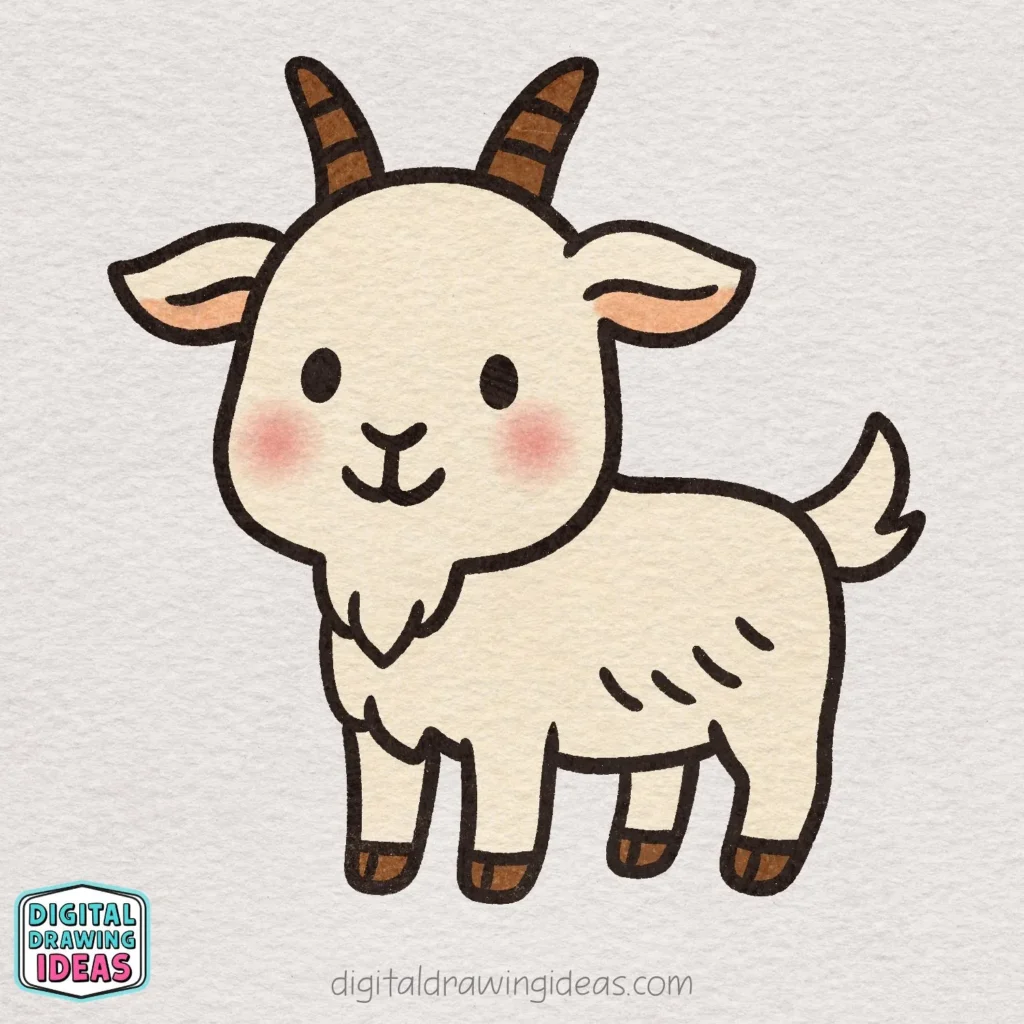
That’s exactly why I create these step-by-step tutorials—so you don’t have to feel stuck. Today, I’m walking you through how to draw a goat in the same soft, rounded style I use in my own illustrations. If you’ve ever wanted to try a simple goat drawing that still looks polished and charming, you’re in the right place.
Before we jump into the steps, feel free to take a peek at more fluffy farm-animal tutorials I’ve made for you, like my
How to Draw a Sheep
How to Draw a Cow
How to Draw a Highland Cow.
They’re a perfect companion if you’re building a whole cozy farm collection in your sketchbook.
And of course:
• Follow me on Pinterest for fresh drawing ideas: Pinterest – DigitalDrawingIdeas
• Join me on YouTube for upcoming drawing videos: YouTube – DigitalDrawingIdeas
Now let’s get into your goat drawing—step by step!
Step 1: Draw the Head Shape
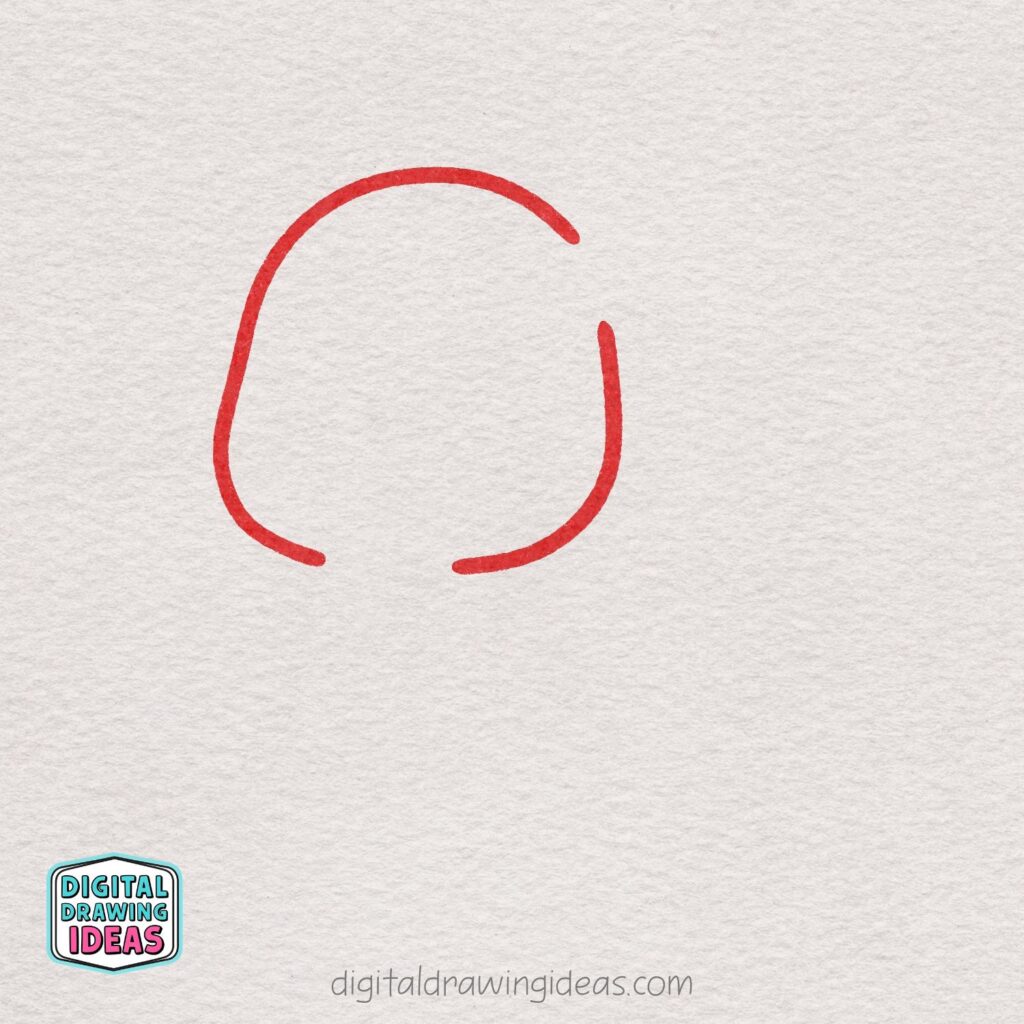
Start by sketching a rounded, slightly wider-at-the-bottom shape for the goat’s head. Keep the lines soft and curved so the face will look cute and friendly later on.
Step 2: Add the Ears
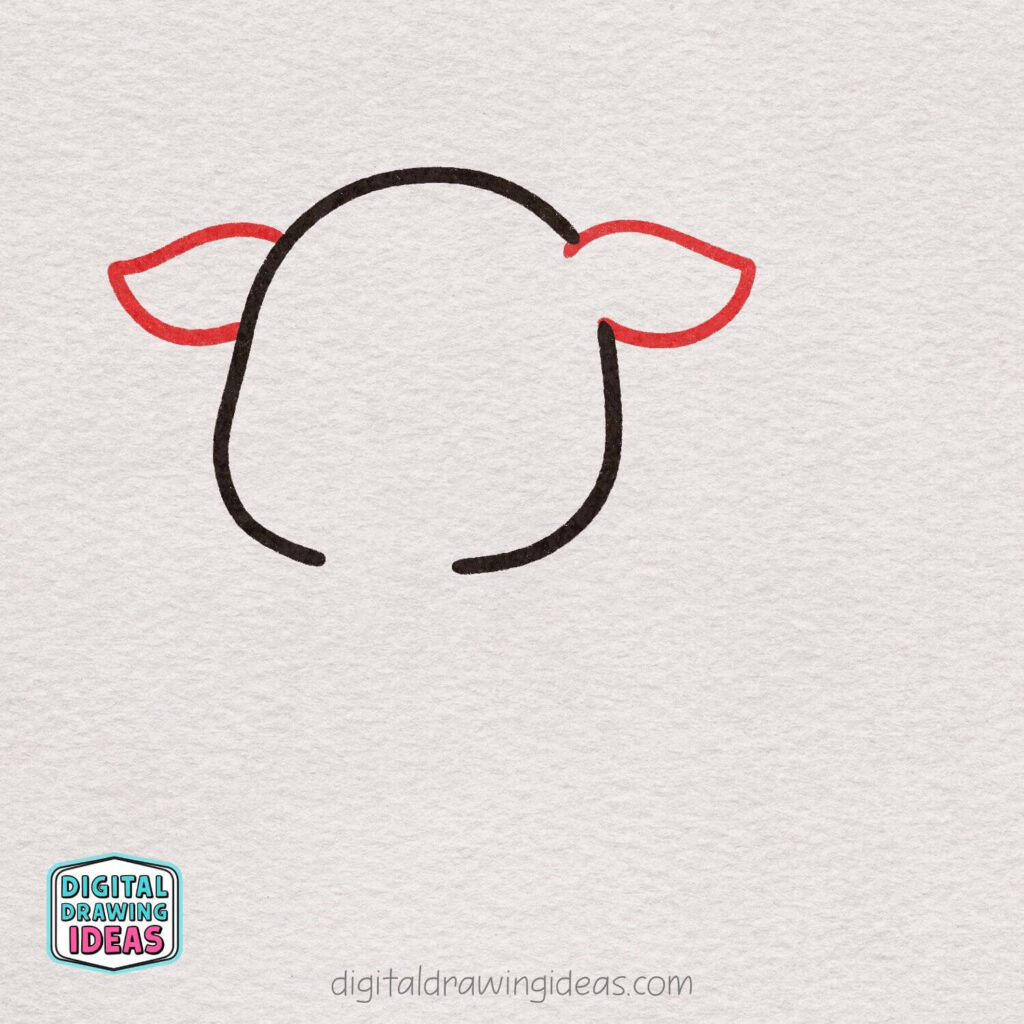
Draw two wide, curved ears on each side of the head. Make them slightly pointed at the ends and gently rounded inside so they look soft and playful.
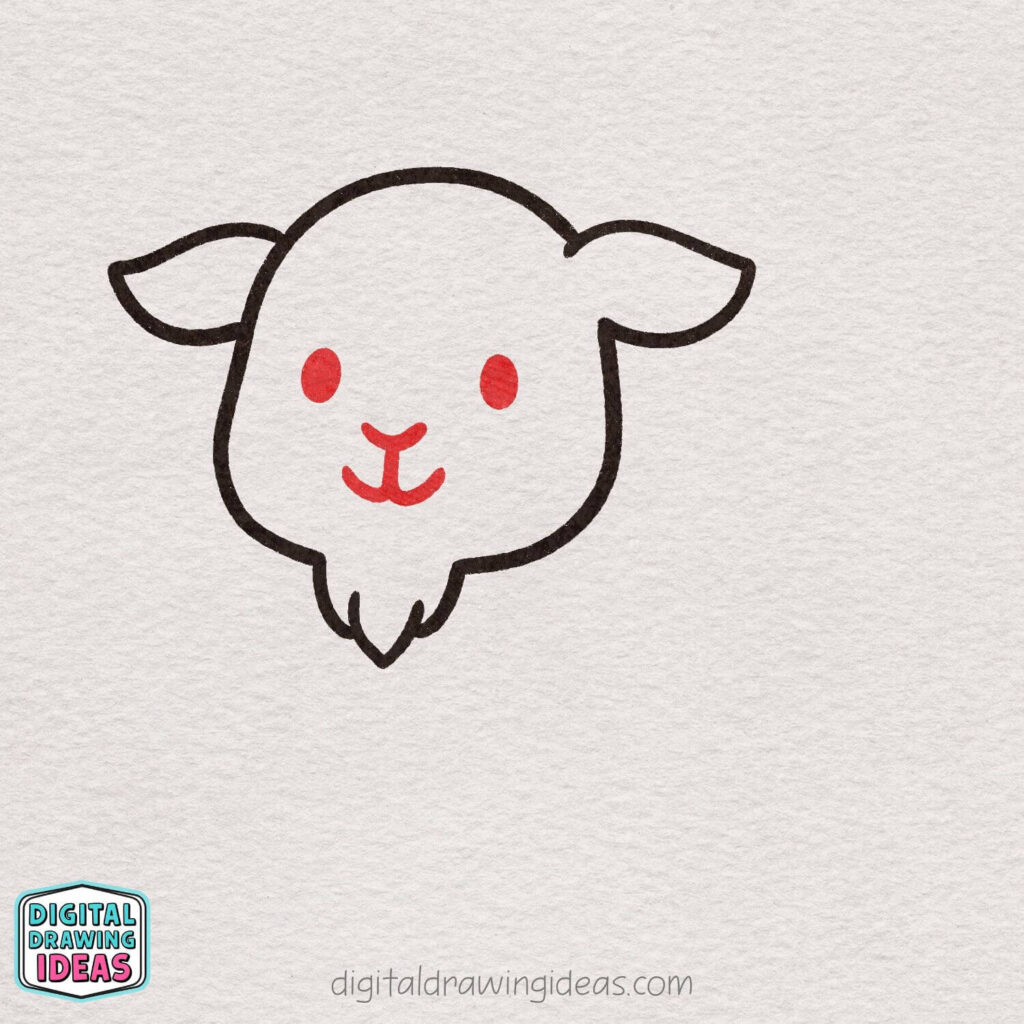
Step 3: Draw the Little Beard
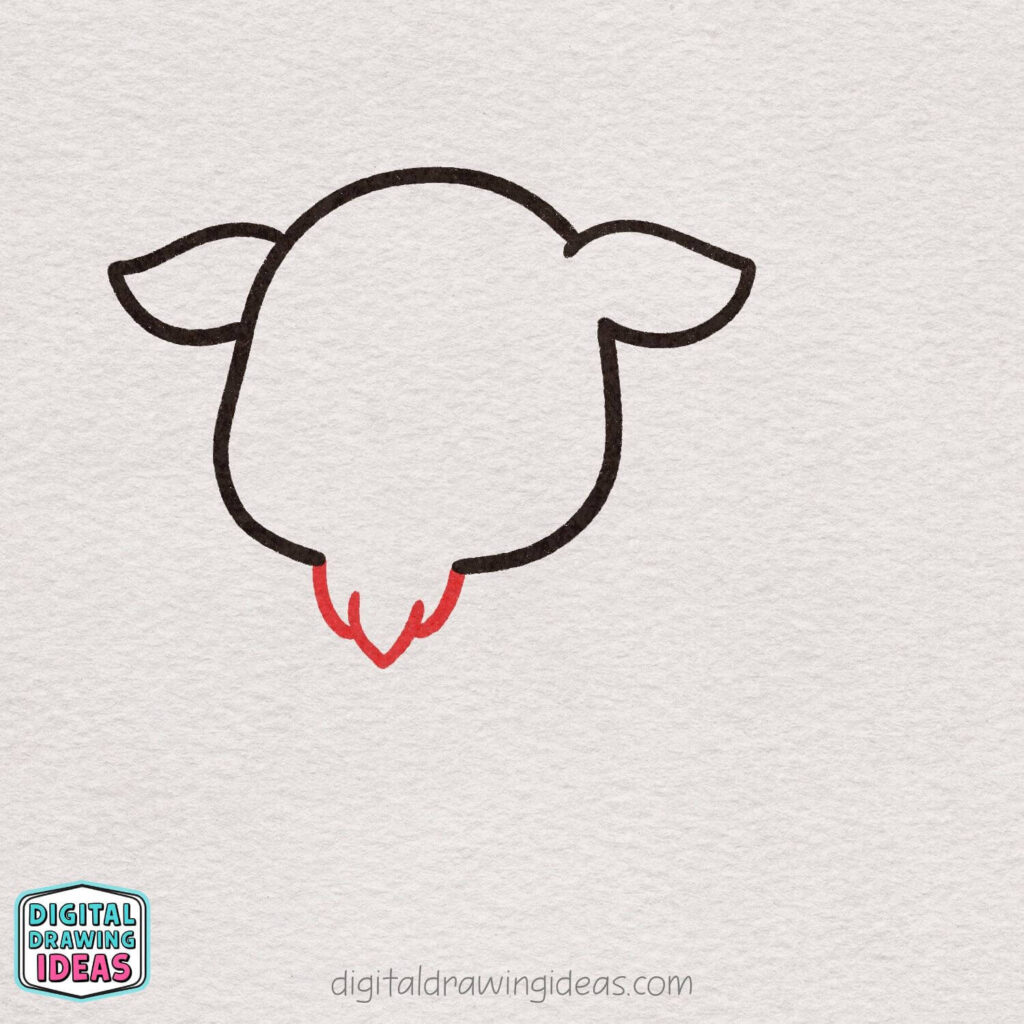
Add a small, fluffy goat beard at the bottom of the face. Use a few curved lines that come to gentle points to give it a soft, cute look.
Step 4: Add the Face Details
Draw two oval eyes, then add a small nose and a simple curved mouth beneath it. Keep everything rounded and spaced evenly to give your goat a friendly, happy expression.
Step 5: Add Inner Ear Lines
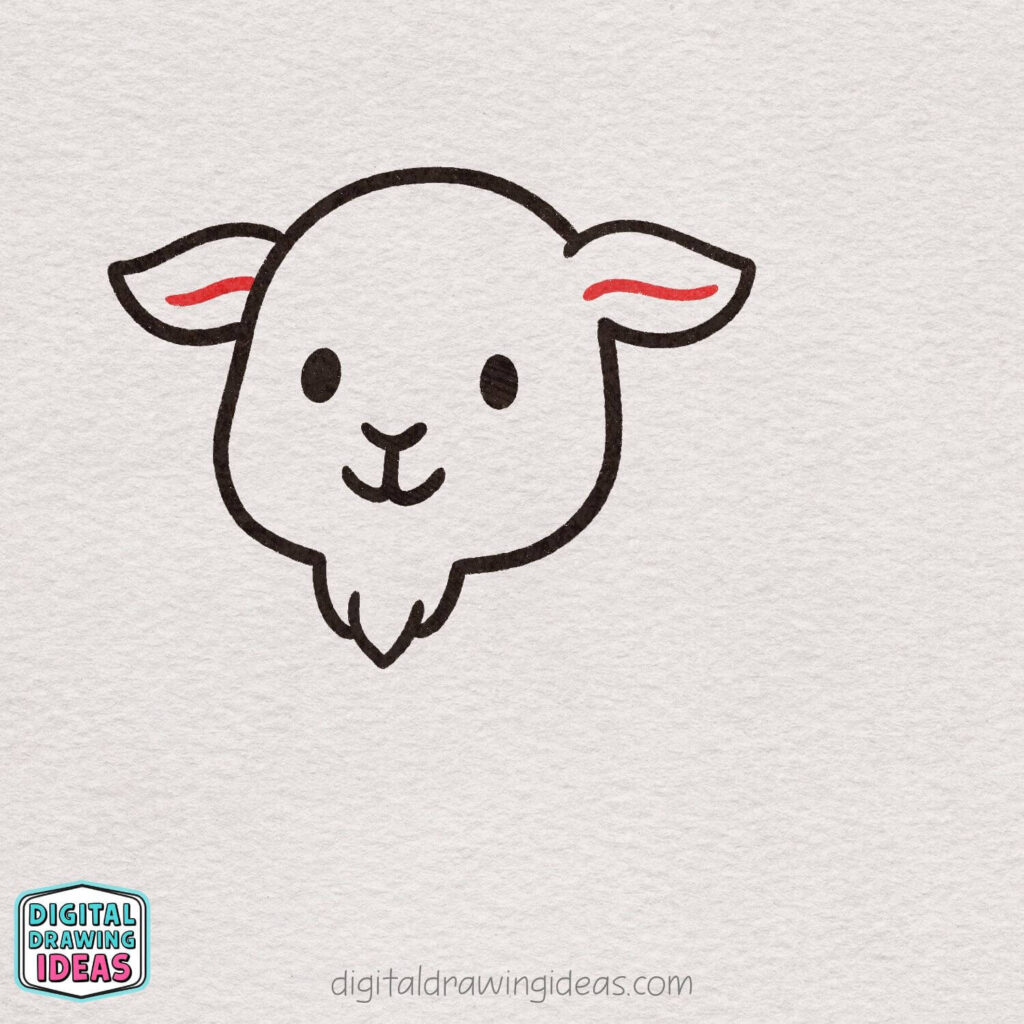
Draw a simple curved line inside each ear to show the inner ear detail. These small lines add extra cuteness and make the ears look more dimensional.
Step 6: Draw the Horns
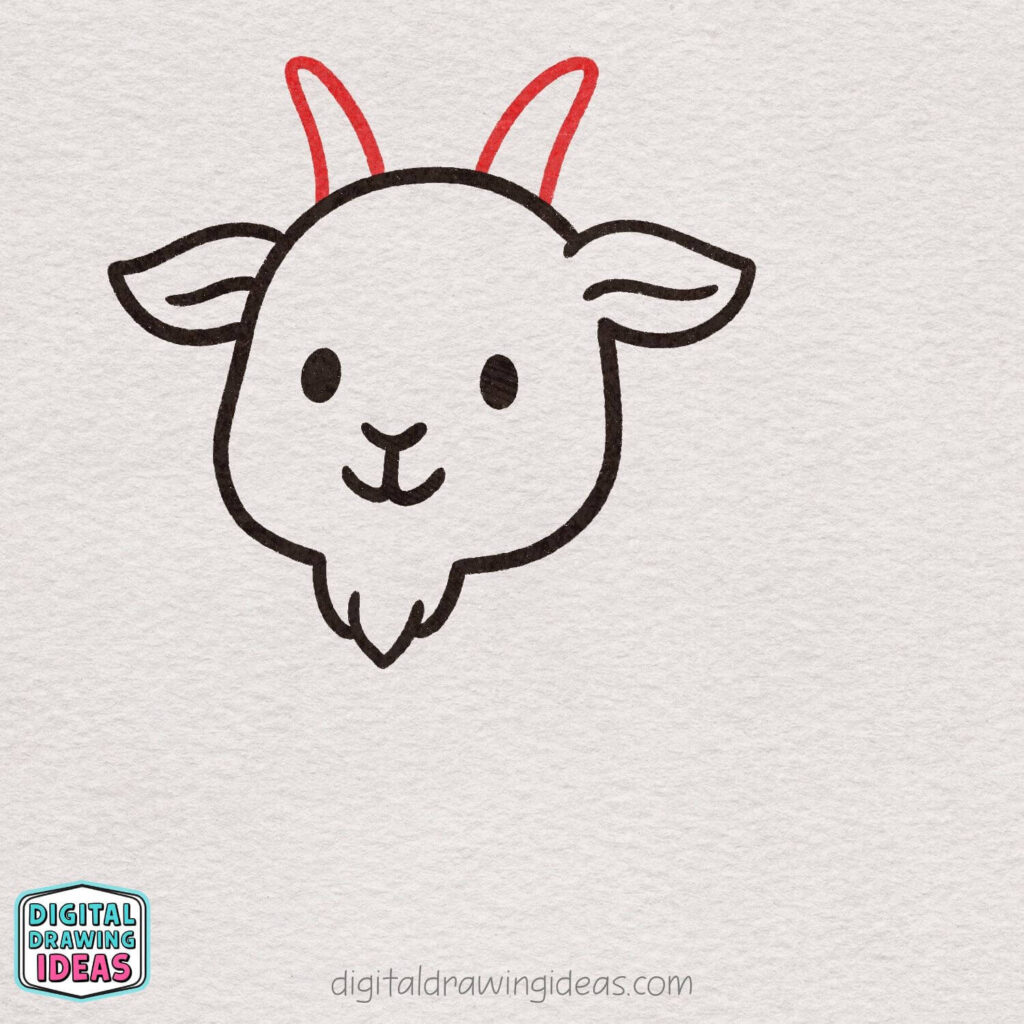
Add two tall, curved horns on top of the goat’s head. Make them slightly arched and evenly spaced to keep the design balanced and cute.
Step 7: Add Horn Stripes
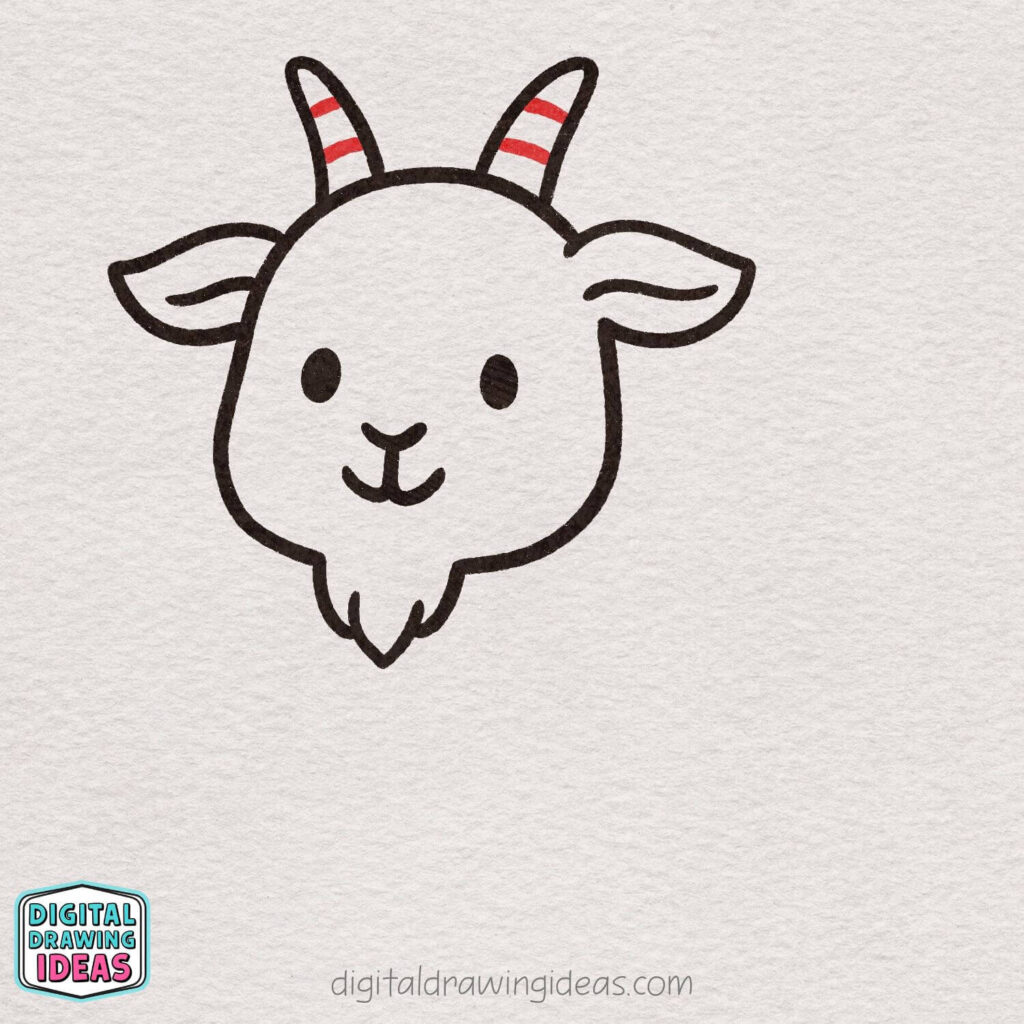
Draw a few simple curved stripes across each horn. These lines give the horns texture and make your goat look even more charming.
Step 8: Start Drawing the Body
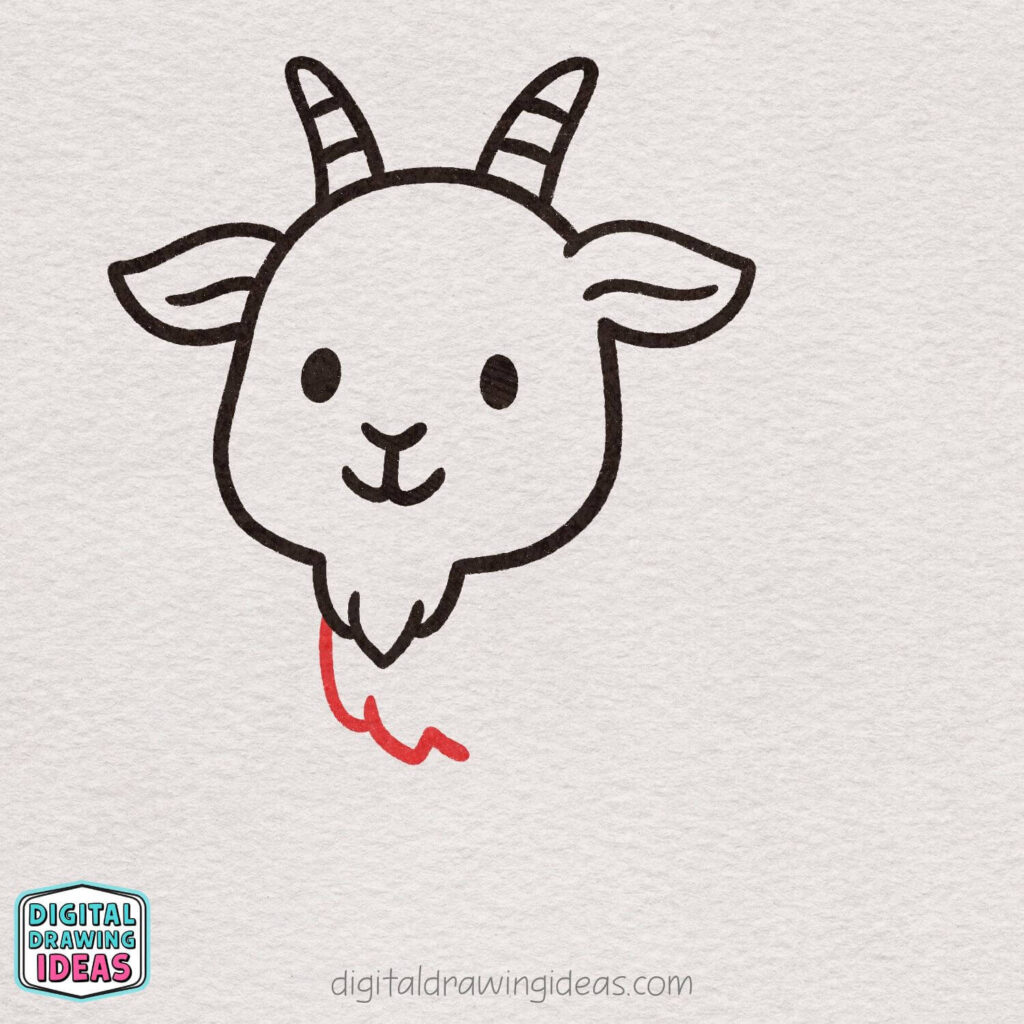
From the bottom of the beard, draw a curved line downward and then gently bend it to the right.
Keep the line slightly wavy so the outline looks fluffy—just like the furry shape you see in the image.
Step 9: Draw the Front Legs
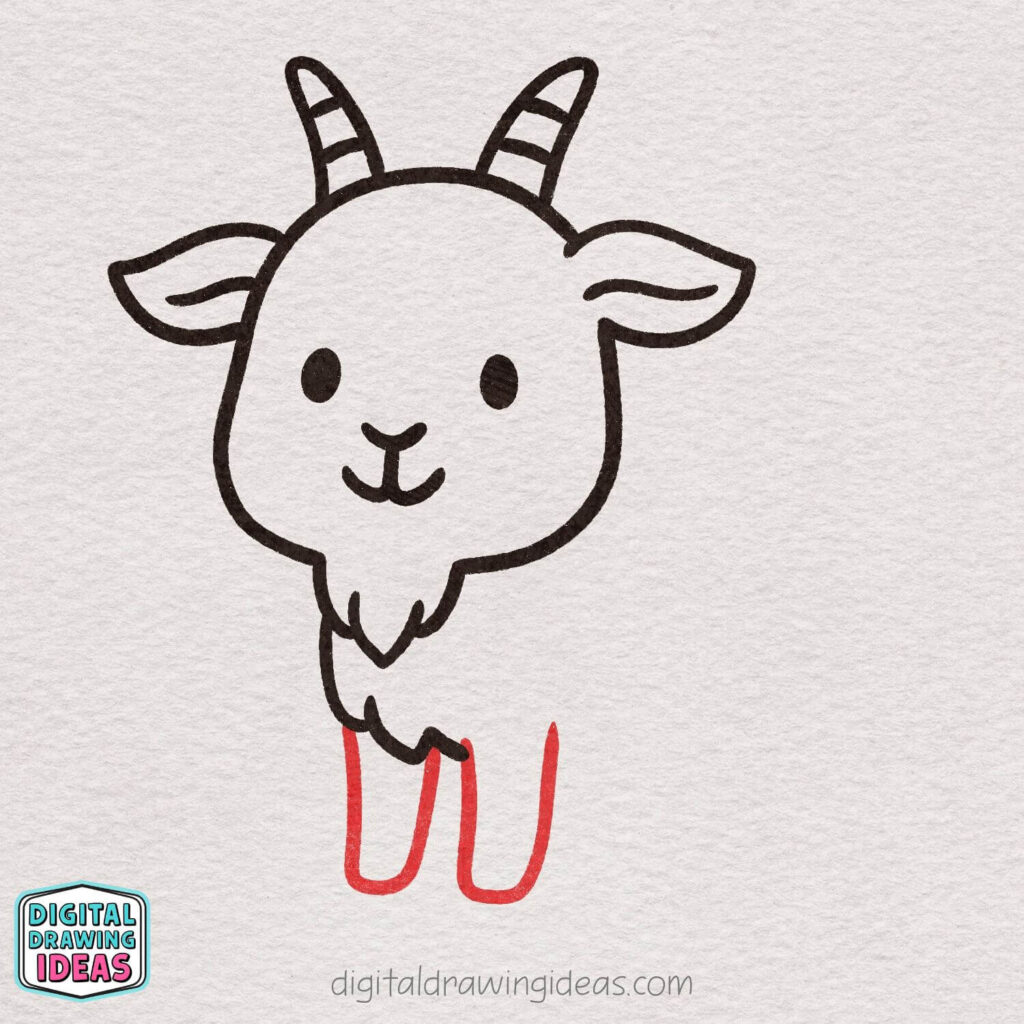
Add two long, rounded shapes for the goat’s front legs. Keep them slightly curved and evenly spaced.
Make sure they connect neatly to the fluffy chest area so the body looks soft and natural.
Step 10: Outline the Back and Add a Hind Leg
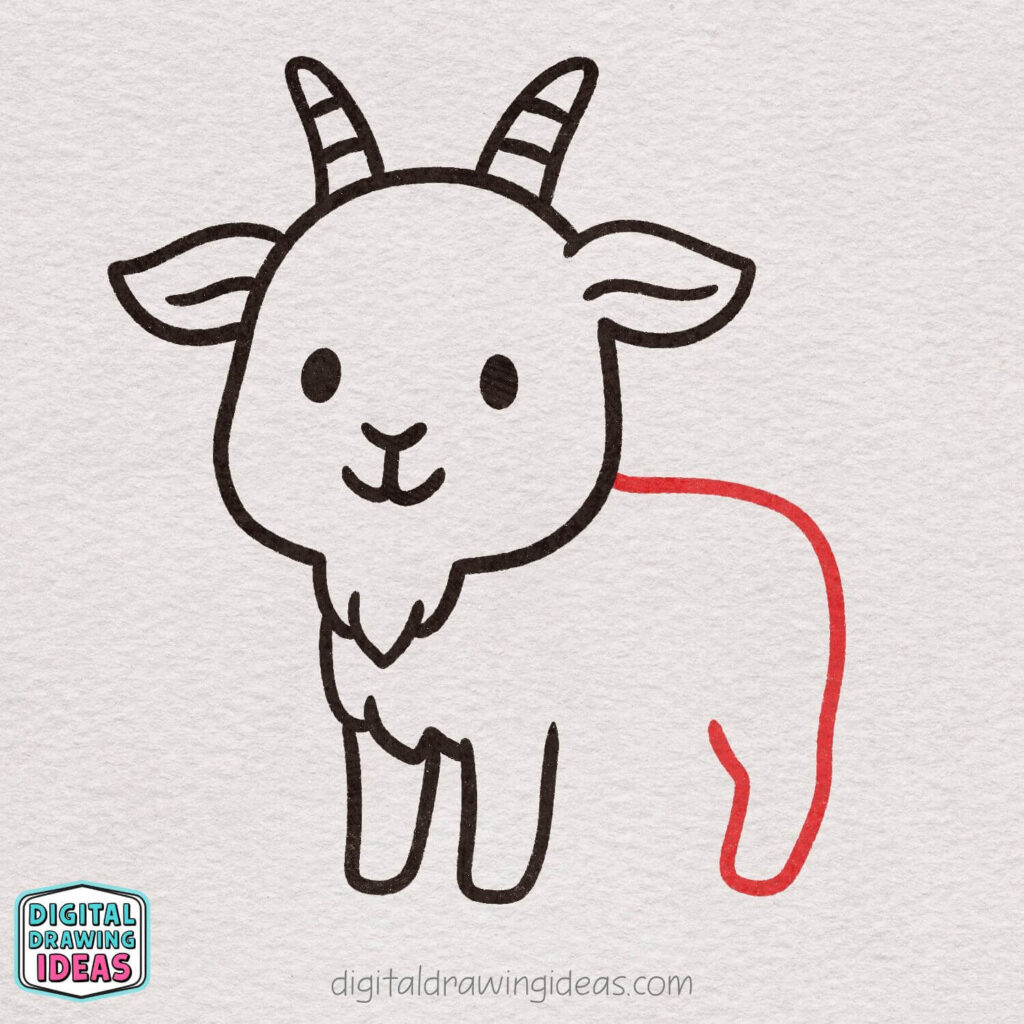
From the goat’s ear, draw a smooth curved line going back and down to form the rounded body.
Then add a simple, gently curved hind leg at the bottom.
Keep the lines soft so the goat’s body stays fluffy and cute, just like in the image.
Step 11: Add the Belly Line
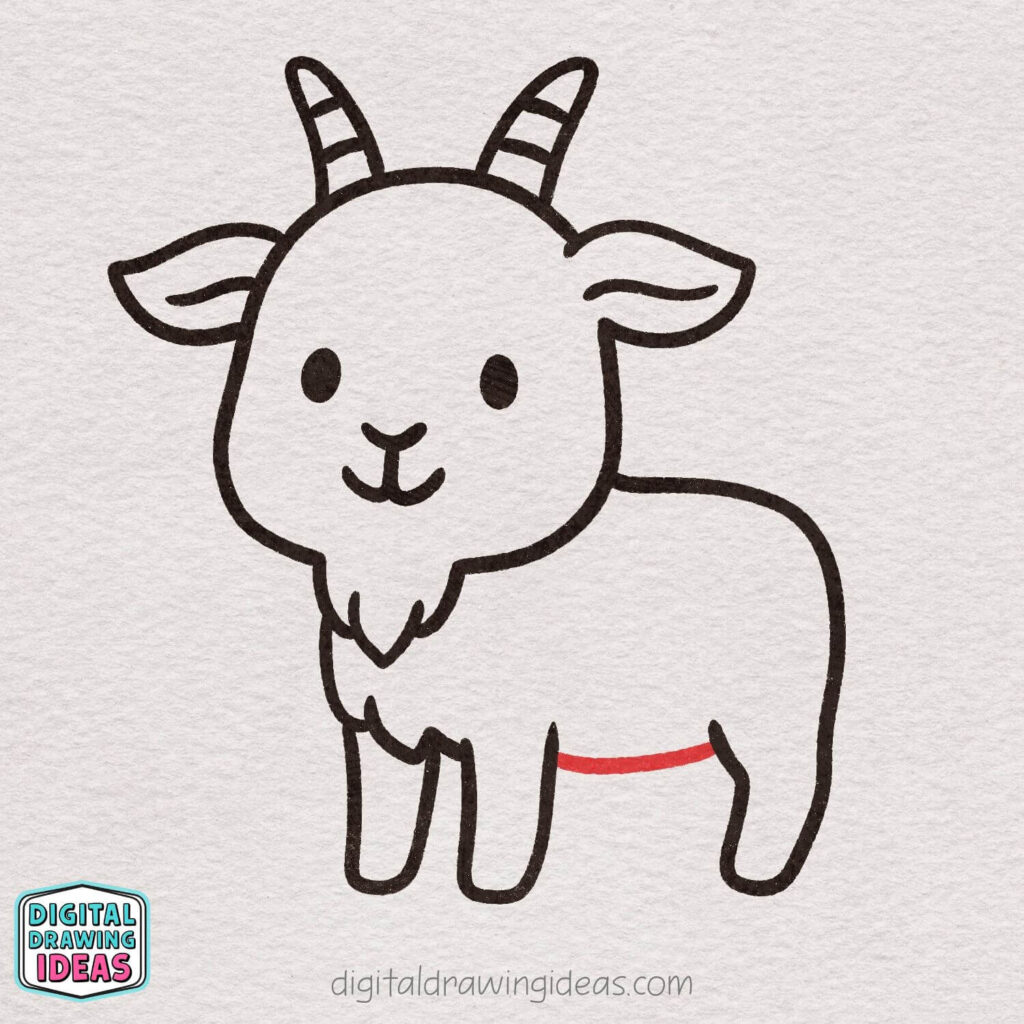
Draw a short, smooth curved line connecting the front legs to the hind leg. This forms the belly and helps complete the goat’s rounded, cuddly body shape.
Step 12: Add the Last Leg
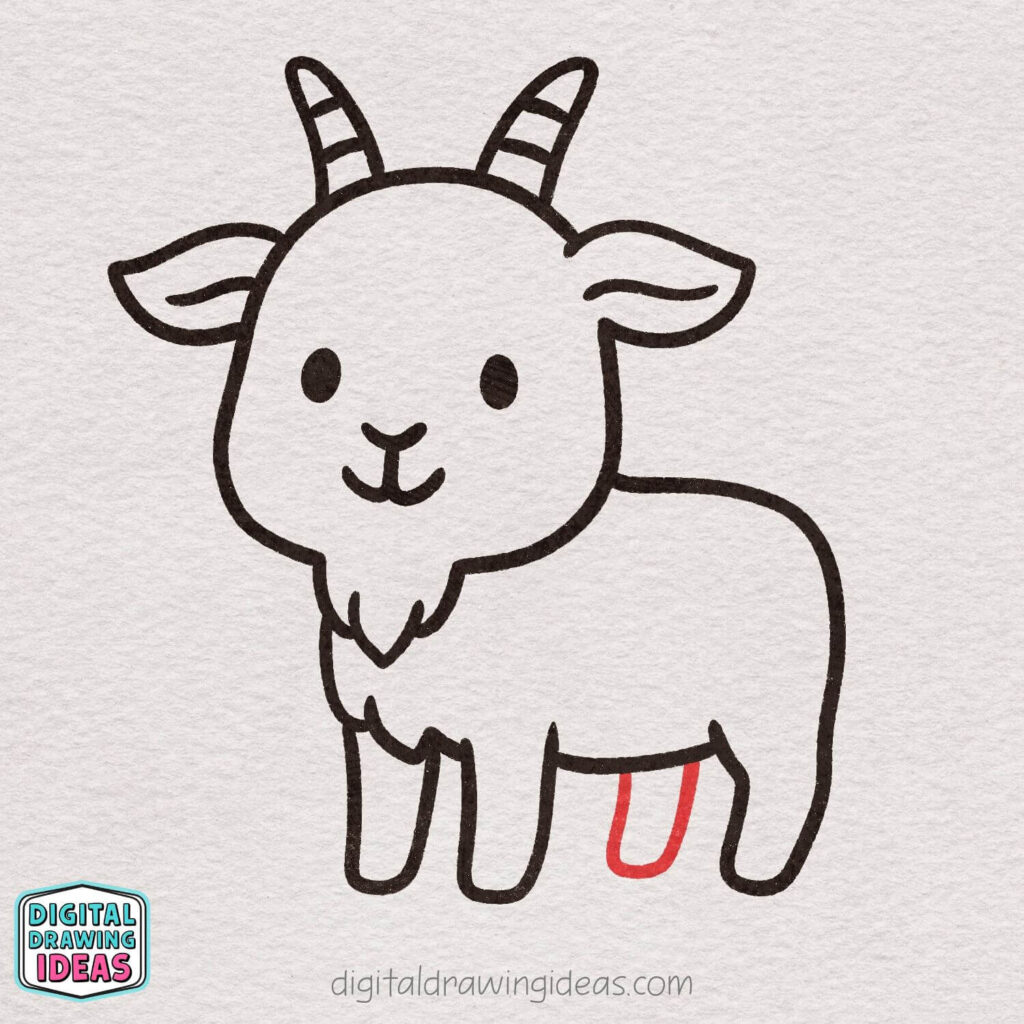
Draw one more simple, rounded leg just behind the hind leg. Keep it slightly shorter and tucked in so it looks like it’s on the far side of the goat’s body.
This completes all four legs and keeps the pose cute and balanced.
Step 13: Draw the Tail
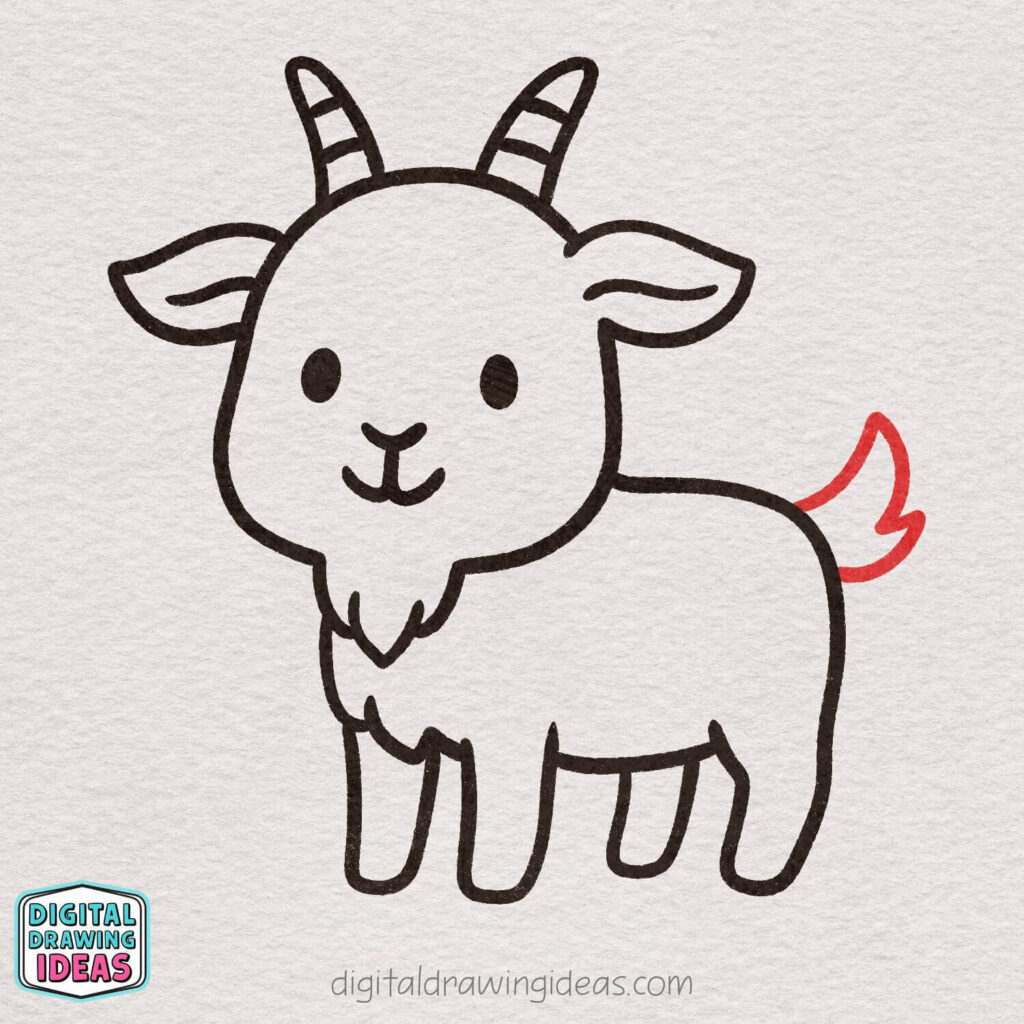
Add a small, fluffy tail at the back of the goat. Use a couple of curved, wavy lines to keep the tail soft and furry-looking, matching the cute, rounded style of the body.
Step 14: Add Hoof Details
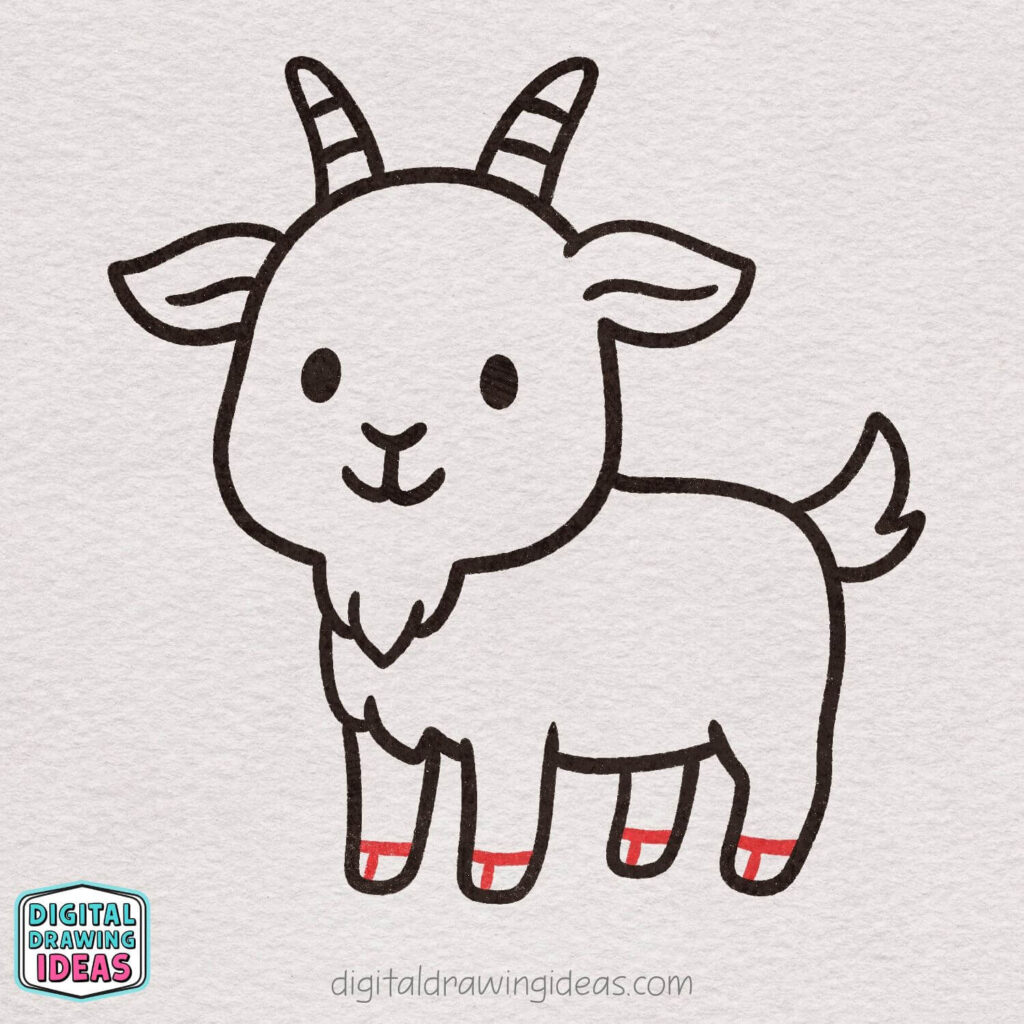
Draw small curved lines near the bottom of each leg to mark the hooves. These little details help define the legs and give your goat that classic, adorable farm-animal look.
Step 15: Add Fur Marks
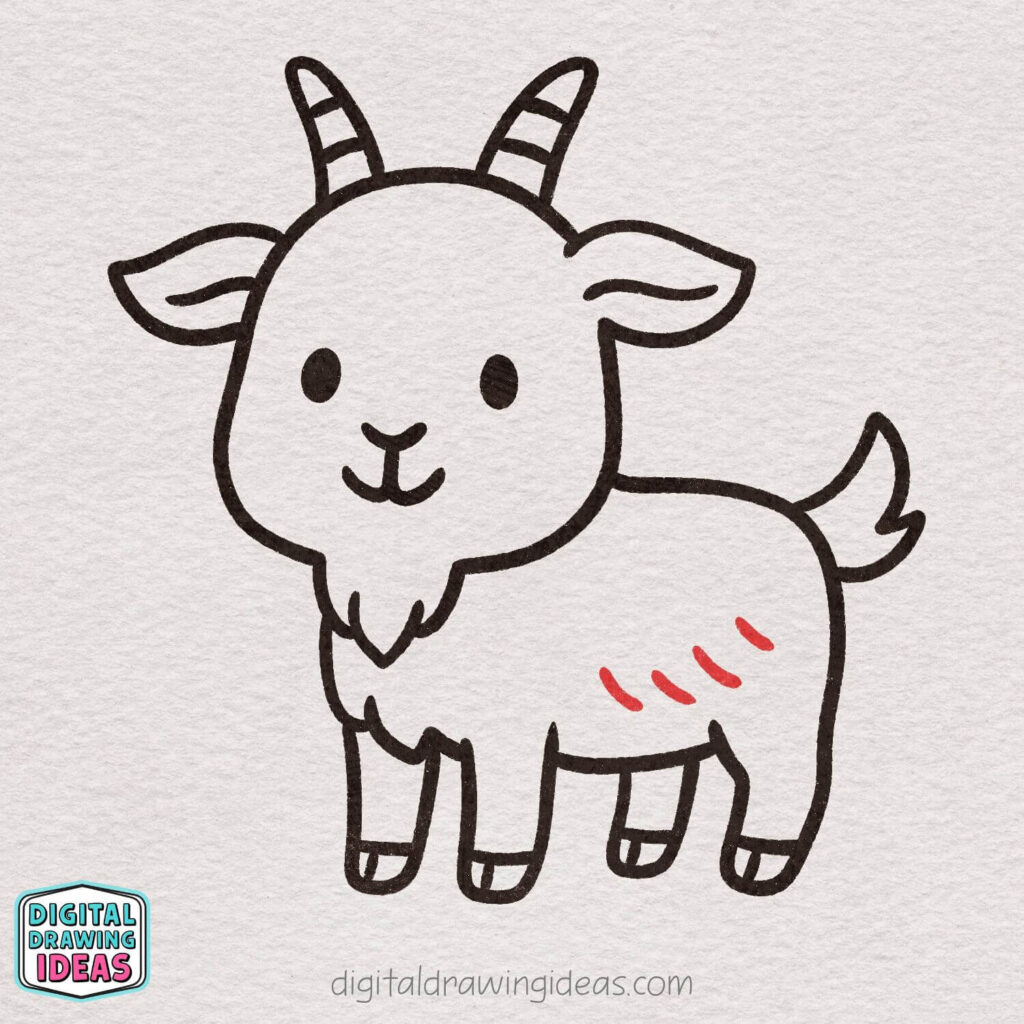
Draw a few short, curved lines on the goat’s side to suggest fluffy fur. Keep the strokes light and slightly angled—just enough to give your goat extra texture and cuteness without overcrowding the drawing.
Step 16: Color Your Goat

Finish your drawing by adding soft, warm colors to bring your cute goat to life.
Use light beige or cream for the body, a gentle pink for the cheeks and inner ears, and darker browns for the horns and hooves.
Keep the shading subtle to maintain the sweet, friendly look of your final illustration.
Wrapping Up: Your Finished Cute Goat Drawing
I hope this tutorial helped you understand how to draw a goat in a way that feels simple, enjoyable, and approachable. When I first started experimenting with animals, goats quickly became one of my favorites—they’re expressive, a little silly, and perfect for developing your rounded, cute drawing style.
If you’ve followed all sixteen steps, you’ve just created your own adorable goat drawing, complete with fluffy details and soft features.
And the best part? You can now customize it—add a scarf, draw little flowers around it, or turn it into a whole goat family.
Here are a few ideas to keep your creativity flowing:
- Try drawing the goat sitting or jumping.
- Add a background scene like hills, barns, or wildflowers.
- Combine this goat with my sheep, cow, and highland cow tutorials to make a full farm poster.
And if you want to continue building your drawing skills, don’t forget to check out:
Draw a Sheep
Draw a Highland Cow
Draw a Cow
I would absolutely love to see your finished goat.
Share it with me on Pinterest, or tag me on Instagram (@digitaldrawingideas) so I can cheer you on.
Your artwork might even inspire someone else who’s also trying to learn how to draw a goat for the first time.
If you enjoyed this tutorial or want to try another animal next, let me know.
What should we draw together in the next lesson?
Let’s keep creating.

