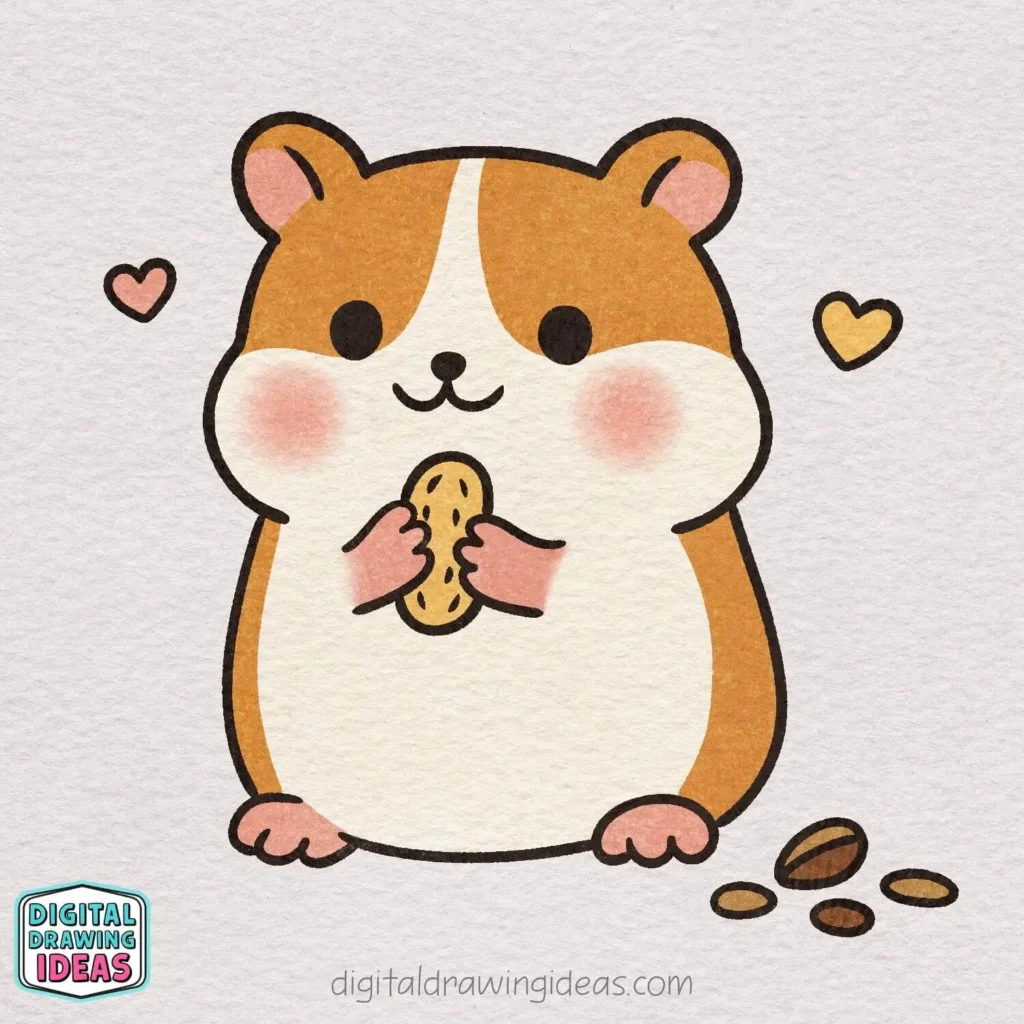
How to draw a hamster was one of those ideas that stayed in my sketchbook for a long time before I finally turned it into a full tutorial. I’ve always loved drawing small, cozy animals, and hamsters have that perfect mix of round shapes, tiny details, and instant cuteness. Every time I draw one, it feels calming, almost like a little creative reset after a long day.
If you’ve ever looked at a cute hamster drawing and thought, “I wish I could draw that, but mine never turns out right,” you’re not alone. I’ve been there too. That’s exactly why I created this step-by-step hamster drawing tutorial: to make the process simple, friendly, and genuinely enjoyable.
This guide is for you if:
- you want to learn how to draw a hamster without complicated rules
- you love soft, cute illustrations
- you want a drawing you can actually finish and feel proud of
Grab a pencil, relax your shoulders, and let’s draw together.
Step 1: Draw the Top of the Head
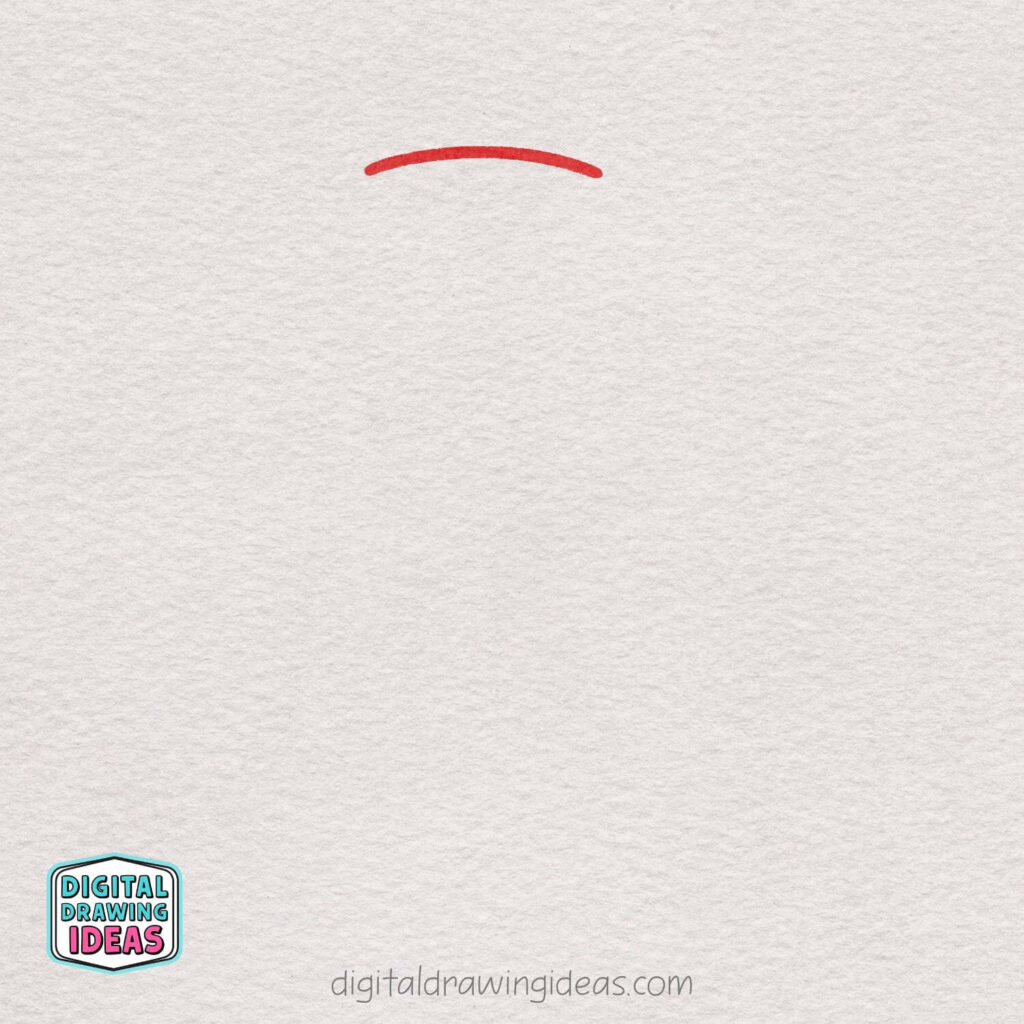
Start by drawing a short, gently curved line. This will be the top of the hamster’s head.
Keep the curve soft and slightly rounded — think calm, cozy, and cute.
Don’t worry about perfection; a smooth, relaxed line works best here.
Step 2: Add the Cute Ears
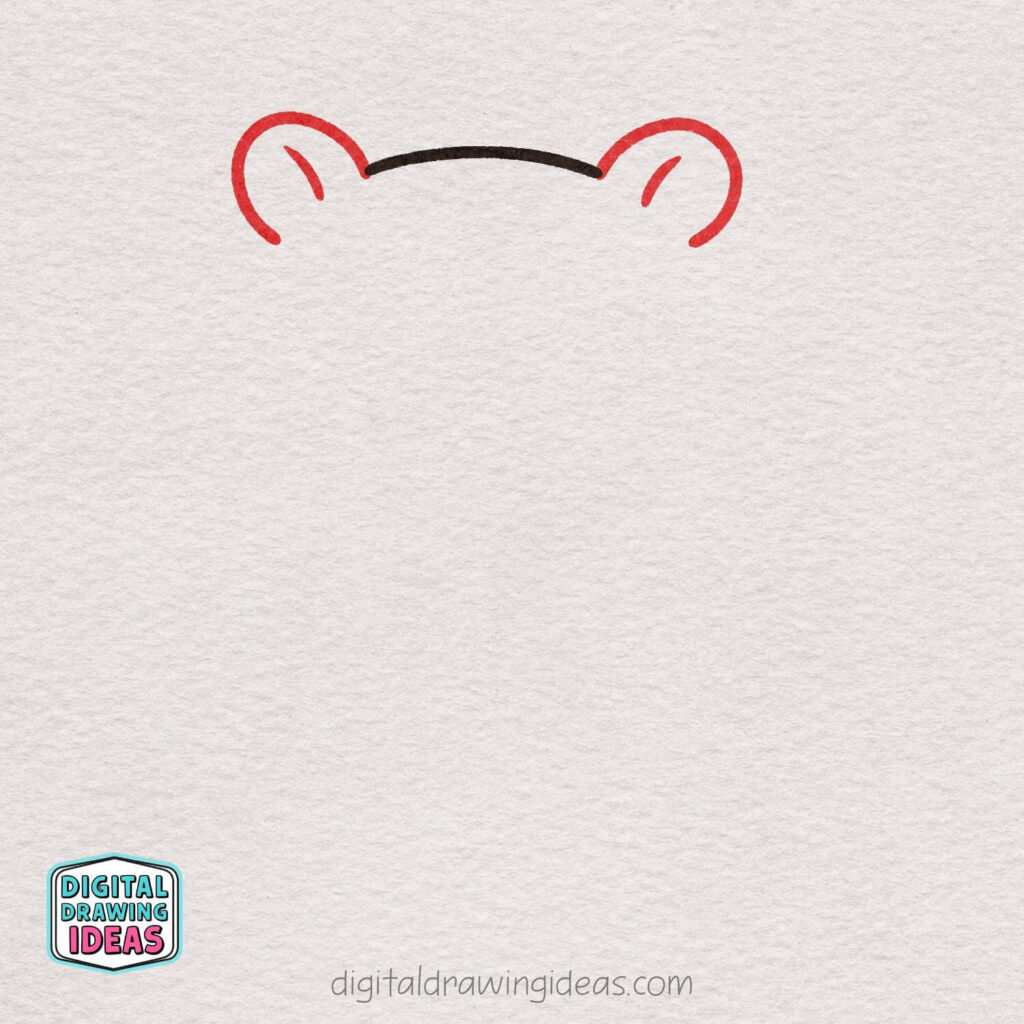
On each side of the head, draw a small rounded ear. Use soft, curved lines and keep both ears similar in size.
Inside each ear, add a short curved line to show the inner ear detail. Try to keep the ears slightly open and relaxed to enhance the cute look.
Step 3: Shape the Sides of the Head
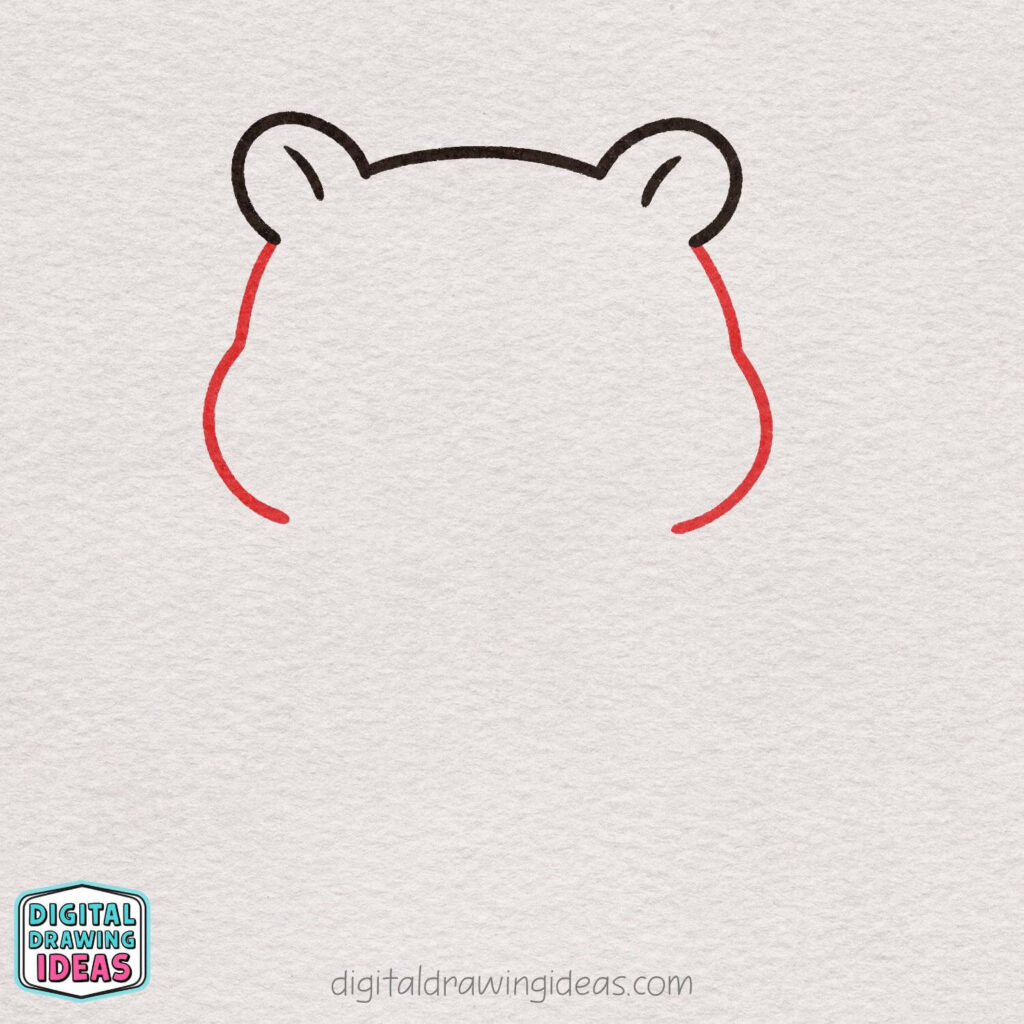
From just below each ear, draw a long, gently curved line downward. Let the lines bulge slightly outward to create soft, chubby cheeks.
Keep both sides balanced and smooth, aiming for a rounded, friendly shape. These curves will give your hamster its cozy, squishy look.
Step 4: Draw the Face
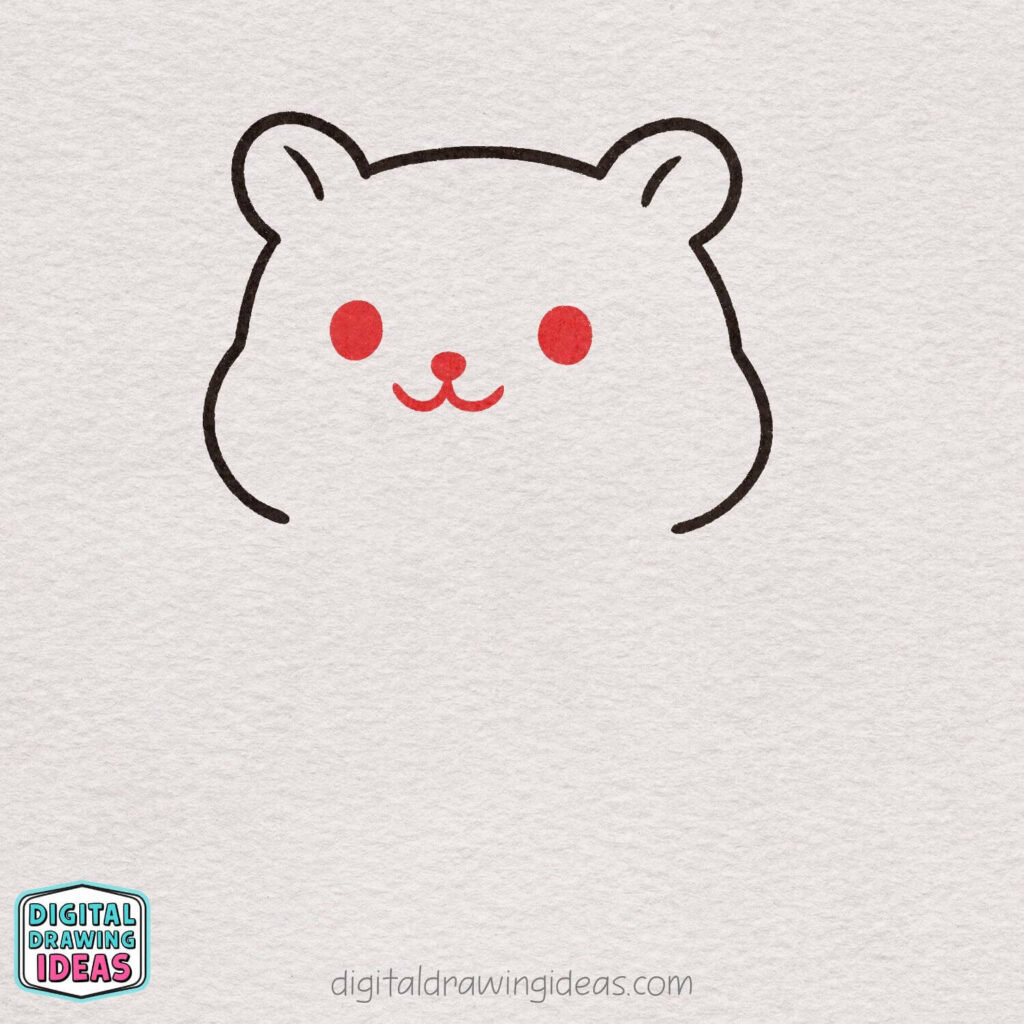
Start by adding two small round eyes, placing them evenly on each side of the face. Between the eyes, draw a tiny oval nose.
Below the nose, add a soft, curved smile using two short lines.
Keep everything simple and centered to give your hamster a sweet, friendly expression.
Step 5: Draw the Upper Body
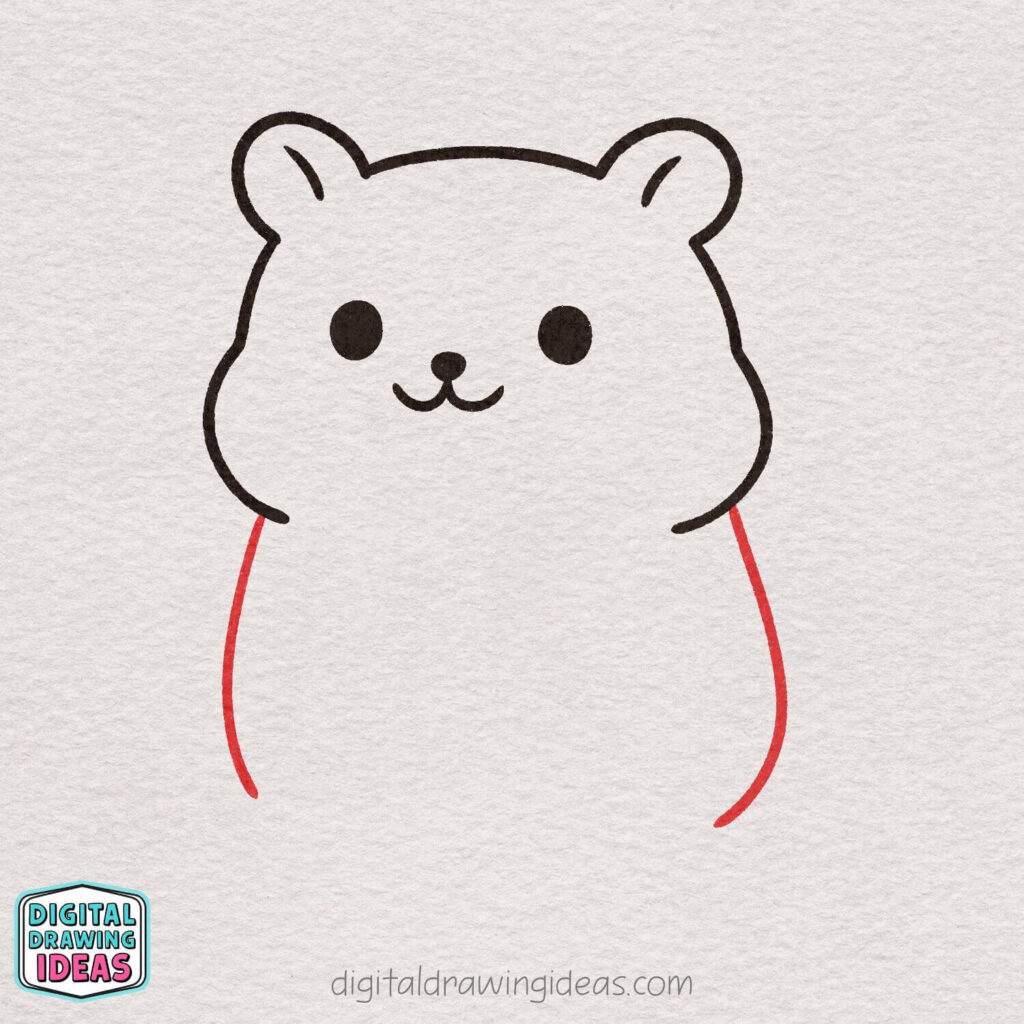
From the lower sides of the head, draw two long, curved lines downward. Let the lines gently flare outward to create a plump, rounded body.
Keep the curves smooth and soft — this hamster should look cuddly, not stiff. Leave the bottom open for now.
Step 6: Add the Little Feet
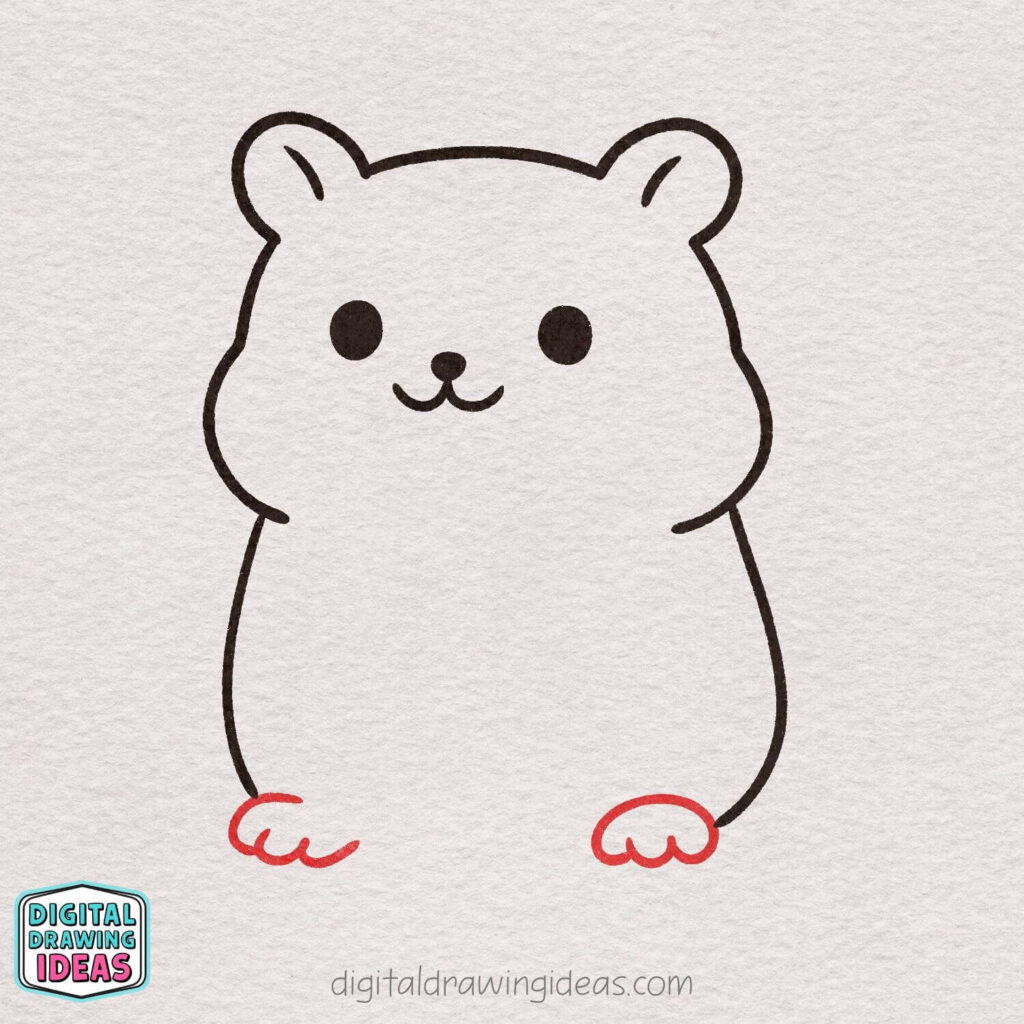
At the bottom of the body, draw two small rounded feet. Use short, soft curves to create a simple paw shape on each side.
Keep them low and wide to make the hamster look stable and chubby.
These tiny feet add to the cozy, grounded feel.
Step 7: Close the Bottom of the Body
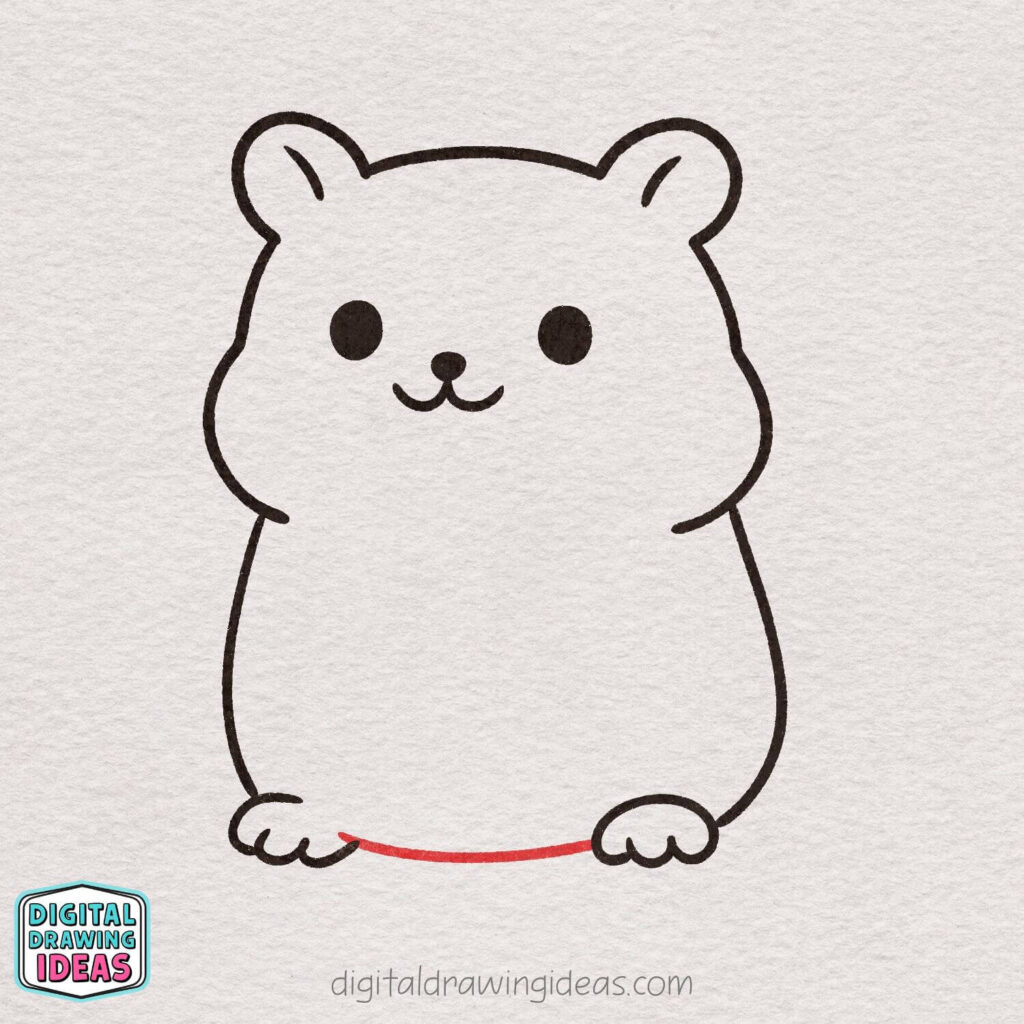
Draw a short, gentle curved line between the two feet.
Let the curve dip slightly to keep the body round and soft.
This line closes the body and helps the hamster look sturdy and balanced.
Step 8: Draw the Tiny Hands
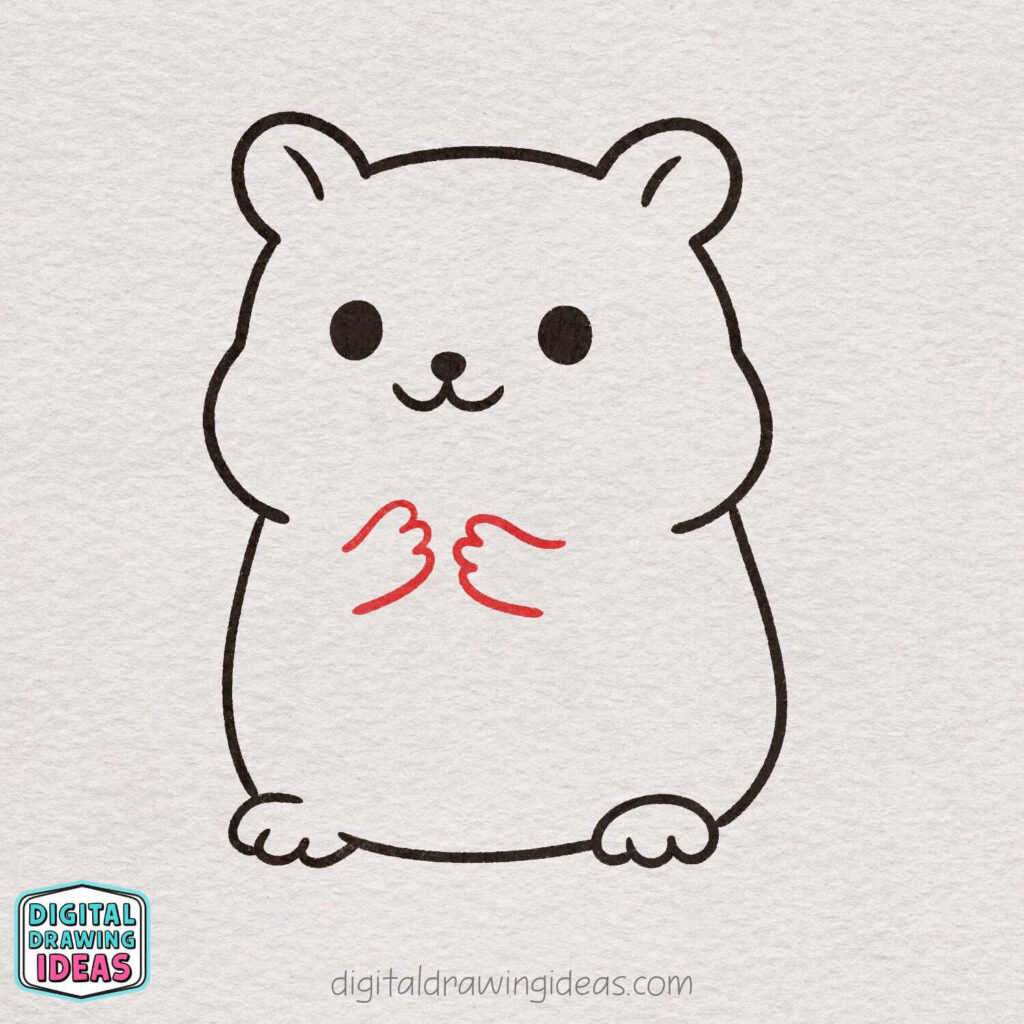
In the center of the body, draw two small curved shapes facing each other. Use short, rounded lines to suggest little fingers.
Keep the hands close together to make it look like the hamster is holding something.
Soft, simple curves will keep the pose cute and gentle.
Step 9: Draw the Peanut
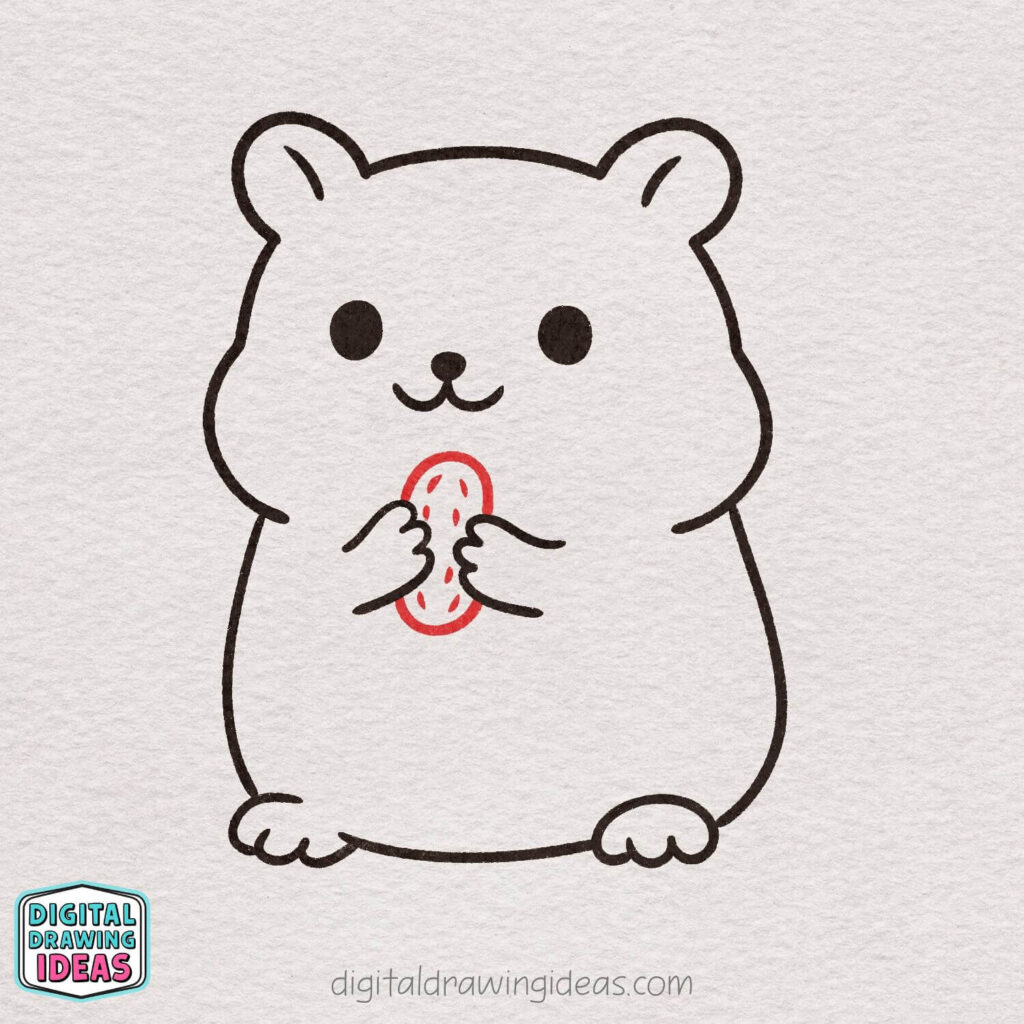
Between the hamster’s hands, draw a small vertical oval shape. Keep the ends slightly rounded to give it a soft, natural look.
Inside the peanut, add a few tiny oval marks for texture.
Make sure it fits comfortably between the hands, as if the hamster is gently holding it.
Step 10: Add the Cute Details
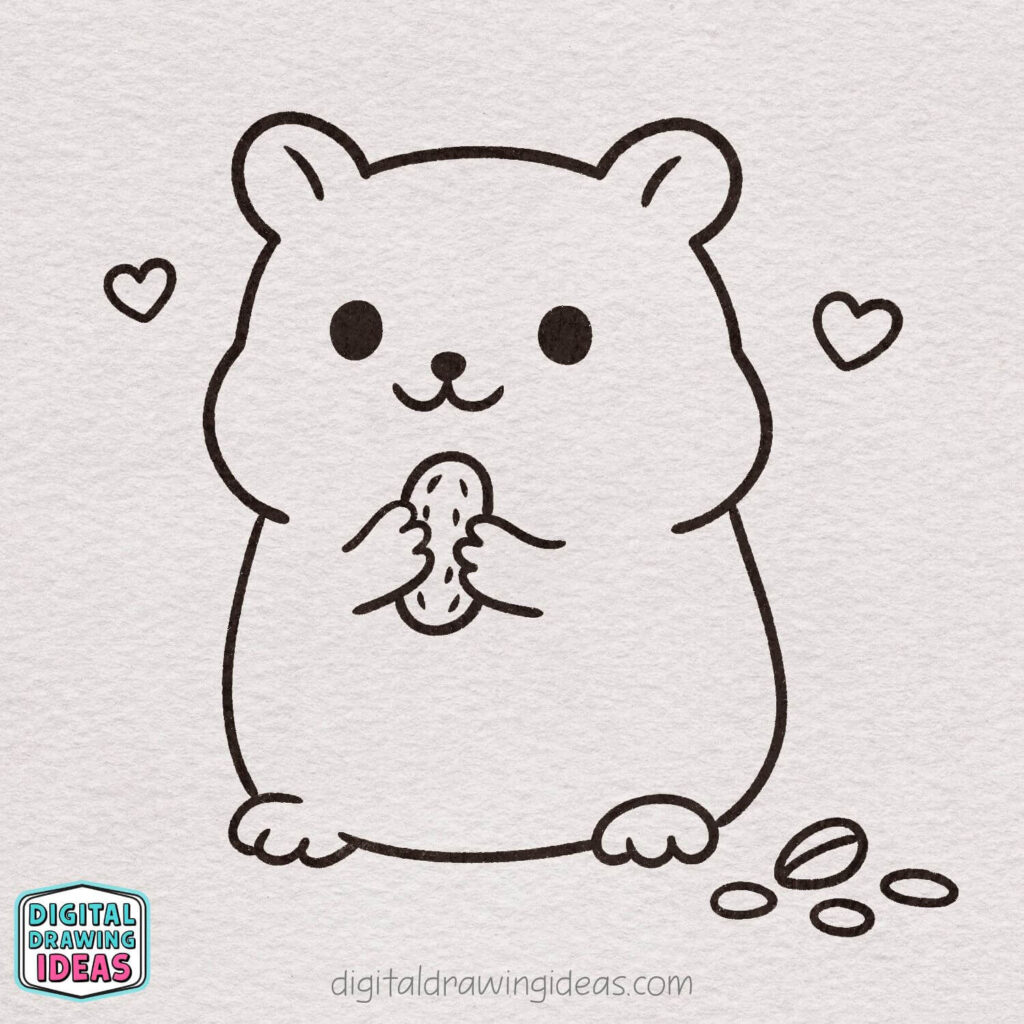
Around the hamster’s head, draw a few small heart shapes to show happiness and love.
Keep the hearts simple and light, floating gently on each side.
Near the bottom, add a couple of small oval shapes to represent extra peanuts.
These tiny details make the scene feel warm, playful, and full of charm.
Step 11: Add Color and Soft Details
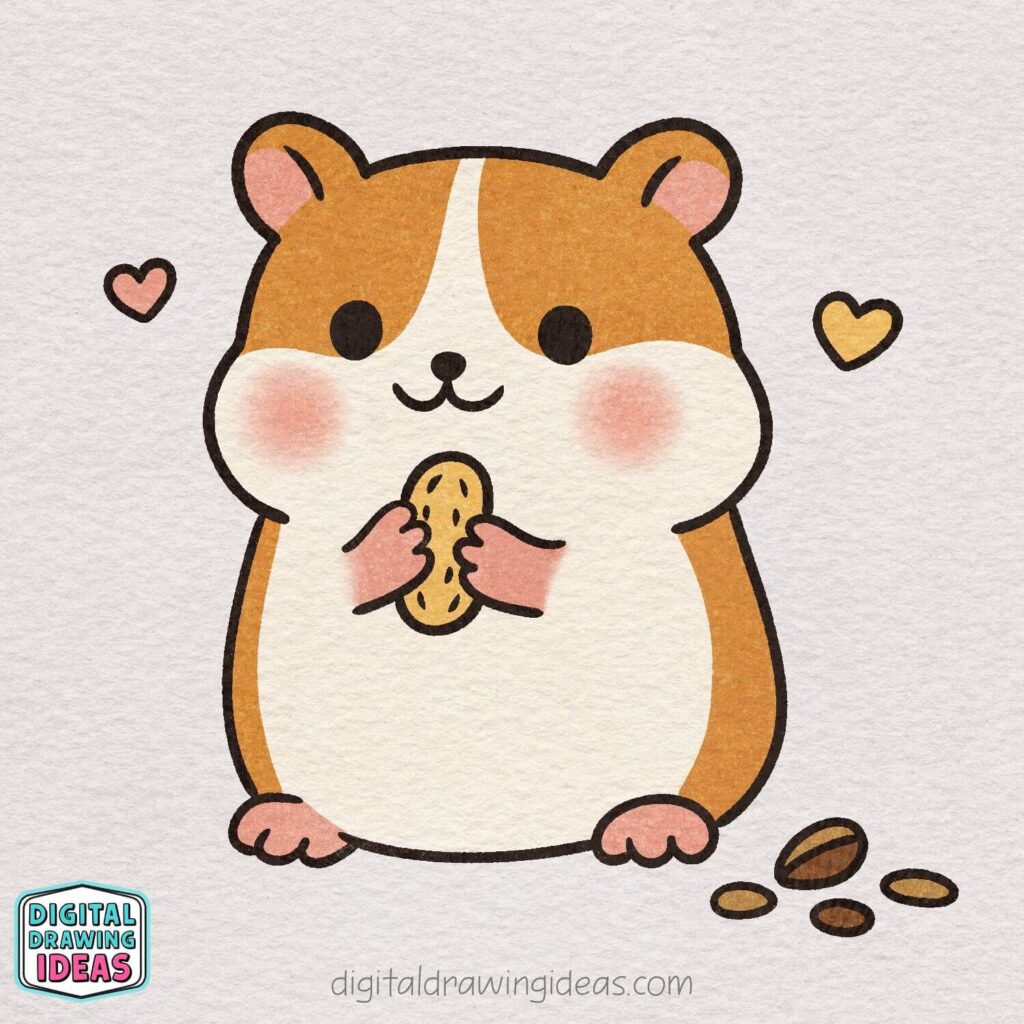
Gently color the hamster using warm, soft tones. Add a lighter area on the face and belly to keep the look cozy and balanced.
Use a soft pink shade for the cheeks, hands, and feet to give a warm, friendly glow.
Color the peanut and extra details lightly, keeping everything calm and harmonious.
Take your time — these final touches bring the hamster to life.
Why I Love Drawing Cute Animals Like This
When I create a hamster drawing, I’m not just thinking about the final result. I’m thinking about how the drawing feels while I’m making it. The rounded shapes, the tiny hands, the gentle smile — all of it is designed to slow you down and make drawing feel safe and relaxing.
If you struggle with overthinking your lines or comparing your art to others, this kind of simple, cozy style can really help. I’ve noticed that the more forgiving and playful my drawings are, the more confident I feel as an artist.
That’s also why I love teaching how to draw a hamster in this way. There’s no pressure here, just progress.
If You Enjoyed This Hamster Drawing, You Might Love These Too
If you’re in the mood to keep drawing, here are a few of my other step-by-step tutorials that follow the same friendly approach:
Each one focuses on simple shapes, clear steps, and a relaxed drawing experience.
Let’s Stay Creative Together
If this how to draw a hamster tutorial helped you, I’d love to see your version. You can find more drawing ideas and inspiration on my Pinterest page and follow along with video tutorials on my YouTube channel.
Did you change the pose, add different colors, or give your hamster a different snack? Share your drawing, save this tutorial on Pinterest, or tag me on Instagram at @digitaldrawingideas. I genuinely love seeing how the same idea turns into something unique in every artist’s hands.
Keep drawing, keep experimenting, and most importantly, keep enjoying the process.

