How to draw a mermaid was one of those drawing ideas that kept popping up in my sketchbook whenever I needed something calming, playful, and just a little bit magical. I still remember the first time I tried drawing a mermaid in this cute style — I overcomplicated everything, erased half the page, and somehow ended up with something that looked more like a confused fish than a mermaid.
If you’ve ever felt stuck because you thought “I can’t draw characters” or “my drawings never turn out cute enough”, you’re not alone. I’ve been there too. That’s exactly why I love breaking drawings down into small, friendly steps that anyone can follow, even if you’re just starting out.

In this tutorial, I’ll show you how to draw a mermaid in a simple, cute, and approachable way. This mermaid drawing is perfect for beginners, kids, creative journaling, coloring pages, or just a relaxing drawing session with your favorite pen and a quiet cup of coffee.
I created this drawing myself, step by step, with one goal in mind:
to make mermaid drawing feel fun, achievable, and stress-free.
Before we jump in, here’s what this tutorial will help you with:
- Turning a blank page into a complete mermaid drawing without feeling overwhelmed
- Learning how to build a character using simple shapes
- Creating a cute style that actually looks finished, not stiff or awkward
- Enjoying the process instead of worrying about perfection
Take your time, follow along at your own pace, and remember: your mermaid doesn’t need to look exactly like mine. That’s part of the fun.
Step 1: Draw the Cute Face
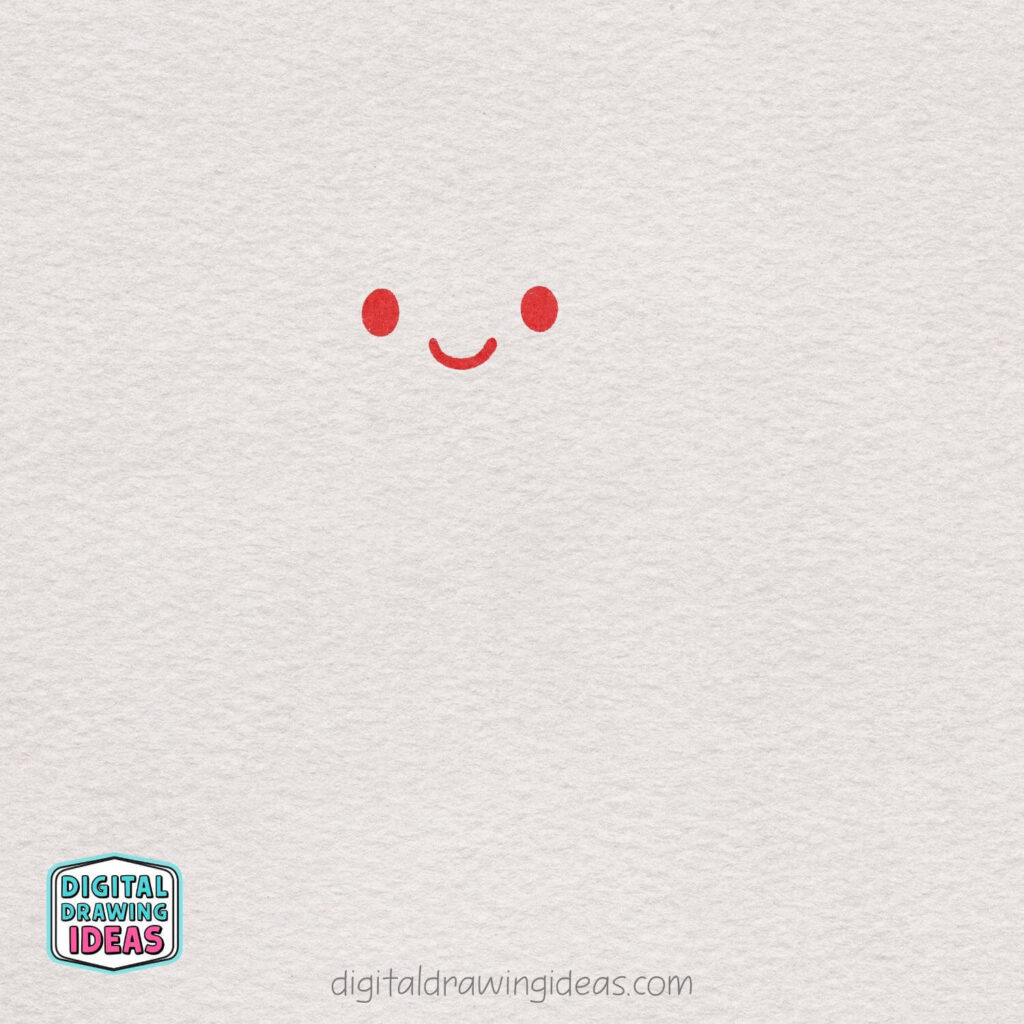
Start by drawing a simple, cute face. Add two small oval shapes for the eyes, then draw a tiny curved smile between them.
Keep everything minimal and centered — this sweet expression will set the mood for your mermaid.
Step 2: Add the Hairline
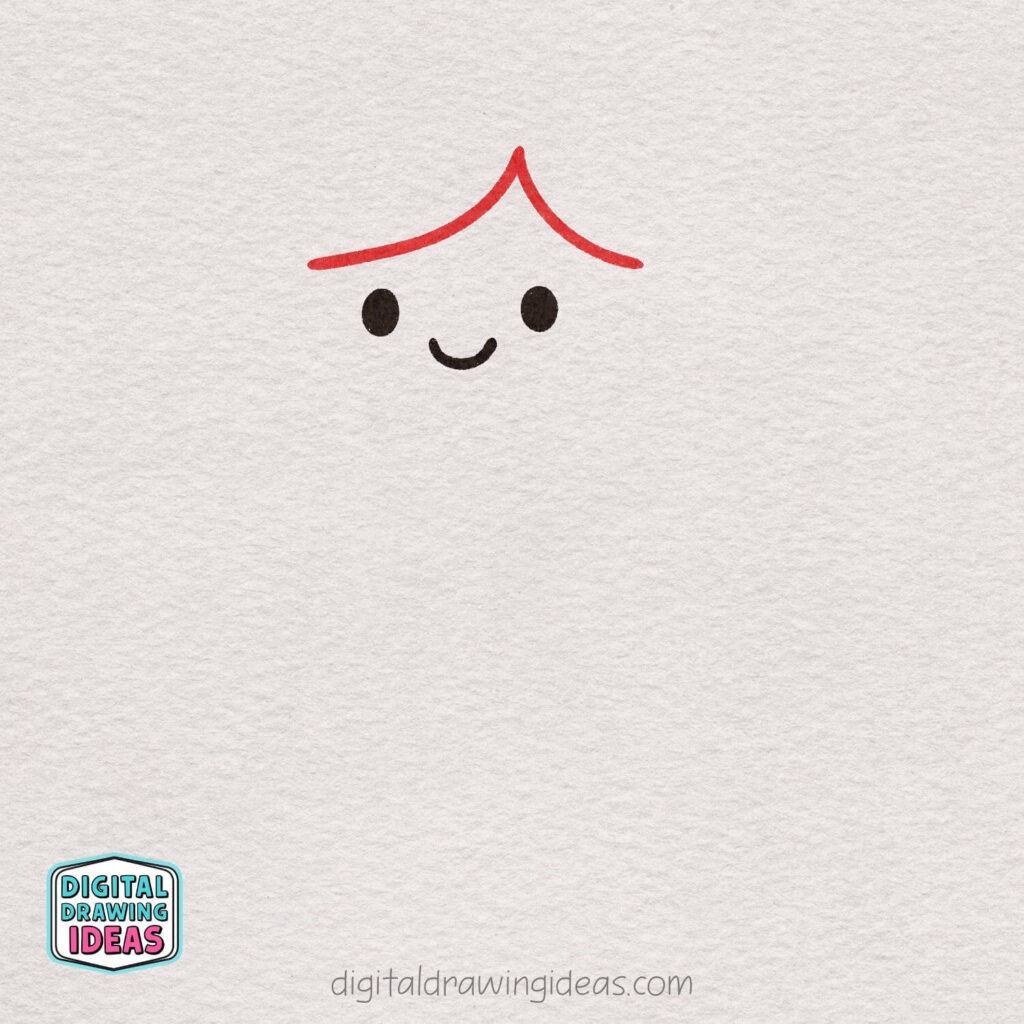
Above the face, draw a simple curved line that forms the top of the hair.
Let the line peak slightly in the middle, like a soft upside-down “V.”
Keep the shape smooth and gentle — this will guide the rest of the hairstyle.
Step 3: Draw the Face Outline

Using two smooth curved lines, draw the sides of the face.
Start near the hairline and gently curve the lines downward to form soft cheeks.
Leave the bottom open for now — we’ll complete the head shape later.
Step 4: Add a Star Hair Clip

On one side of the head, draw a simple star shape as a cute hair accessory. Keep the lines rounded and playful so it matches the soft style of the face.
This little detail adds charm and personality to your mermaid.
Step 5: Draw the Ears
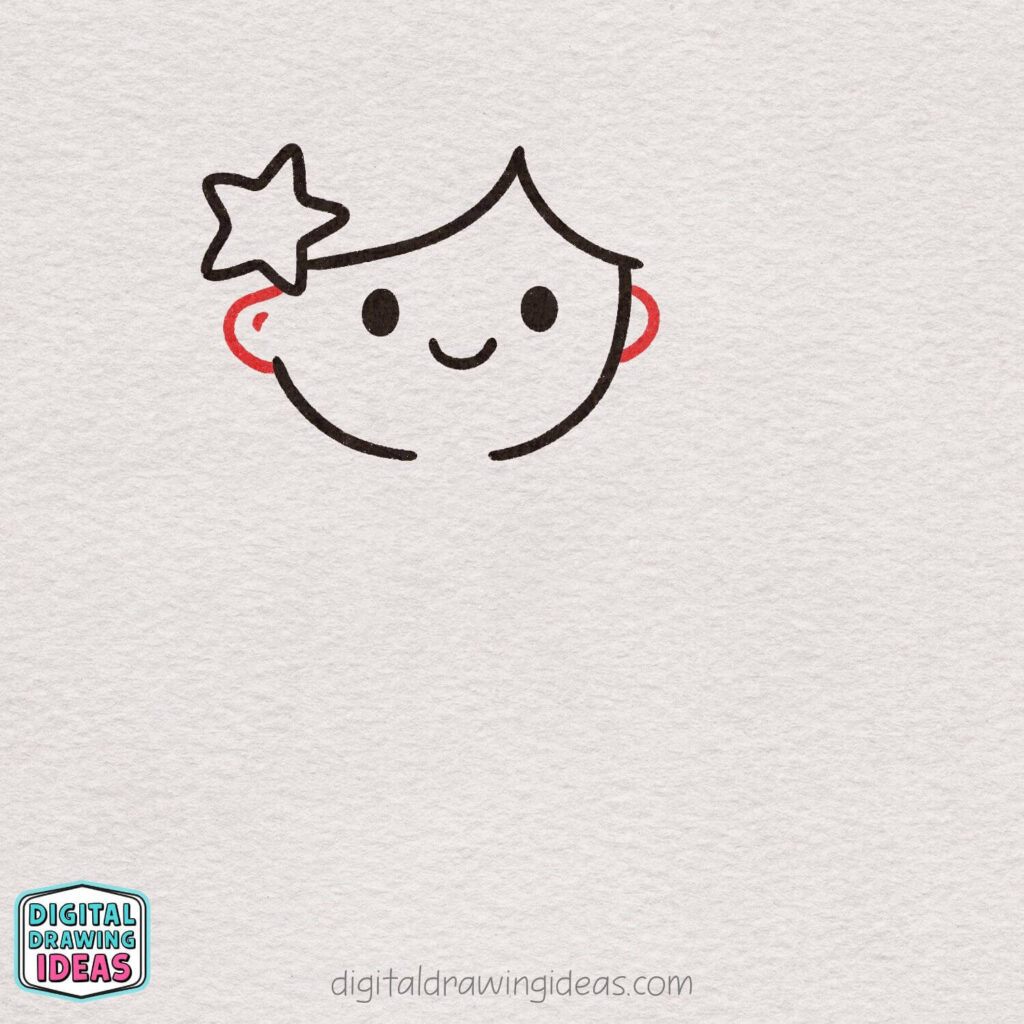
On both sides of the head, add small curved shapes to create the ears. Keep them simple and slightly rounded so they blend nicely with the face.
These tiny details help make the character feel more complete.
Step 6: Draw the Top
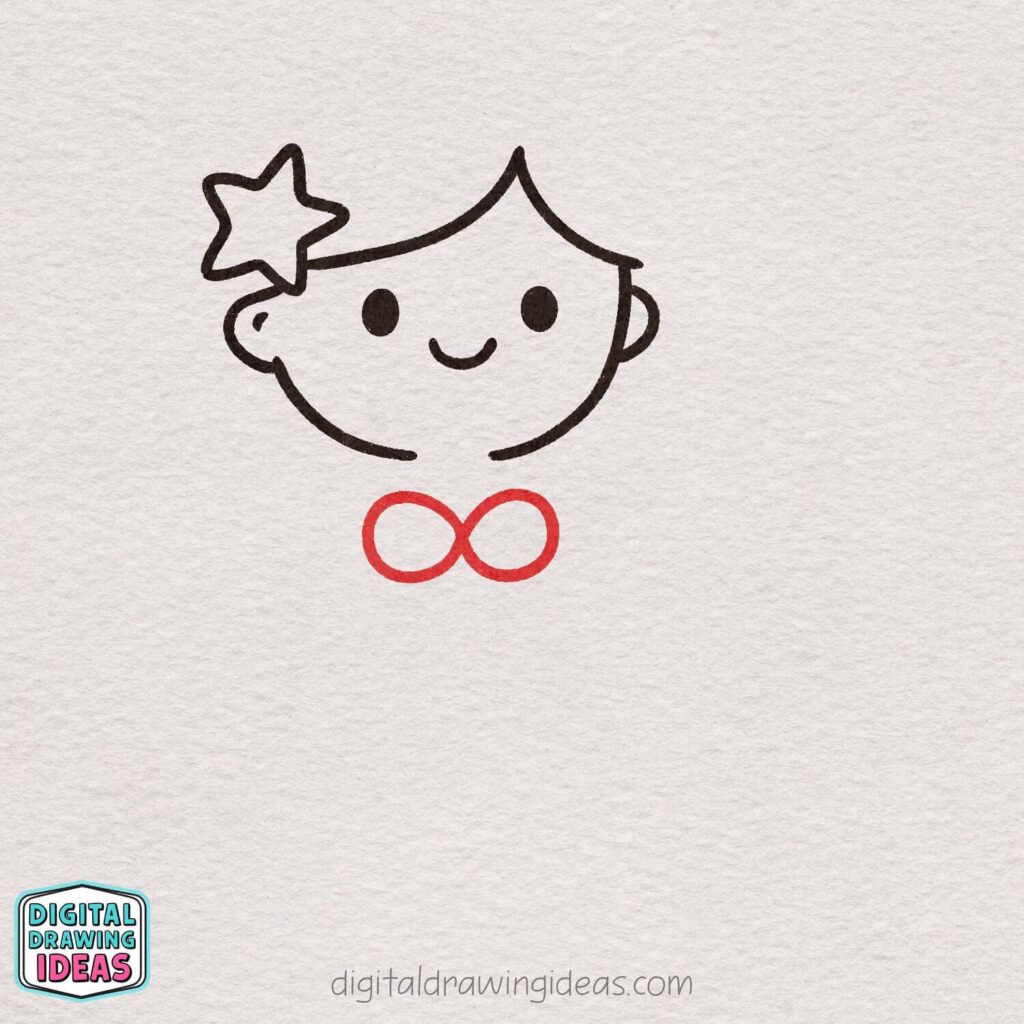
Below the head, draw two small oval shapes side by side to form the mermaid’s top. Keep them evenly sized and slightly touching in the middle.
This simple shape creates a cute and balanced upper body.
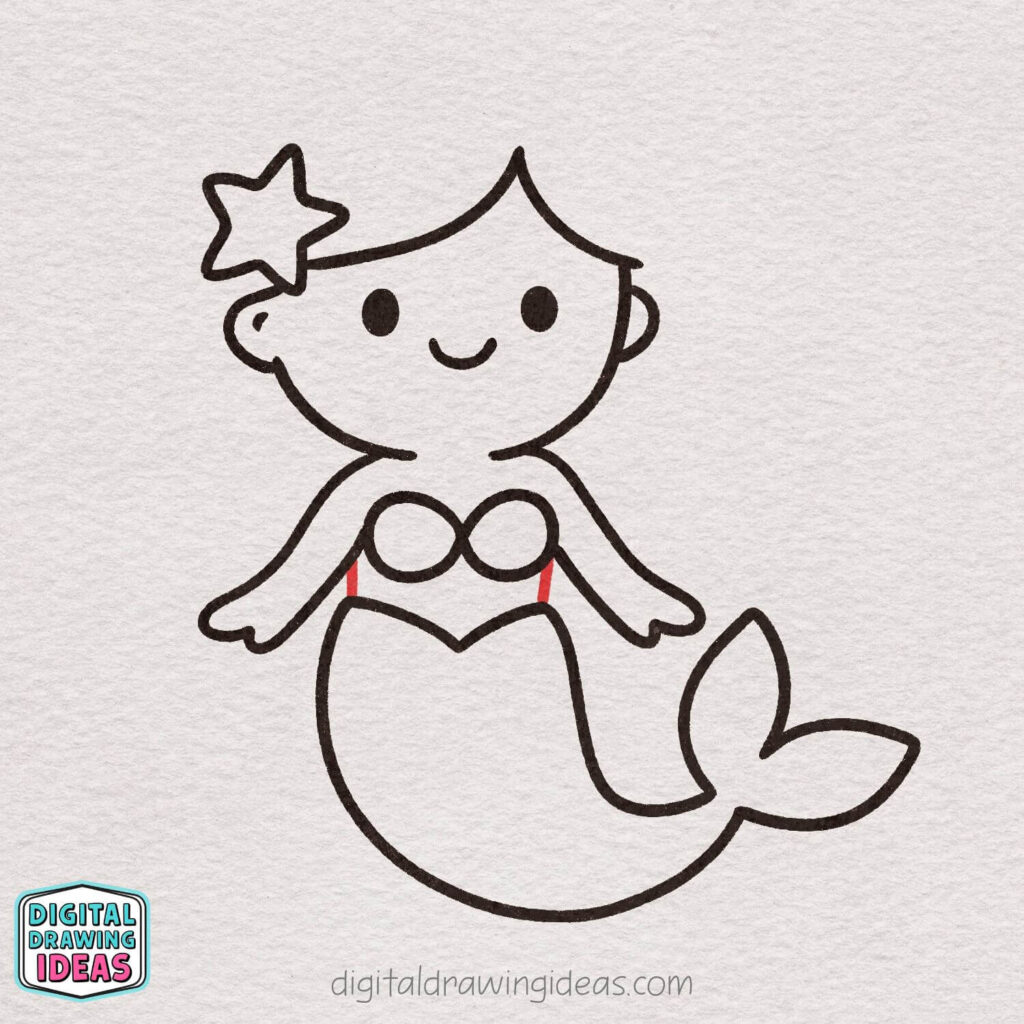
Step 7: Add the Arms
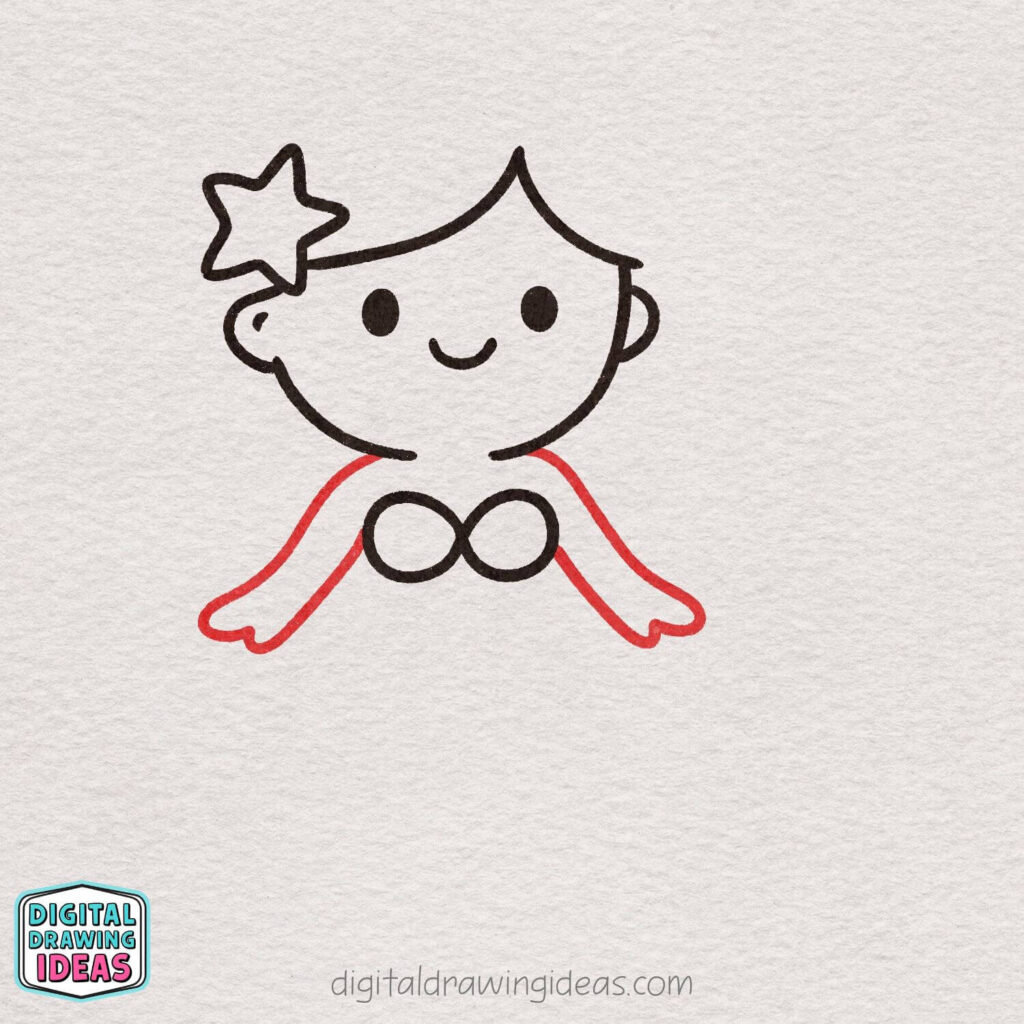
From the sides of the top, draw two curved lines downward to create the arms. Finish each arm with a simple rounded hand.
Keep the arms relaxed and slightly open to give your mermaid a friendly pose.
Step 8: Draw the Waistline
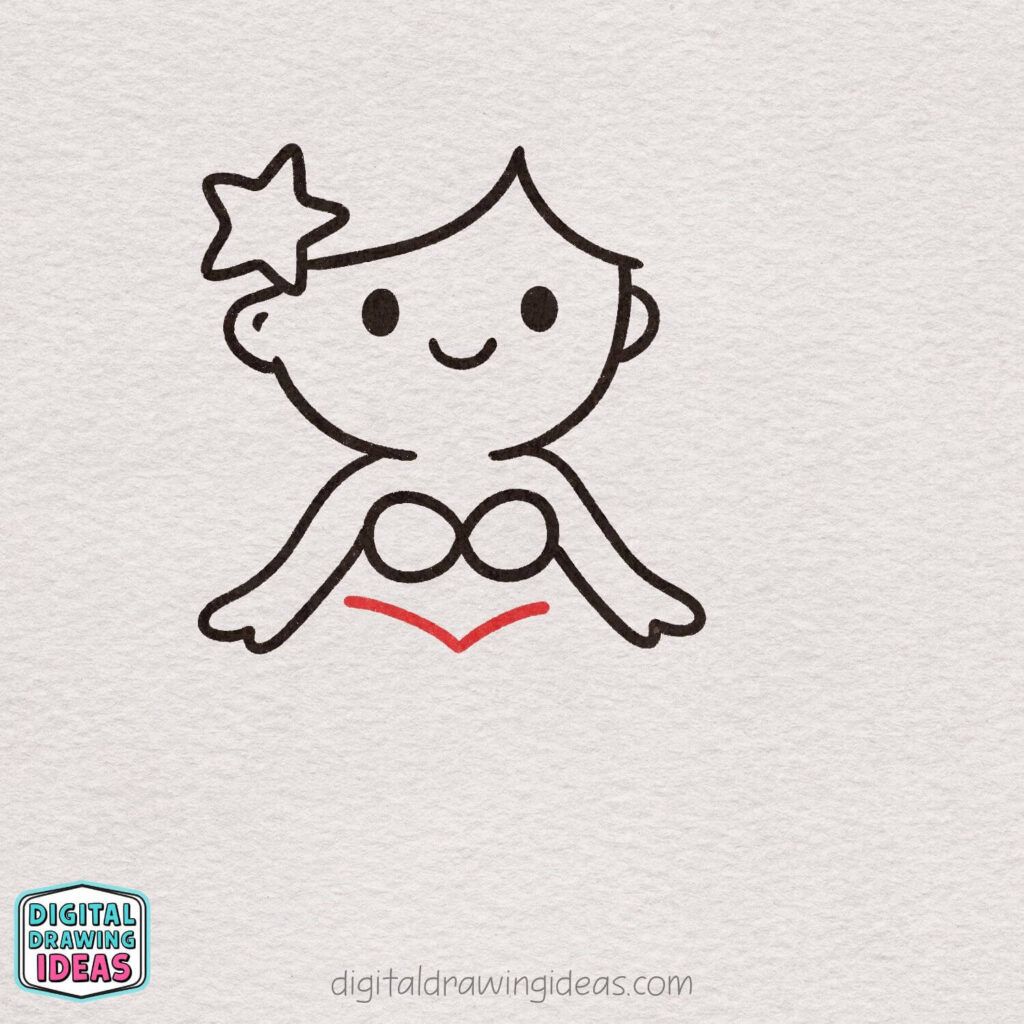
Below the top, draw a soft curved line shaped like a gentle “V.” This line marks where the mermaid’s tail begins at the hips.
Keep it smooth and centered to create a natural transition into the tail.
Step 9: Draw the Tail Fin
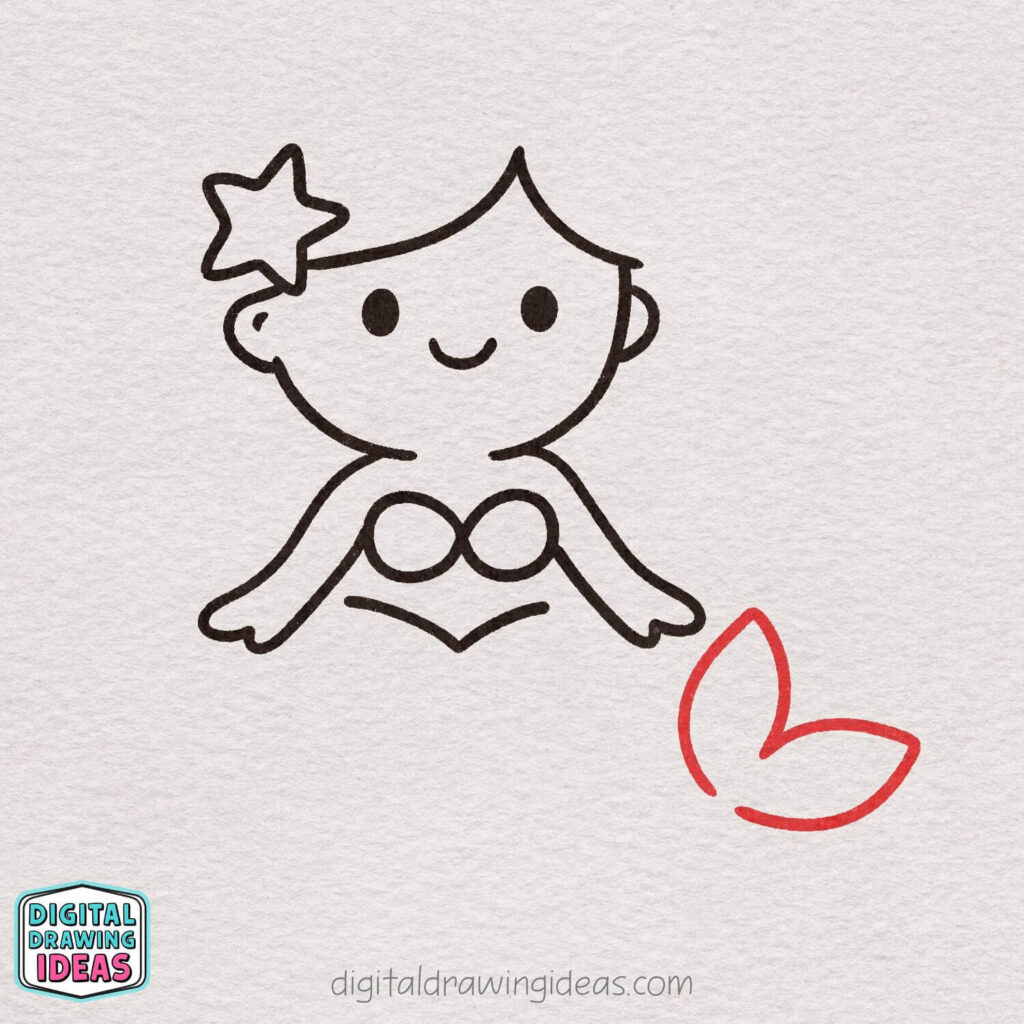
To the side of the body, draw a simple heart-like shape to form the tail fin. Use two curved lines that meet softly in the middle.
Keep the fin rounded and playful — this will give the mermaid her signature look.
Step 10: Draw the Tail Shape
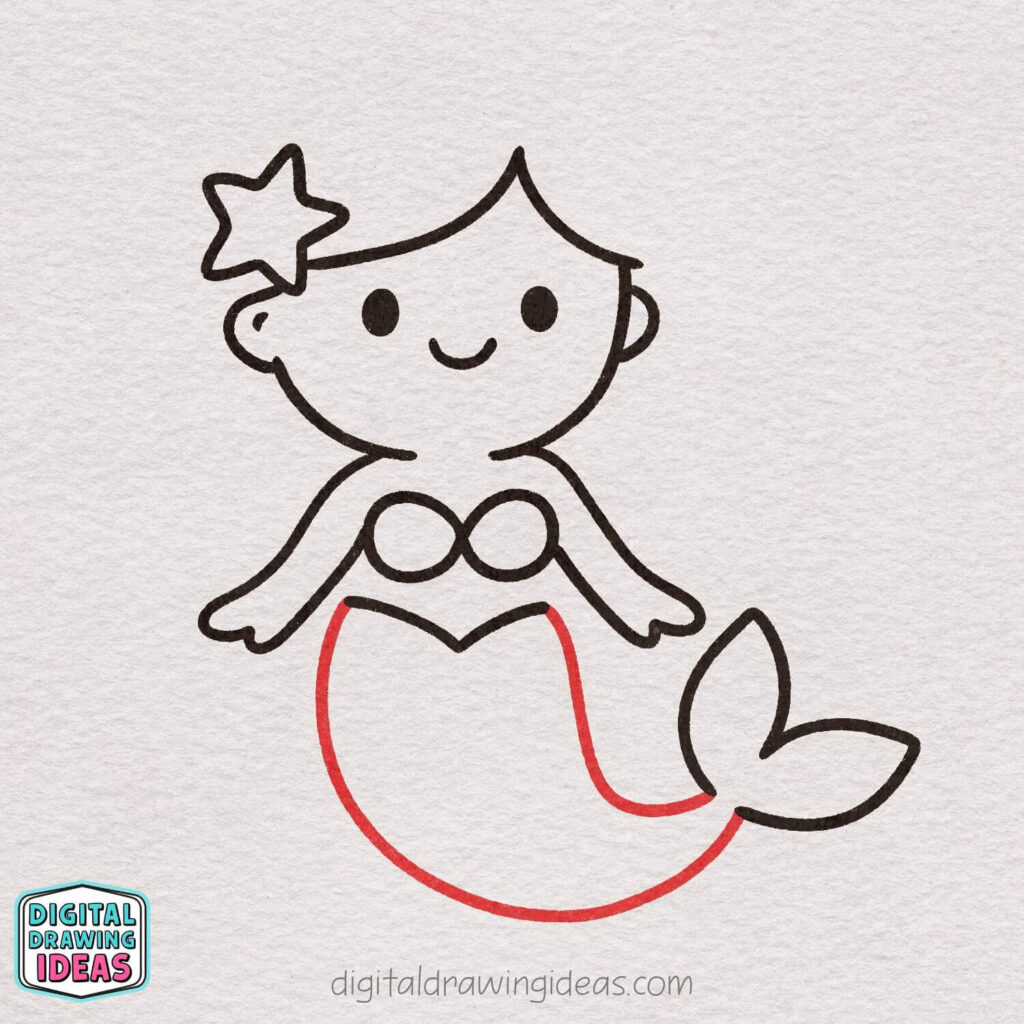
From the waistline, draw a long, smooth curved line downward to form the tail. Let the line flow naturally toward the fin, giving the tail a gentle wave.
Keep the shape soft and rounded to match the cute style of the character.
Step 11: Connect the Body to the Tail
Add two short curved lines on each side of the waist to connect the upper body to the tail.
These lines help smooth the transition and give the mermaid a more natural shape.
Keep them subtle — small details make a big difference here.
Step 12: Draw the Hair
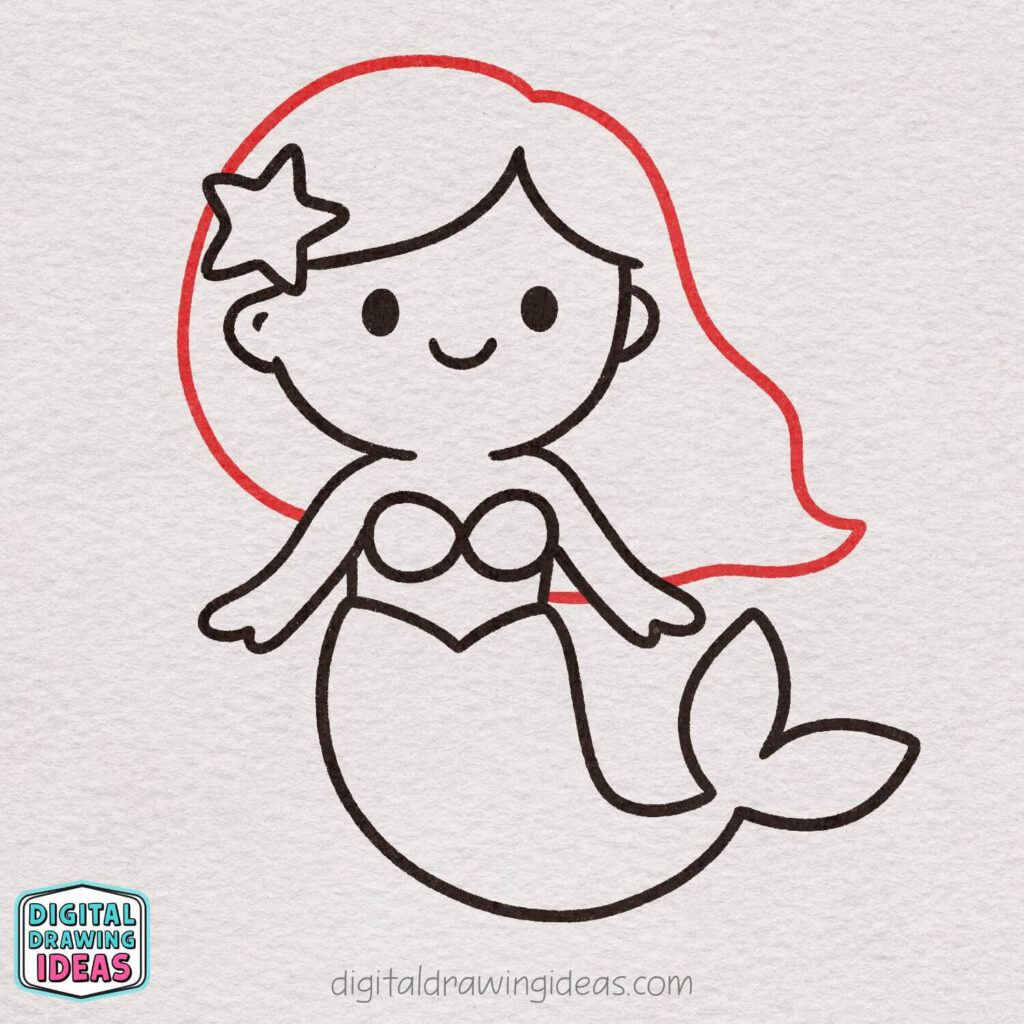
Starting at the top of the head, draw a long, flowing line to create the hair.
Let it curve smoothly around the head and flow down behind the body.
Keep the hair soft and wavy to give your mermaid a gentle, underwater feel.
Step 13: Add Tail Details and Bubbles
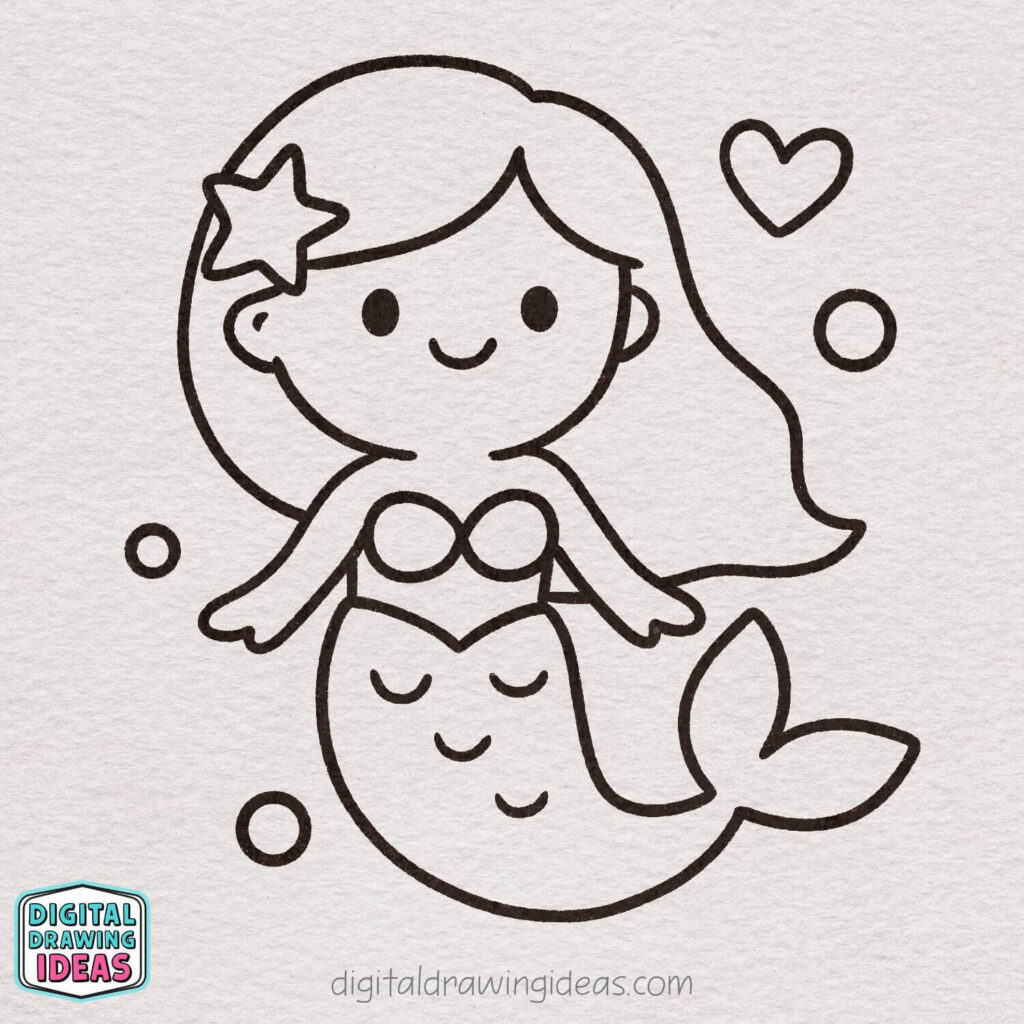
Inside the tail, draw a few small curved lines to suggest simple scales or texture.
Then add a few small circles and a cute heart around the mermaid to create floating bubbles.
These tiny details bring the drawing to life and make it feel playful and magical.
Step 14: Color Your Mermaid
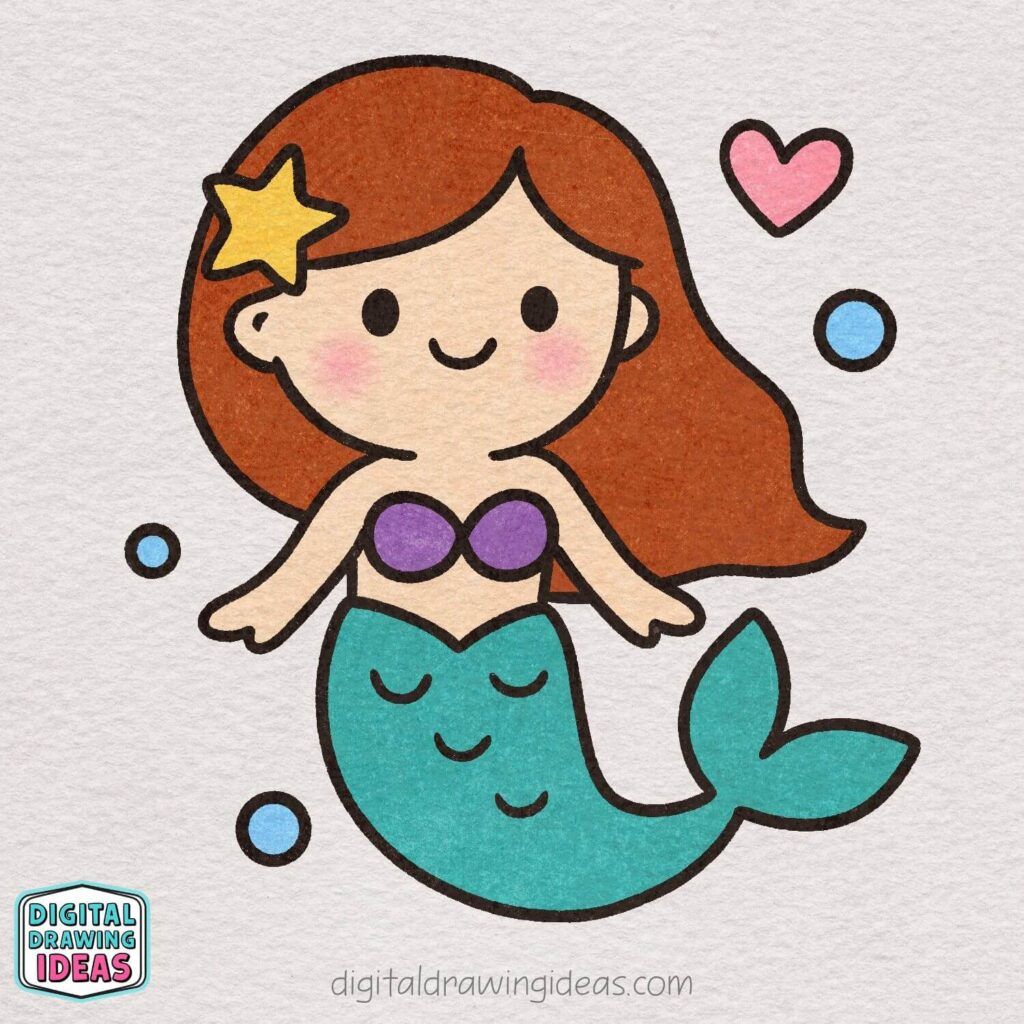
Now it’s time to bring your mermaid to life with color.
Fill in the hair, skin, top, and tail using soft, cheerful colors you love.
Add a little blush to the cheeks and color the star, bubbles, and heart for a magical finishing touch.
Final Thoughts: Keep Drawing, Keep It Fun
Now that you’ve reached the end of this how to draw a mermaid tutorial, I hope you’re looking at your finished drawing with that quiet “hey, I actually did this” feeling. That moment never gets old for me, no matter how many times I draw.
Mermaid drawing is one of my favorite ways to relax creatively. There’s something about the flowing shapes, soft lines, and playful details that makes the whole process feel light and enjoyable. And the best part? Once you understand the structure, you can start experimenting — different hairstyles, tail shapes, expressions, or even turning your mermaid into a coloring page or printable.
If you enjoyed this tutorial, you might also like some of my other step-by-step drawings:
- My cute and beginner-friendly How to Draw a Horse tutorial
- A sweet and simple How to Draw a Cupcake drawing
- Or this fun character tutorial: How to Draw a Capybara
For even more drawing inspiration, you can follow me on Pinterest, where I regularly share new tutorials, drawing ideas, and creative prompts.
You can also find step-by-step drawing videos on my YouTube channel if you prefer learning by watching the process in real time.
I’d love to see your version of this mermaid drawing.
Did you change the colors? Add extra details? Give her a different hairstyle?
Share your drawing on Pinterest or Instagram and tag @digitaldrawingideas — seeing your creations is honestly one of my favorite parts of doing this.
And most importantly: keep drawing, keep experimenting, and don’t be afraid to make “messy” pages. That’s where the best ideas usually start.

