How to draw a penguin was one of those drawing ideas that started as a quick sketch for me… and somehow turned into a full cozy tutorial. I still remember sitting with my tablet, a warm drink next to me, and thinking: “Let’s make this penguin as friendly and huggable as possible.” That’s honestly how most of my drawings begin — not with perfection in mind, but with joy.
If you’ve ever felt stuck staring at a blank page, wondering where to start with a cute animal drawing, you’re definitely not alone. I’ve been there too. Penguins are actually a perfect solution for that moment. Their shapes are simple, forgiving, and incredibly expressive, which makes penguin drawing ideal for beginners and relaxing for more experienced artists as well.
In this tutorial, I’ll show you how to draw a penguin step by step using soft, rounded shapes and easy lines. You don’t need fancy tools or years of experience — just a little curiosity and the willingness to have fun while drawing. I created these drawings myself, testing each step to make sure it feels achievable and stress-free.

Before we dive in, here’s what you’ll need:
- A pencil or digital drawing tool
- An eraser (because mistakes are part of the process)
- A few minutes of quiet, creative time
- And most importantly: patience with yourself
If you’ve ever thought, “I’m not good at drawing,” trust me — I’ve heard that sentence so many times, and it’s almost never true. Learning how to draw a penguin is really about breaking things down into tiny, friendly steps. And that’s exactly what we’re doing here.
Step 1 – Draw the Head Outline
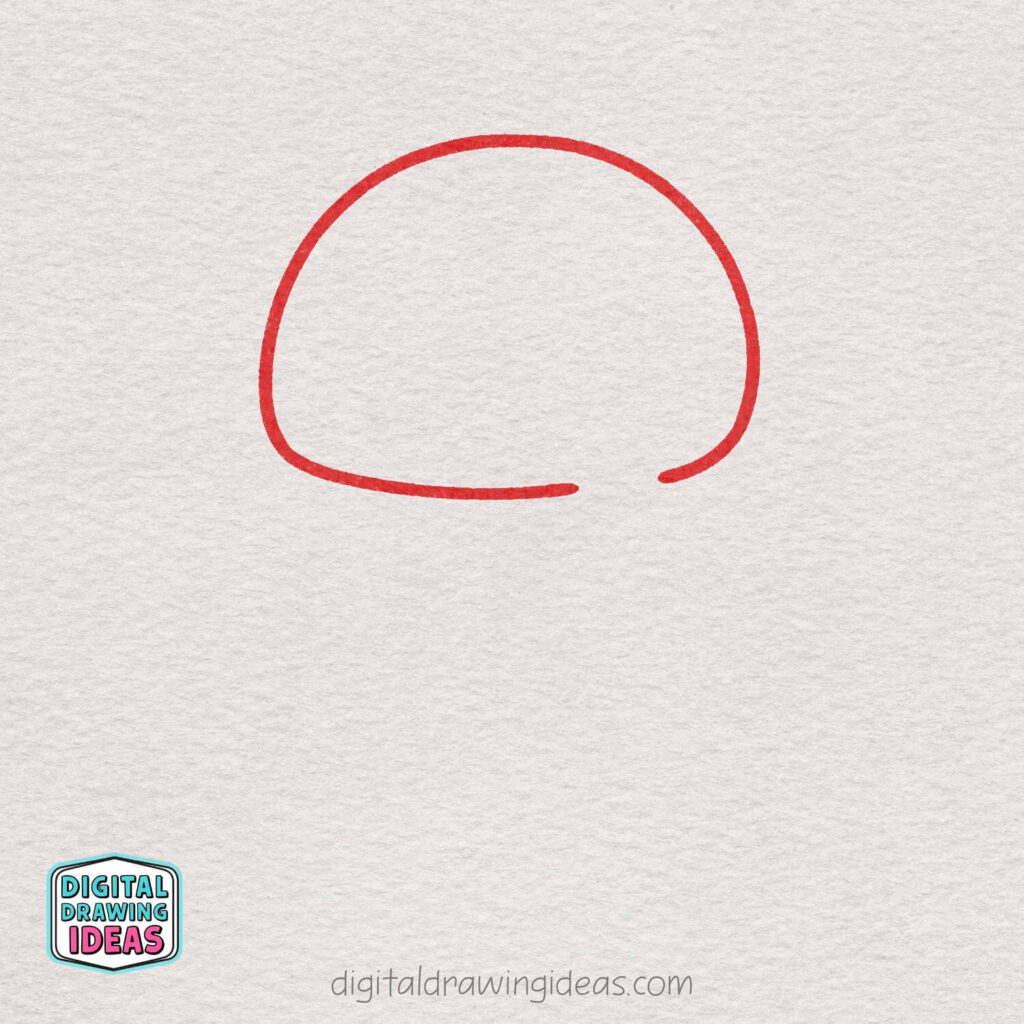
Start by drawing a large, rounded shape near the top of your page.
Keep the lines smooth and soft — this will form the penguin’s head and set the overall shape of your drawing.
Step 2 – Draw the Eyes and Beak
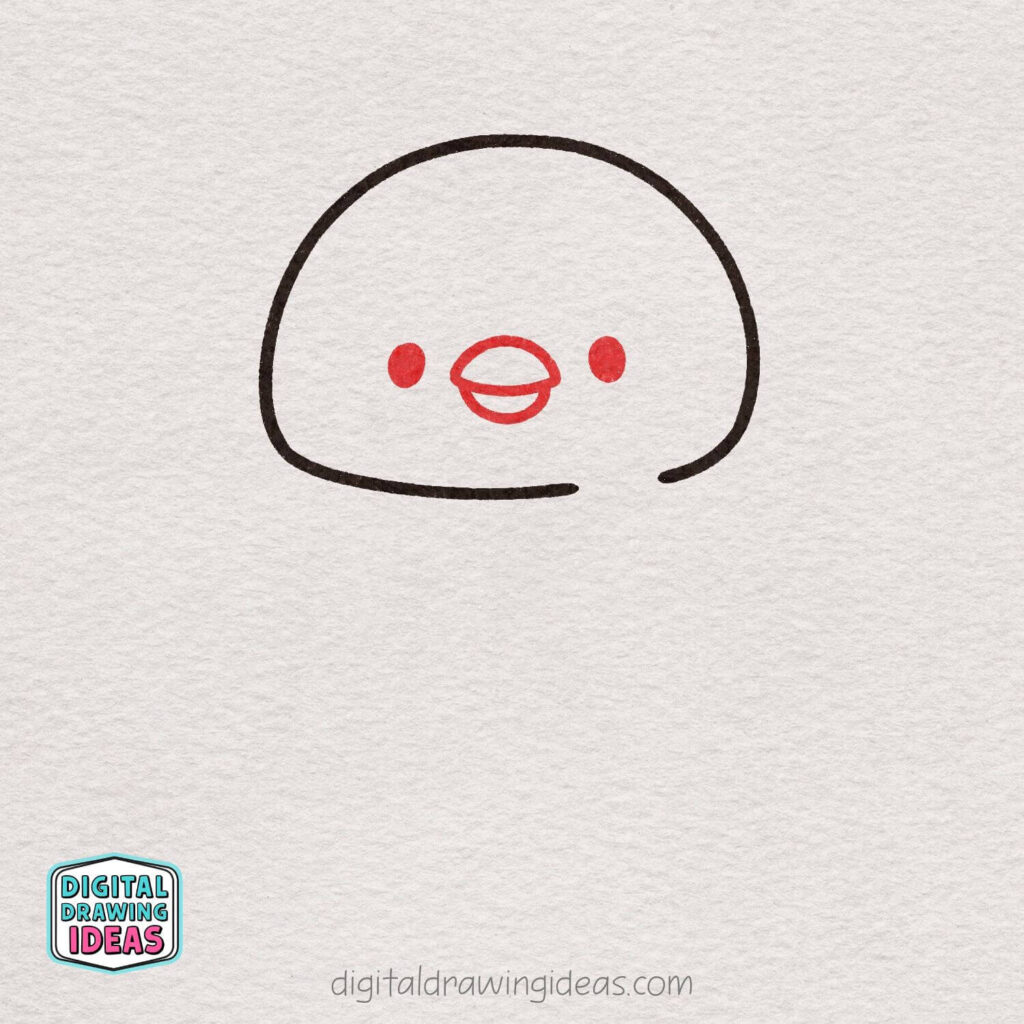
Draw two small dots on each side of the face for the cheeks.
Then, add a small rounded beak shape in the center, keeping everything simple and evenly spaced for a cute look.
Step 3 – Shape the Face
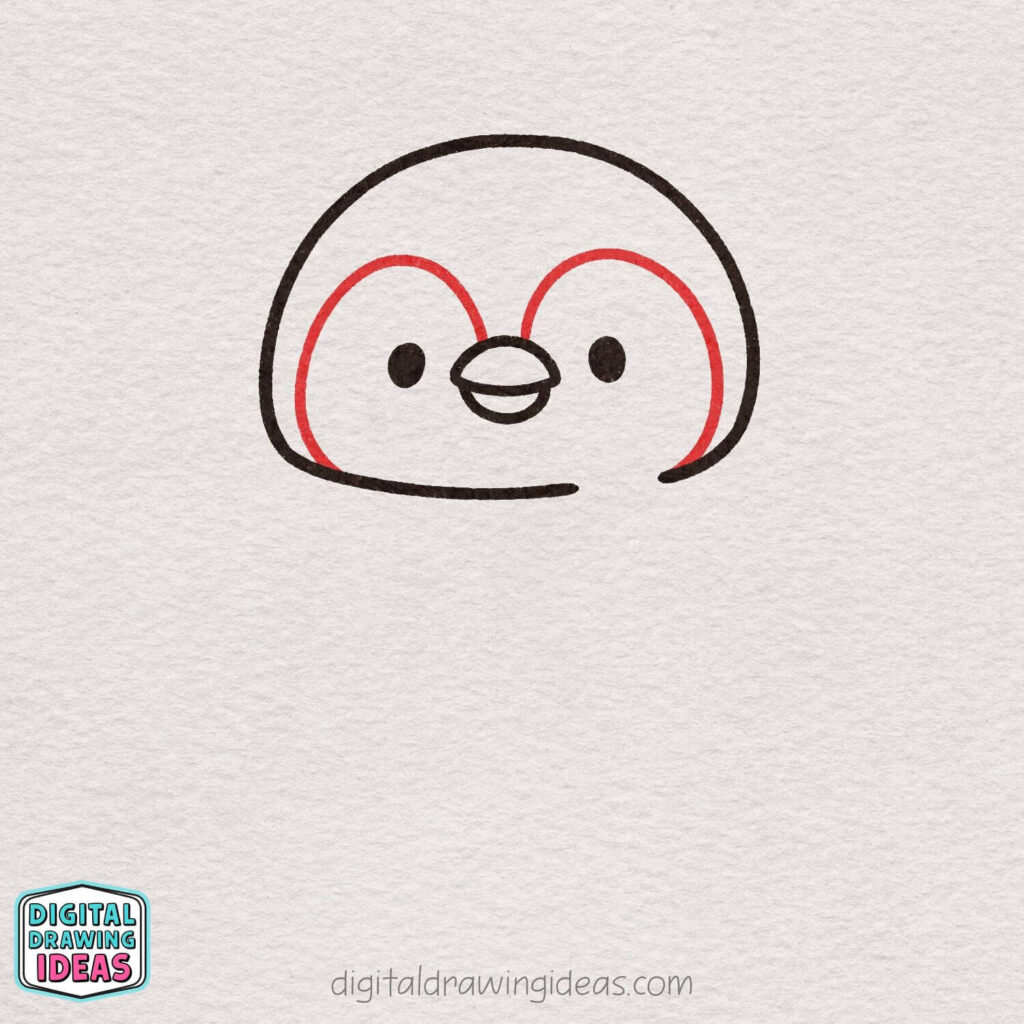
Draw two large curved lines around the eyes, starting near the top of the head and ending close to the bottom.
These rounded shapes create the penguin’s face area and help give it a soft, friendly expression.
Step 4 – Start the Scarf
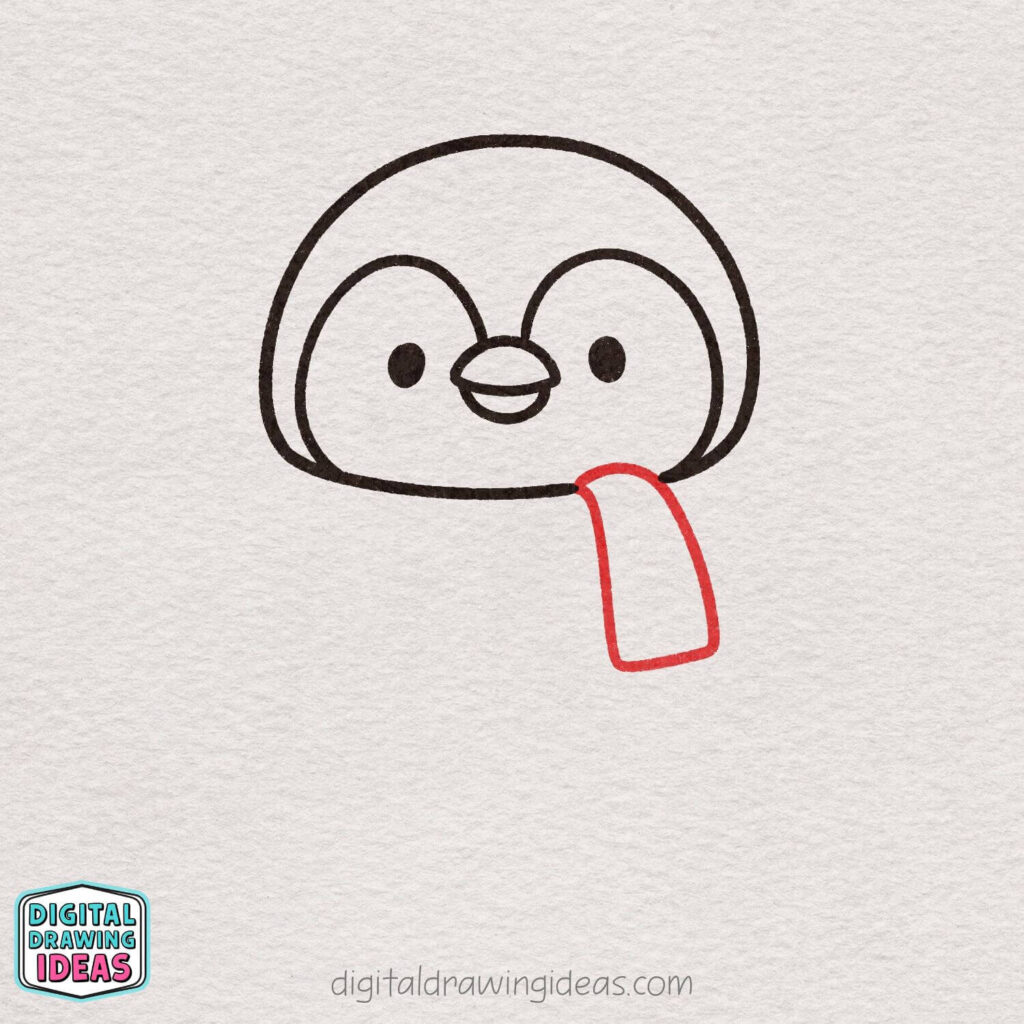
Draw a long rounded rectangle shape coming down from one side of the penguin’s neck.
This will be the hanging part of the scarf, so keep the edges soft and slightly curved.
Step 5 – Wrap the Scarf Around the Neck
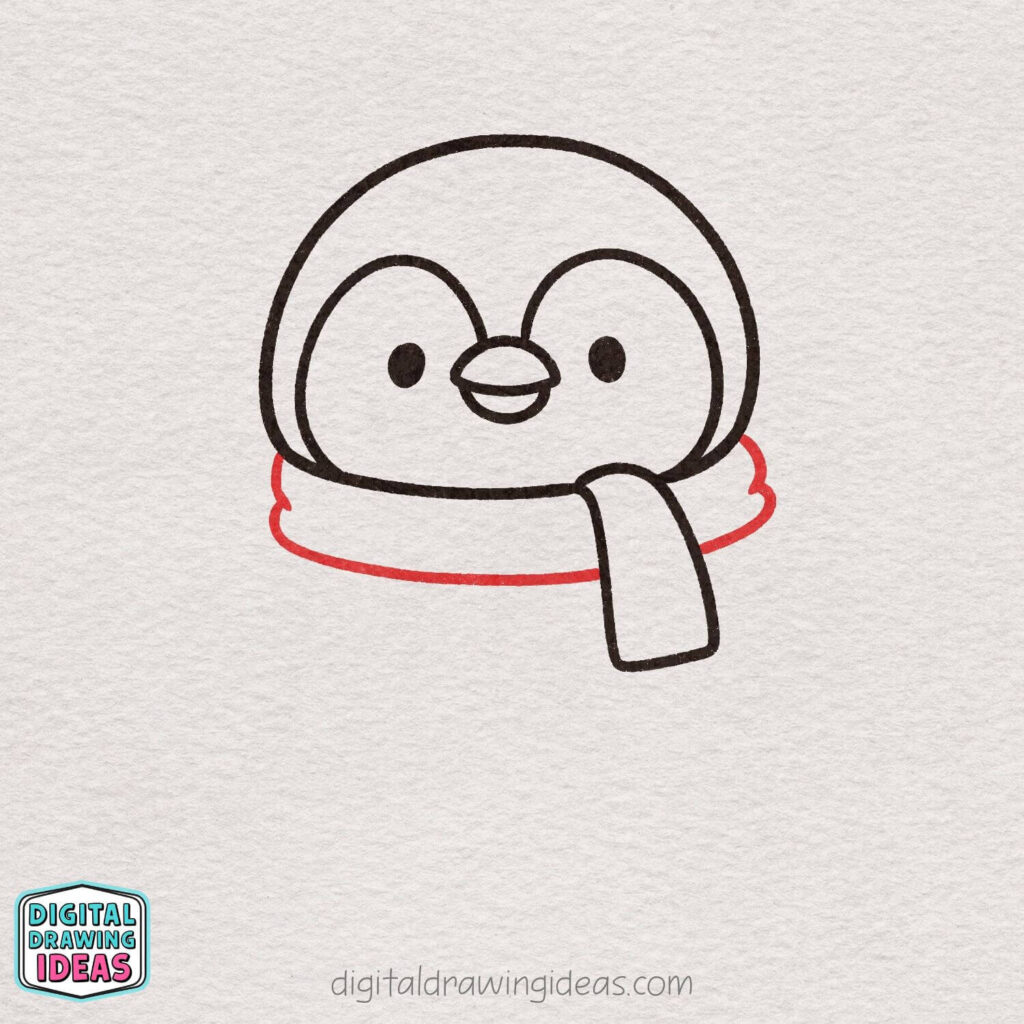
Draw a wide curved band around the penguin’s neck, connecting it to the hanging scarf piece.
Add soft bumps on each side to make the scarf look cozy and fluffy.
Step 6 – Add the Scarf End

Draw a short rounded line extending down from the bottom of the scarf.
This creates the layered look of the scarf and adds a bit more depth to the design.
Step 7 – Add the Scarf Fringes
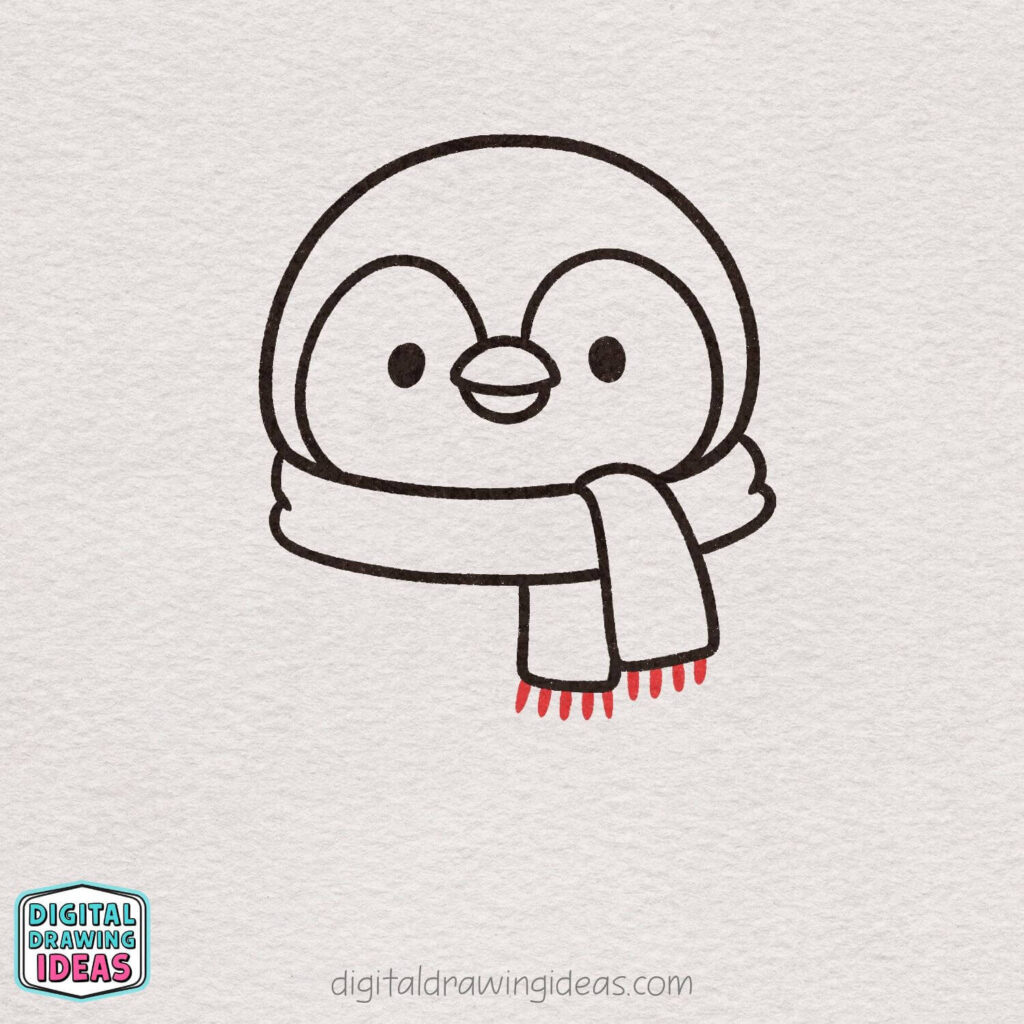
Draw several short lines at the bottom of the scarf.
These small details create the fringe and make the scarf look warm and cozy.
Step 8 – Draw the Body Shape
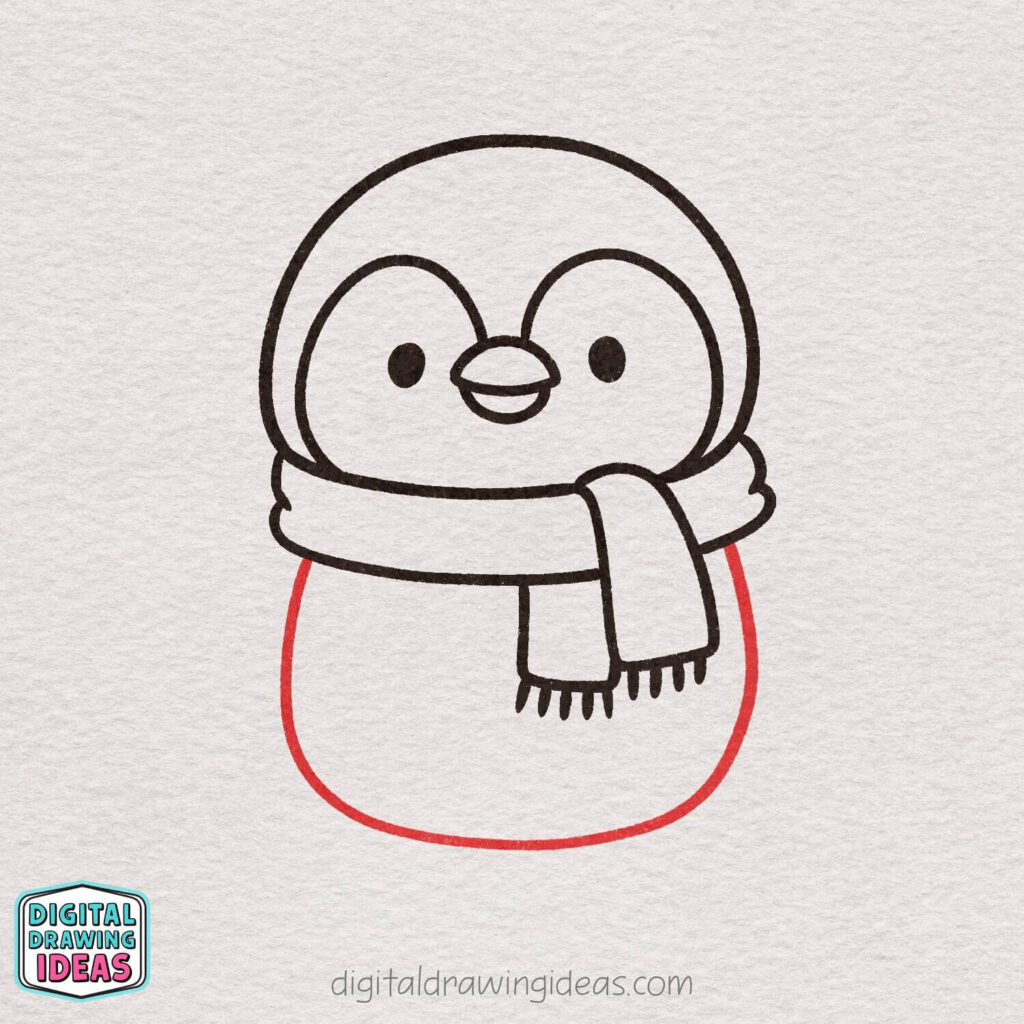
Draw a large rounded shape under the head to form the penguin’s body.
Keep the bottom nice and wide so the penguin looks cute, chubby, and balanced.
Step 9 – Add the Belly
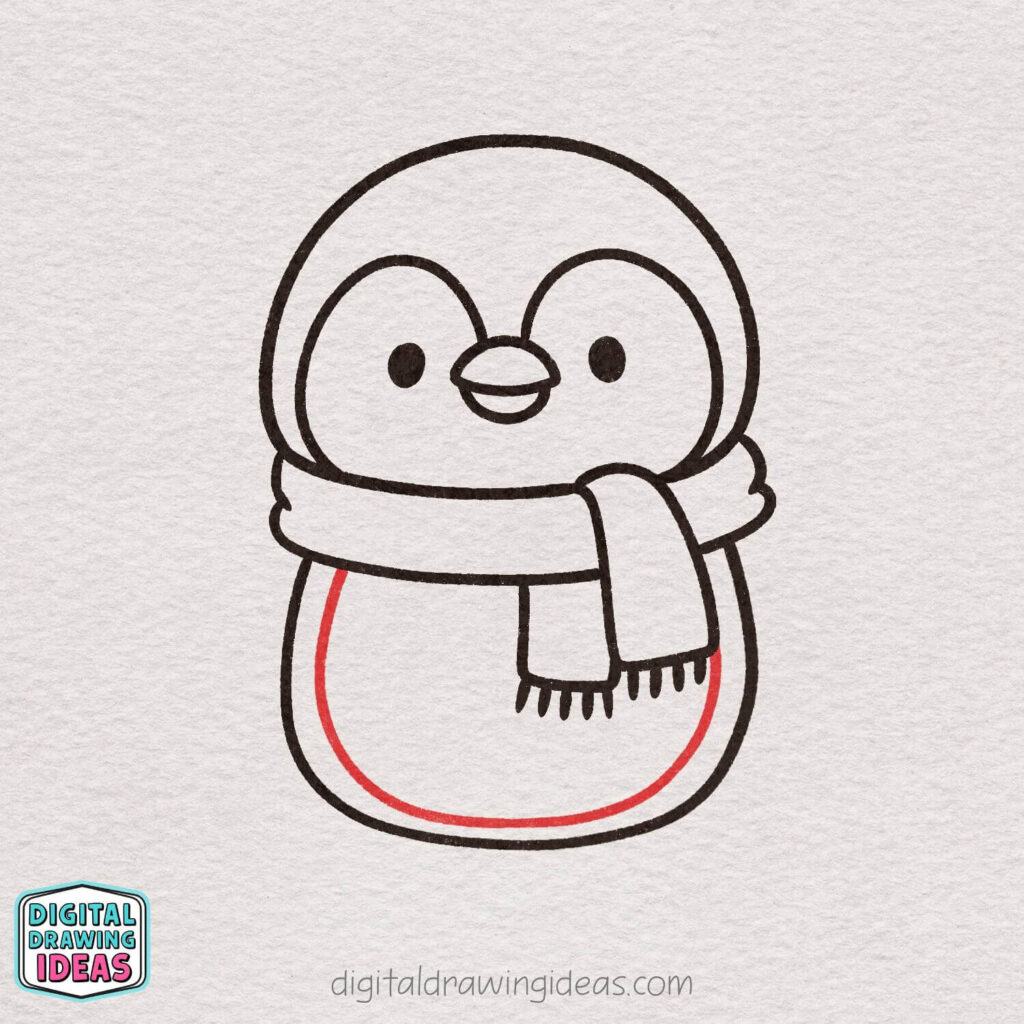
Draw a large curved line inside the body to create the penguin’s belly.
Follow the shape of the body and keep the line smooth for a soft, rounded look.
Step 10 – Draw the Wings
Draw two simple curved shapes on each side of the body for the wings.
Keep them short and rounded so the penguin looks soft, friendly, and cute.
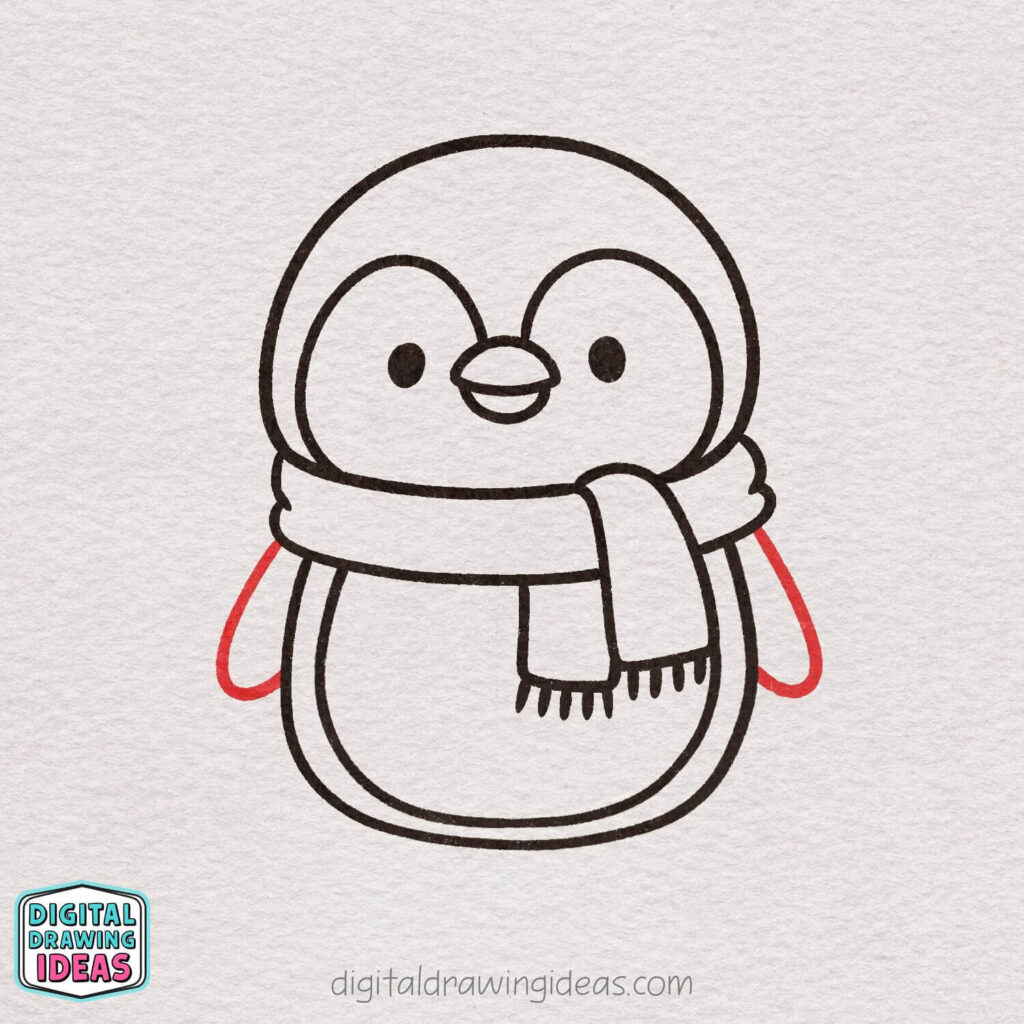
Step 11 – Draw the Feet
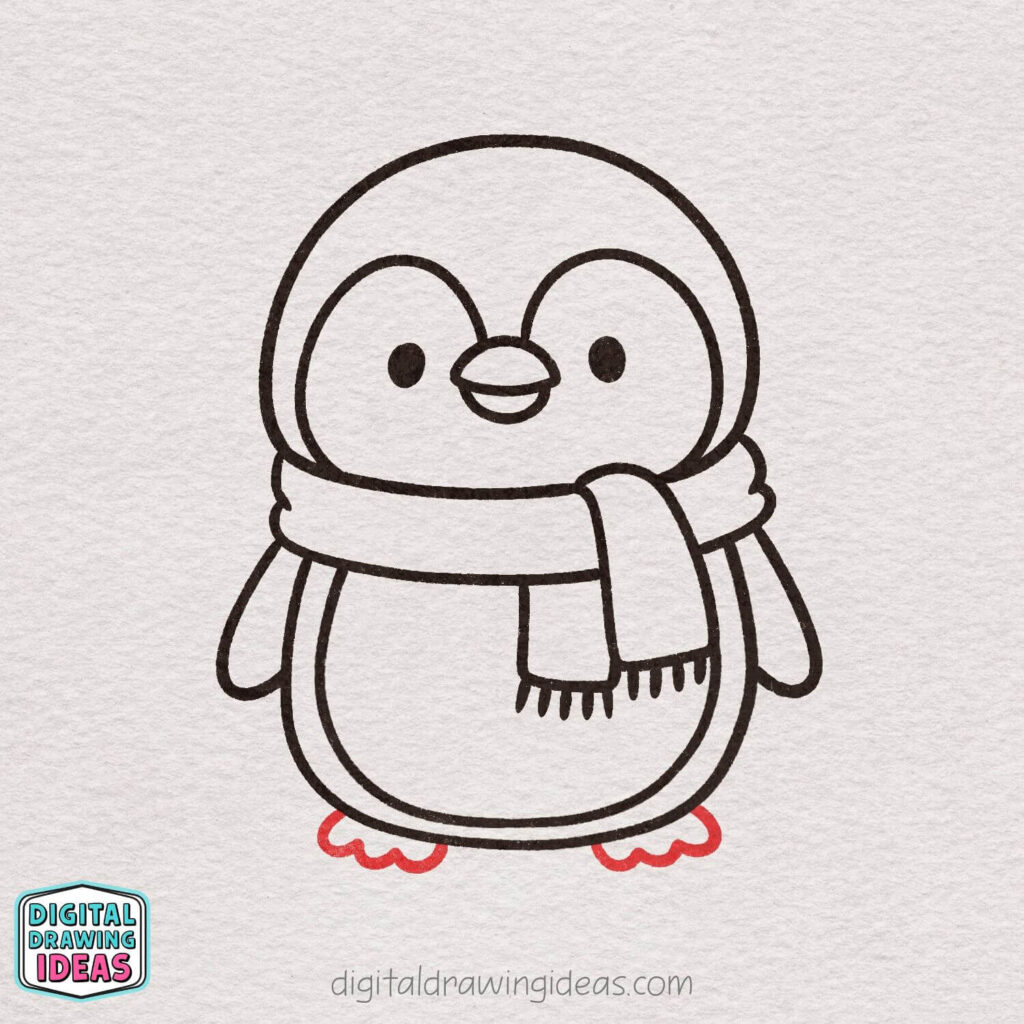
Draw two small rounded shapes at the bottom of the body for the feet.
Use soft, wavy lines to give them a simple, cute penguin-feet look.
Step 12 – Add Cute Details

Draw small decorative shapes around the penguin, like hearts or sparkles.
These little extras make your drawing feel playful and bring the penguin to life.
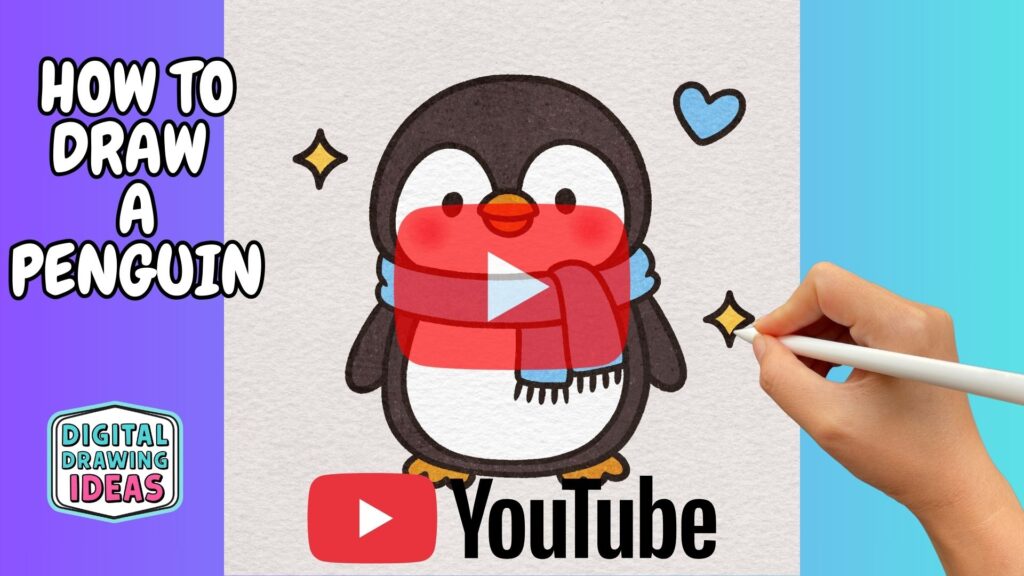
Step 13 – Color and Finish Your Penguin

Color in your penguin using soft, cozy shades, and add a gentle blush to the cheeks.
Once everything is filled in, your cute penguin drawing is complete — great job! 🐧💙
Watch this Penguin Drawing Tutorial on Youtube
You Did It! Let’s Talk About Your Penguin
Take a moment to look at your finished drawing. Seriously — look at it. You just followed a full how to draw a penguin tutorial from start to finish, and that’s something to be proud of. Every time I complete a drawing like this, I get that same quiet little spark of happiness, and I hope you’re feeling it too.
One thing I love about penguin drawing is how easily you can personalize it. Change the scarf color, add more decorations, make the penguin taller or rounder — there’s no wrong version here. Creativity isn’t about rules; it’s about expression.
If you enjoyed this tutorial, you might also like some of my other cute animal drawings:
- Try my playful pig tutorial: How to Draw a Pig (Cute Pig Drawing)
- Or relax with this gentle favorite: How to Draw a Capybara (Cute Capybara Drawing)
- And if you want something a bit different, don’t miss: How to Draw a Goat (Cute Goat Drawing)
I regularly share new tutorials, drawing ideas, and inspiration on my Pinterest page, where you can save your favorite drawings and come back to them anytime. You can also watch my full drawing videos on my YouTube channel, where I walk through each step visually if that’s more your style.
I’d absolutely love to see what you create. Share your penguin drawing on Pinterest, or post it on Instagram and tag @digitaldrawingideas so I can cheer you on. And if you ever find yourself stuck again, come back — I’m always drawing, experimenting, and creating new tutorials for fellow creative souls like you.
So tell me — what animal should we draw next?

