If you’ve ever wondered how to draw an ice cream that looks cute, soft, and actually fun to make… you’re in the right place. I created this exact tutorial on one of those cozy afternoons when I just wanted to draw something simple and happy. And honestly? Ice cream drawings always work.
I still remember when I first started making cute doodles like this. Everything felt stiff, and my lines were way too serious for something that’s supposed to be fun. If you’ve ever felt like your drawings don’t look “cute enough,” I’ve been there too.
That’s exactly why I made this ice cream drawing tutorial super beginner-friendly. No complicated shapes, no pressure. Just soft lines, a little creativity, and a result that actually makes you smile.
And the best part? You don’t need to be “good at drawing.” You just need to start.

Why This Ice Cream Drawing Is Perfect For Beginners
Before we jump into the steps, let me quickly tell you why I love this one so much:
- It’s made from simple, repeatable shapes
- You can easily fix mistakes (seriously, I do it all the time)
- It teaches you how to create that soft, “melting” cute style
- You can customize it with colors and details however you want
If you’ve been searching for how to draw an ice cream in a way that actually feels doable, this is it.
Step 1: Draw The Top Scoop Shape

Start by drawing a smooth curved line like a wide upside-down “U”. This will be the top of your ice cream scoop, so keep the line soft and rounded.
Step 2: Add The Drippy Edge
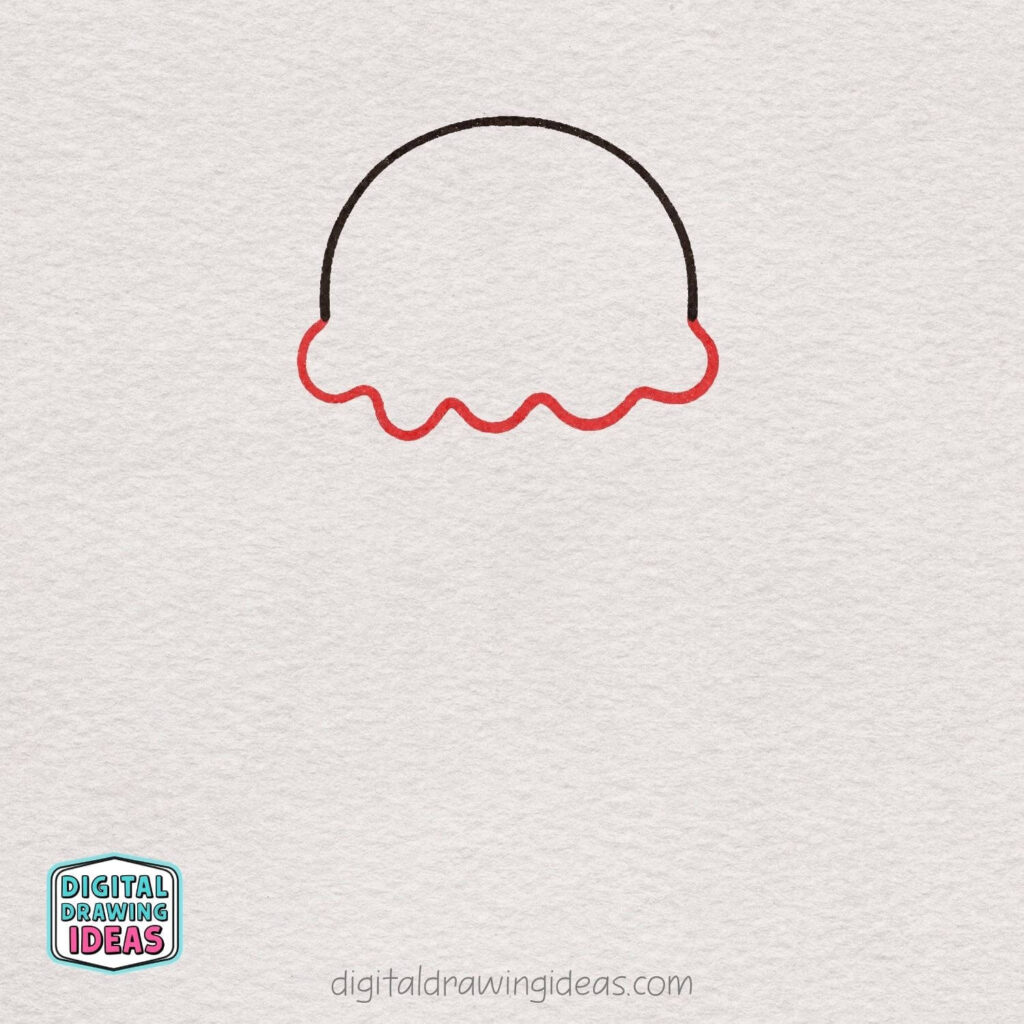
Draw a wavy, dripping line along the bottom of the scoop. Let the curves go up and down softly to create that cute melting ice cream look.
Step 3: Draw The Second Scoop
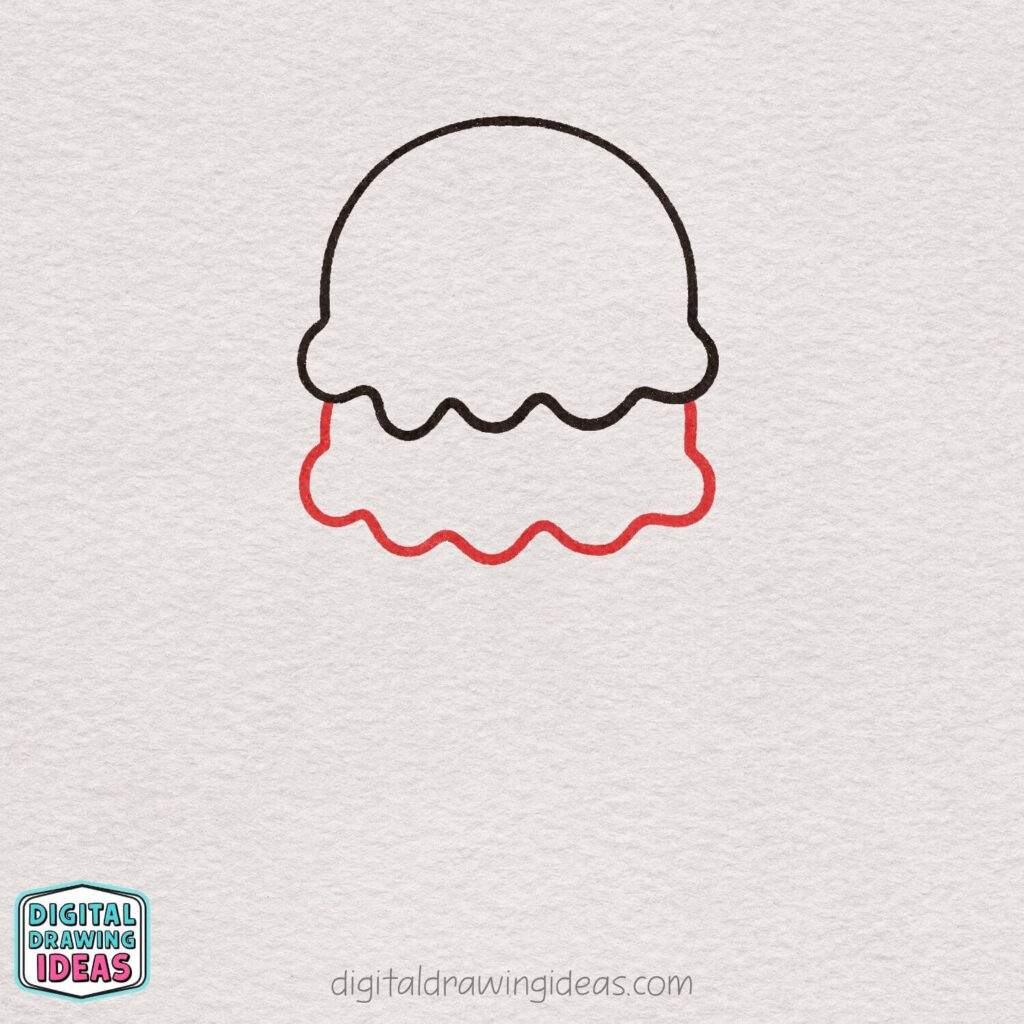
Right below the first scoop, draw another wavy, dripping line. Follow a similar flow, but let it peek out a bit on the sides to create a layered look.
Step 4: Add The Third Scoop Layer
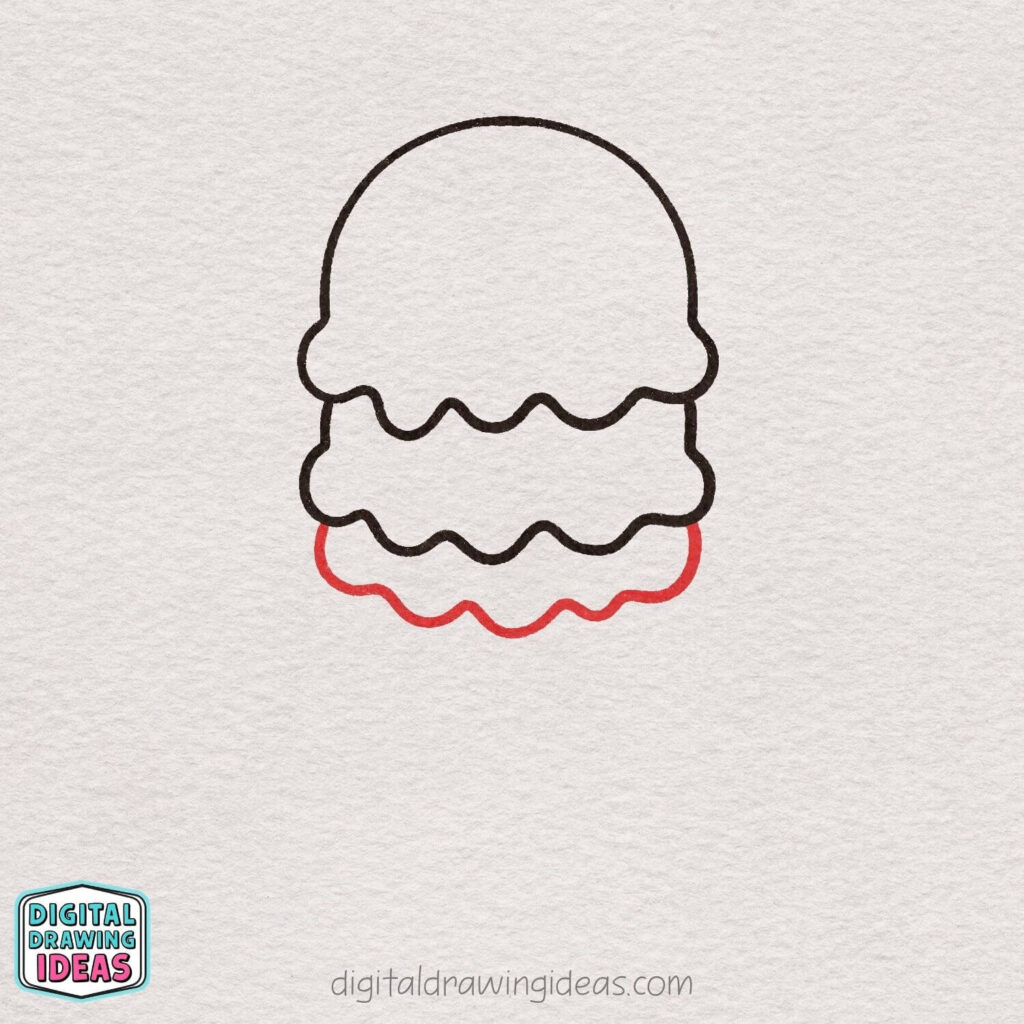
Draw another wavy, dripping line underneath to create the third scoop.
Keep the curves soft and slightly wider so the stack looks full and fluffy.
Step 5: Draw The Top Of The Cone
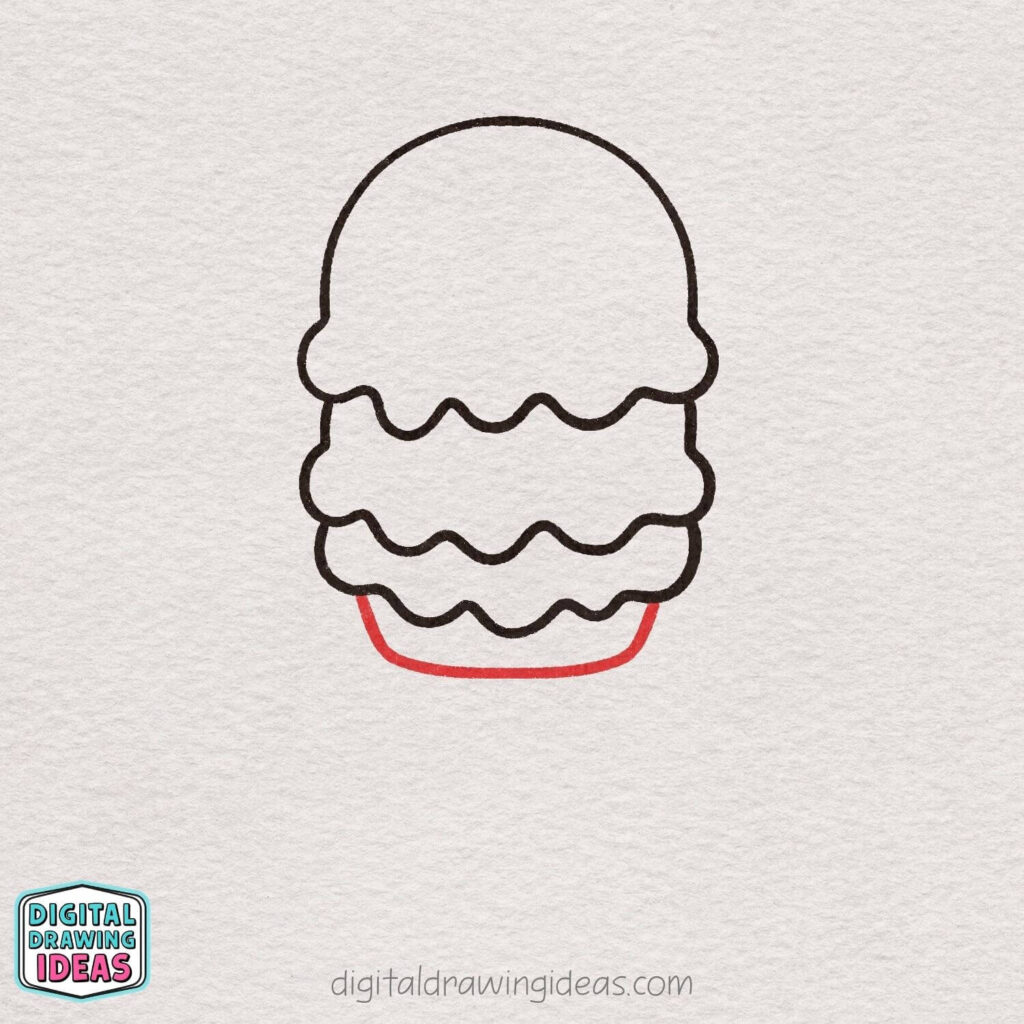
Add a soft, curved line under the scoops to start the cone. Keep it slightly rounded at the corners so it matches the cute, smooth style.
Step 6: Shape The Cone
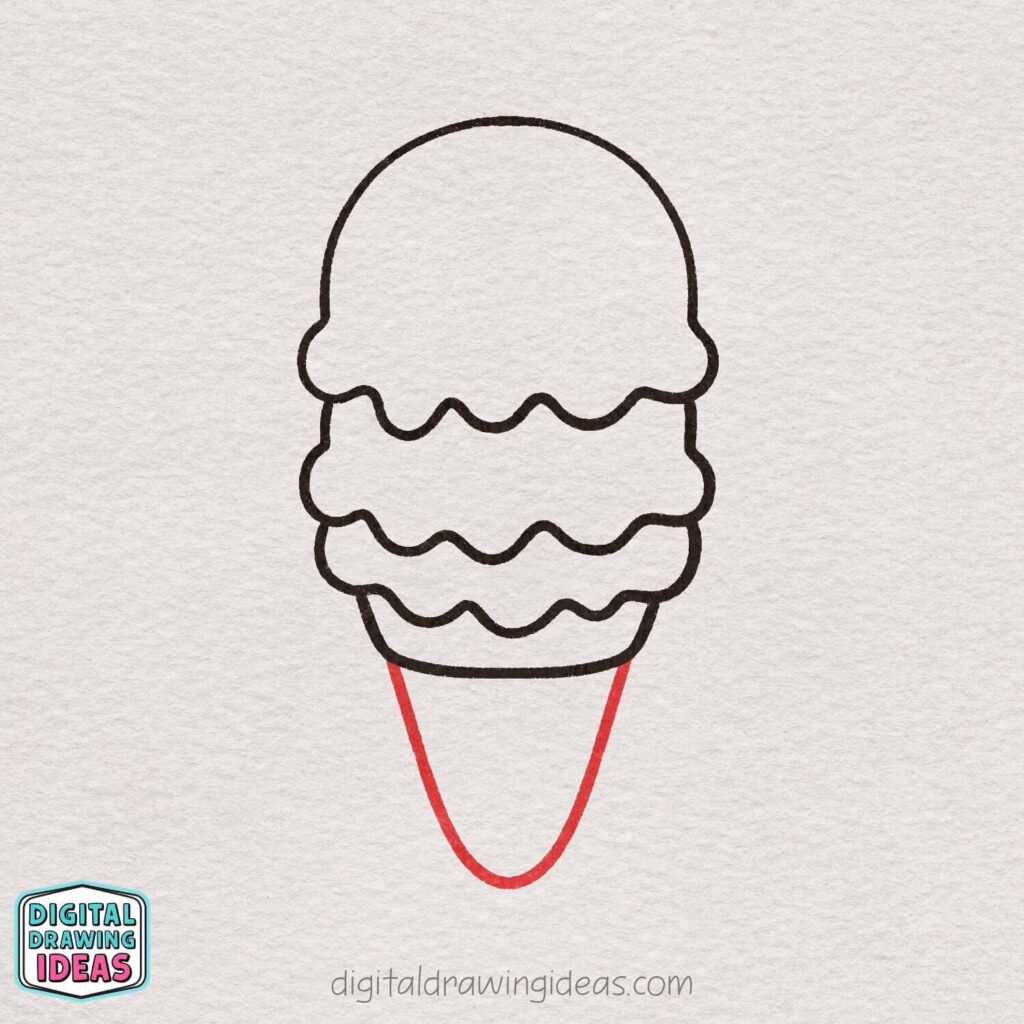
Draw two slightly curved lines going down and connect them at the bottom to form the cone. Keep the tip rounded to match the soft, cute style.
Step 7: Add A Cute Face
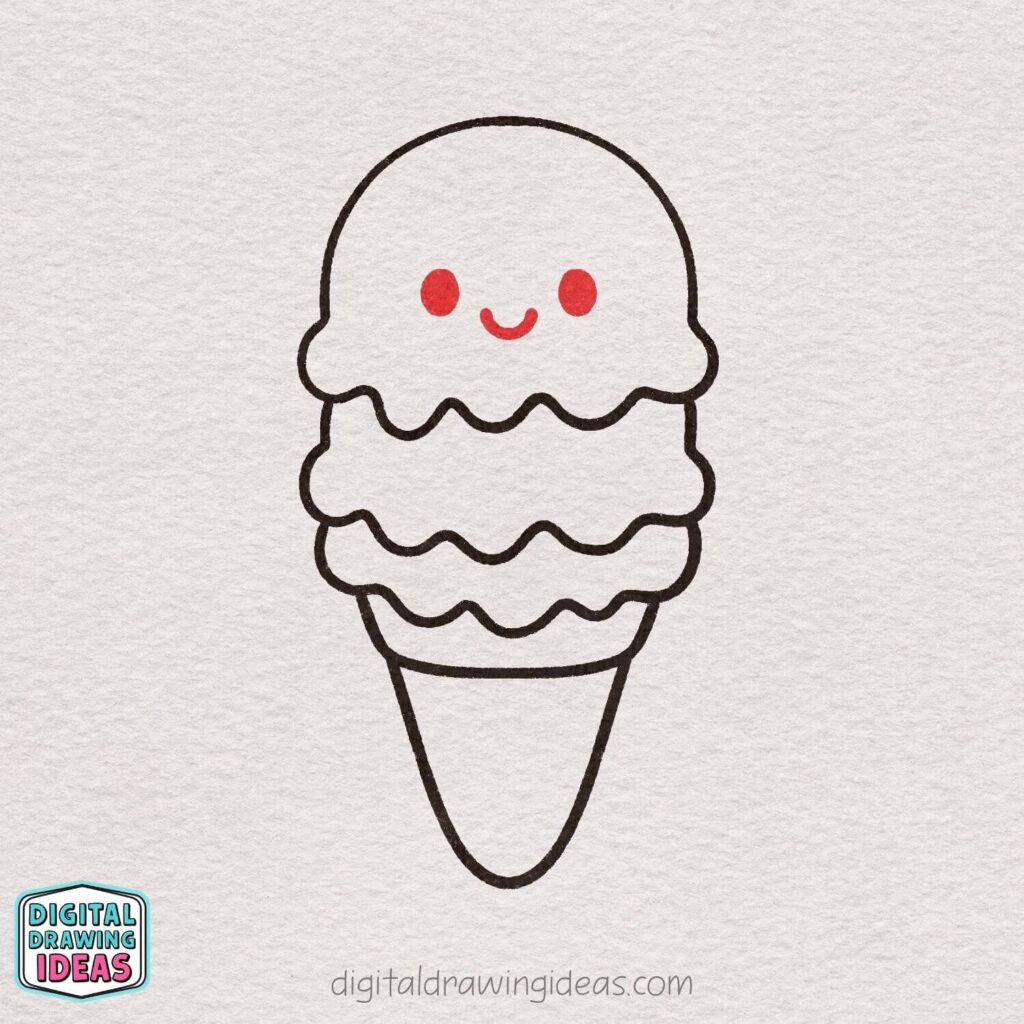
Draw two small oval shapes for the eyes and a tiny curved line for the smile.
Place them in the center of the top scoop to give your ice cream a sweet, happy expression.
Step 8: Add Sprinkles And Cute Details

Draw small oval shapes on top for sprinkles, then add fun little doodles like a star, circles, a heart, and sparkles around your ice cream to make it extra cute.
Step 9: Color Your Ice Cream

Bring your drawing to life by adding soft, fun colors to each scoop and the cone.
Use bright shades for the sprinkles and decorations to make your cute ice cream pop!
Struggling To Make Your Drawings Look Cute?
Let’s talk about something real for a second.
A lot of people think cute drawings are about talent. They’re not. They’re about tiny choices:
- Softer curves instead of sharp lines
- Smaller, centered facial features
- Slightly exaggerated shapes
When I first started practicing how to draw an ice cream, mine looked more like a melting blob than something adorable. But once I focused on these small details, everything changed.
So if your drawing doesn’t look perfect yet, that’s completely normal. You’re learning the style, not just copying steps.
Make It Your Own (This Is The Fun Part)
Now comes my favorite step.
Once you finish your ice cream drawing, try adding your own twist:
- Different scoop colors (pastel, neon, or even galaxy style)
- Extra toppings like cherries or chocolate drizzle
- More cute doodles around it (stars, sparkles, hearts)
This is where your personality shows up. And trust me, that’s what makes your drawings special.
Want More Cute Drawing Ideas?
If you enjoyed learning how to draw an ice cream, I have a few more tutorials I think you’ll love:
- Try a sweet summer vibe with
How To Draw A Popsicle - Or go for something fun and playful like
How To Draw A Hamburger - And if you’re in a baking mood (without the mess), check out
How To Draw A Cupcake
I draw all of these in the same cute, simple style, so once you learn one, the others feel much easier.
Let’s Stay Connected
If you try this tutorial, I’d genuinely love to see your version.
- Follow me on Pinterest:
DigitalDrawingIdeas - Watch more tutorials on YouTube:
Digital Drawing Ideas Channel
And if you share your drawing, tag me on Instagram @digitaldrawingideas. I always get so excited seeing your creations.
Final Thoughts – You Can Totally Do This
Learning how to draw an ice cream isn’t about getting it perfect. It’s about enjoying the process, relaxing a little, and creating something that feels fun.
I’ve drawn this exact ice cream more times than I can count, and every time it turns out a bit different. That’s the beauty of it.
So don’t overthink it.
Grab your pen, start with that first curve, and just keep going.
If you made it this far, I have to ask:
What color would your dream ice cream be?

