If you’ve ever wondered how to draw a pear in a cute and simple way, you’re in the right place. I’m going to walk you through my exact step-by-step process—the same one I use when I create my own doodles for Digital Drawing Ideas.
I still remember when I started practicing simple fruit drawings. Pears were surprisingly tricky at first. Not because they’re complicated… but because getting that soft, rounded shape just right felt harder than I expected. If you’ve ever drawn something and thought “why does this look weird?”, I’ve been there too.
That’s exactly why I love breaking things down into tiny, easy steps. This pear drawing tutorial is designed to help you feel relaxed, not overwhelmed. You don’t need perfect lines. You don’t need experience. You just need a pen, a little patience, and a bit of curiosity.

Why This Pear Drawing Is Perfect For Beginners
Let’s be honest for a second. Starting a drawing can feel intimidating, especially if you think you’re “not good at drawing.”
Here’s the good news:
- You don’t need to be talented to learn how to draw a pear
- You just need simple, repeatable steps
- And a drawing style that allows imperfection
That’s exactly what we’re doing here.
This style is:
- soft and forgiving
- beginner-friendly
- slightly “wonky” on purpose (because that’s what makes it cute)
I personally love this kind of drawing because it feels more like playing than performing. And trust me, that mindset makes a huge difference.
Step-By-Step: How To Draw A Pear
Take your time with each step. There’s no rush here. If your lines look different from mine, that’s completely fine. Honestly, that’s where your style starts to show.
Step 1: Draw a Small Curve
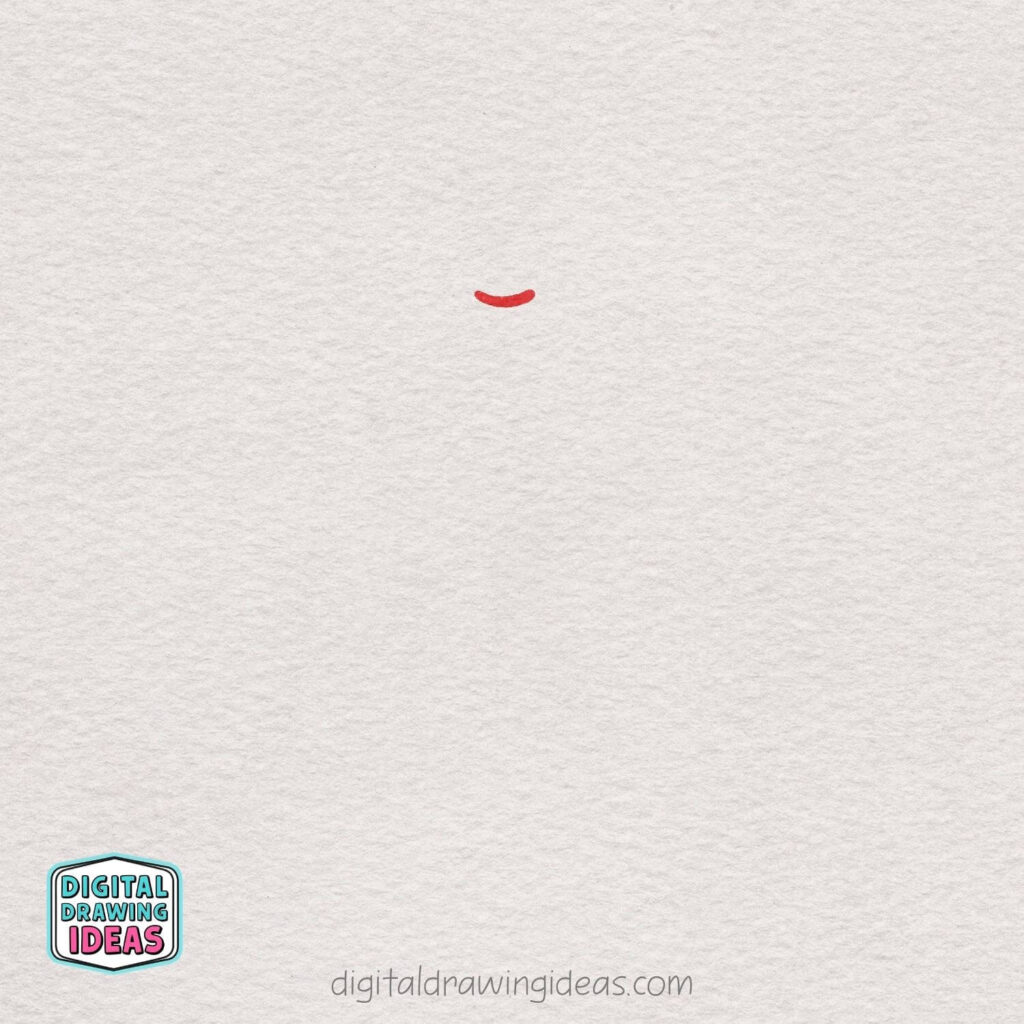
Start by drawing a short, gentle curved line in the upper middle of your page.
This little curve will be the top dip of the pear where the stem will grow later. Keep it soft and slightly rounded—think of a tiny smile!
Step 2: Add the Stem Top
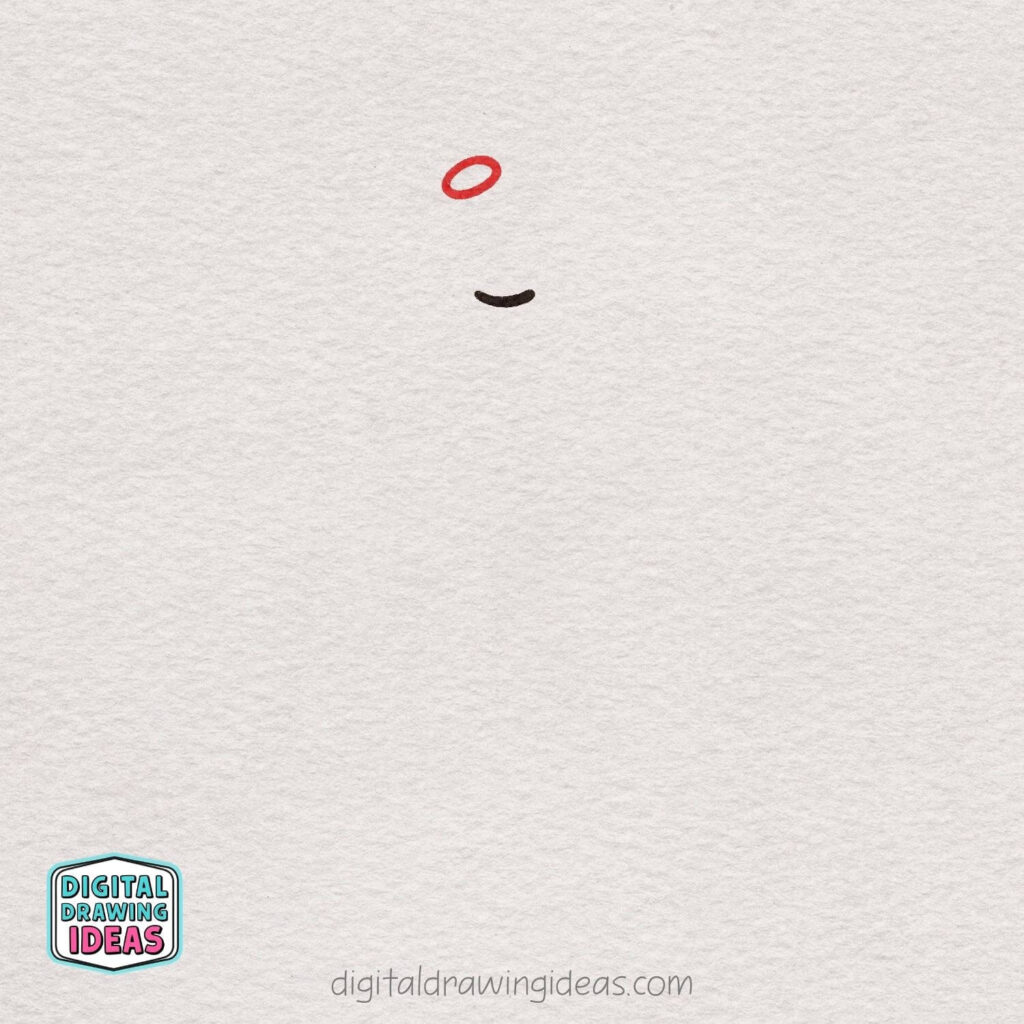
Above the curved line, draw a small tilted oval shape.
This will become the top of the stem, so don’t worry if it’s not perfectly round.
Keep it light and slightly angled to make your pear look more natural and cute!
Step 3: Connect the Stem
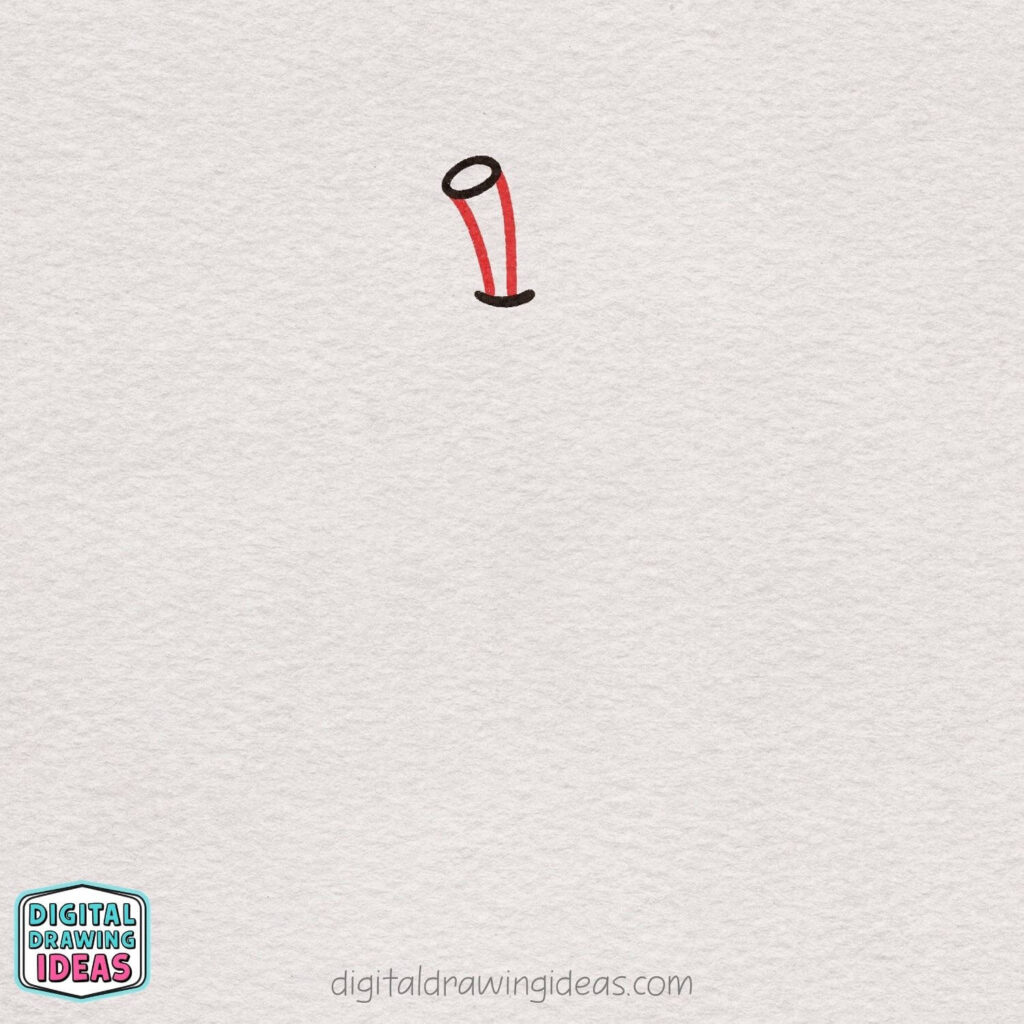
Draw two slightly curved lines going down from the oval to the small curve below.
This forms the stem of your pear! Let the lines gently lean to one side to give it a more natural and playful look.
Step 4: Outline the Pear Shape
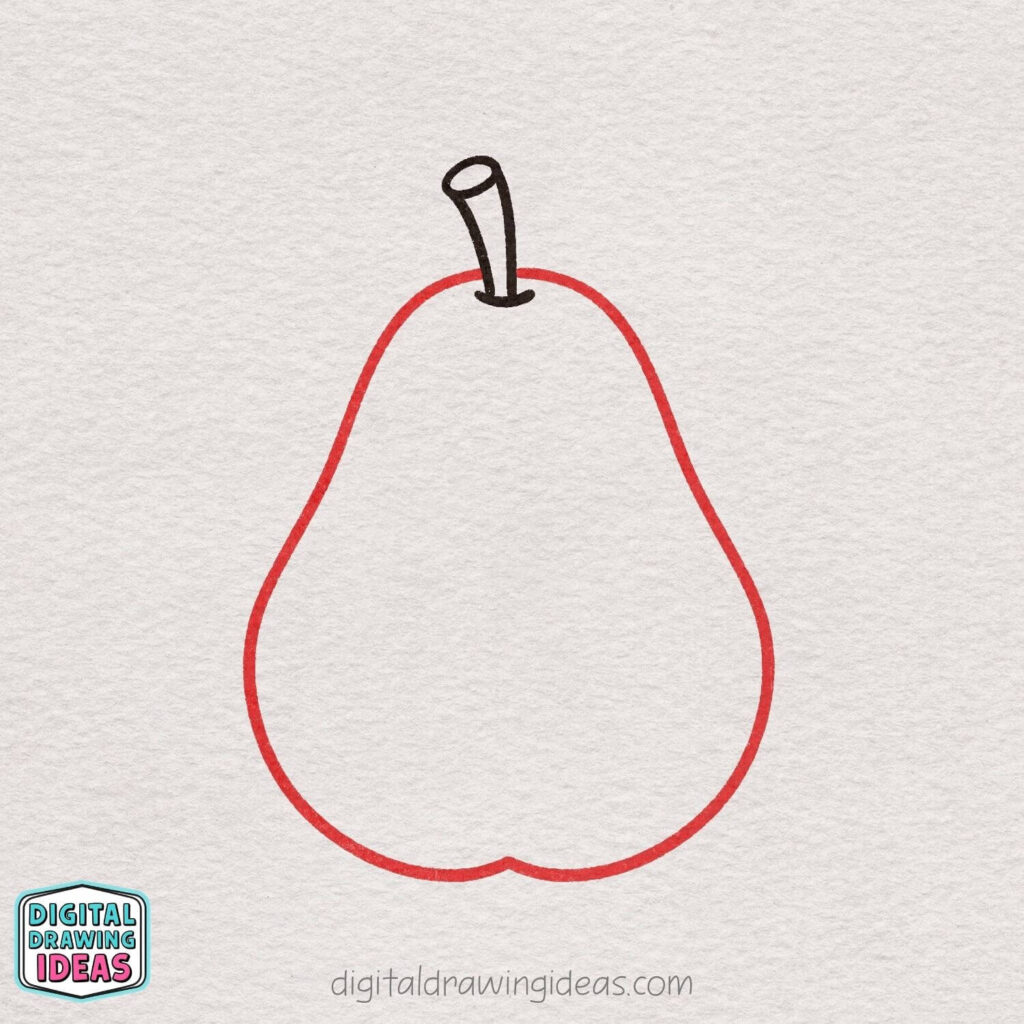
Starting from one side of the stem, draw a long, smooth curved line down to create the side of the pear.
Repeat on the other side, making it nice and round and slightly wider at the bottom.
Connect the two sides with a soft little bump in the middle to form the bottom—just like a cute heart shape!
Step 5: Draw a Cute Leaf
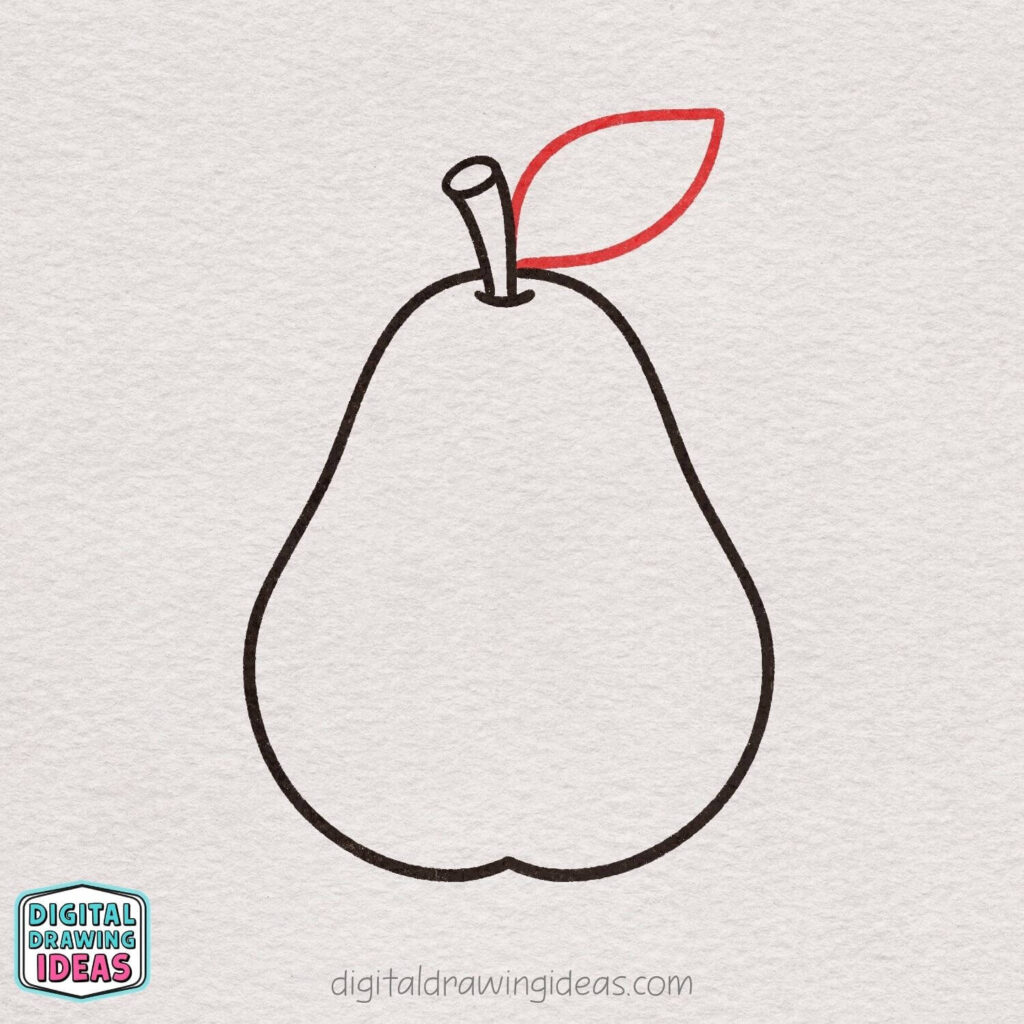
Next to the stem, draw a simple leaf shape using two smooth curved lines that meet at a point.
Start from the side of the stem and curve outward, then back in. Keep it nice and soft to match the cute style!
Step 6: Add Leaf Details
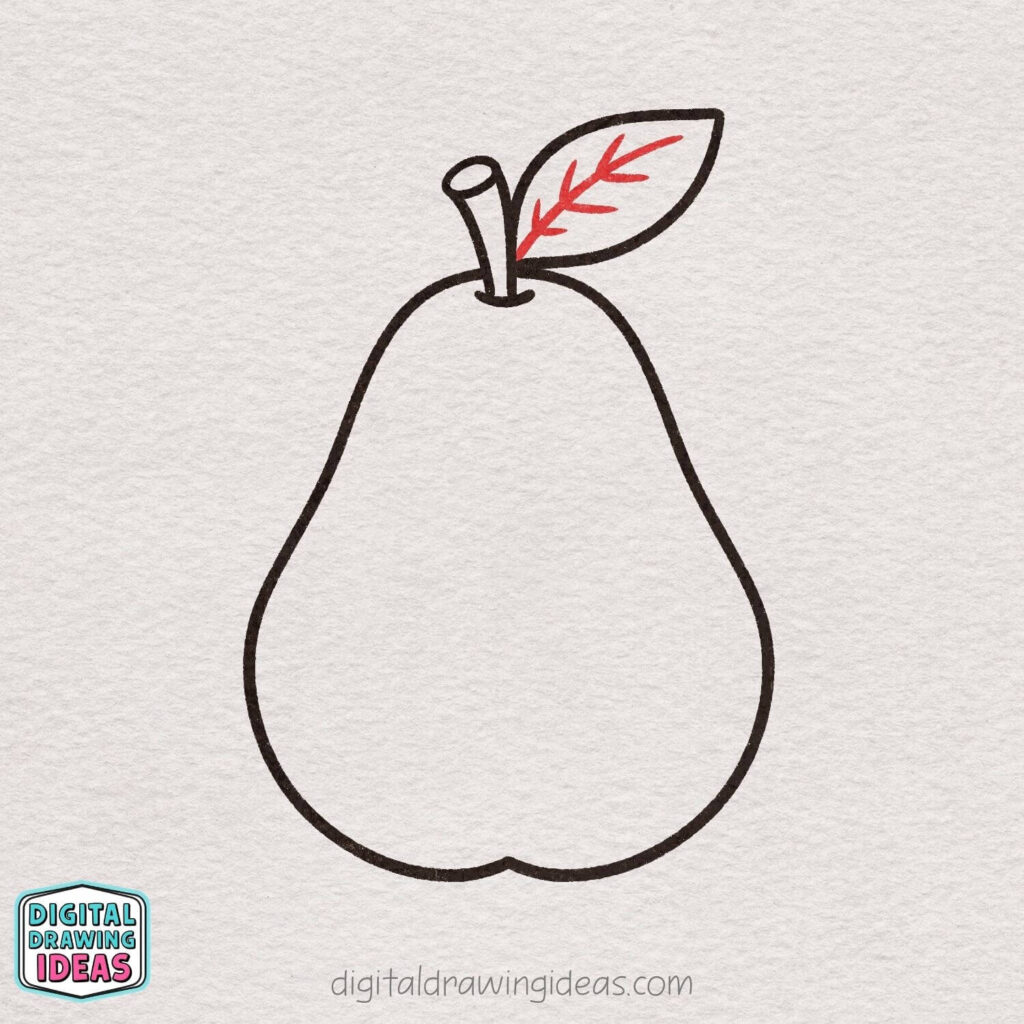
Inside the leaf, draw a thin line through the middle, then add a few short angled lines coming off it.
These are the leaf veins! Keep them simple and slightly curved to match the soft, cute style.
Step 7: Add a Cute Face
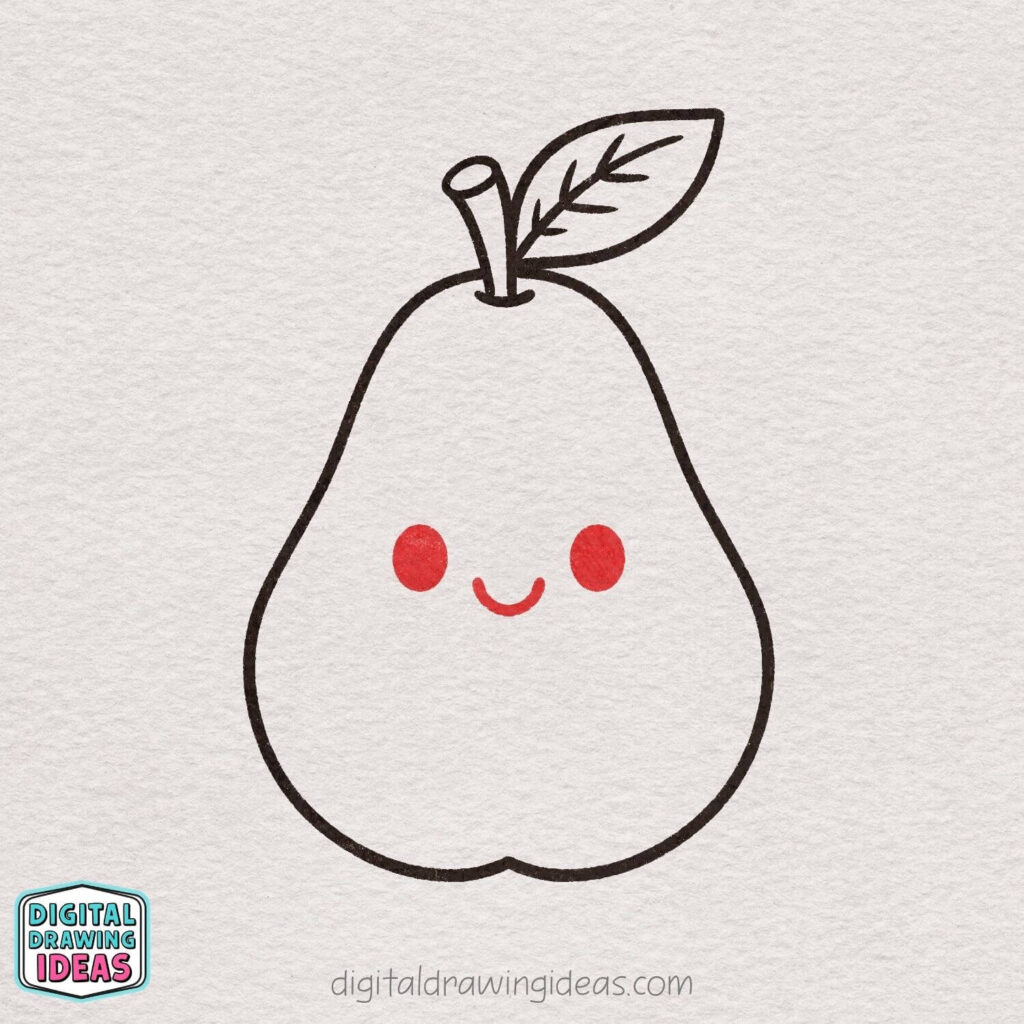
Now let’s bring your pear to life! Draw two small oval shapes for the eyes, then add a tiny curved line between them for a happy smile.
Keep everything soft and centered to make your pear look extra adorable.
Step 8: Add Cute Details Around

Draw a few simple shapes around your pear, like a small star, a heart, and a sparkle.
These little decorations make your drawing feel more fun and lively.
Keep them small and spaced out so your pear stays the main focus!
Step 9: Color Your Pear
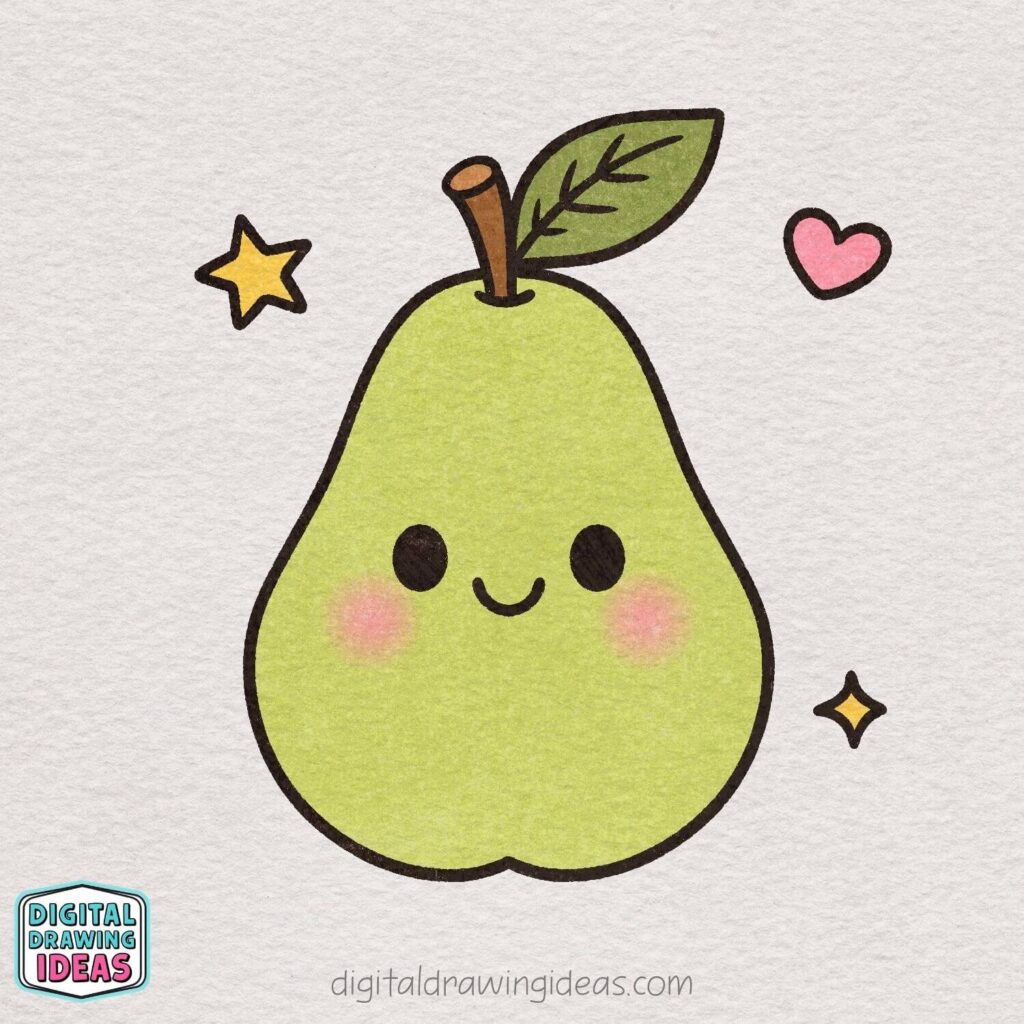
Now it’s time to bring your drawing to life with color!
Fill the pear with a soft green, color the stem brown, and the leaf a nice fresh green.
Add a little pink blush on the cheeks to make it extra cute, and color your decorations too.
Great job—you’ve finished your adorable pear! 🍐
My Personal Tip (That Changed Everything For Me)
When I first started drawing simple things like fruit, I kept trying to make everything “perfect.”
That was my biggest mistake.
What actually helped me improve faster was this:
- I stopped correcting every line
- I allowed small imperfections
- I focused on finishing drawings instead of fixing them
And suddenly… drawing became fun again.
So while you follow this how to draw a pear tutorial, try this:
Just keep going. Don’t erase. Don’t overthink.
Your pear doesn’t need to be perfect to be adorable.
Want More Easy Drawing Ideas?
If you enjoyed this pear drawing, I have a few more tutorials you’ll absolutely love. I created all of these in the same simple, beginner-friendly style:
These are perfect if you want to build a whole cute food doodle collection.
Let’s Stay Connected (And Keep Drawing Together)
If you try this how to draw a pear tutorial, I’d genuinely love to see your version.
You can:
- Save more ideas on my Pinterest
- Watch drawing videos on my YouTube channel
And if you share your drawing, tag me on Instagram @digitaldrawingideas. I always get so excited seeing your creations.
Final Thoughts: You Can Do This
If you made it this far, I just want to say something important.
You don’t need to be “good at drawing” to enjoy drawing.
This how to draw a pear tutorial isn’t about creating a masterpiece. It’s about:
- slowing down
- enjoying the process
- and making something with your own hands
And honestly? That’s what creativity is all about.
So tell me:
Did your pear turn out cute, funny, or completely chaotic?
I’d love to know.

