How to draw a house was one of the very first things I ever tried to sketch when I started getting into cute, simple drawings. And honestly? My first attempts looked more like a wobbly box with a triangle on top than anything livable.
But that’s exactly why I love this kind of house drawing so much. It’s simple, forgiving, and somehow still magical. There’s something really calming about building a little cozy home line by line, like you’re creating your own tiny world on paper.
If you’ve ever felt like:
- “I can’t draw straight lines”
- “My drawings always look off”
- or “I don’t even know where to start”
…you’re in the right place. I’ve been there too, and this step-by-step approach is exactly what helped me improve without feeling overwhelmed.
Let’s draw something cute together.

Why This Cute House Drawing Works (Even If You’re a Beginner)
Before we jump into the steps, I want to quickly explain why this method of how to draw a house actually works so well.
Instead of trying to draw everything at once, we:
- build the shape step by step
- focus only on small details at a time
- keep everything soft and rounded (no scary perfect lines needed)
This makes the whole process feel way more doable.
And trust me, once you finish this one, you’ll start thinking:
“Wait… I can actually draw.”
Step-by-Step: How To Draw A House
Below is the exact process I personally use when creating this cute house drawing. Follow along at your own pace, and don’t worry about making it perfect.
Step 1: Draw the Roof Peak
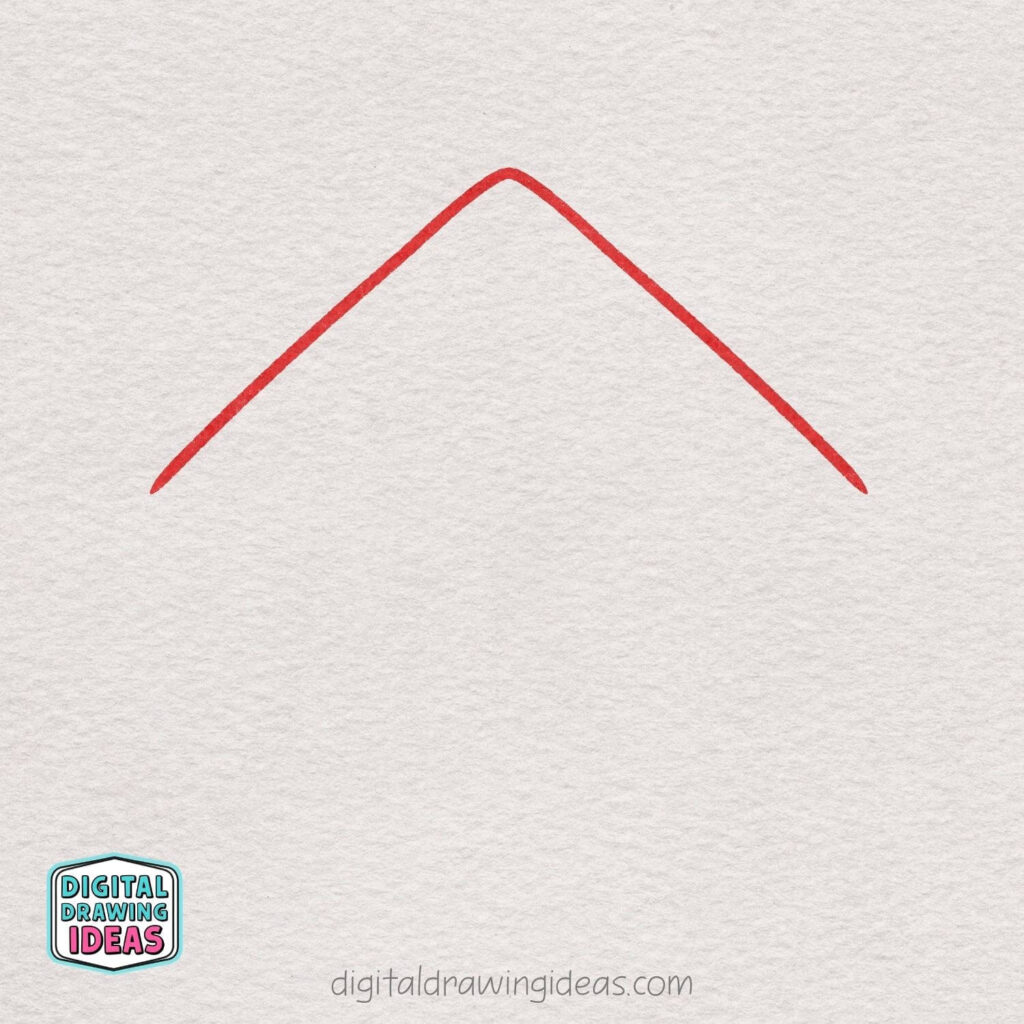
Start by drawing two slanted lines that meet at the top to form a point.
This will be the top of your house’s roof, like a simple upside-down “V”.
Step 2: Add a Wavy Roof Edge
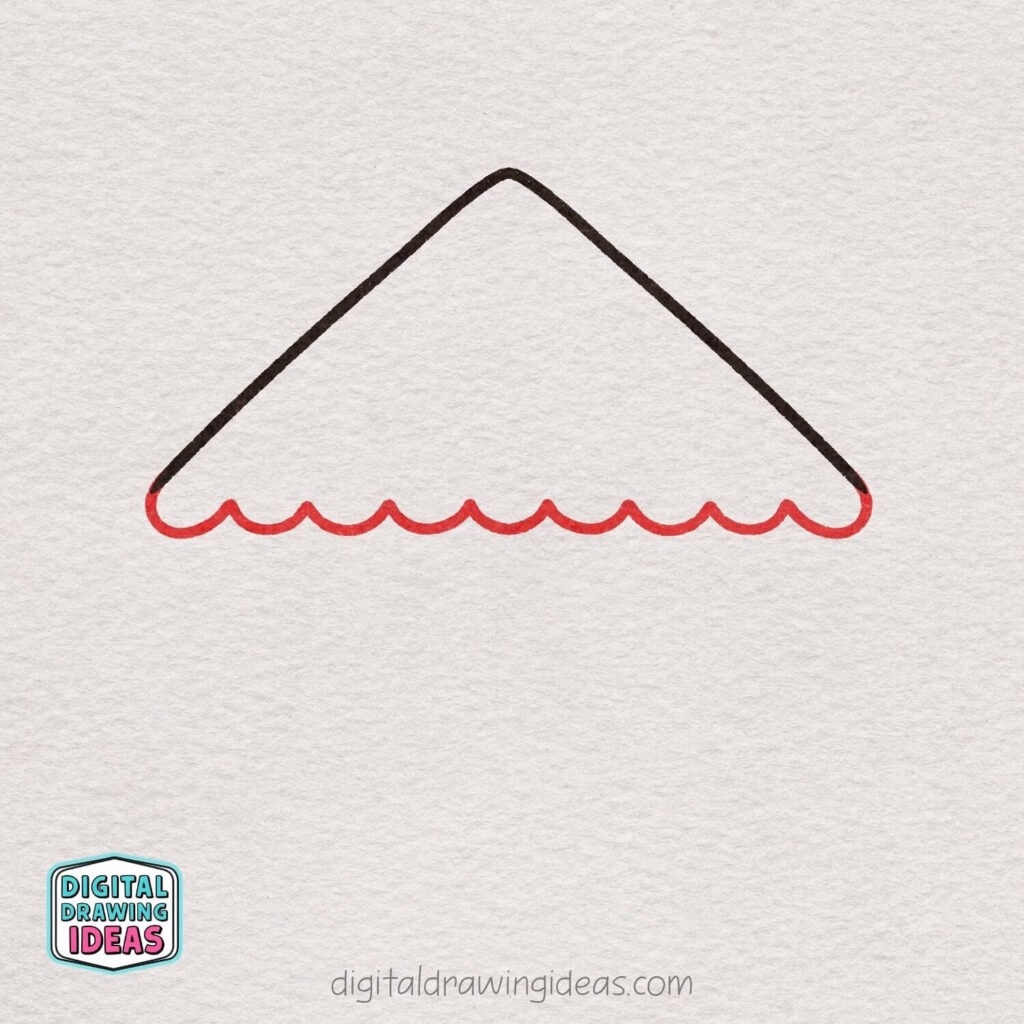
Draw a soft wavy line connecting the two ends of the roof.
Make small, rounded curves across the bottom to create a cute, decorative roof edge.
Step 3: Draw the House Base
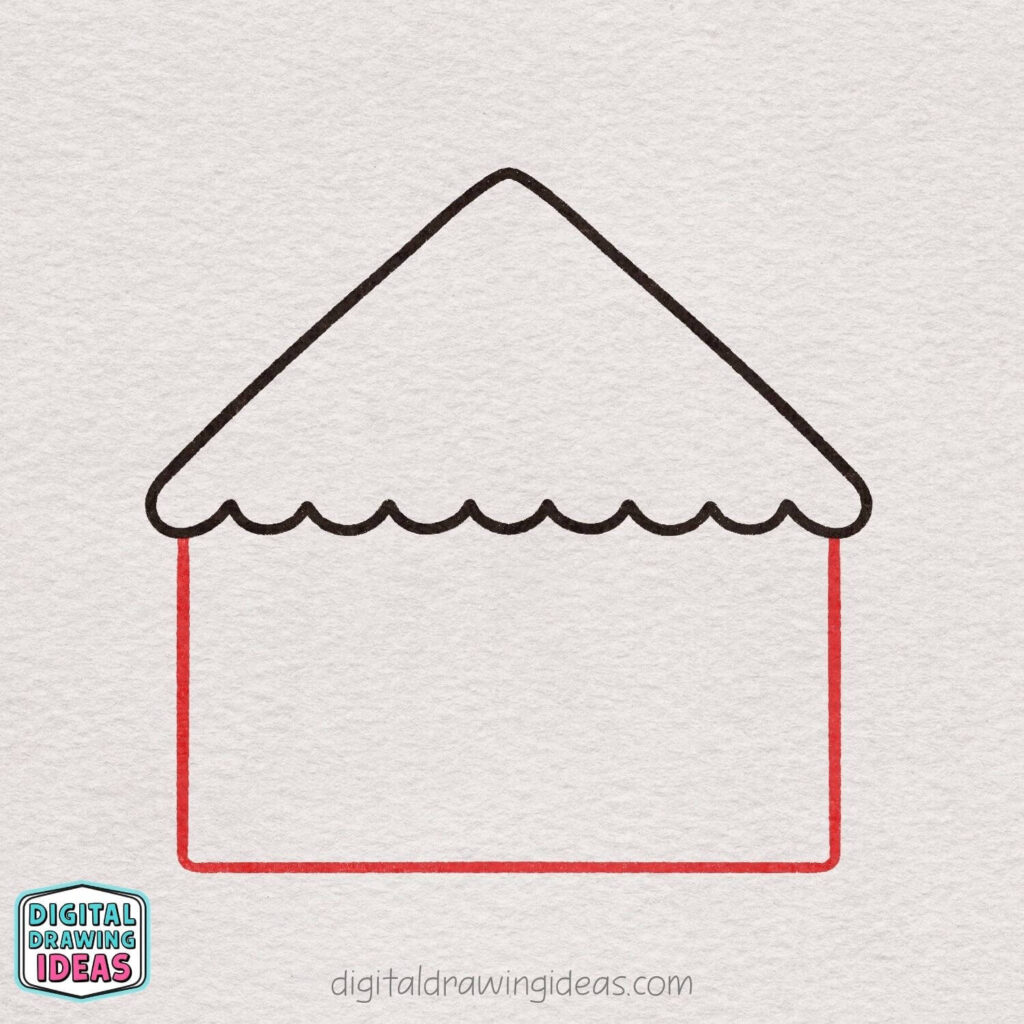
From each end of the roof, draw straight lines going down.
Then connect them with a horizontal line at the bottom to form the house’s base shape.
Step 4: Start the Door Shape
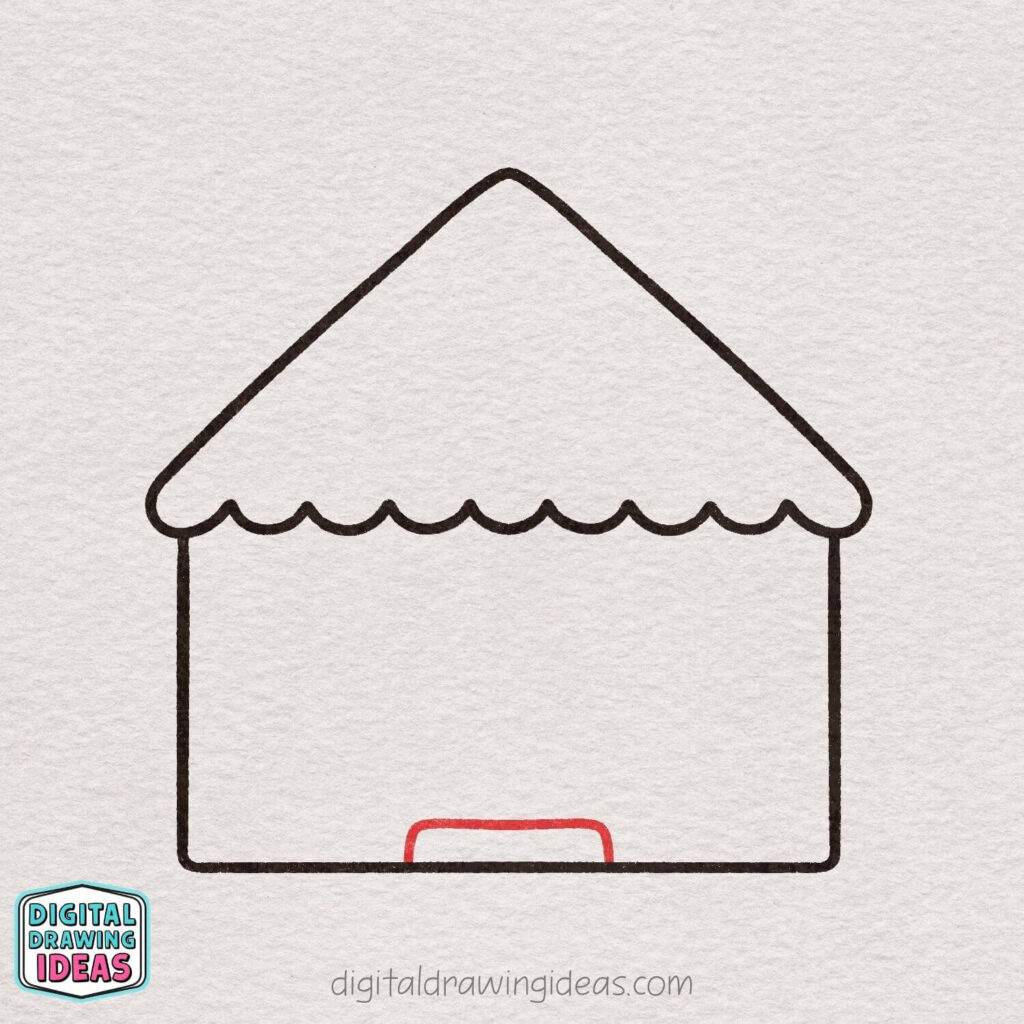
Draw a small curved line near the bottom center of the house.
This will be the top part of the door, so keep it nice and rounded.
Step 5: Draw the Door
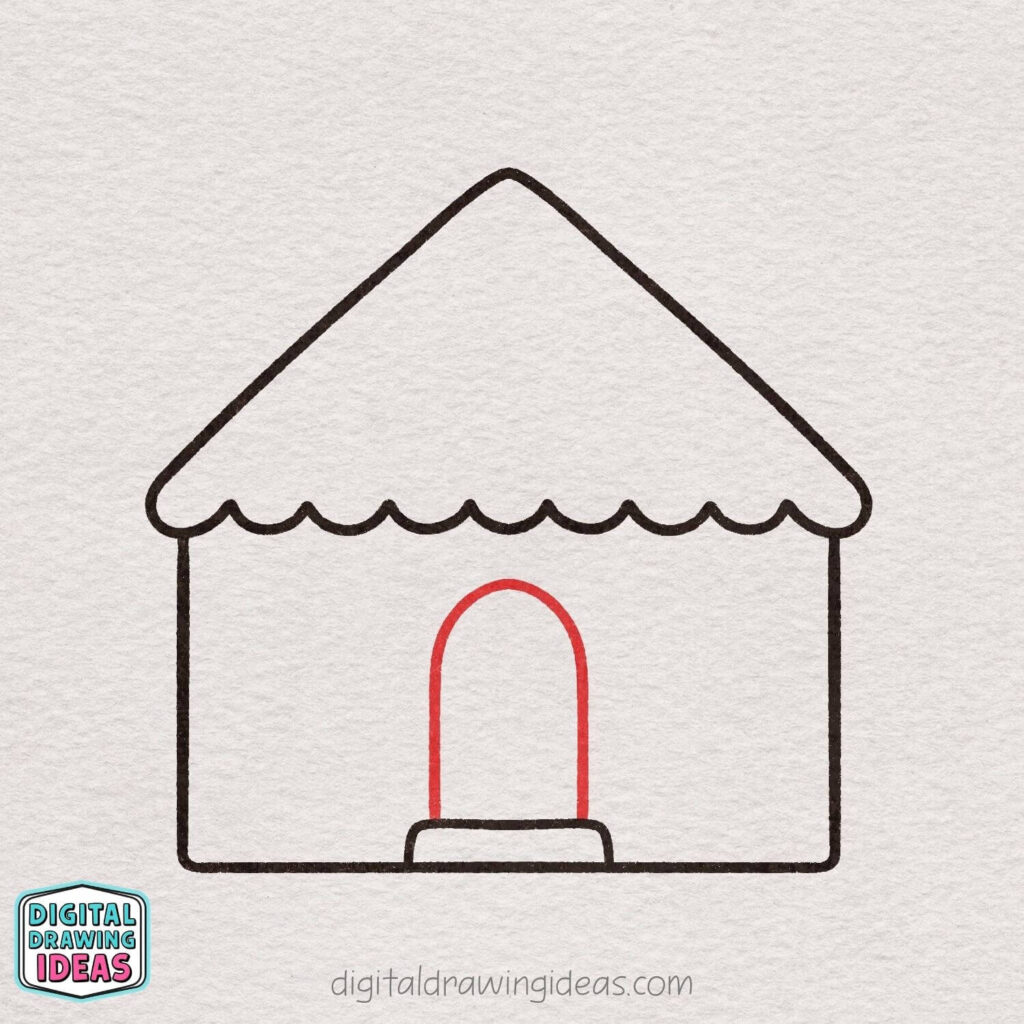
Extend the curved line upward and connect it with straight lines going down to form a tall, rounded door shape.
Step 6: Add the Door Knob
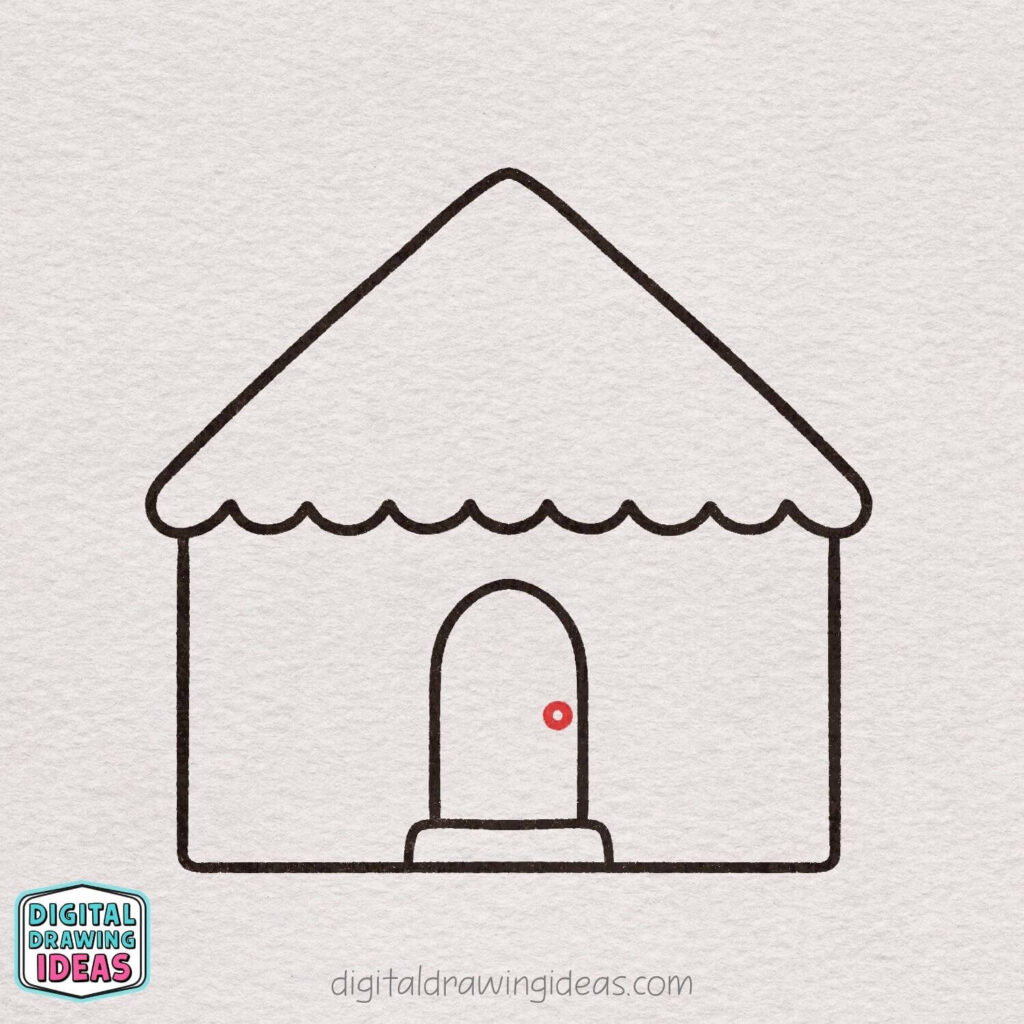
Draw a small circle on the right side of the door.
This simple detail will make your door look more realistic.
Step 7: Draw the Window Bases
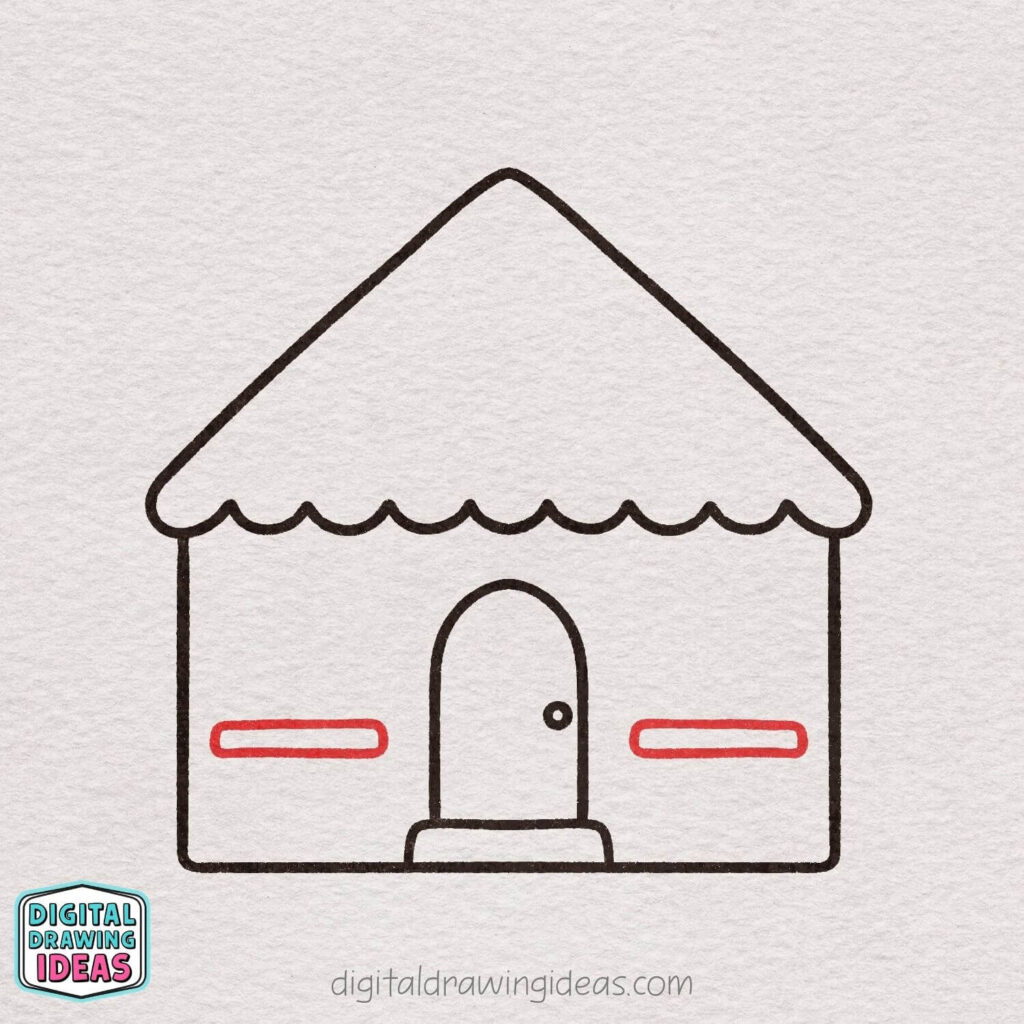
On both sides of the door, draw two small horizontal rounded rectangles.
These will be the base shapes for your windows.
Step 8: Draw the Windows
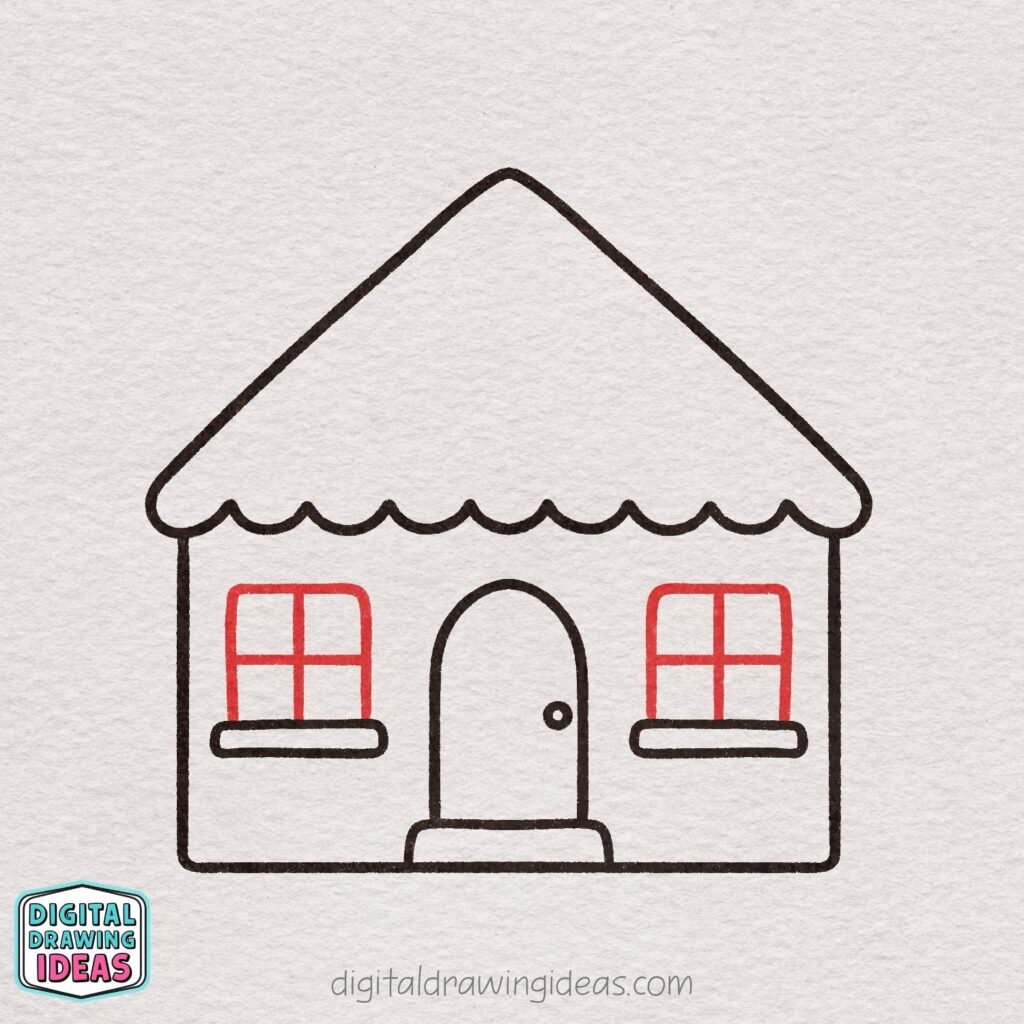
Above each base, draw a square with slightly rounded corners.
Then add one vertical and one horizontal line inside each square to divide them into four smaller panes.
Step 9: Start the Chimney
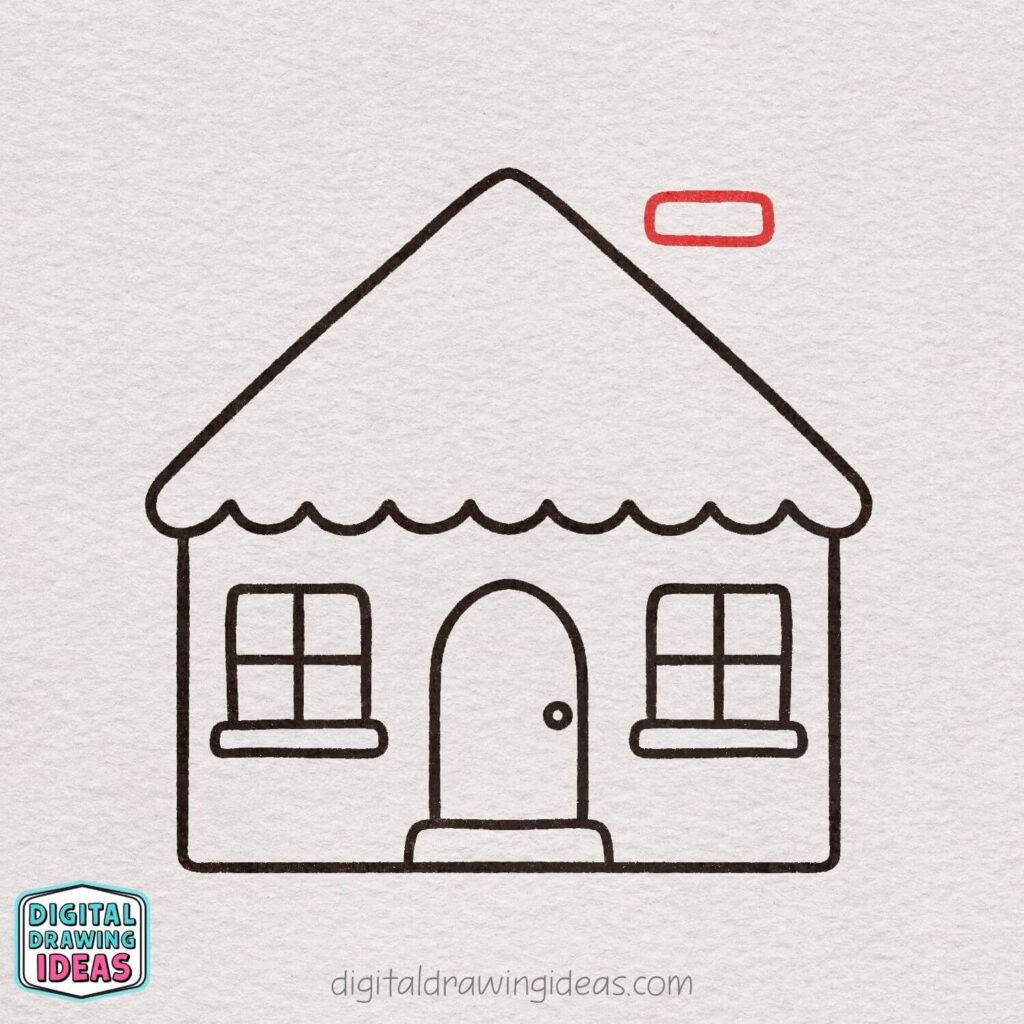
Draw a small horizontal rounded rectangle above the right side of the roof.
This will be the top part of the chimney.
Step 10: Extend the Chimney
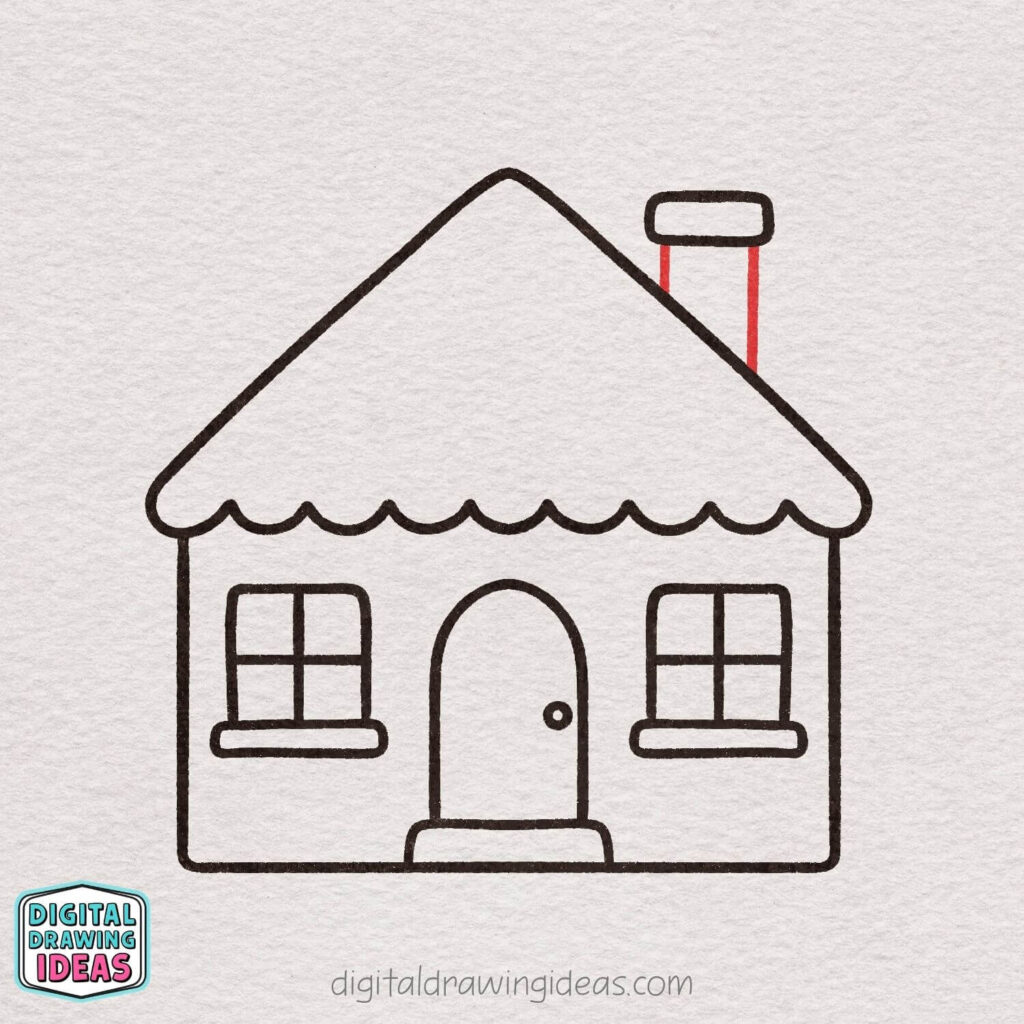
From the bottom of the small rectangle, draw two straight vertical lines downward to form the chimney’s body.
Step 11: Add Roof Details
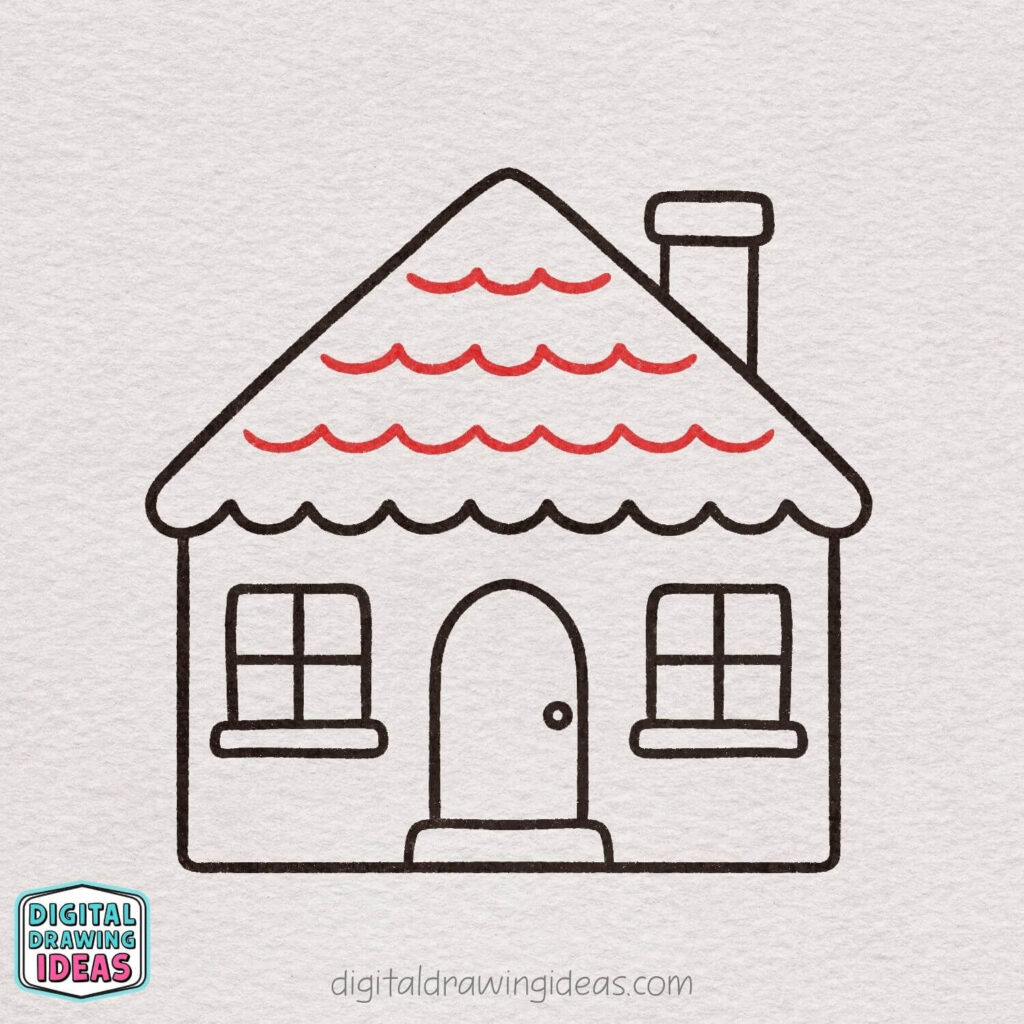
Draw a few wavy horizontal lines across the roof.
These lines will give your roof a nice textured, layered look.
Step 12: Draw the Clouds

Add two fluffy cloud shapes in the sky, one on each side of the house.
Use soft, rounded curves to keep them light and cute.
Step 13: Color Your House
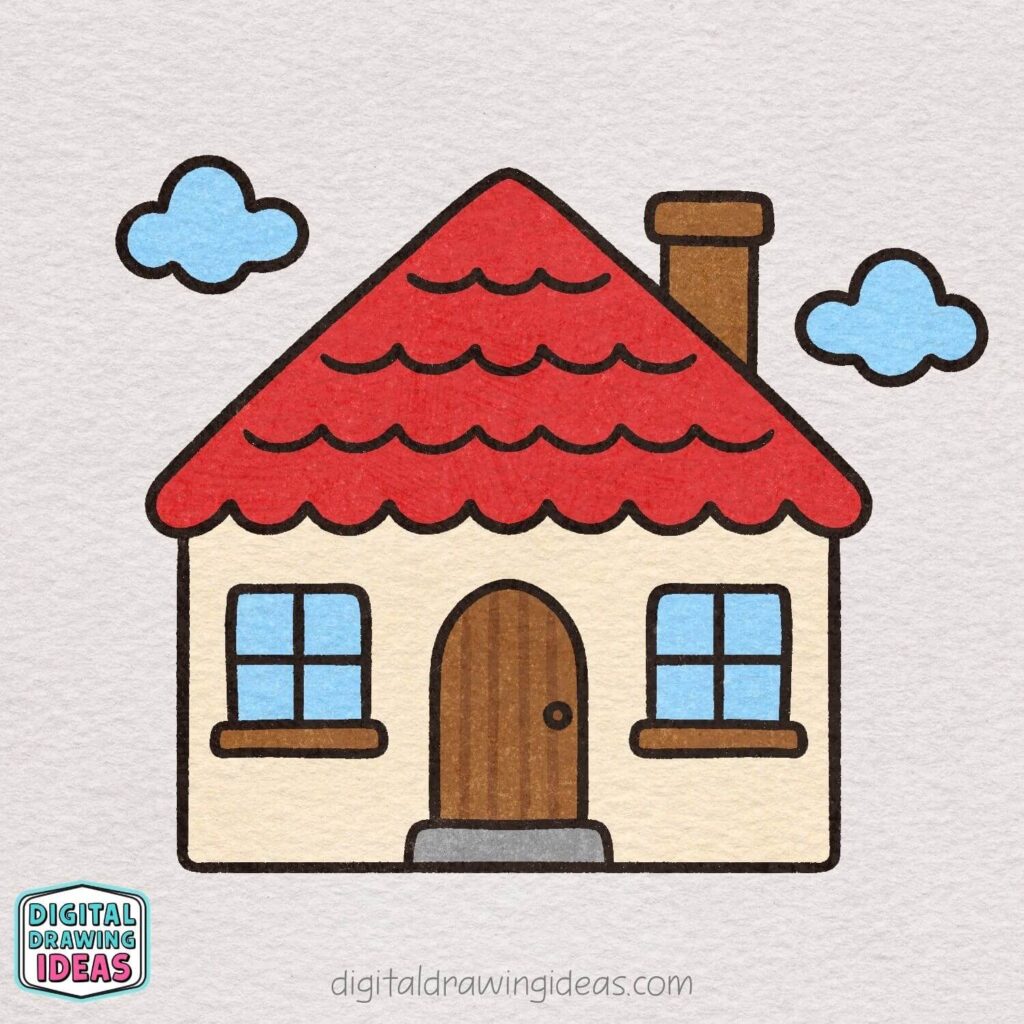
Now it’s time to bring your drawing to life!
Color the roof, walls, door, windows, and clouds using your favorite colors.
Feel free to get creative and make your house unique!
Make It Your Own (This Is Where the Fun Starts)
Once you finish the basic structure, don’t stop there.
This is the part I always look forward to the most.
Try experimenting with:
- different roof colors (I love using warm reds or soft pastels)
- fun window styles (round windows are adorable)
- adding flowers, trees, or even a tiny path
- changing the door shape (arched, tall, extra wide)
Sometimes I redraw the same house 3–4 times just to see how different it can look with small changes. It’s surprisingly addictive.
If You Loved This, Try These Next
If you enjoyed learning how to draw a house, I have a few more simple tutorials you’ll probably love too:
- Learn how to draw a pear: How To Draw A Pear
- Try something classic: How To Draw An Apple
- Or go a bit different: How To Draw An Airplane
These follow the same beginner-friendly style, so you can keep building your confidence step by step.
Want More Drawing Ideas?
I share a lot more inspiration here:
- Pinterest: Digital Drawing Ideas
- YouTube: Digital Drawing Ideas
You’ll find new ideas, tutorials, and little creative boosts whenever you need them.
Final Thoughts: You Can Draw This (Seriously)
If you take one thing from this post, let it be this:
You don’t need to be “talented” to learn how to draw a house.
You just need a simple method, a bit of patience, and the willingness to try.
I’ve drawn this same little house so many times, and every version turns out slightly different. That’s the beauty of it.
So don’t aim for perfect.
Aim for finished.
Now I’m Curious…
Did your house turn out cozy, colorful, minimal… or totally unexpected?
I’d love to see it.
- Share your drawing on Pinterest and tag me
- Or post it on Instagram and tag @digitaldrawingideas
And tell me:
What was the hardest part for you? The roof, the windows, or the door?
I read every response, and it always inspires my next tutorials.
Now grab your pen and draw another one.

