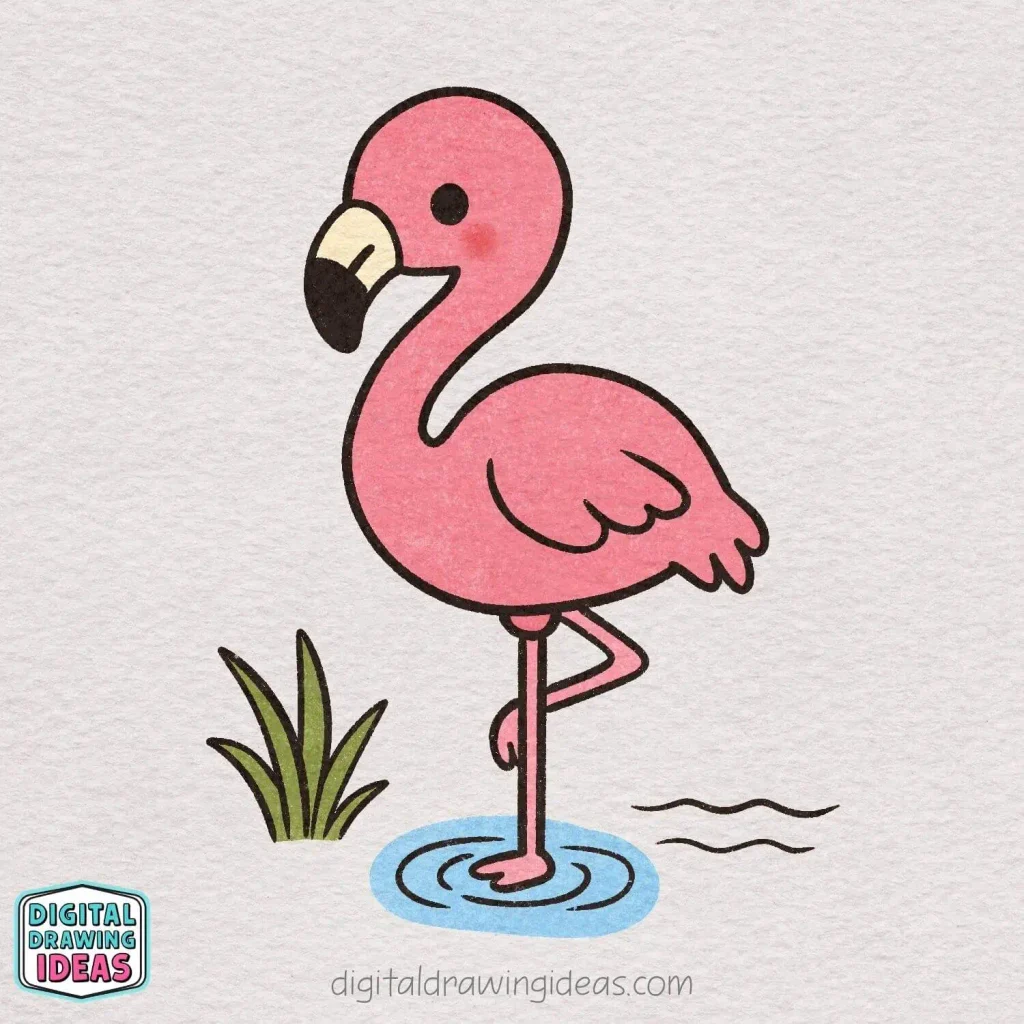
How to draw a flamingo can look a little intimidating at first, especially when you think about that long curved neck, the tiny head, and those famously skinny legs. But that is exactly why I wanted to create this tutorial: once you break a flamingo down into a few simple curves and shapes, it becomes much easier than it looks.
I have a soft spot for drawings like this one. Flamingos have such an instantly recognizable shape that even a simple cartoon version can have a lot of personality. When I was putting this drawing together, I wanted to keep that elegant flamingo silhouette while making every part easy enough to build one small step at a time.
And yes, I drew the flamingo in this tutorial myself. I always enjoy taking something that looks complicated at first and figuring out how to turn it into a drawing that feels relaxed and approachable.
If you have ever looked at a flamingo and thought, “How am I supposed to draw that neck without making it look like a question mark with legs?” you are definitely not alone. We are going to solve exactly that problem here.
Why This Flamingo Drawing Is Easier Than It Looks
The trick when learning how to draw a flamingo is not to think about the whole bird at once.
Instead, focus on one shape at a time:
- Start with the beak.
- Build the head and curved neck around it.
- Add the large rounded body.
- Keep the legs narrow and simple.
- Finish with small details like the wing, water, and grass.
- Add color only after the outline is complete.
I find this approach much less stressful than trying to sketch the entire flamingo in one go. You do not need to get every curve perfect on your first try either.
In fact, slightly imperfect curves often give a hand-drawn picture more charm. A flamingo is already a wonderfully unusual-looking bird, so there is a little room to have fun with it.
A Few Tips Before You Start
If you are following this flamingo drawing with pencil and paper, I recommend starting with lighter lines. Once you are happy with the shape, you can trace over your favorite lines more firmly.
If you are drawing digitally, use separate layers whenever possible. It makes adjusting the neck, body, or legs much easier without having to redraw everything.
One area that can be slightly tricky is the neck. Instead of trying to make it perfectly symmetrical, concentrate on creating two smooth flowing curves that feel natural together.
The legs are another place where people sometimes overthink things. Keep them thin, keep the lines fairly close together, and do not worry if one side is not mathematically identical to the other.
This is a cute drawing tutorial, not a flamingo anatomy exam.
How to Draw a Flamingo Step by Step
Now we can start the actual drawing. This how to draw a flamingo tutorial has 17 steps, and each new part builds naturally on the previous one.
Step 1: Start the Flamingo’s Beak

Begin by drawing a smooth, curved U-like shape to form the first part of the flamingo’s beak.
Keep the curve rounded at the bottom and leave the upper ends open, as we’ll build the rest of the beak around this shape in the next steps.
Step 2: Close the Top of the Beak
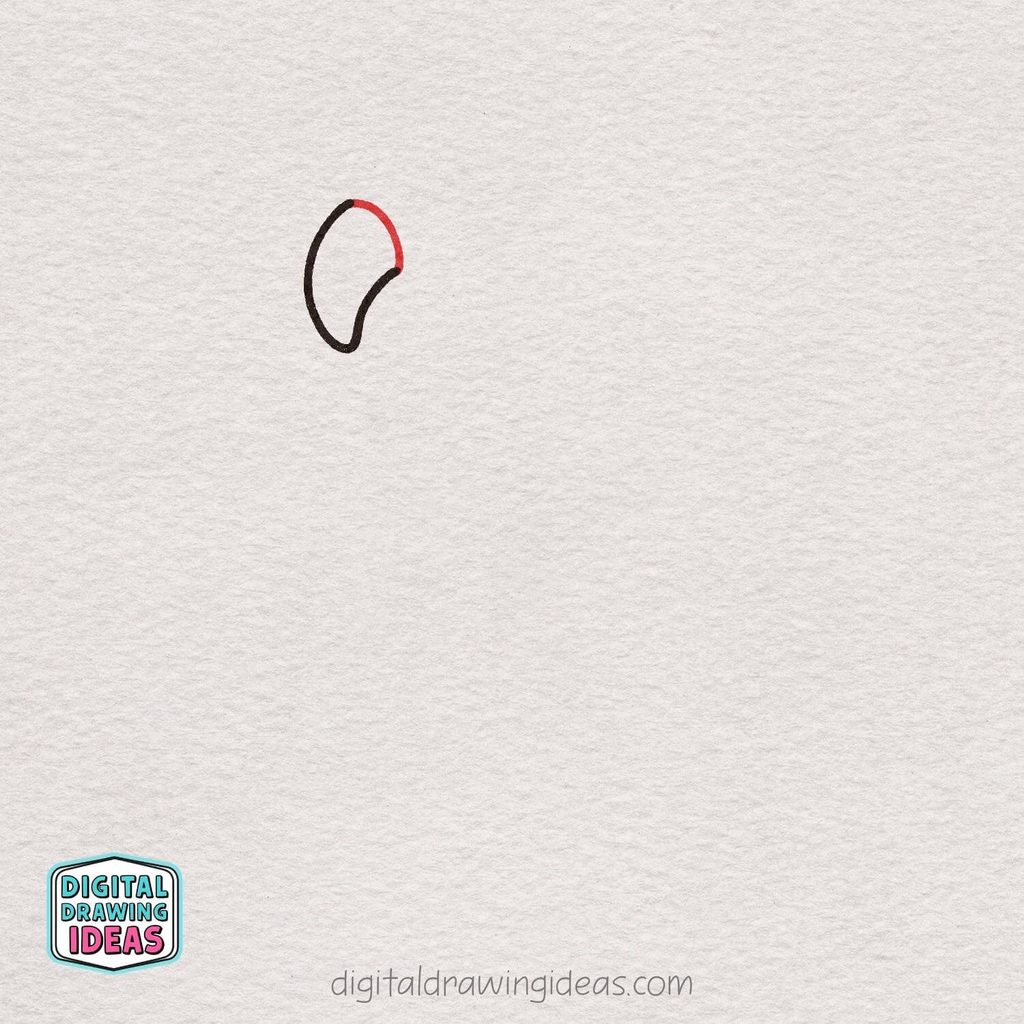
Now add a short curved line across the top-right side to complete the outer shape of the flamingo’s beak. Start at the top of the first line and curve it gently downward until it connects with the right side.
Keep the line smooth and rounded so the beak looks soft and simple, just like a cute cartoon drawing.
Step 3: Draw the Flamingo’s Head and Neck
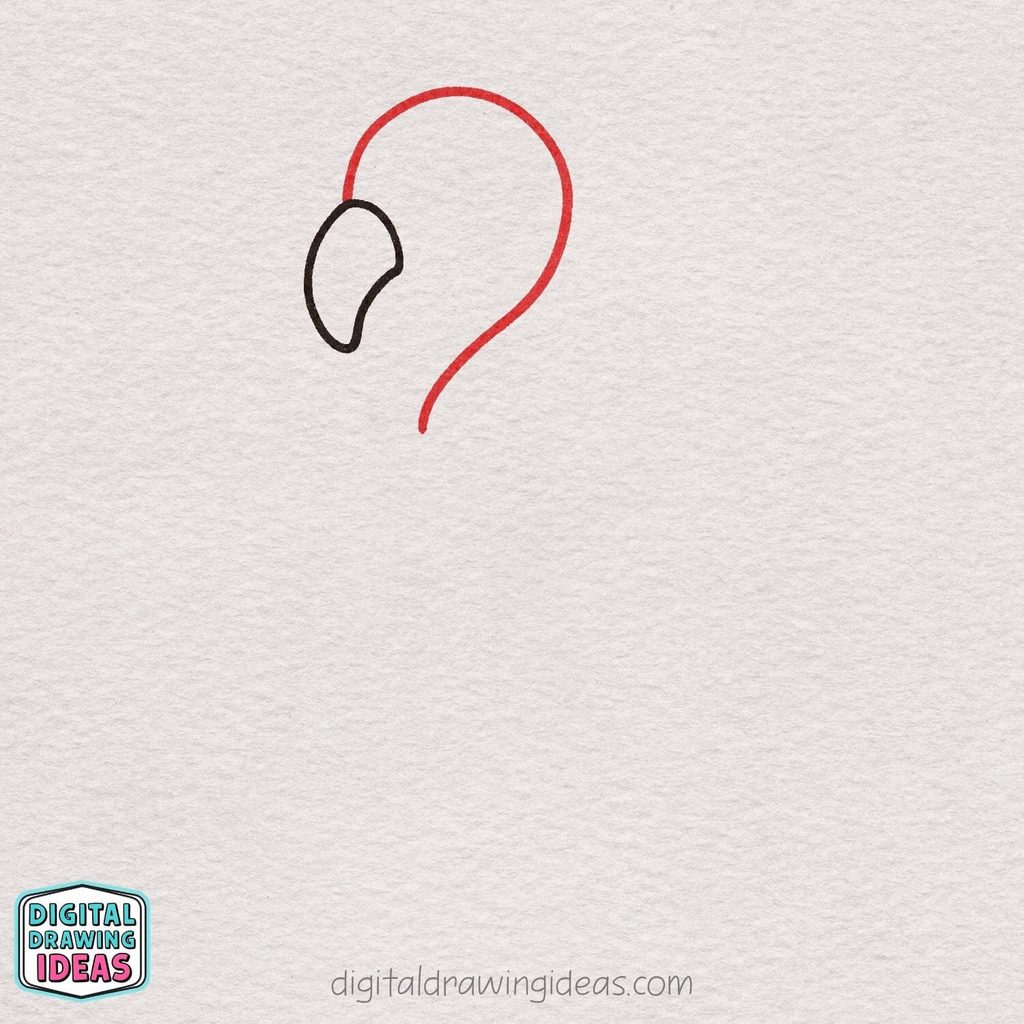
Next, start shaping the flamingo’s head and neck with one long, flowing line. Begin near the top of the beak, curve the line up and around to form a rounded head, then continue it downward in a gentle S-like sweep to create the neck.
Keep the line smooth and elegant, since this curved shape gives the flamingo its signature graceful look.
Step 4: Add the Inner Neck Line
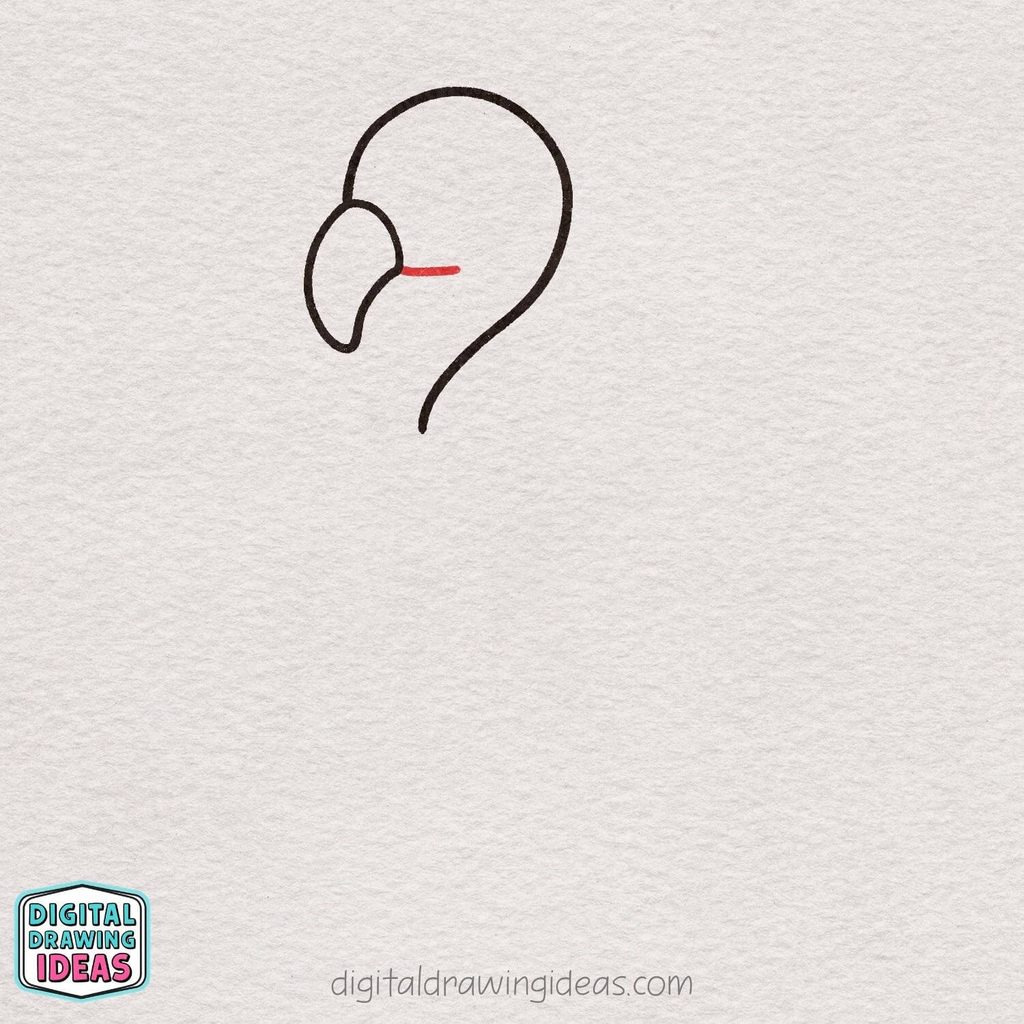
Draw a short, gently curved line starting from the right side of the beak and extending inward toward the center of the head.
This small line begins to define the inner side of the flamingo’s neck and helps connect the beak naturally to the rest of the body shape.
Step 5: Shape the Front of the Neck and Body
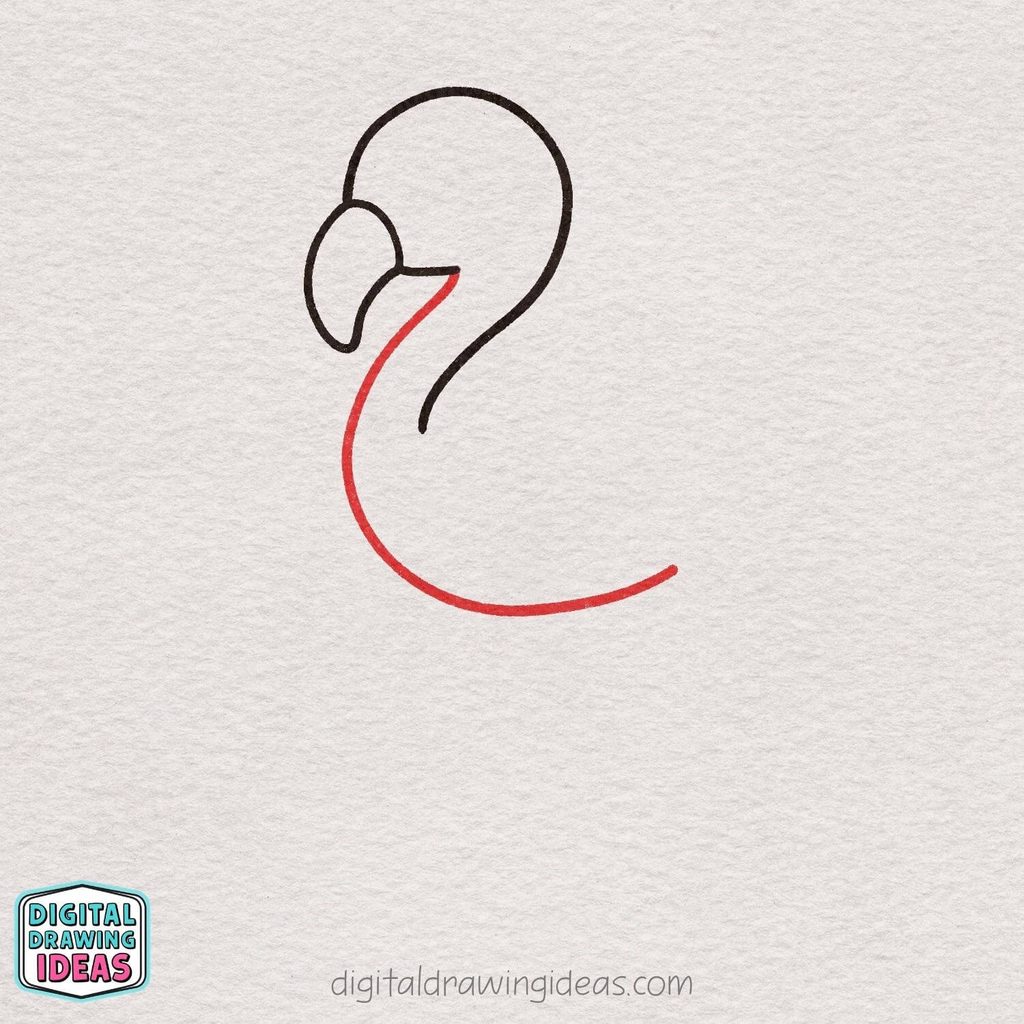
Continue from the short inner neck line with one long, smooth curve that flows downward and then sweeps gently to the right.
This line forms the front of the flamingo’s neck and begins the rounded underside of the body, so keep the curve soft and continuous to create a graceful shape.
Step 6: Draw the Flamingo’s Back
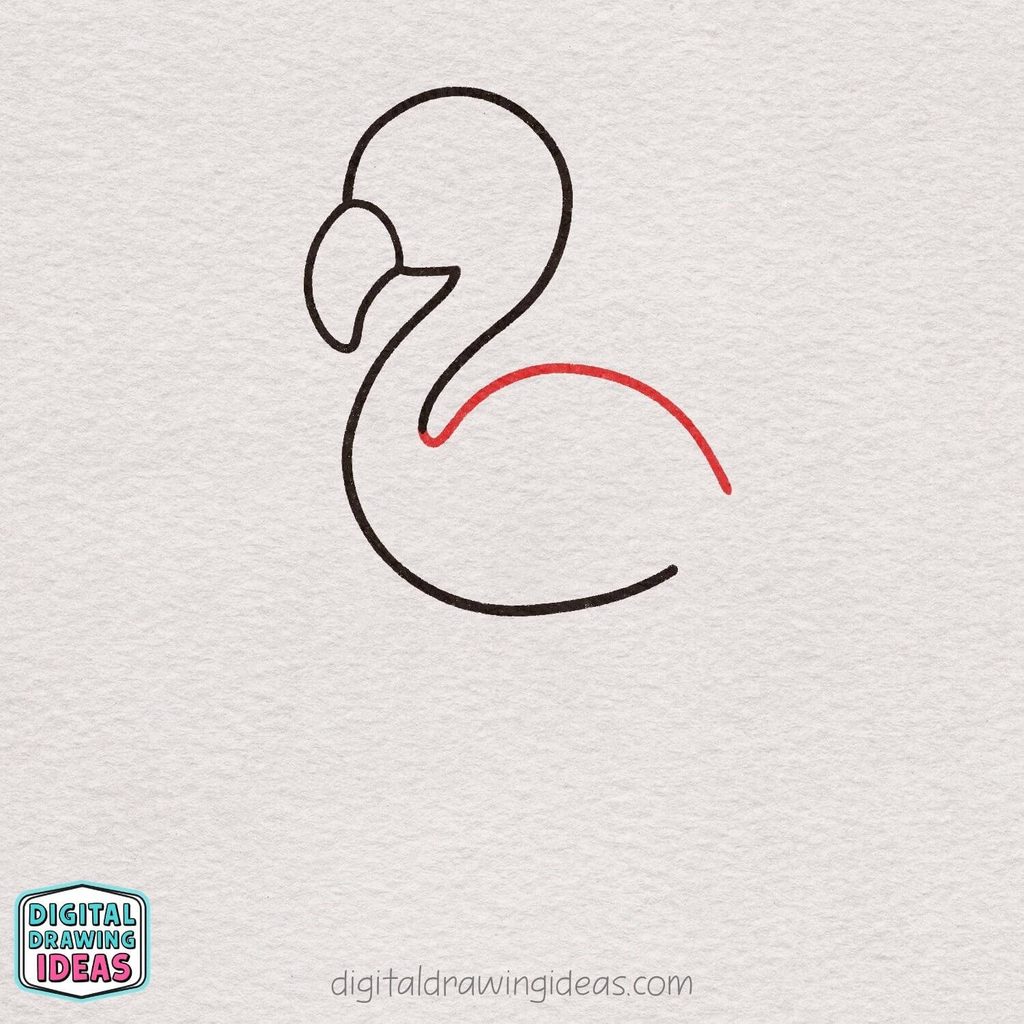
Starting where the neck meets the body, draw a long, rounded curve that sweeps gently up and then down toward the right.
This line forms the flamingo’s back, so keep it smooth and slightly arched to give the body a soft, balanced shape.
Step 7: Add the Tail Feathers
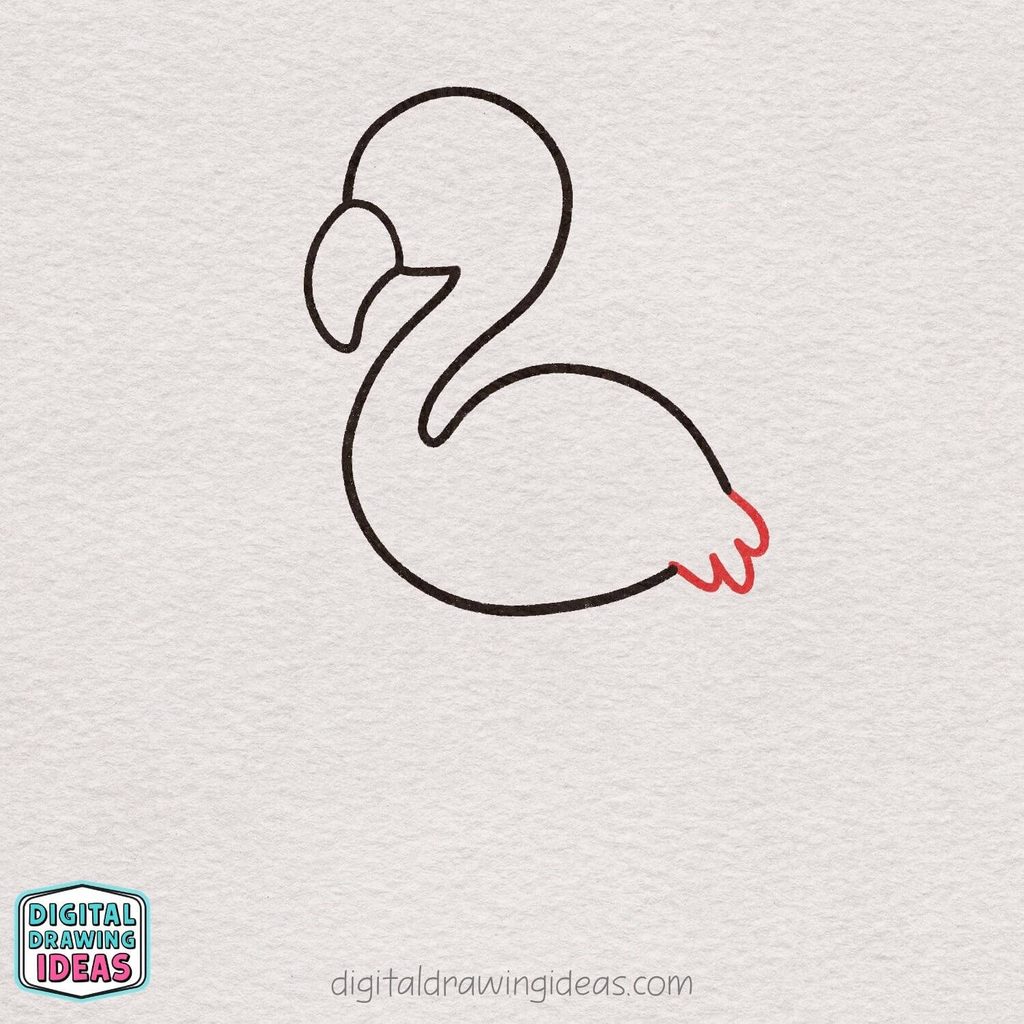
Now connect the back and underside of the body by drawing a few small, rounded feather shapes at the rear.
Use short curved bumps to create a simple fluffy tail, keeping the points soft rather than sharp so they match the cute, rounded style of the flamingo.
Step 8: Add the Eye
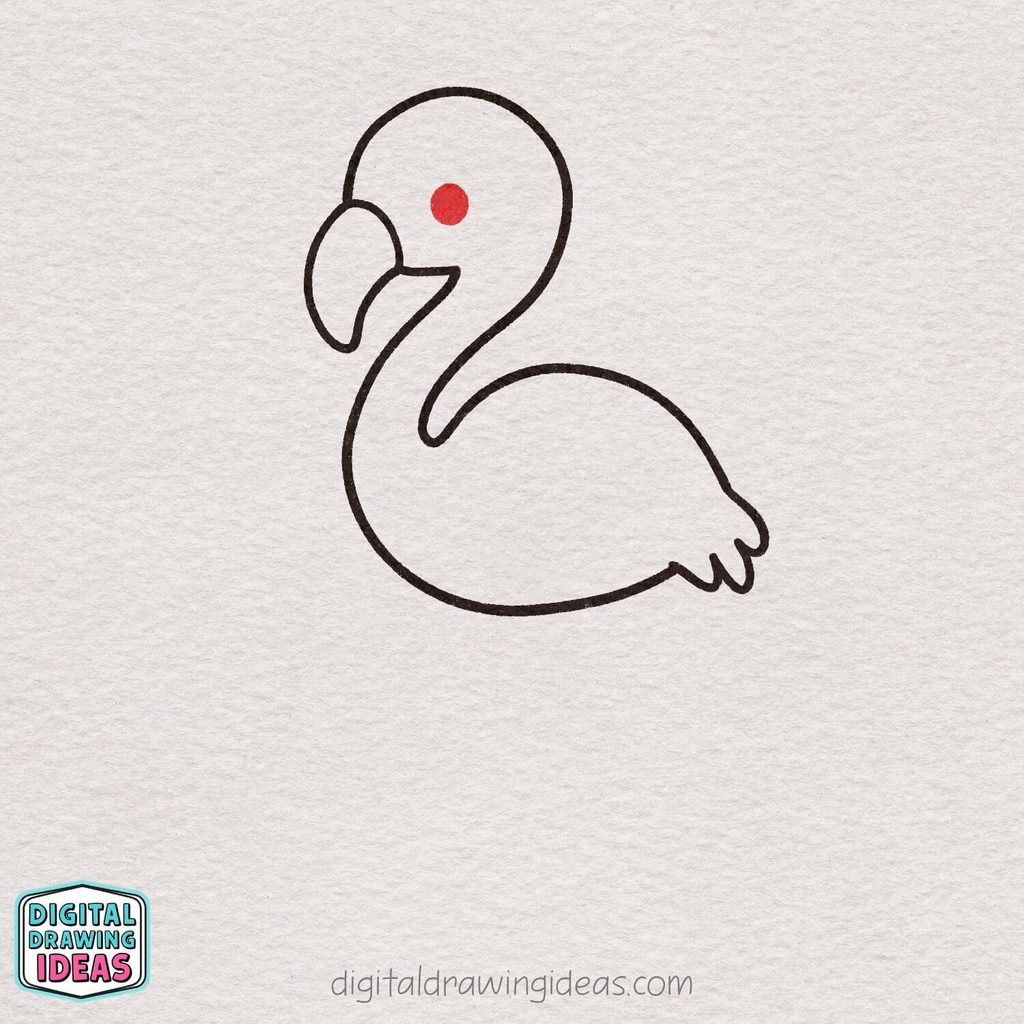
Draw a small, solid circle inside the head to create the flamingo’s eye. Place it a little above and behind the beak, leaving enough space around it so the face stays simple and balanced.
Step 9: Add the Beak Details
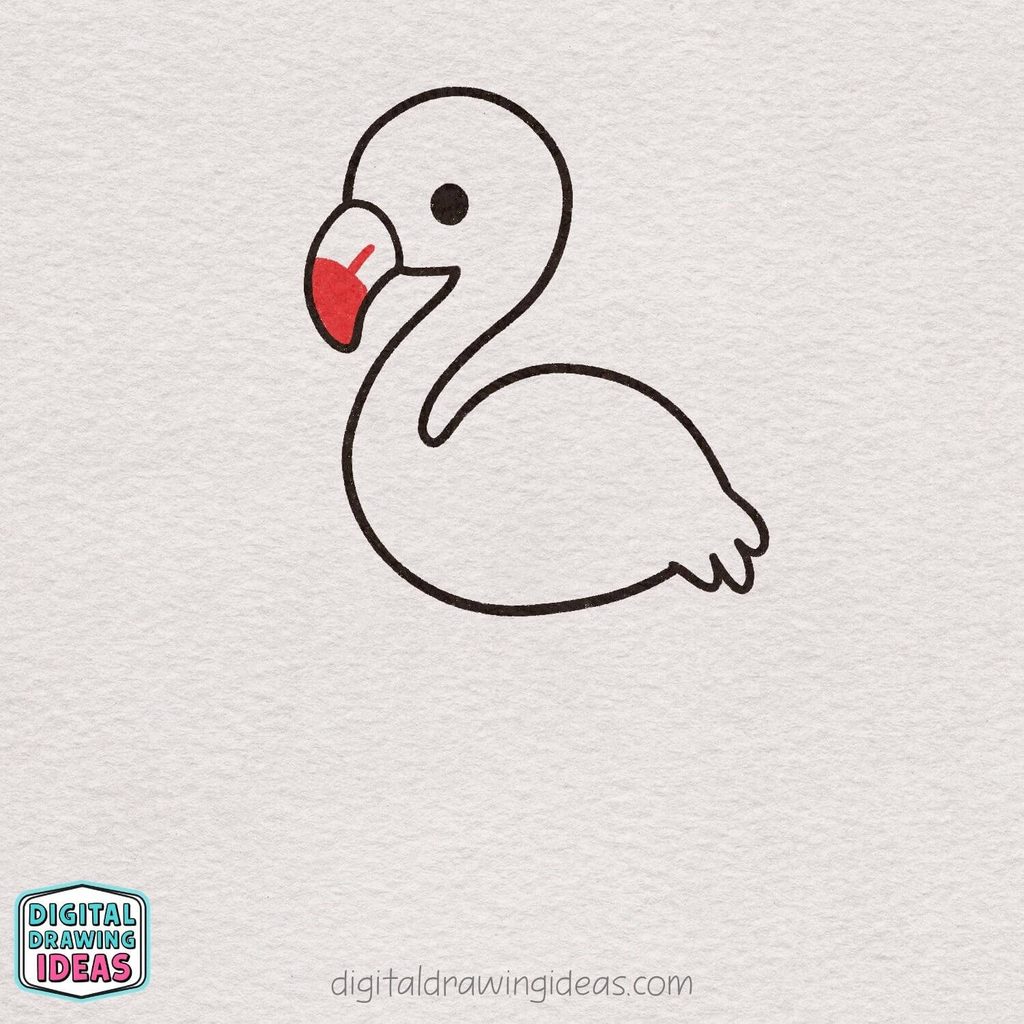
Now divide the beak into two sections by adding a short diagonal line across it, then fill in the lower tip area.
This gives the flamingo its characteristic two-tone beak shape and makes the face look much more recognizable.
Step 10: Draw the Wing
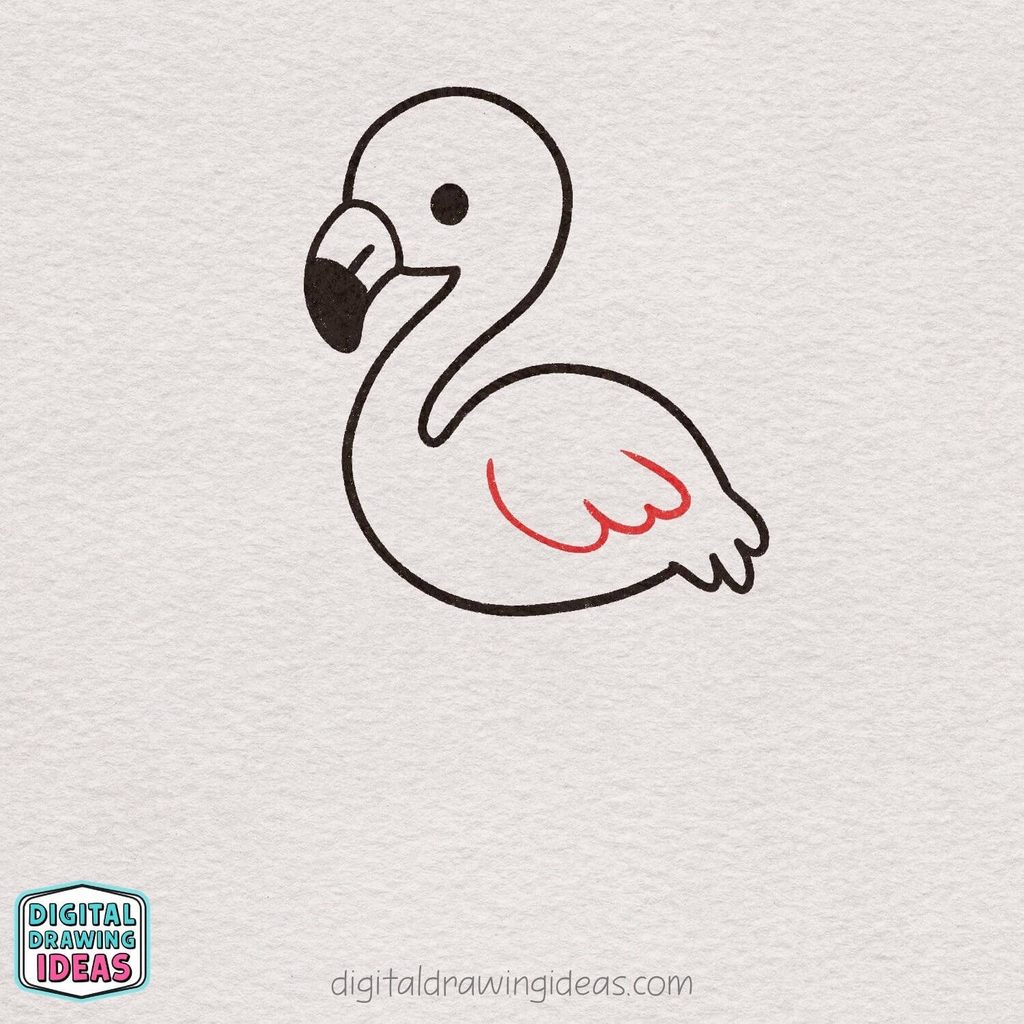
Inside the body, draw a large curved wing shape that follows the round contour of the flamingo’s side. Add a few small scalloped feather bumps along the lower edge, then bring the line gently back upward so the wing feels soft, layered, and neatly tucked against the body.
Step 11: Add the Top of the Leg
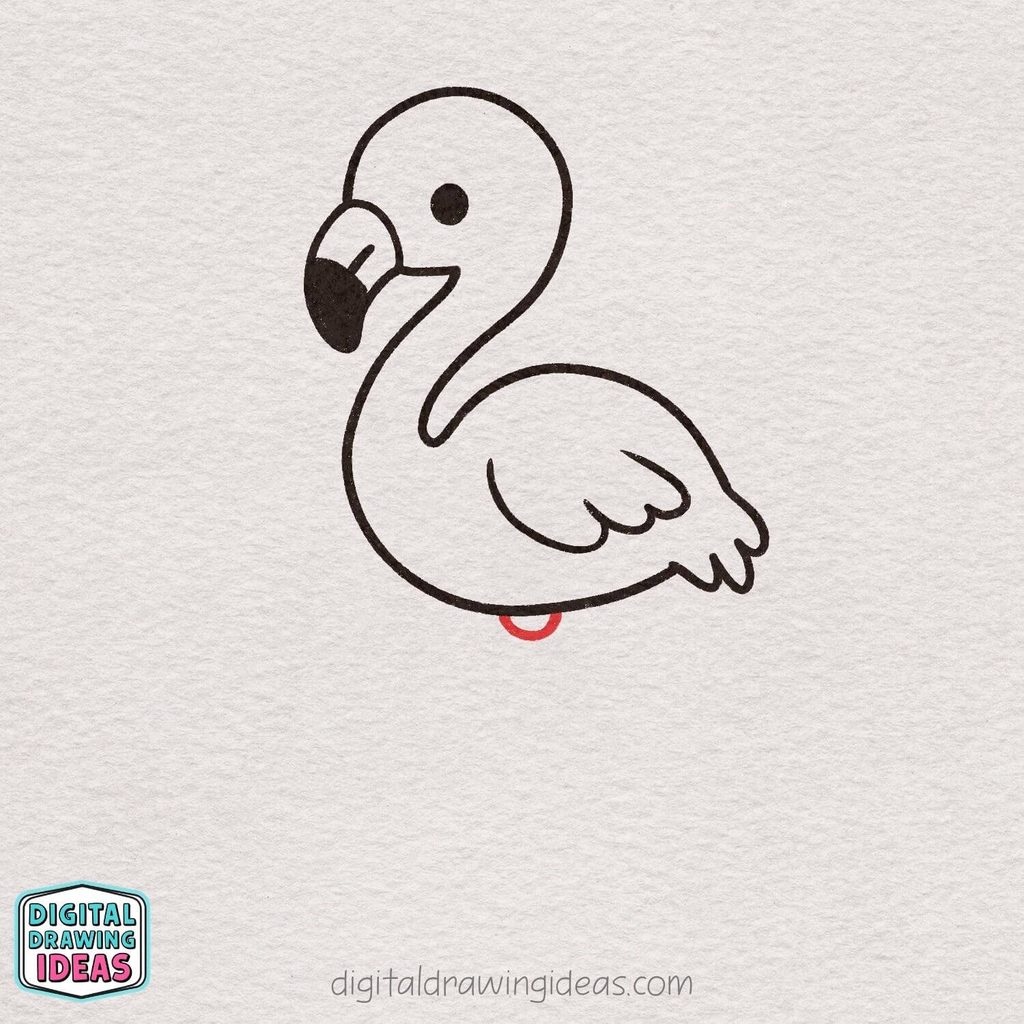
Draw a small rounded shape just below the flamingo’s body to show where the leg connects underneath. Keep it short and softly curved so it looks naturally attached to the body and provides a clear starting point for the long leg in the next step.
Step 12: Draw the Long Standing Leg
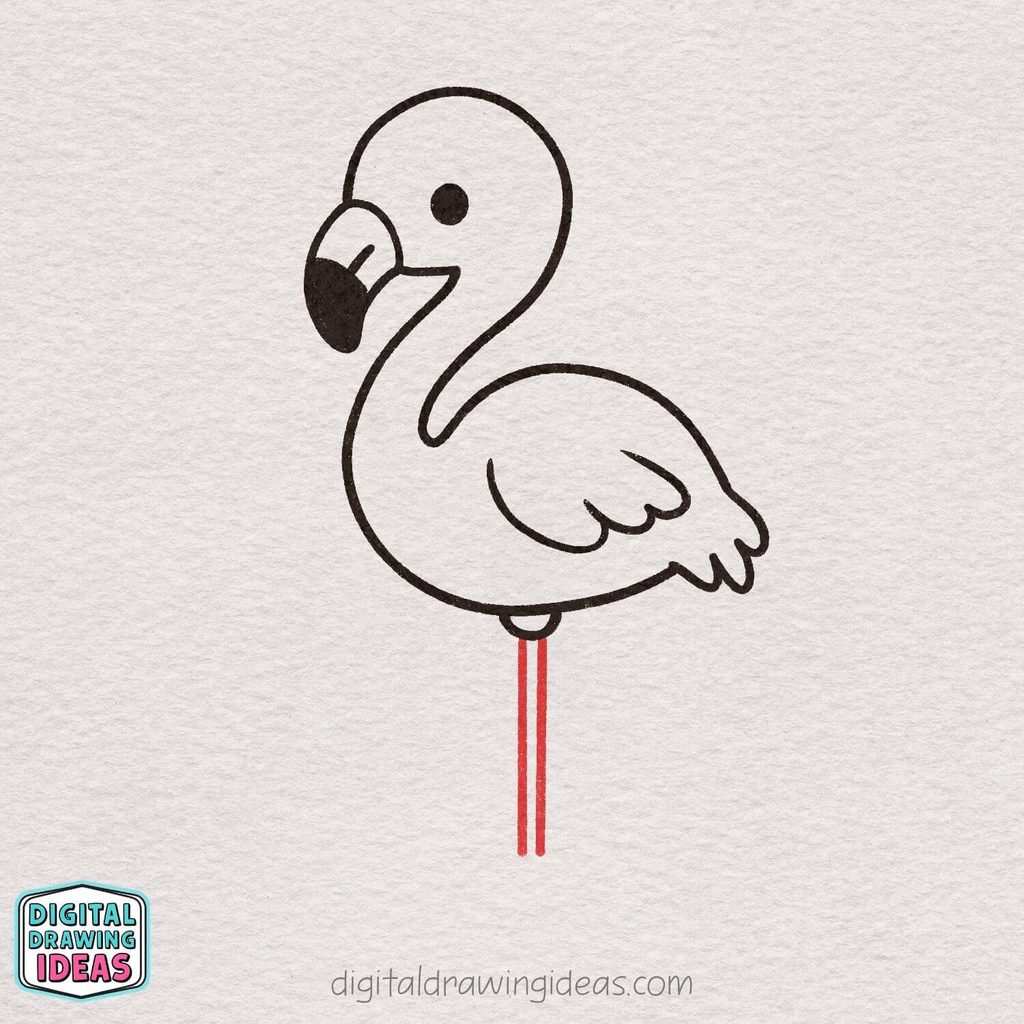
From the small rounded leg joint under the body, draw two long, straight parallel lines downward to form the flamingo’s standing leg. Keep the lines close together and fairly even so the leg looks slim and delicate, matching the flamingo’s tall, graceful shape.
Step 13: Add the Foot
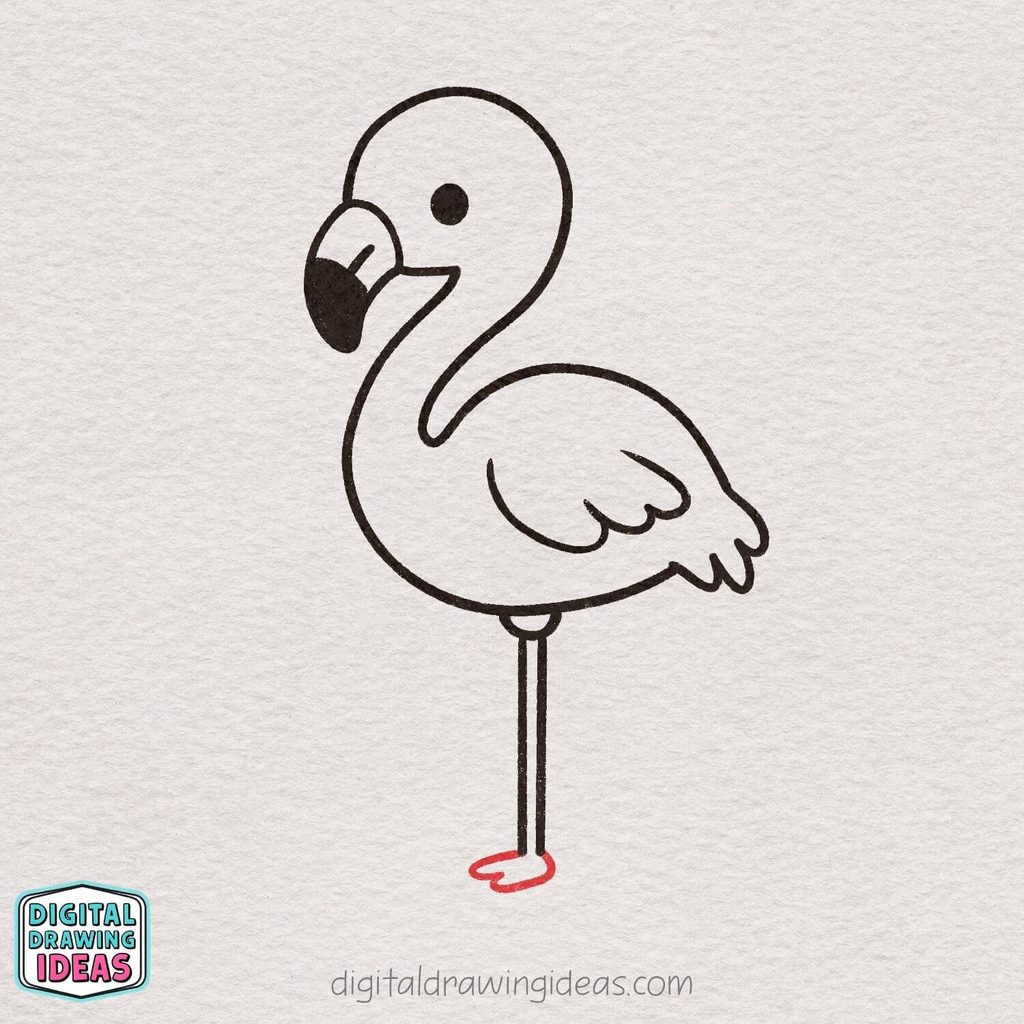
At the bottom of the standing leg, draw a small rounded foot with two simple toe-like curves. Keep the shape soft and slightly spread out so it looks like the flamingo is standing comfortably and the long leg feels naturally supported.
Step 14: Draw the Bent Leg
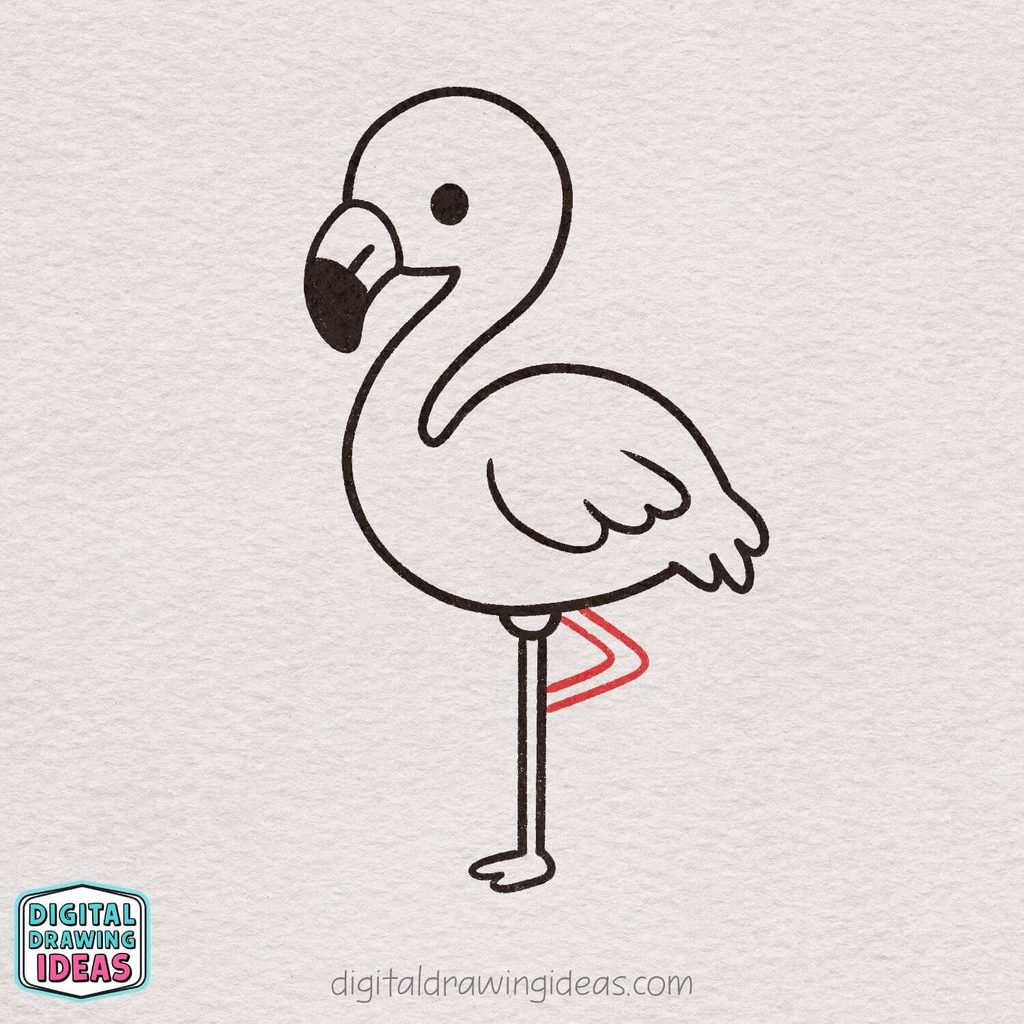
Now add the flamingo’s second leg in its classic tucked-up pose. Start just behind the standing leg and draw two narrow lines that angle up and to the right, then bend them back toward the body to form a simple folded leg shape.
Keep the lines close together so the leg stays slim and matches the graceful look of the flamingo.
Step 15: Add the Raised Foot
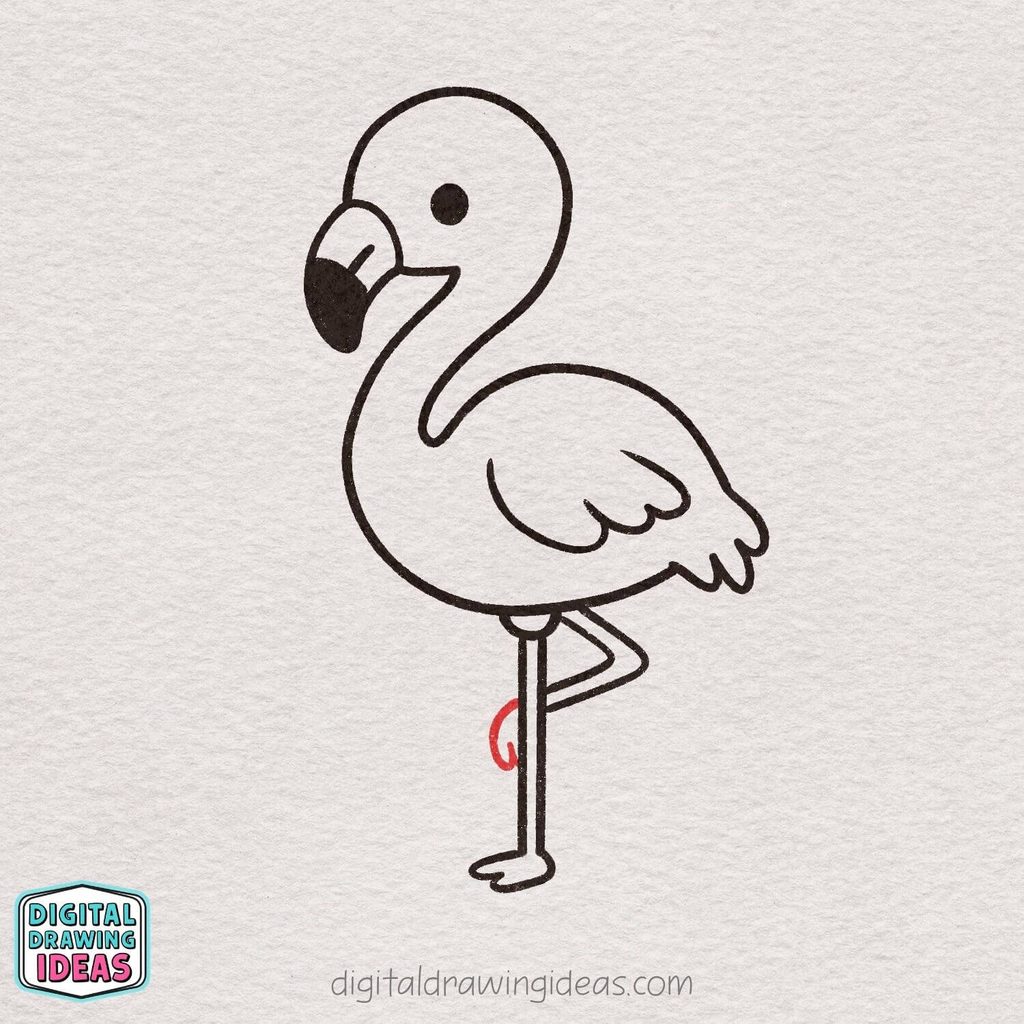
At the end of the bent leg, draw a small curved foot tucked close to the standing leg. Use a simple rounded shape with a tiny toe-like curve, keeping it compact so the lifted foot looks relaxed and naturally folded beside the body.
Step 16: Add the Water and Grass Details
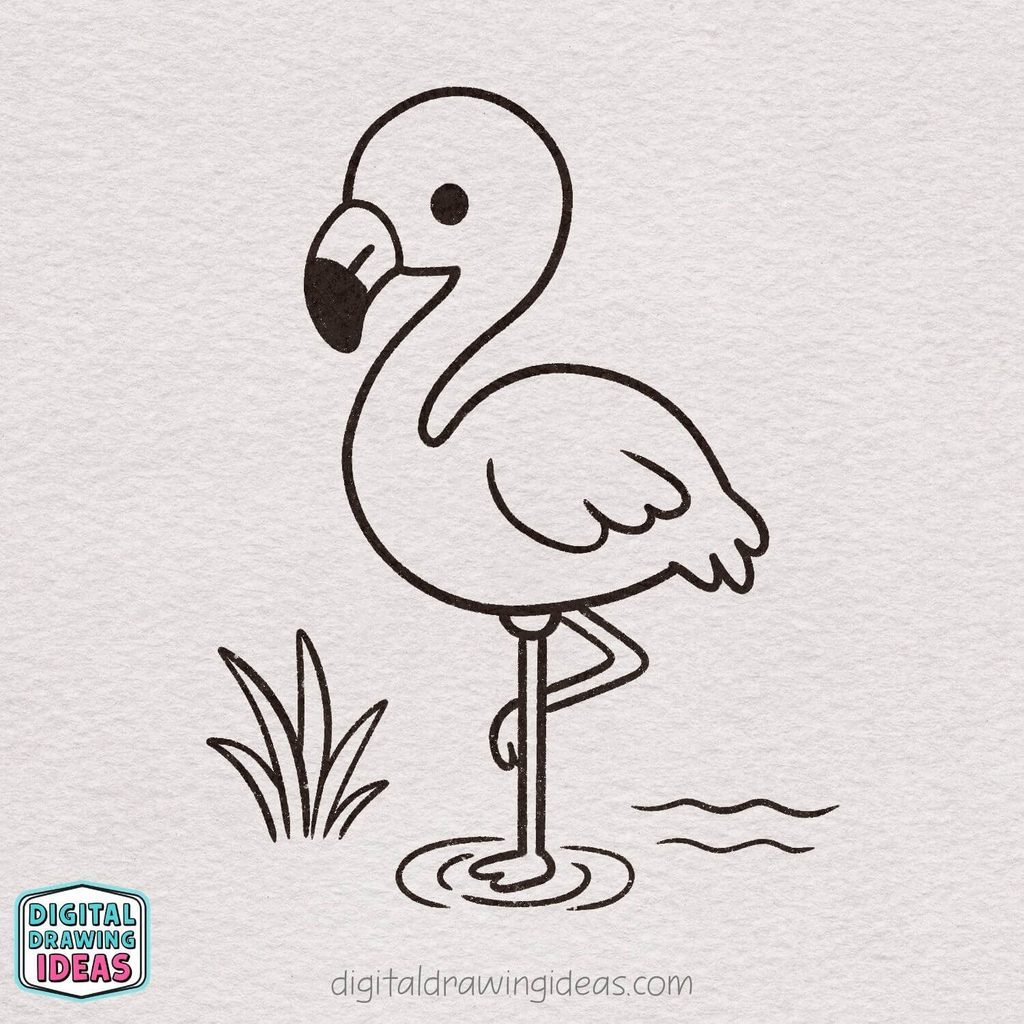
Finish the scene by adding a few simple details around the flamingo.
Draw curved ripple lines around the standing foot to show that it is in shallow water, then add a small cluster of tall grass on one side and a couple of gentle wavy lines on the other.
These little touches help place the flamingo in a calm wetland setting without making the drawing feel too busy.
Step 17: Color Your Flamingo
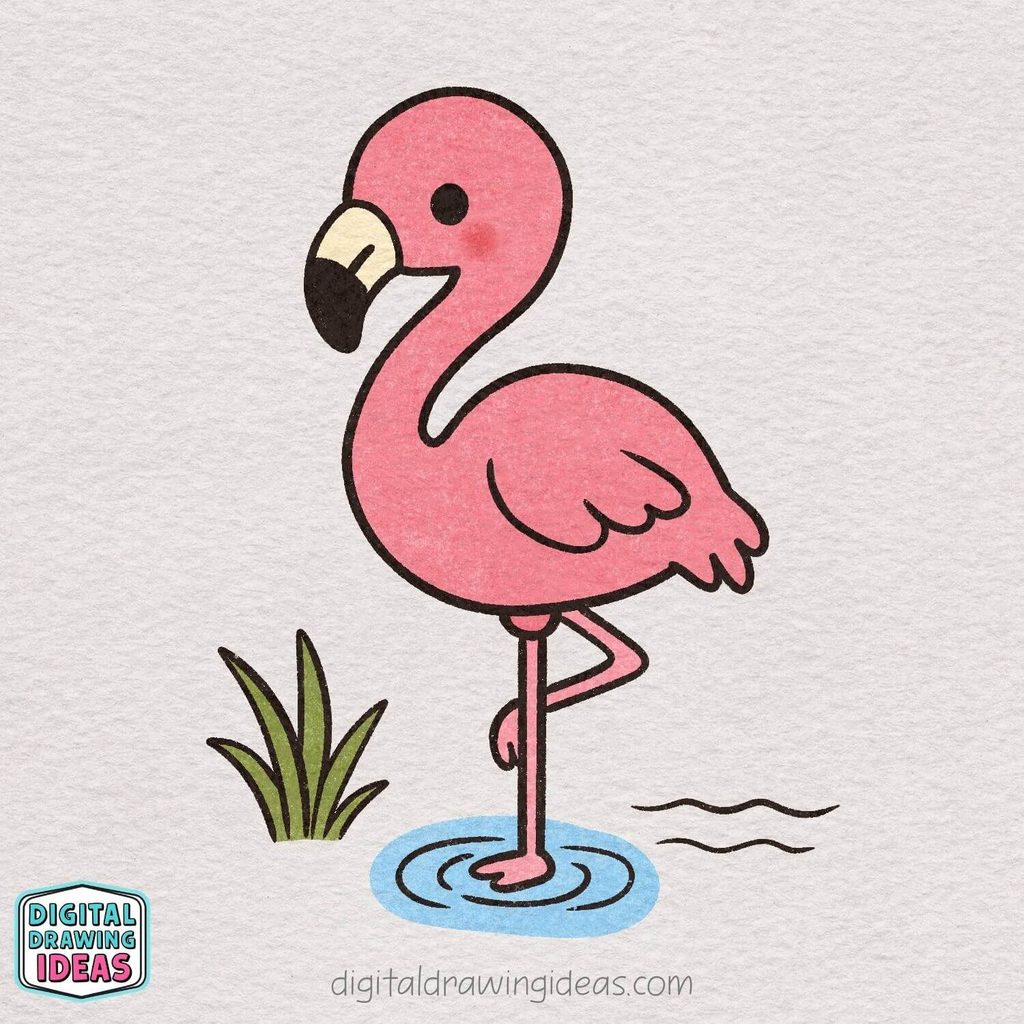
Finish your drawing by adding color to bring the flamingo to life.
Use a bright pink for the head, neck, body, wings, and legs, add a pale cream shade to the upper part of the beak, and keep the tip dark.
You can also color the grass green and add a soft blue tone to the water, then include a little blush on the cheek for a cute final touch.
What If Your Flamingo Doesn’t Look Exactly Like Mine?
Please do not worry about that.
One of my favorite things about drawing is that two people can follow the same instructions and still end up with slightly different results. Maybe your flamingo has a rounder body. Maybe the neck curves a little more dramatically. Maybe yours somehow looks mildly suspicious of everyone around it.
That is part of the fun.
If you are learning how to draw a flamingo for the first time, I would pay more attention to the overall flow of the shapes than to tiny differences. The long curved neck, rounded body, bent leg, and distinctive beak do most of the work.
Once those pieces are in place, your drawing will already read as a flamingo.
Make Your Flamingo Drawing Your Own
You also do not have to copy my colors exactly.
Try experimenting with:
- softer pastel pinks
- coral or peach tones
- a darker pink wing
- different water colors
- extra plants around the flamingo
- tiny flowers near the grass
- a sunset background
- several flamingos standing together
You could even turn the finished flamingo drawing into a greeting card, journal decoration, printable coloring idea, or digital illustration.
That is usually the point where I have to remind myself to stop adding things. One simple flamingo suddenly becomes a flamingo surrounded by plants, flowers, water, a sunset, and possibly an entire tropical vacation.
More Easy Drawing Tutorials to Try
If you enjoyed learning how to draw a flamingo, you might also like a few of my other step-by-step drawing tutorials.
For something bright and summery, try my easy watermelon slice drawing tutorial.
If you feel like drawing something sweet instead, take a look at my easy donut drawing tutorial.
And for another simple summer-inspired drawing, you can also learn how to draw a shell step by step.
I love creating tutorials where a finished drawing may look detailed at first, but the process becomes surprisingly simple once we break it into manageable pieces.
You can also find more drawing inspiration on my Digital Drawing Ideas Pinterest page and follow my Digital Drawing Ideas YouTube channel for more creative tutorials.
Final Thoughts on Drawing a Flamingo
I hope this how to draw a flamingo tutorial showed you that you do not need complicated techniques to create a fun and recognizable flamingo.
For me, the most satisfying part of this drawing is watching those first strange little curves slowly turn into a complete bird. At the beginning, you are staring at a tiny beak shape. A few steps later, suddenly there is a pink flamingo standing in the water.
That transformation is one of the reasons I love drawing so much.
If one part gave you trouble, try drawing it again without worrying about making an exact copy. Repeating the neck curve or the legs a few times can quickly make them feel much more natural.
Most importantly, enjoy the process. Your drawing does not need to be perfectly smooth, perfectly symmetrical, or identical to mine to be successful.
I would love to see what you create. Which part of the flamingo was the most fun to draw: the curved neck, the tiny wing, or that classic one-legged pose?
Share your drawing with me on Pinterest, or tag @digitaldrawingideas on Instagram so I can see your version.