Learning how to draw a raccoon became one of my favorite little drawing projects lately because raccoons have such playful personalities. There’s just something about their fluffy tails, tiny paws, and curious little faces that makes them incredibly fun to turn into cute kawaii-style doodles.
I actually started sketching this raccoon drawing idea during a cozy afternoon while testing simple animal shapes for future tutorials. At first, I wanted to create something quick and beginner-friendly, but the moment I added the fluffy striped tail and tiny paws, I completely fell in love with the character. Sometimes the cutest drawings happen by accident — and honestly, this raccoon ended up becoming one of my personal favorites.
If you’ve ever searched for how to draw a raccoon but felt overwhelmed by complicated tutorials, don’t worry. I’ve been there too. A lot of drawing tutorials skip too many steps or make simple things feel strangely difficult. That’s exactly why I created this step-by-step raccoon drawing tutorial to feel relaxing, approachable, and actually fun to follow.
In this cute raccoon drawing tutorial, I’ll show you how to:
- Draw a simple kawaii raccoon face
- Create fluffy raccoon tail details
- Keep your raccoon drawing soft and symmetrical
- Add adorable finishing touches without making the drawing complicated
Even if you’re completely new to drawing, I know you can do this. The secret is not perfection — it’s simply enjoying the creative process one small step at a time. I still remember how nervous I felt sharing my first doodles online years ago, and now creating these tutorials has become one of the most relaxing parts of my day.
So grab your pencil, favorite markers, or digital brush, and let’s start learning how to draw a raccoon together.
If you enjoy cute animal tutorials like this one, you can also explore more drawing ideas on my Pinterest or watch step-by-step drawing videos on my YouTube channel.
Step 1: Draw the Top of the Head
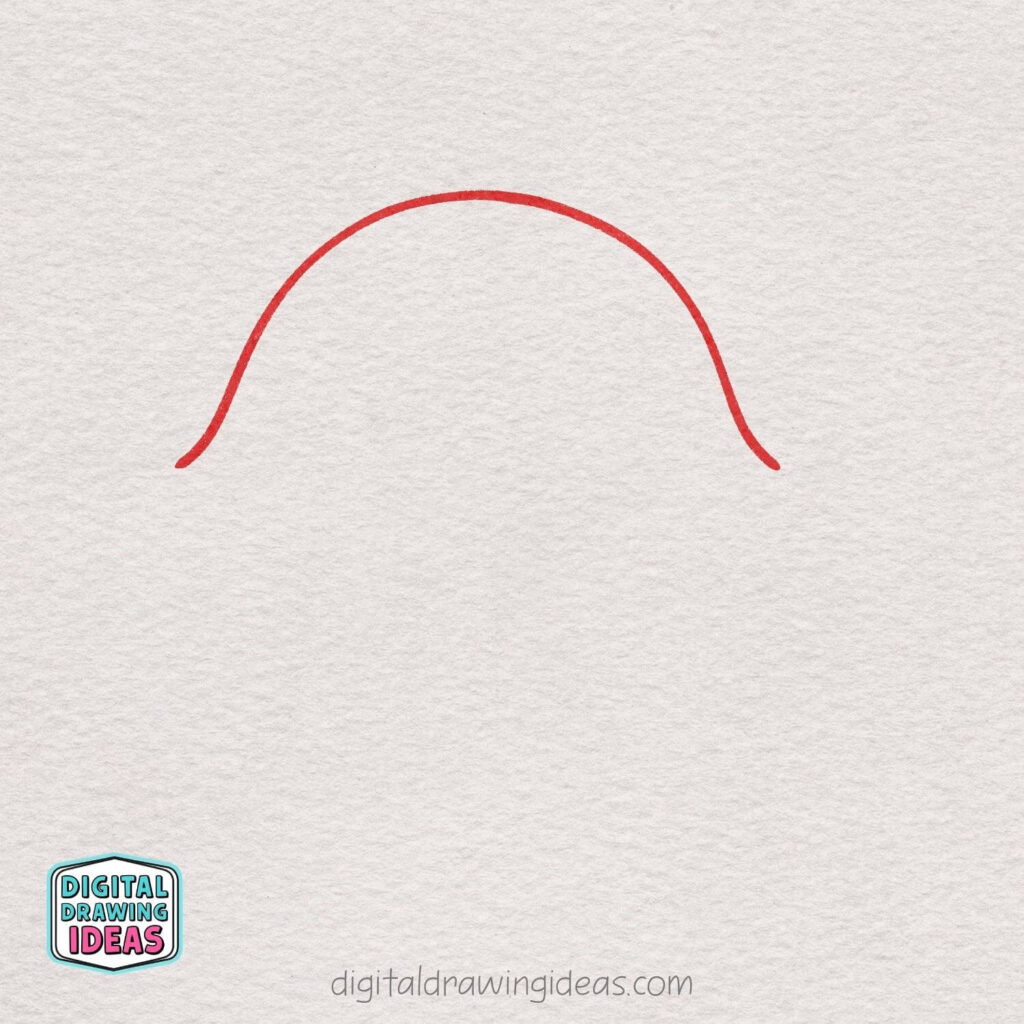
Start your cute raccoon by drawing a large curved line for the top of the head. Make the middle part nice and round, then gently curve the ends downward on both sides.
This soft shape will help give your raccoon its adorable and fluffy look. Try to keep the line smooth and even for a clean kawaii style!
Step 2: Add the Bottom of the Face
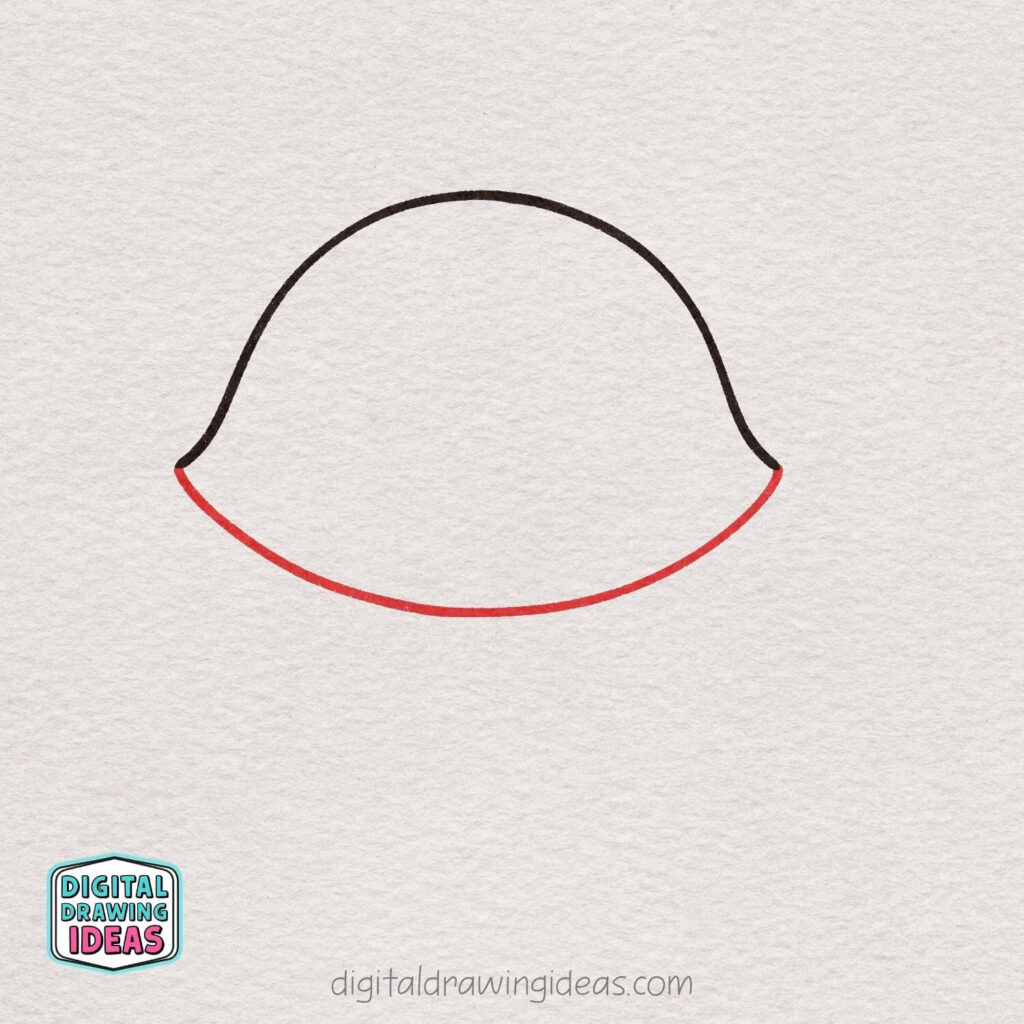
Now draw a wide curved line along the bottom to complete the raccoon’s head shape.
Start from one side and smoothly connect it to the other side, creating a soft rounded face.
Keep the curve gentle and slightly flat at the bottom so your raccoon looks extra cute and chubby!
Step 3: Draw the Ears
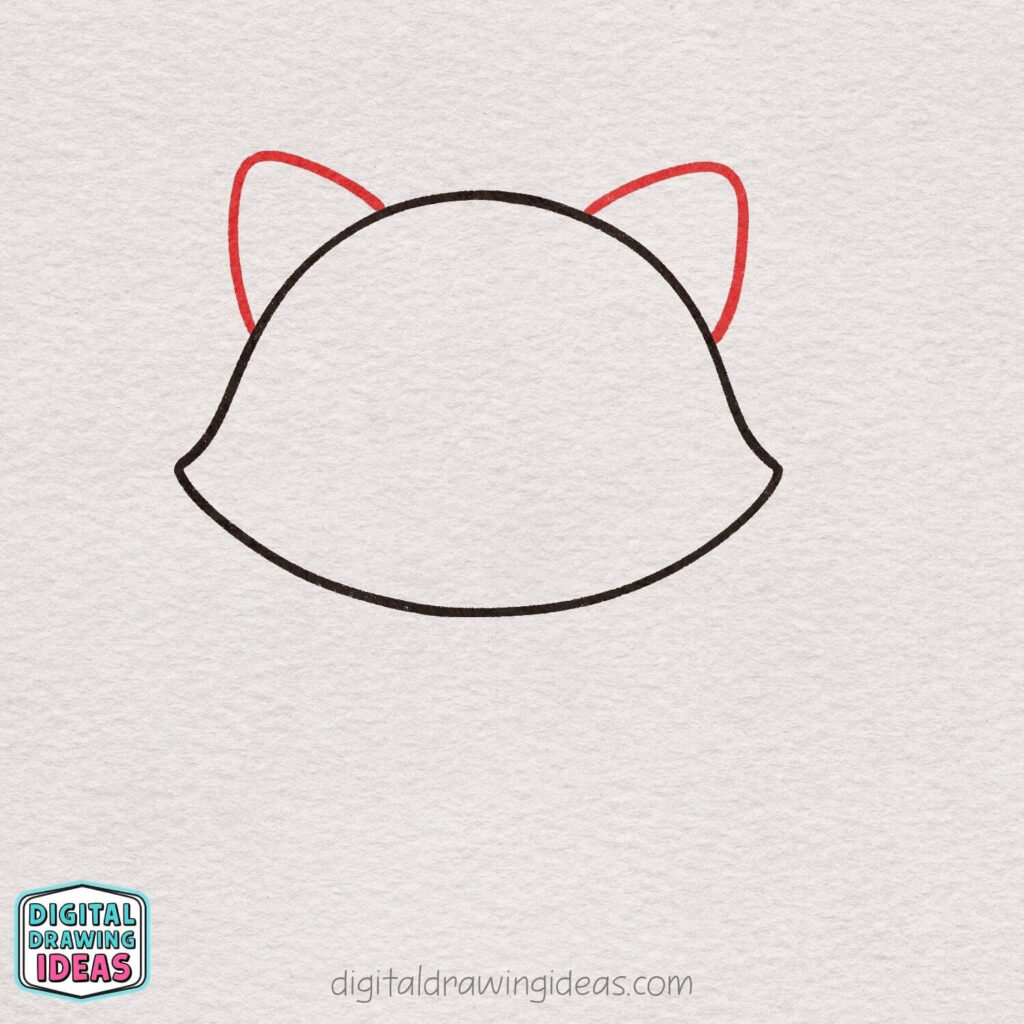
Add two rounded triangle shapes on top of the head for the raccoon’s ears. Place one ear on each side and make them slightly tilted outward for a cute and playful look.
Keep the corners soft and rounded instead of sharp to match the kawaii style of the drawing.
Step 4: Add the Inner Ears
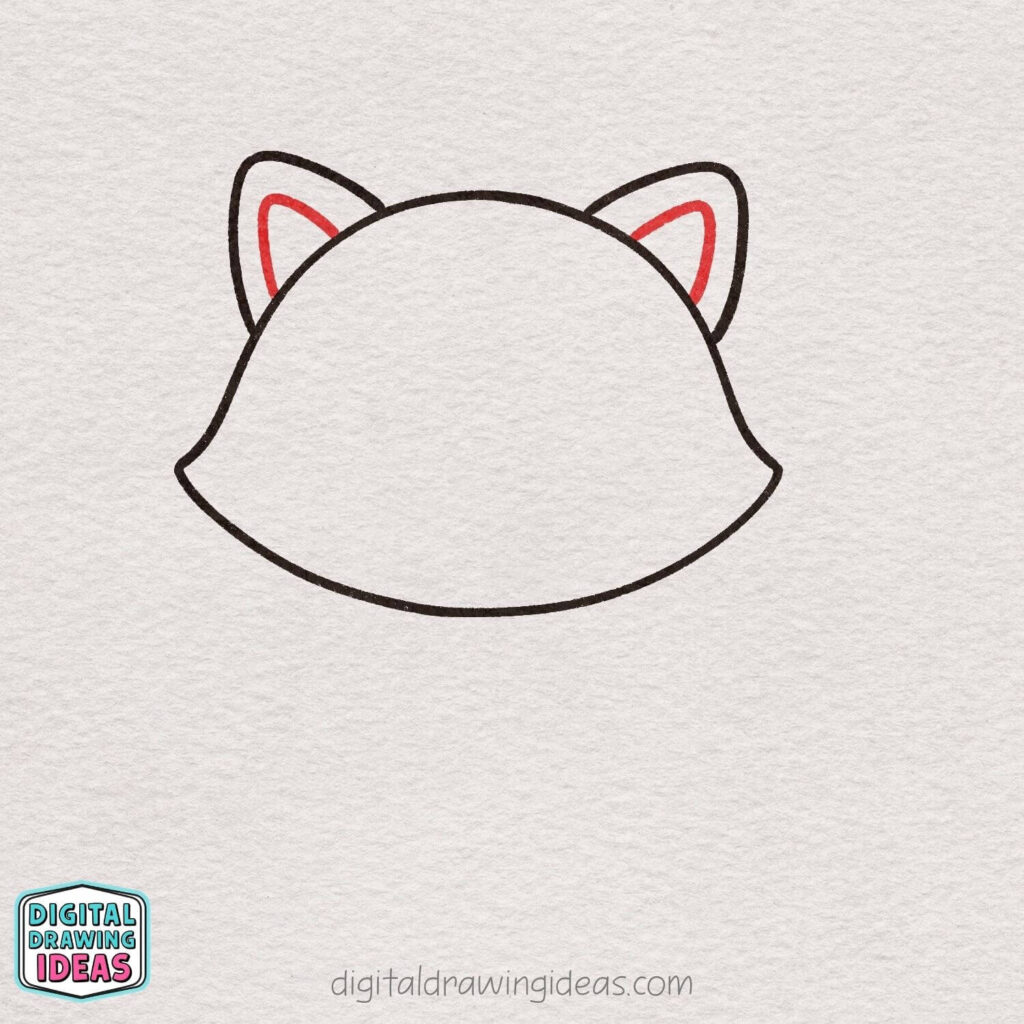
Inside each ear, draw a smaller curved triangle shape to create the inner ear details.
Follow the shape of the outer ears while leaving a small gap around the edges.
These little details make the raccoon look softer, cuter, and more expressive!
Step 5: Draw the Cute Face
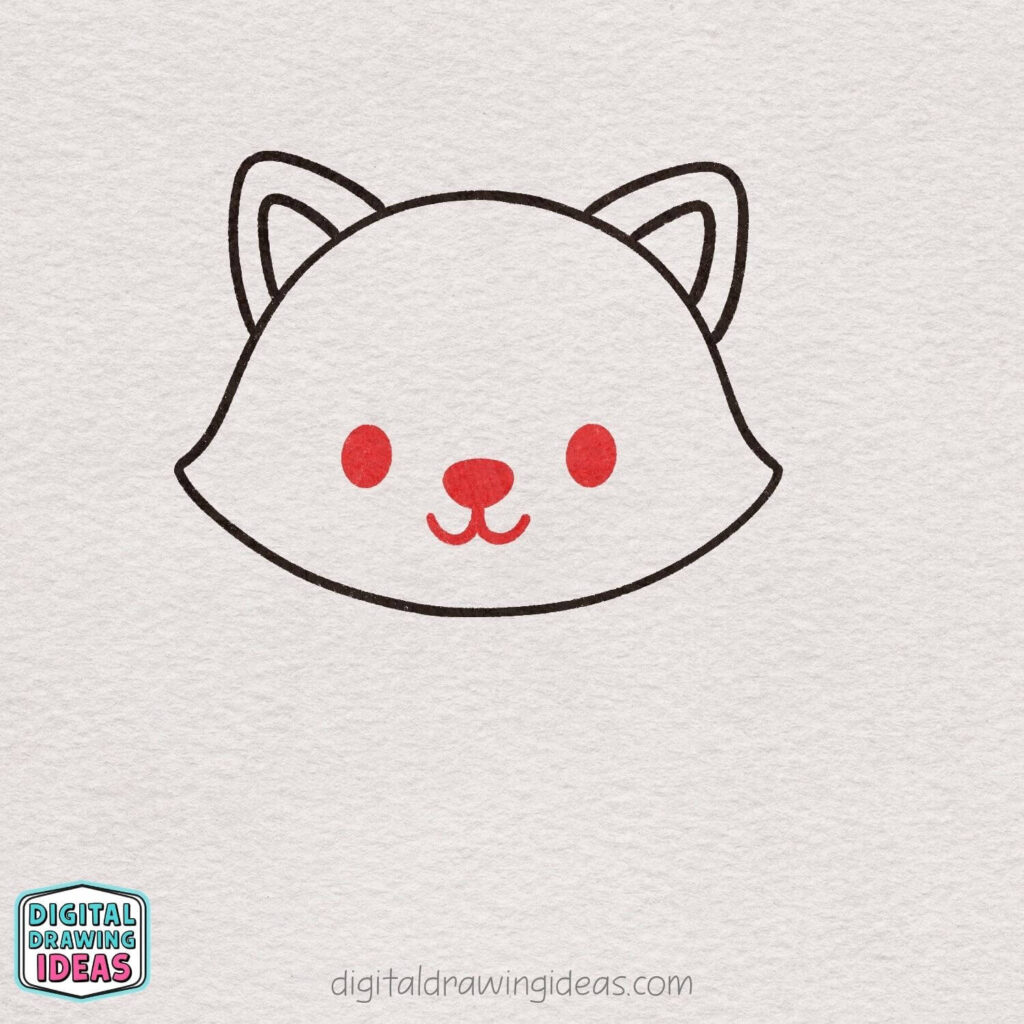
Now it’s time to give your raccoon an adorable face! Draw two small oval shapes for the eyes, leaving a little space between them.
In the center, add a rounded nose shape, then draw two small curved lines underneath to create a sweet smiling mouth.
Keeping the facial features small and simple will help your raccoon look extra cute and kawaii.
Step 6: Add the Face Mask Shape
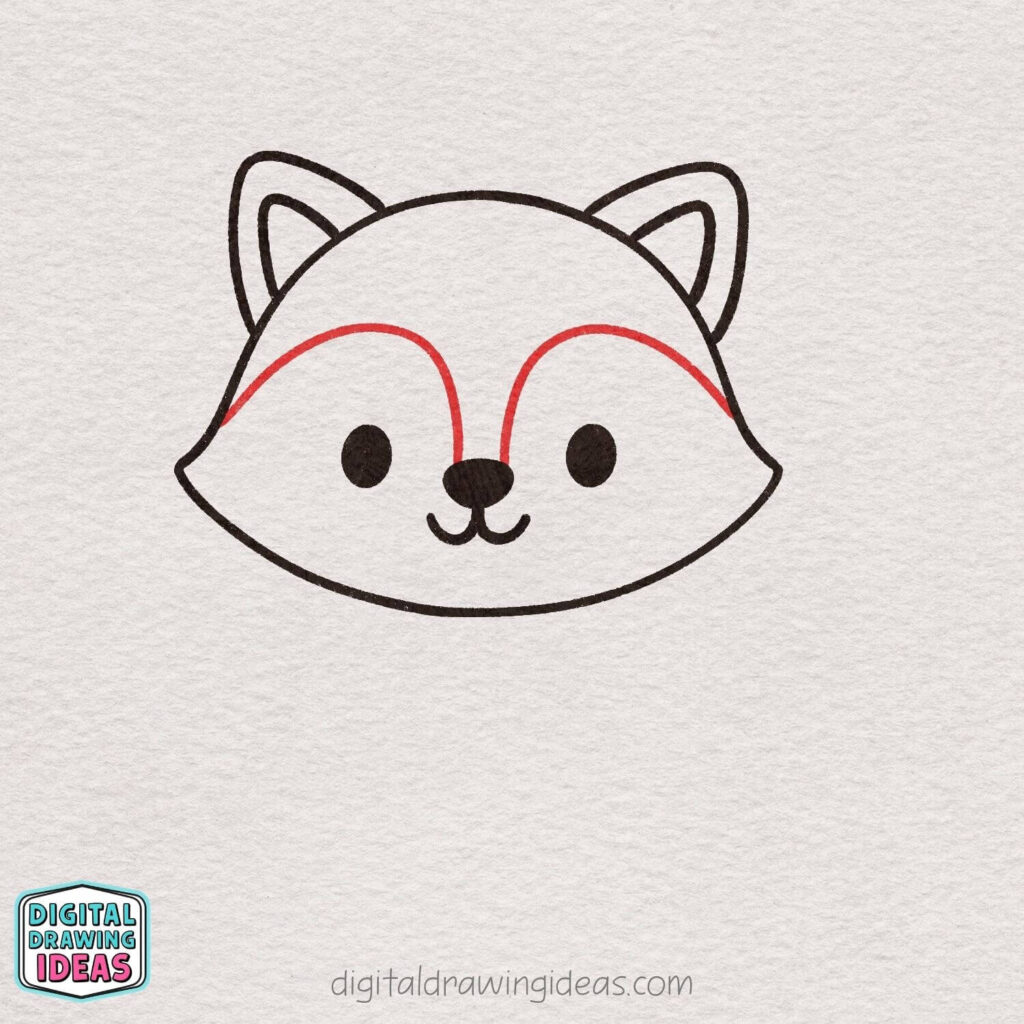
Draw two large curved shapes around the eyes to create the raccoon’s famous face mask pattern. Start near the sides of the head and curve the lines inward toward the nose area.
Try to keep both sides smooth and symmetrical. This detail will instantly make your drawing look more like a cute little raccoon!
Step 7: Finish the Mask Details

Inside the face mask shapes, draw another set of curved lines that wrap around the eyes and connect toward the bottom of the face. These lines will complete the raccoon’s signature mask pattern.
Try to keep the curves smooth and flowing to give your drawing a soft and friendly appearance.
Step 8: Draw the First Front Leg
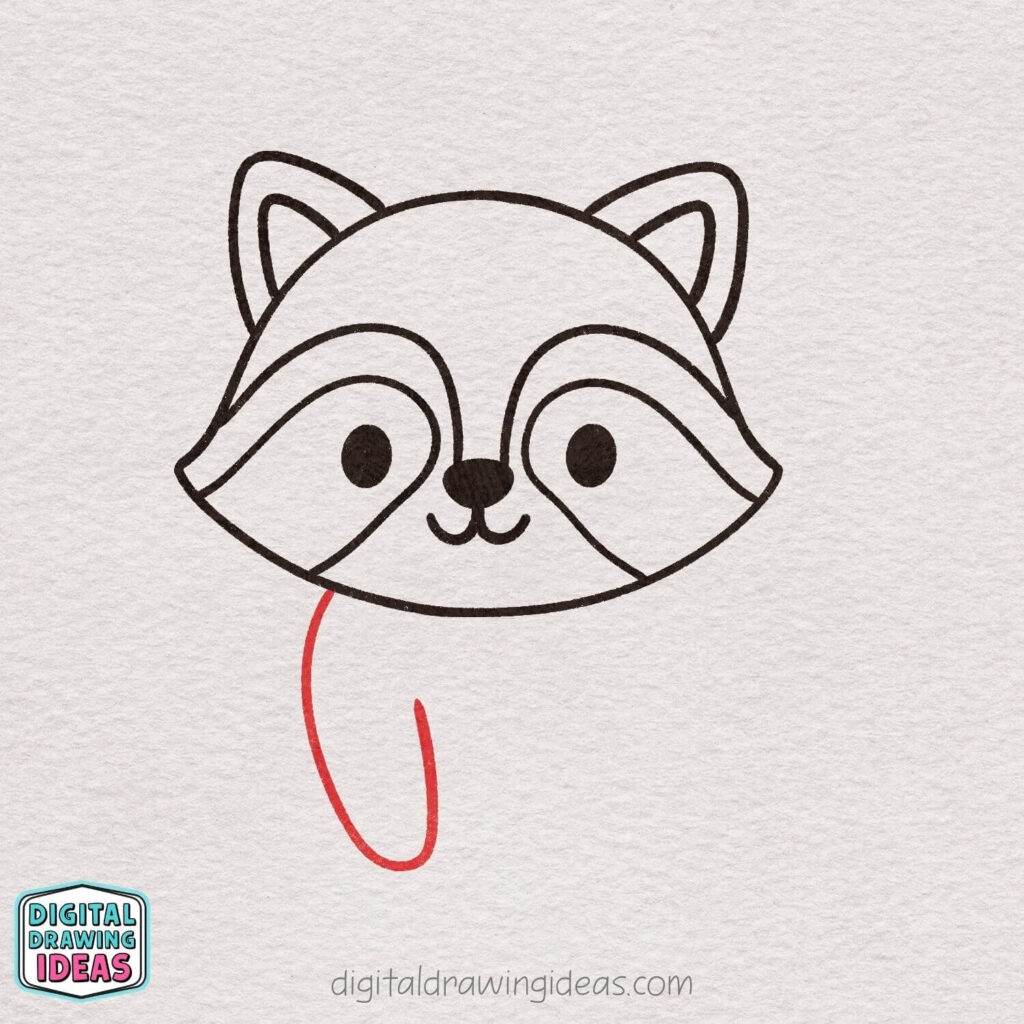
Start drawing the raccoon’s body by adding the first front leg underneath the head. Draw a long curved line that goes downward, loops around at the bottom, and curves back upward slightly.
Keep the shape rounded and soft to match the cute kawaii style.
Step 9: Add the Second Front Leg
Next, draw the second front leg beside the first one. Use another long rounded shape that curves downward and back up, keeping it similar in size and shape to the first leg.
Try to leave a small gap between the legs so your raccoon looks balanced and extra adorable.
Step 10: Draw One Side of the Body
Now begin shaping the raccoon’s body by drawing a large curved line down the side. Start underneath the head and curve the line outward before bringing it back in near the bottom.
This rounded shape will help make your raccoon look soft, fluffy, and cuddly.
Step 11: Draw the First Back Foot
Now add the raccoon’s first back foot behind the front legs.
Draw a small rounded oval shape peeking out from the side of the body. Keep it low to the ground and nice and soft so it matches the cute chubby style of the raccoon.
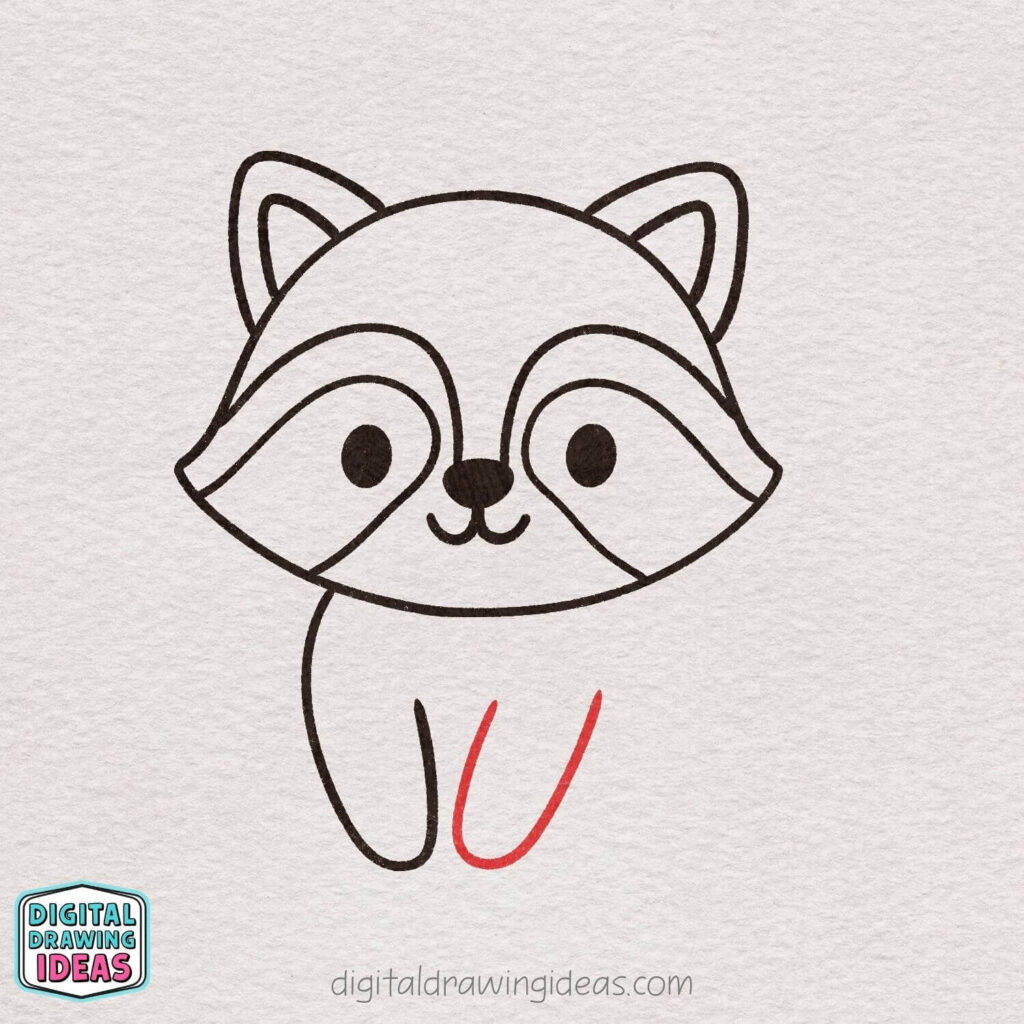
Step 12: Begin the Tail
Now start drawing the raccoon’s fluffy tail behind the body. Draw a curved line coming upward from behind the back foot.
Let the line gently curve outward to give the tail a soft and bushy appearance.
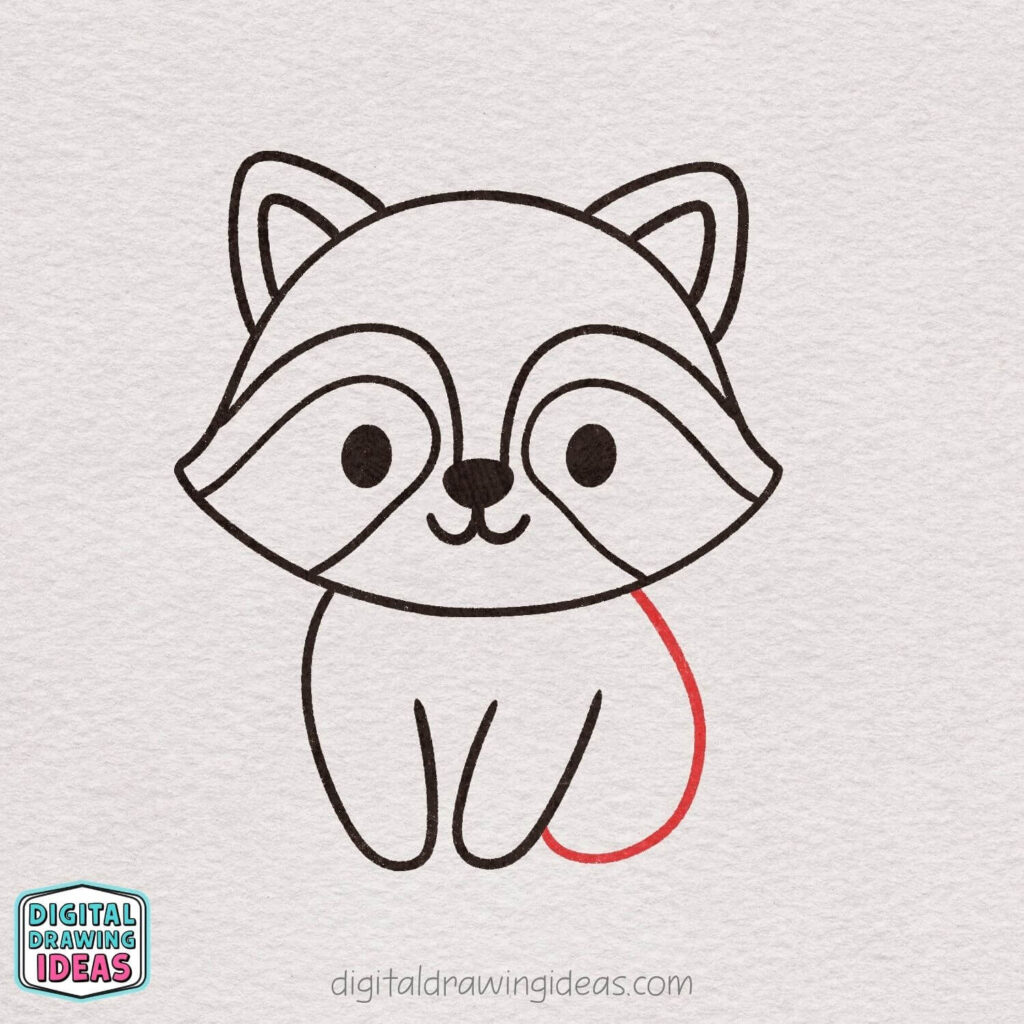
Step 13: Connect the Bottom of the Body
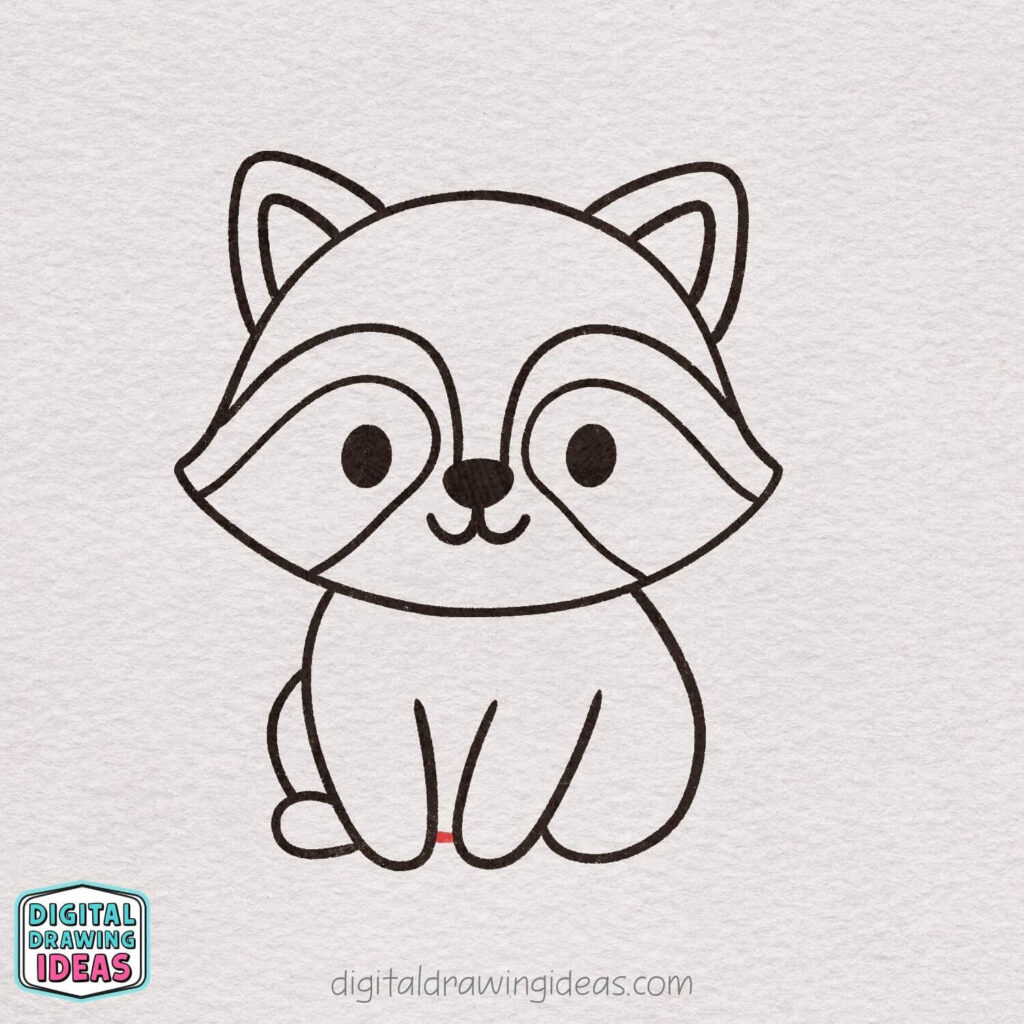
Add a small curved line between the legs to complete the bottom part of the raccoon’s body.
This tiny detail helps connect the shapes together and gives the body a cleaner, more finished look.
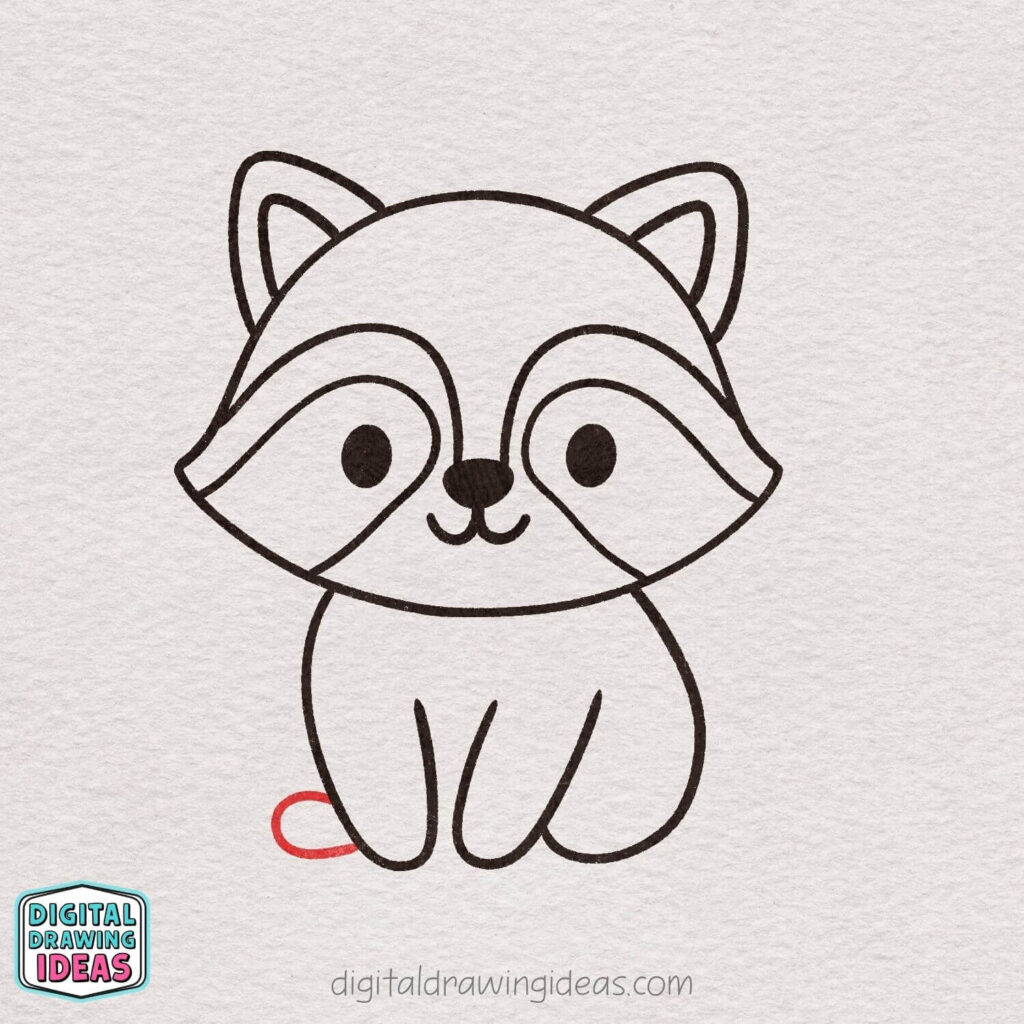
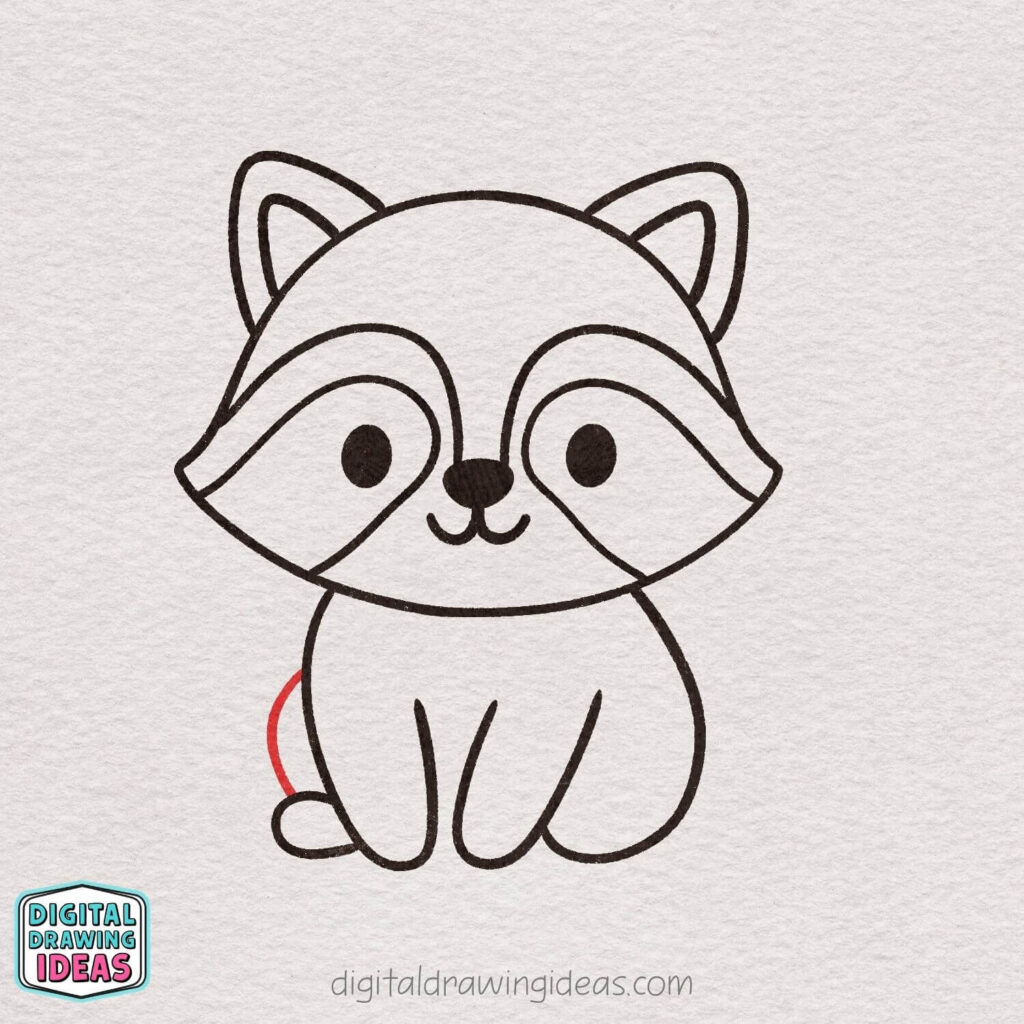
Step 14: Add the Back Feet
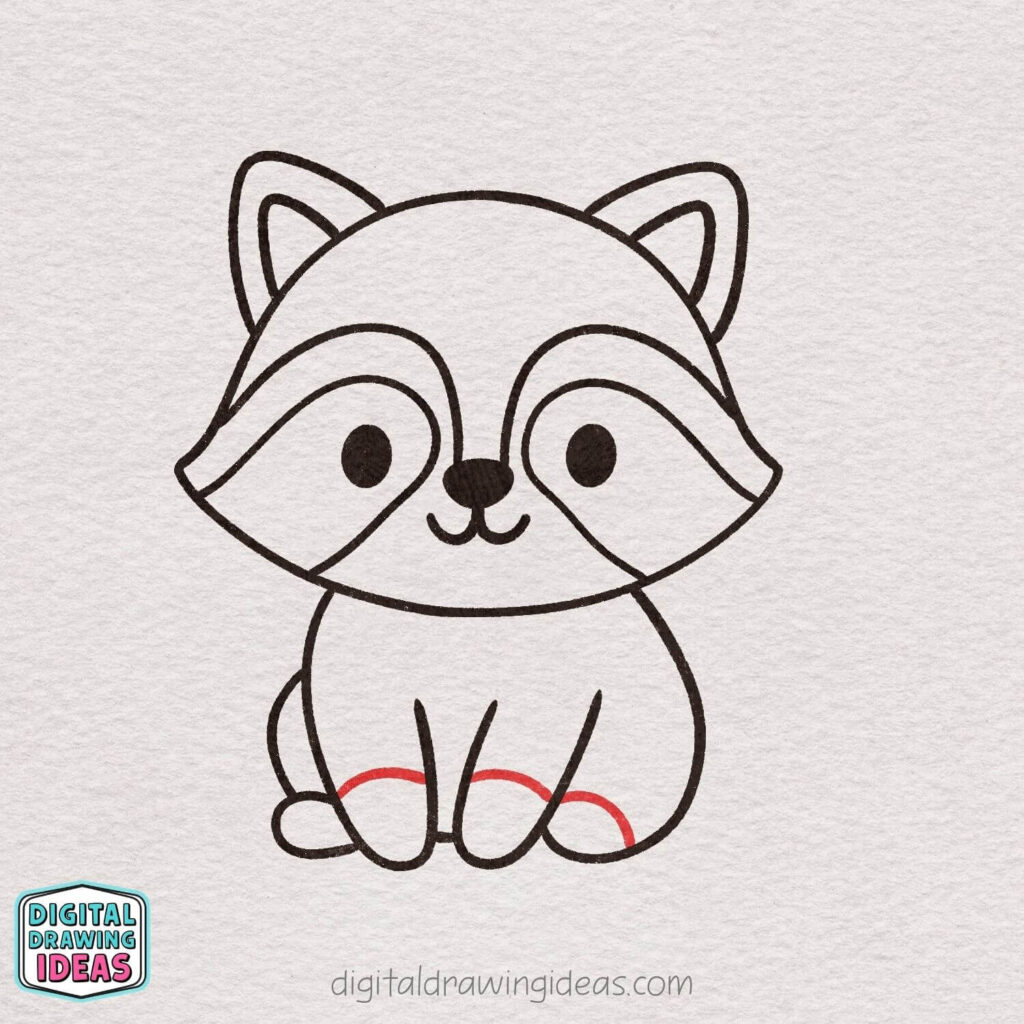
Draw two curved bump shapes behind the front legs to create the raccoon’s back feet.
Keep the lines low and rounded so the feet look soft and tucked underneath the body.
These little details help make the raccoon look extra cozy and cute.
Step 15: Draw the Tiny Toes
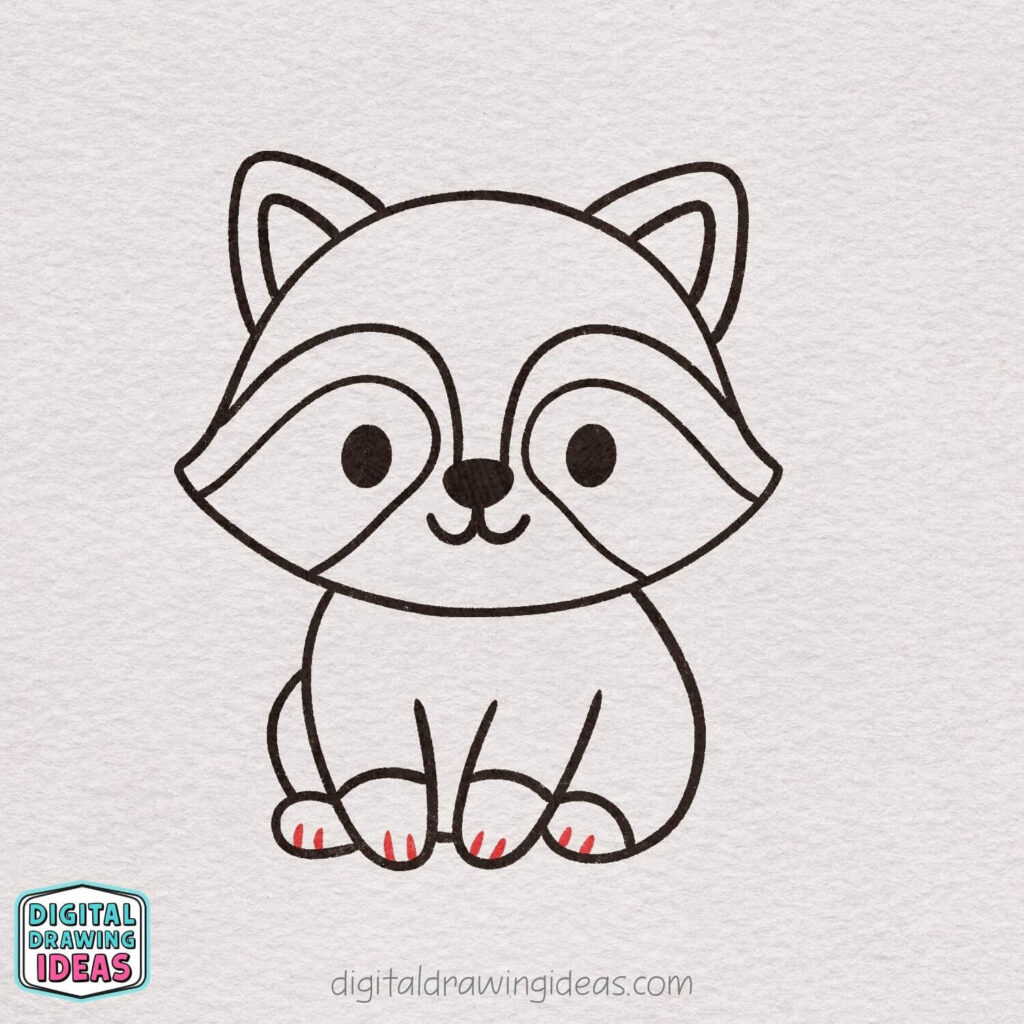
Add a few short curved lines on each paw to create the raccoon’s tiny toes.
Keep the lines small and simple so the paws still look soft and adorable.
These little details help bring your cute raccoon to life!
Step 16: Draw the Fluffy Tail
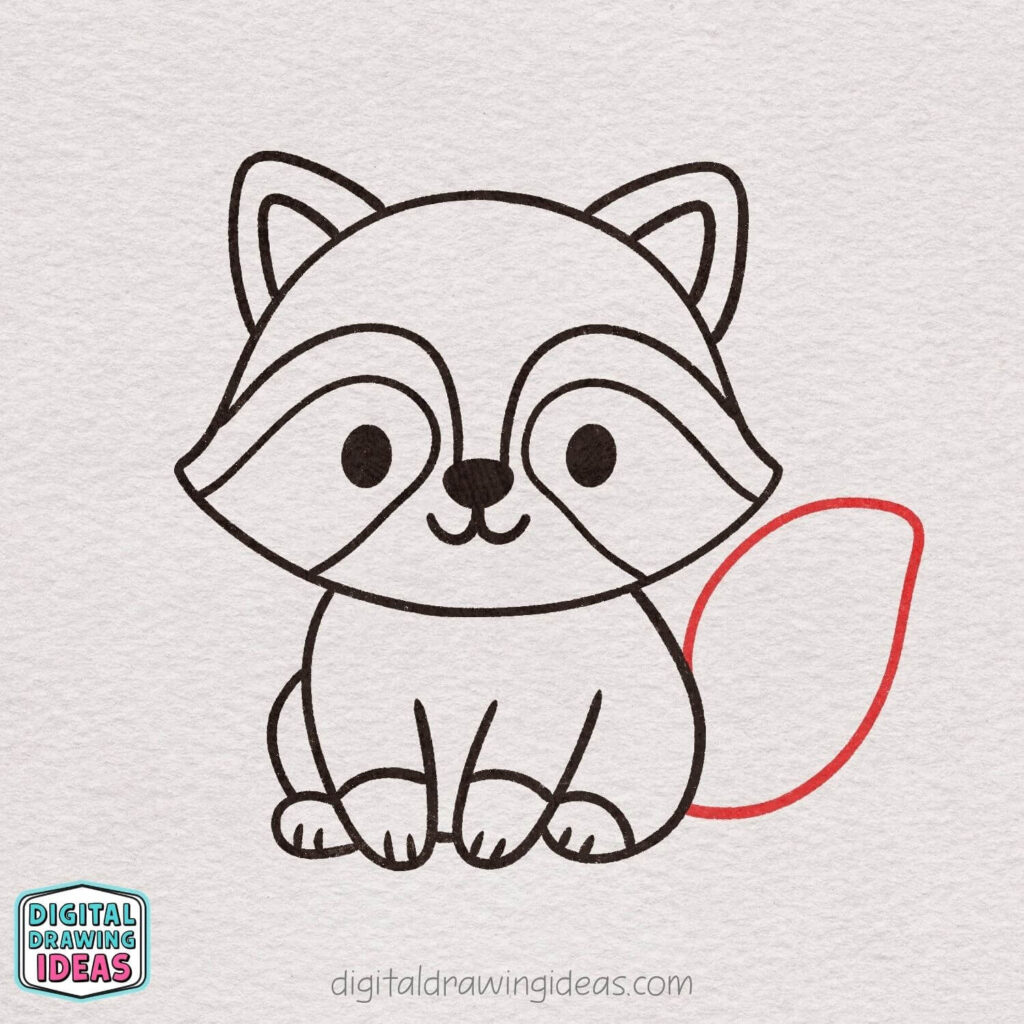
Now draw the raccoon’s big fluffy tail on the side of the body.
Create a large leaf-like shape with smooth curved lines that connect at the bottom.
Make the tail nice and bushy so it gives your raccoon an extra cute and playful look.
Step 17: Add the Tail Stripes
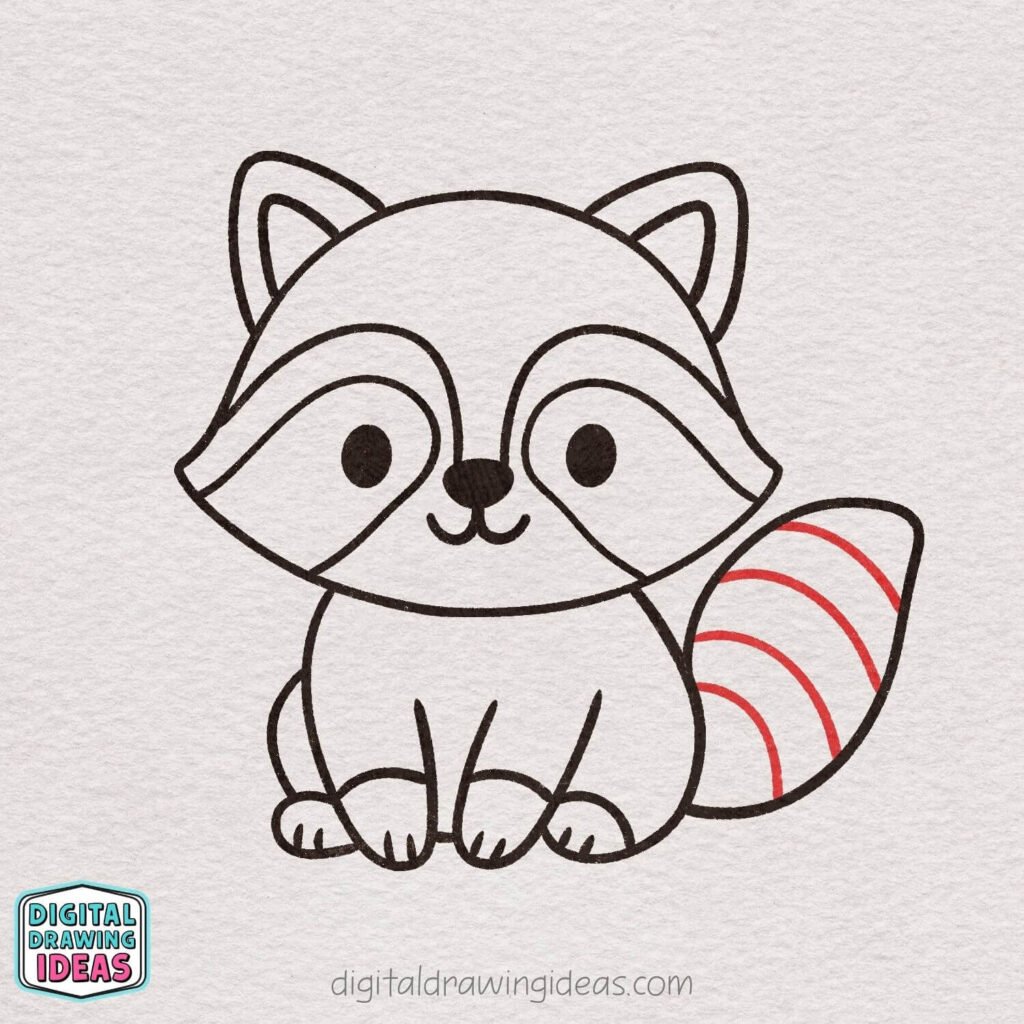
Draw a few curved stripes across the tail to create the raccoon’s classic tail pattern.
Follow the curve of the tail as you add each line so the stripes look natural and rounded.
These fun little details make the tail look fluffy and recognizable.
Step 18: Add Cute Little Details
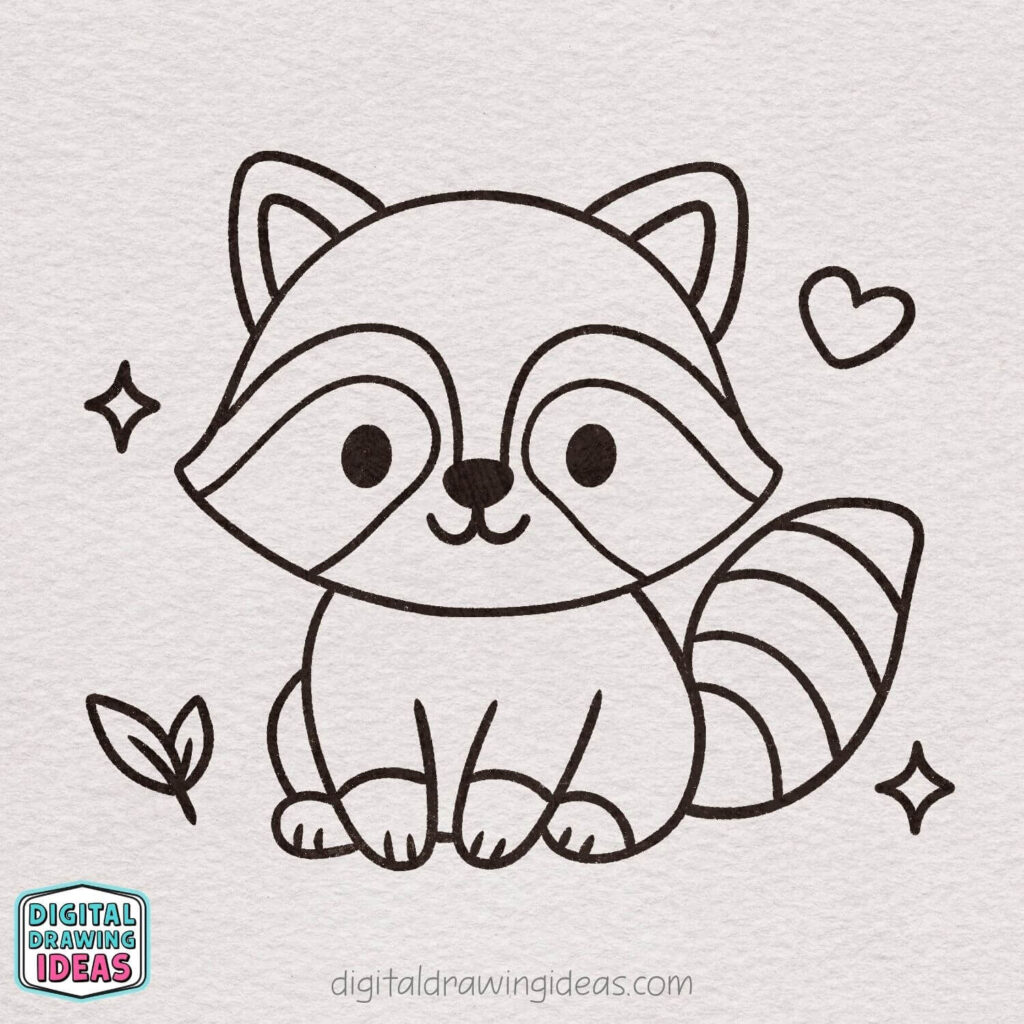
Decorate your drawing with a few simple extra details around the raccoon, like sparkles, a heart, and tiny leaves.
These fun little doodles make the artwork feel more playful, cozy, and magical while helping your cute raccoon stand out even more.
Step 19: Color Your Cute Raccoon

Now it’s time to bring your adorable raccoon to life with color!
Use light gray for the body, dark gray or black for the mask, ears, paws, and tail stripes, and soft pink for the inner ears and cheeks.
You can also color the little heart, sparkles, and leaves to make your drawing look even more fun and cheerful.
Great job — your cute kawaii raccoon drawing is complete!
Conclusion
And that’s it — your cute raccoon drawing is finished.
I hope this step-by-step tutorial helped make learning how to draw a raccoon feel simple, relaxing, and enjoyable instead of frustrating. One of the things I love most about creating kawaii animal tutorials is that they remind me creativity doesn’t have to be perfect to be meaningful. Sometimes sitting down for 15 quiet minutes with a sketchbook and drawing a fluffy little raccoon can genuinely make the whole day feel lighter.
If your raccoon drawing looks slightly different from mine, that’s actually a good thing. Some of my favorite doodles started with uneven lines, oversized ears, or tails that looked more like fluffy potatoes. Those tiny imperfections are what give your drawings personality and charm.
I’d also love to see your finished raccoon drawing. Feel free to share your artwork and tag me on Instagram at @digitaldrawingideas or save this tutorial on Pinterest so you can come back to it later whenever you want another cozy creative break.
If you want to keep practicing cute animal drawings, you might also enjoy these tutorials next:
Now I’m curious — did your raccoon end up extra fluffy, super tiny, or adorably chubby? Let me know, and don’t forget to share your raccoon drawing creations with other creative animal lovers too.

