Have you ever wondered how to draw a crown that looks cute, colorful, and a little bit magical without spending hours on tiny details? I love drawing simple, cheerful things, and a crown is one of those designs that can turn a blank piece of paper into something special with just a few lines.
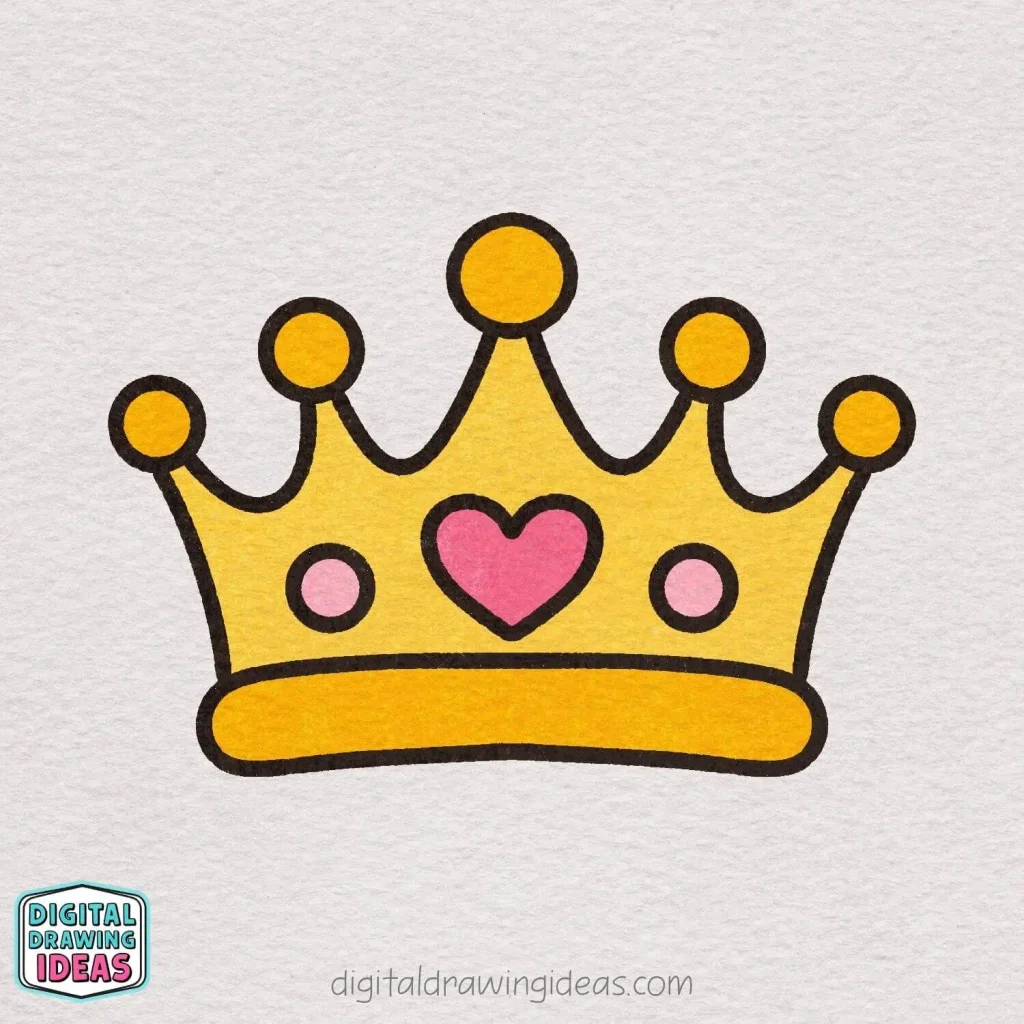
When I started creating this crown drawing, I knew I wanted something a little softer and more playful than a traditional royal crown. Instead of sharp, complicated points and lots of tiny gemstones, I went with rounded shapes, gentle curves, and a sweet heart right in the middle. I think that little heart might actually be my favorite part!
One of the things I enjoy most about drawing is figuring out how to turn something that looks complicated into a few easy steps. You don’t need to be an experienced artist to create something adorable, and you certainly don’t need to get every line perfect.
That’s exactly why I created this how to draw a crown tutorial with eight simple steps that you can follow at your own pace.
And the best part? Once you’ve finished the outline, you can have so much fun choosing your own colors and decorations. Who says every royal crown has to look the same?
What You’ll Need for This Easy Crown Drawing
Before we start drawing, grab a few basic supplies. Nothing fancy needed!
- A pencil: Perfect for sketching the shapes before making them permanent.
- An eraser: Just in case a circle turns into something that looks more like a potato. We’ve all been there!
- A black pen or marker: To give your crown a clean, bold outline.
- Colored pencils or markers: I chose golden yellow and pink, but feel free to experiment.
- A piece of paper: Any drawing paper or an ordinary notebook page will work.
I personally love how bold black outlines make simple illustrations stand out, especially when paired with bright, happy colors.
If you’re drawing with a pencil first, keep your lines light. That way, you can easily adjust the shapes before tracing over them.
How to Draw a Crown Step by Step
Ready to give it a try?
In this how to draw a crown tutorial, I’ll walk you through the same eight steps I used to create my own illustration.
I’ve highlighted the new lines in red throughout the drawing process, so you can easily see what to add next. You won’t have to guess which part of the crown we’re working on!
Let’s get started.
Step 1: Draw the Base of the Crown
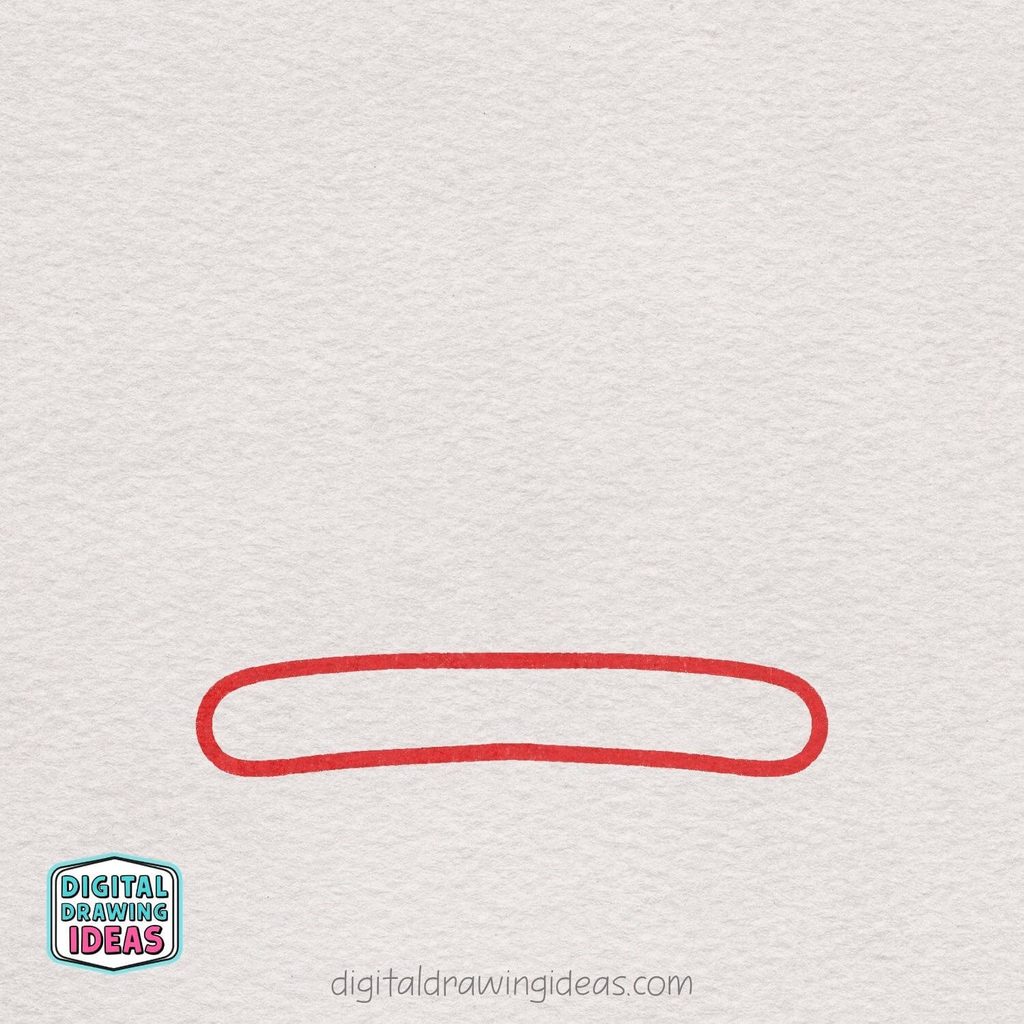
Let’s start by drawing the bottom part of our crown! Create a long, slightly curved rectangle with nicely rounded ends, just like the one shown in the picture.
Make sure the top and bottom lines have a gentle curve to give the crown a soft, rounded shape. This will be the base that holds the rest of our beautiful crown together!
Step 2: Add Five Circles for the Crown’s Points
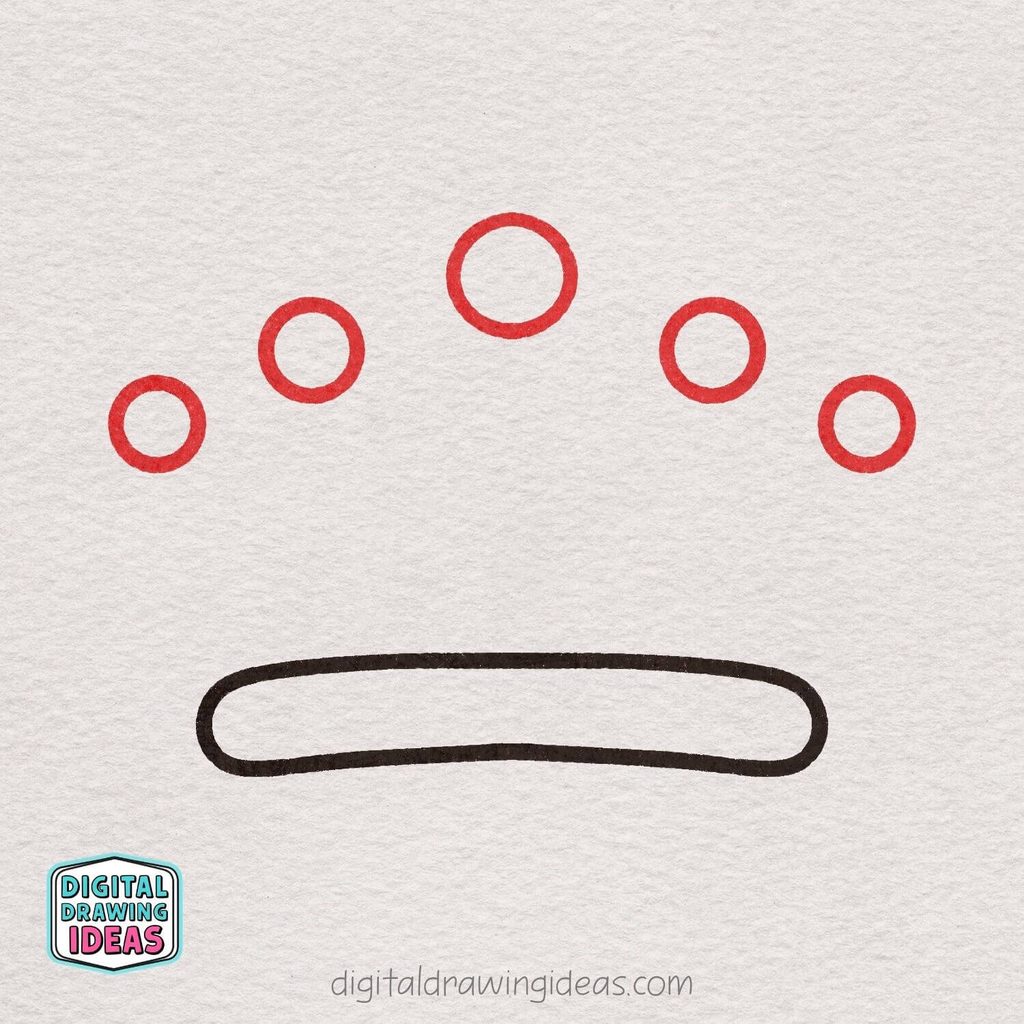
Now it’s time to start shaping the top of our crown! Draw five small circles above the base, arranging them in a gentle arch.
Place the middle circle highest, with two circles on each side gradually getting lower toward the edges.
These little circles will become the decorative tips of our beautiful royal crown!
Step 3: Draw the Outer Sides of the Crown
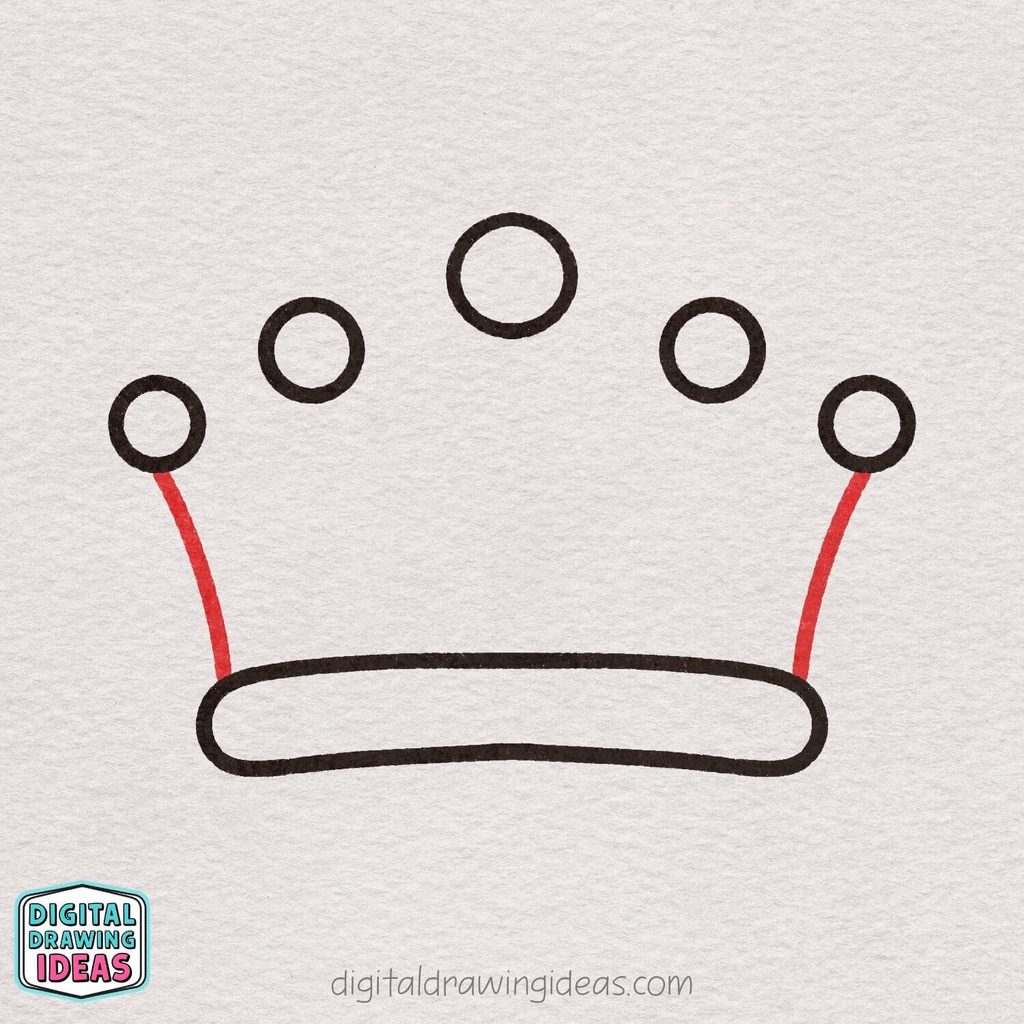
Now let’s give our crown its outer shape!
Starting just below the circle on the far left, draw a gently curved line downward until it meets the top of the crown’s base.
Repeat the same thing on the right side, connecting the outermost circle to the opposite end of the base.
Try to keep both curves similar so your crown looks nicely balanced and symmetrical!
Step 4: Add the First Curved Details
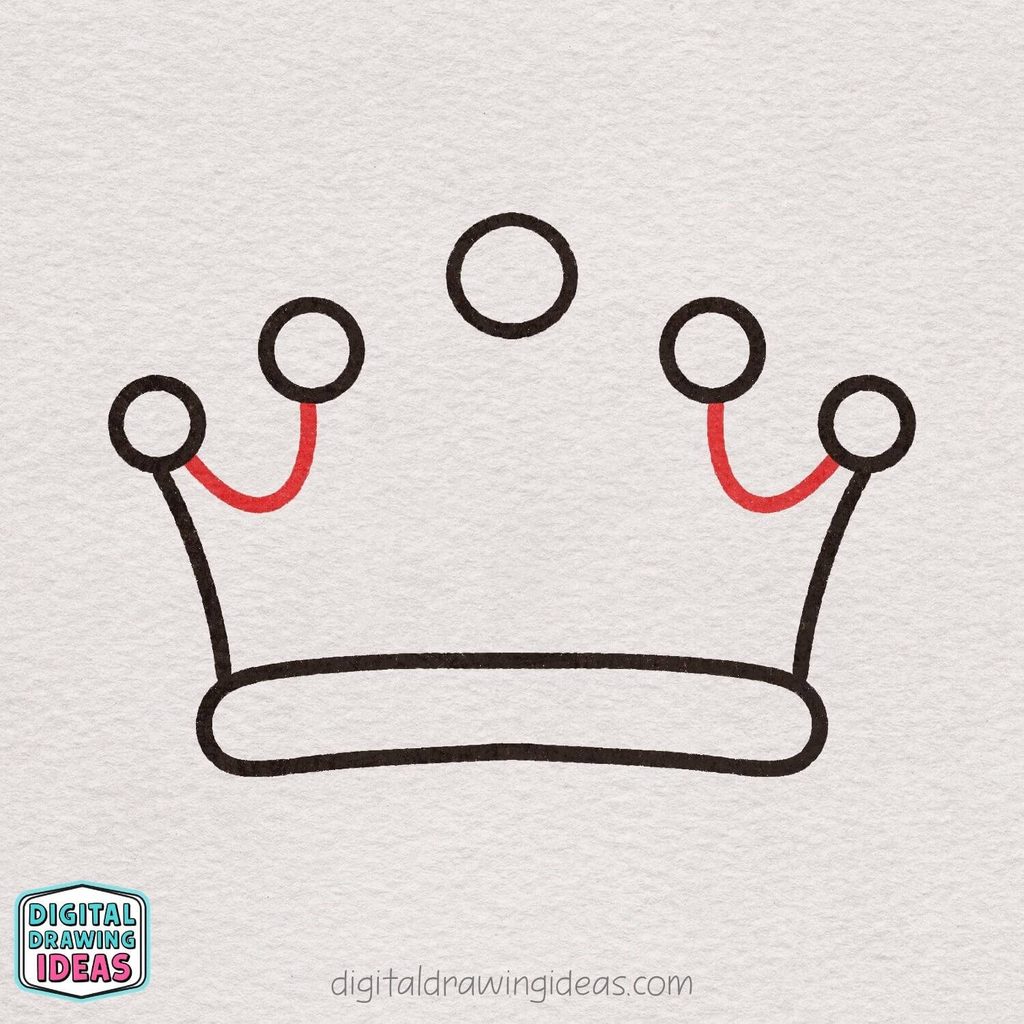
Let’s start connecting the circles to create the crown’s beautiful pointed design!
Draw a smooth U-shaped curve between the two circles on the left, letting the line dip gently downward before curving back up.
Repeat the same shape between the two circles on the right, keeping both curves as even as possible.
These lovely little curves will give our crown its classic royal look!
Step 5: Complete the Top of the Crown
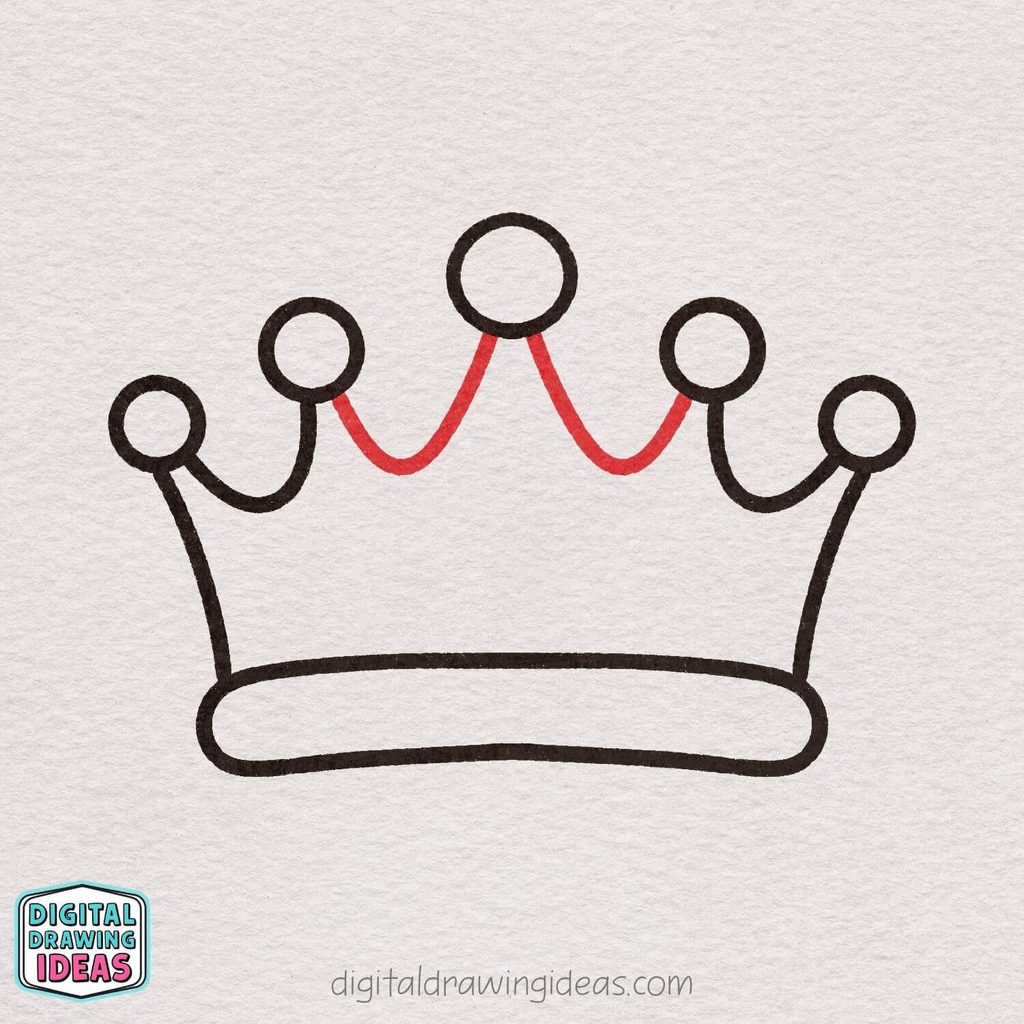
Now let’s finish the beautiful curved outline of our crown! Draw a smooth U-shaped curve from the second circle on the left up to the large circle in the center, letting the line dip gently in between.
Repeat the same shape on the right side, connecting the center circle to the next circle.
Try to keep both curves balanced, and you’ll have the complete outline of a lovely royal crown!
Step 6: Decorate the Crown with a Heart and Jewels

Now it’s time to make our crown look extra special with some beautiful decorations! Start by drawing a cute heart in the center of the crown, just above the base.
Then, add a small circle on each side of the heart, making sure they’re evenly spaced to keep everything nicely balanced.
These lovely little details will look like sparkling jewels once we add some color!
Step 7: Trace and Refine the Crown’s Outline

Our beautiful crown is almost finished! Now, carefully go over all the lines with a black pen or marker to make the outline bold, smooth, and easy to see.
Follow the curves of the crown, the five circles at the top, and the lovely heart and jewels in the center.
Take your time to keep the lines neat and even, giving your crown a clean, polished look before we add some beautiful colors!
Step 8: Color Your Beautiful Royal Crown
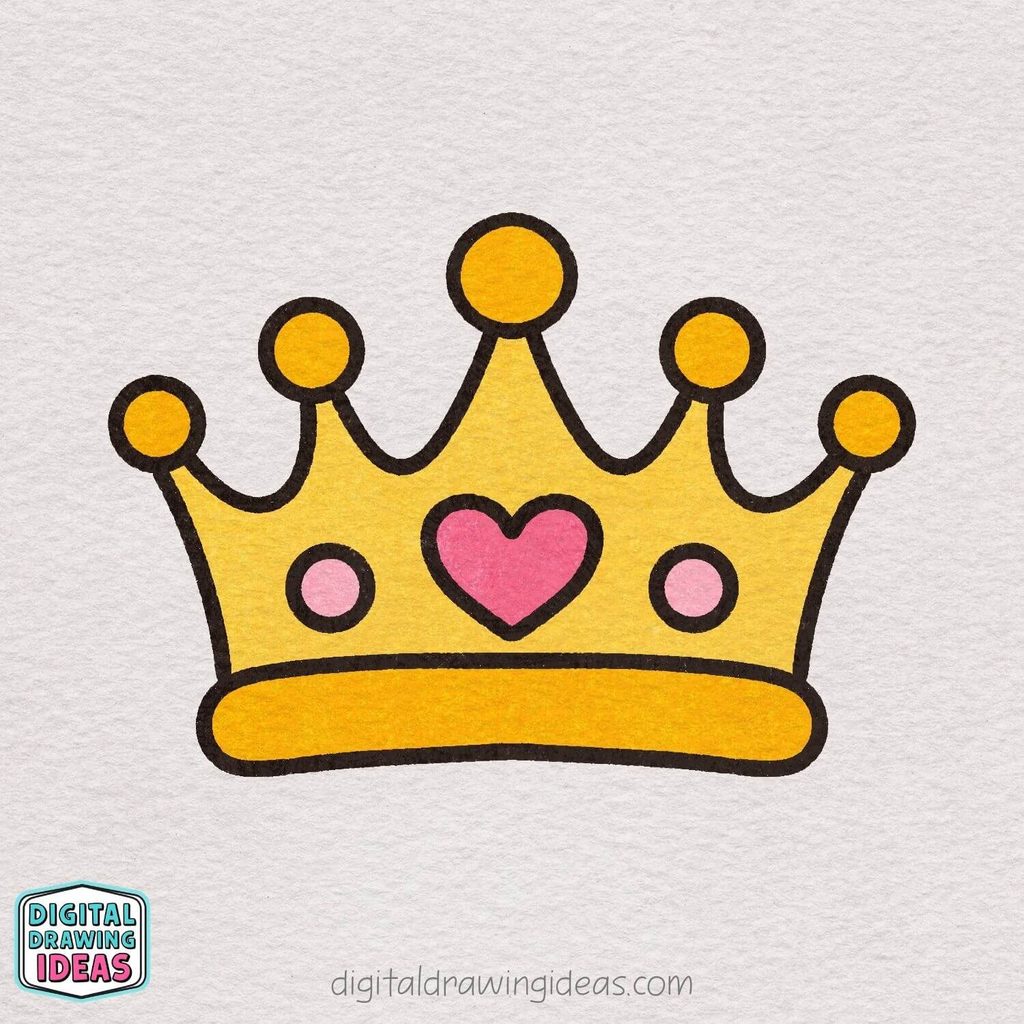
It’s time to bring our lovely crown to life with some beautiful colors!
Start by filling in the main part of the crown with a cheerful golden yellow, then use a slightly darker golden shade for the rounded base and the five circles at the top.
Color the heart in the center with a bright pink and use a softer, lighter pink for the two little jewels on each side.
And there you have it—your very own beautiful royal crown is complete!
A Few Little Tips to Make Your Crown Drawing Even Better
Now that you’ve learned how to draw a crown, I want to share a few little things that can make drawing this design even easier.
One thing I’ve noticed while creating simple drawing tutorials is that getting the basic shapes in place makes everything else feel much less intimidating.
For this crown, the five circles at the top are especially helpful. Once you know where they belong, connecting them with curved lines becomes much easier.
Here are a few things worth remembering:
- Start with light pencil lines. Don’t press too hard until you’re happy with the overall shape.
- Pay attention to the middle circle. Keeping it centered helps the entire crown look balanced.
- Don’t worry about perfect curves. A slightly uneven line can give your drawing its own charming personality.
- Take your time with the heart. It’s the main decoration in my design, so give it enough space to stand out.
- Experiment with colors. Try lavender, turquoise, pastel pink, or even a rainbow crown if you’re feeling adventurous.
And here’s something I always like to remember: a drawing doesn’t need to look exactly like the example to turn out beautifully.
If your crown ends up a little taller, wider, or more rounded than mine, that’s perfectly fine. It’s your creation, after all!
More Easy Drawing Ideas to Try Next
If you had fun following this easy crown drawing tutorial, why stop at just one drawing?
I love creating simple illustrations that you can mix and match, especially when they share a similar theme. And a royal crown opens up so many possibilities!
You could turn your drawing into a little collection of fairy-tale-inspired artwork.
Here are three more tutorials I’ve created that would go perfectly with your new crown:
- How to Draw a Castle – Easy Castle Drawing Tutorial – Every beautiful crown deserves a castle, right? Try drawing a charming castle to create your very own royal scene.
- How to Draw a Diamond – Easy Diamond Drawing – Want to add some extra sparkle to your artwork? Learn how to draw a diamond and imagine decorating your crown with even more precious jewels.
- How to Draw a Shell – Easy Shell Drawing Tutorial – If you’re in the mood for something different, this lovely seashell drawing is another fun way to practice simple shapes and curved lines.
I think combining different little drawings is one of the most enjoyable ways to get creative. You can fill a sketchbook page with tiny illustrations, create your own greeting cards, or even decorate your journal.
Sometimes one simple drawing is all it takes to inspire a whole page of ideas!
Your Beautiful Crown Is Ready!
And that’s it! You’ve officially learned how to draw a crown in eight easy steps.
I hope you enjoyed creating this little royal accessory as much as I enjoyed designing it. There’s something so satisfying about starting with a simple rounded rectangle and watching it slowly turn into a bright golden crown with a cute pink heart.
What I love most about this drawing is that you can make it your own without changing the basic design. Keep it classic with gold and pink, give it a dreamy pastel makeover, or decorate it with colorful gems.
You could even draw a whole collection of crowns, each with its own personality. A tiny crown for a princess, a sparkling one for a queen, or something completely unexpected!
If you’re just getting started with drawing, I hope this tutorial reminds you that you don’t have to create something complicated to make something lovely.
A pencil, a little patience, and a few simple shapes can take you surprisingly far.
Let’s Keep Drawing Together!
I’d love to know how your crown turned out!
Did you stick with my golden yellow and pink color combination, or did you come up with something completely different? And if you could add one more decoration to your crown, what would it be?
Feel free to share your ideas in the comments on my Pinterest pins, or show me your finished crown drawing on Instagram by tagging @digitaldrawingideas. I’d love to see your creative versions!
You can also find more easy drawing inspiration on my Digital Drawing Ideas Pinterest page, where I share plenty of fun ideas for your next creative session.
And if you enjoy watching drawing tutorials, don’t forget to visit my Digital Drawing Ideas YouTube channel for even more inspiration.
Thank you for drawing along with me today. Keep your pencils nearby, enjoy the little creative moments, and I’ll see you in the next drawing tutorial!