Learning how to draw a bow can feel surprisingly tricky when you try to make both sides look even, but it becomes much easier when you build the shape one small piece at a time. I have drawn plenty of bows that looked a little sleepy on one side and overly excited on the other, so I know how frustrating symmetry can be.
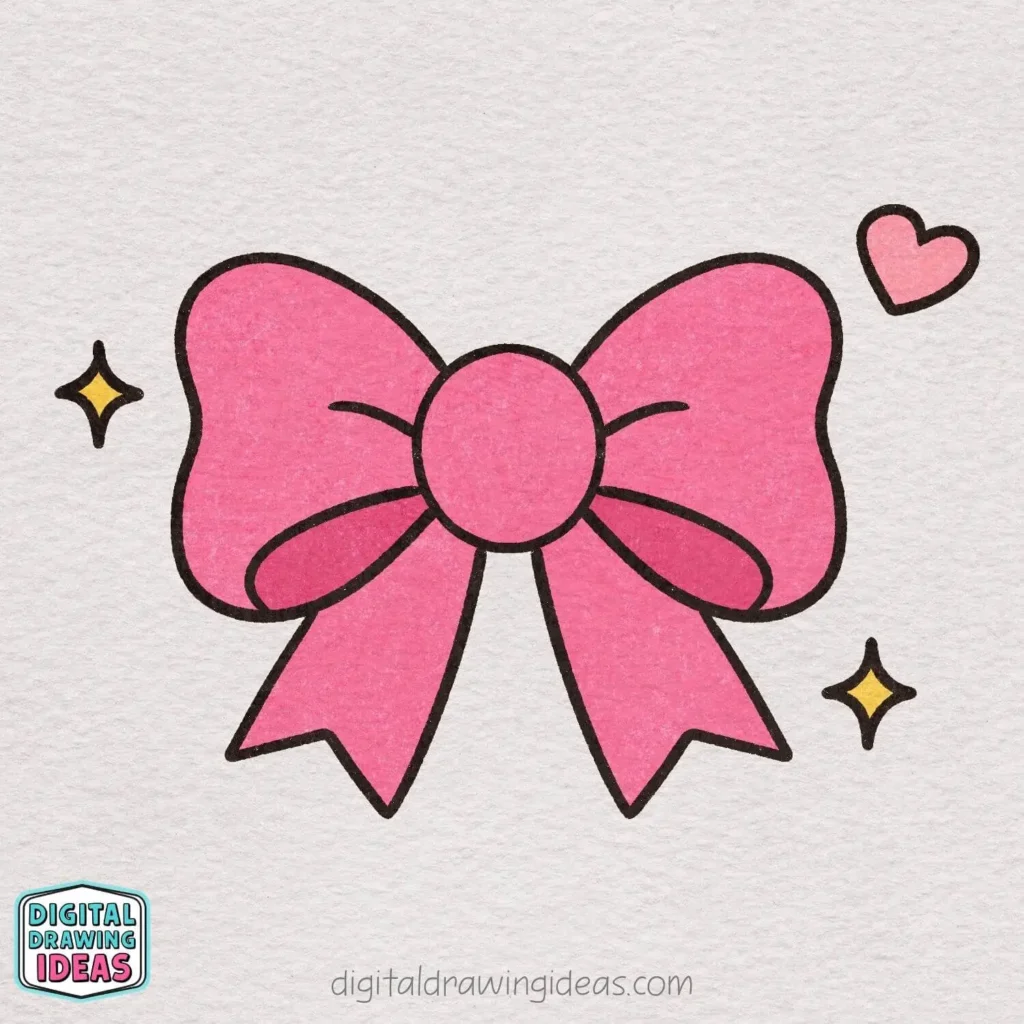
For this tutorial, I created a cheerful pink bow with large loops, pointed ribbon tails, and a few sweet decorations around it. The soft paper texture, bright color, and simple black outlines give the finished drawing a playful handmade look that I really love.
You do not need perfect curves or perfectly matching sides to follow this how to draw a bow tutorial. In fact, a tiny difference between the loops often makes a bow drawing feel warmer and more personal.
What You Will Need for This Bow Drawing
You can keep your supplies very simple:
- A pencil for the first sketch
- An eraser
- A black pen or marker
- Pink coloring pencils, markers, or crayons
- A yellow color for the sparkles
- Drawing paper or a sketchbook
I usually prefer to sketch lightly first and trace the final lines afterward. This gives me room to adjust the loop shapes without turning the page into an eraser battlefield.
How to Draw a Bow Step by Step
The new lines are shown in red throughout the tutorial, so you can immediately see what to add during each stage. Take your time, keep your hand relaxed, and remember that you can always reshape a curve before outlining it permanently.
Step 1: Draw the Center Knot
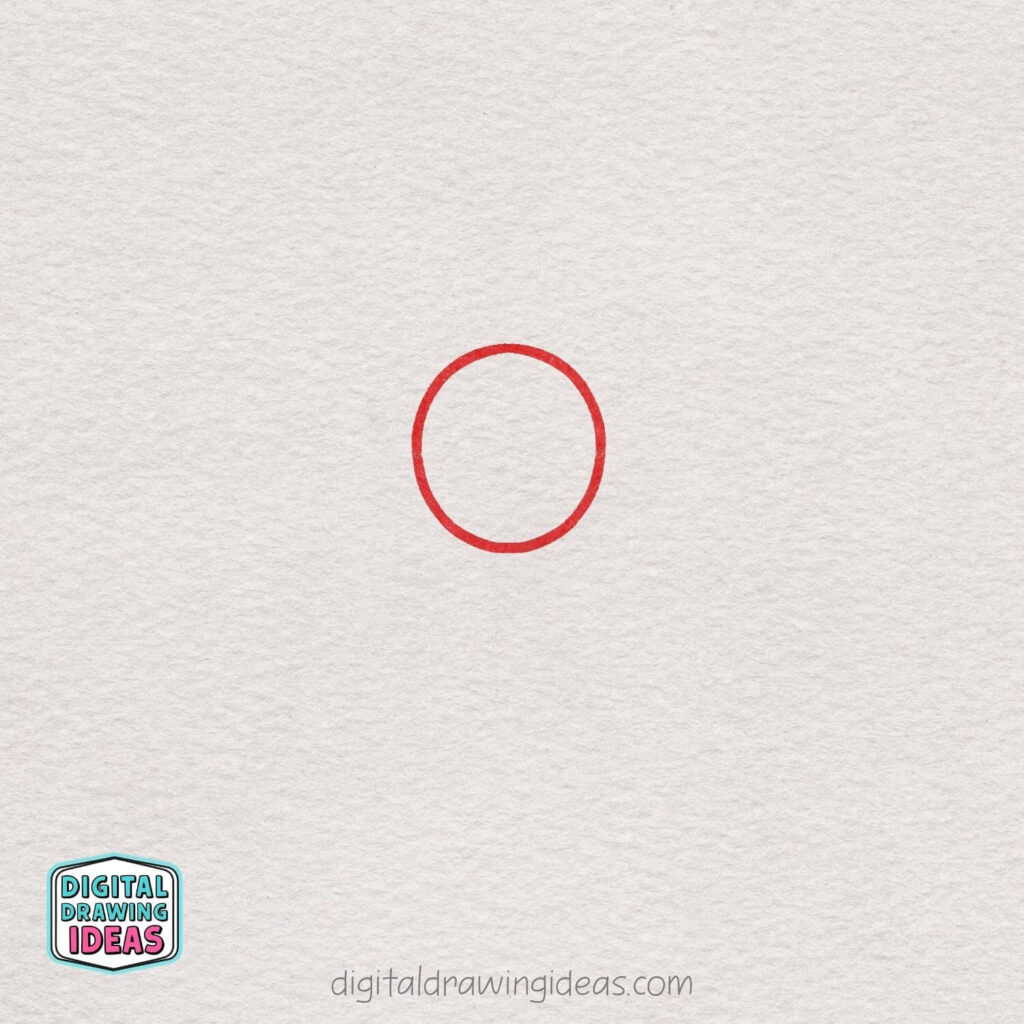
Start by drawing a small circle in the middle of your page. This circle will become the center of your bow, so try to keep it nice and round.
Step 2: Draw the Left Loop
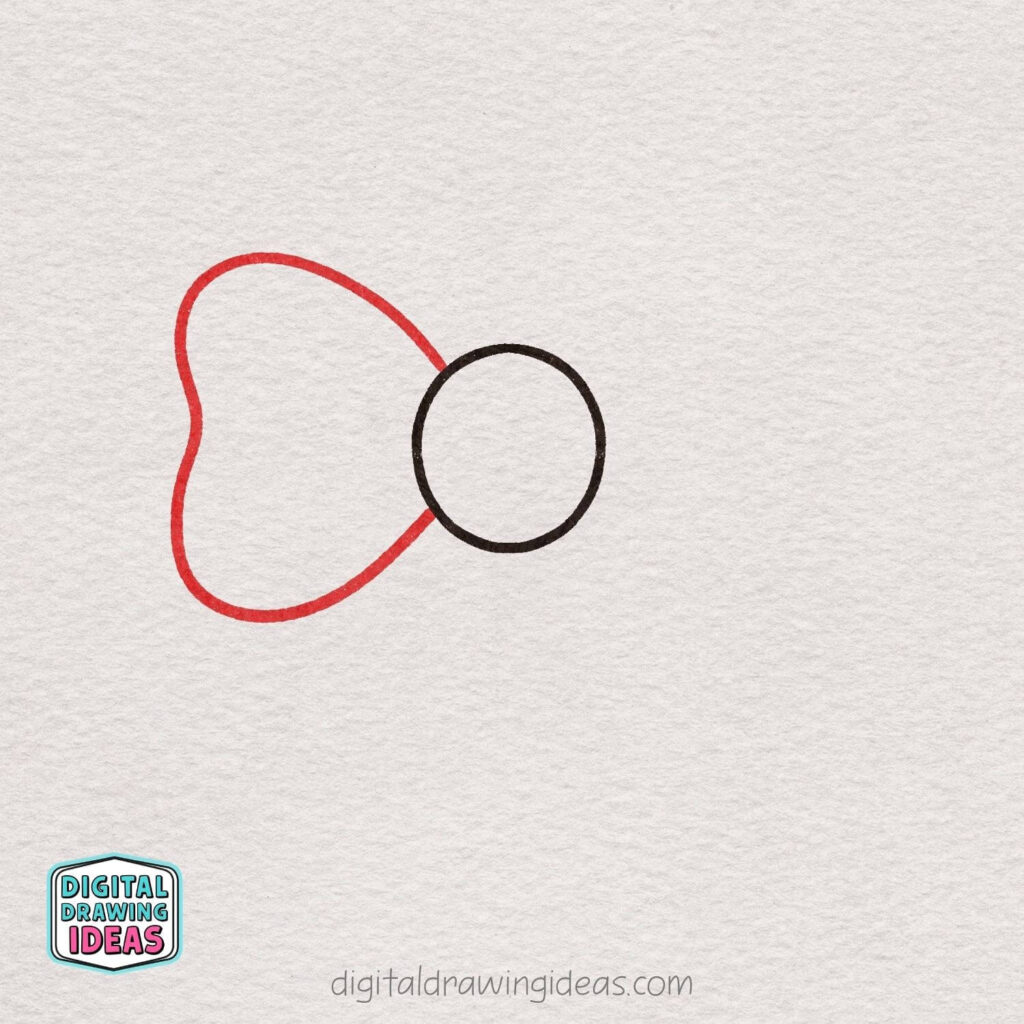
From the left side of the center knot, draw a large curved shape to create the first loop of the bow.
Let the outline bulge outward, add a gentle inward curve near the middle, and then bring the line back to the lower-left side of the circle.
Step 3: Add the Right Loop
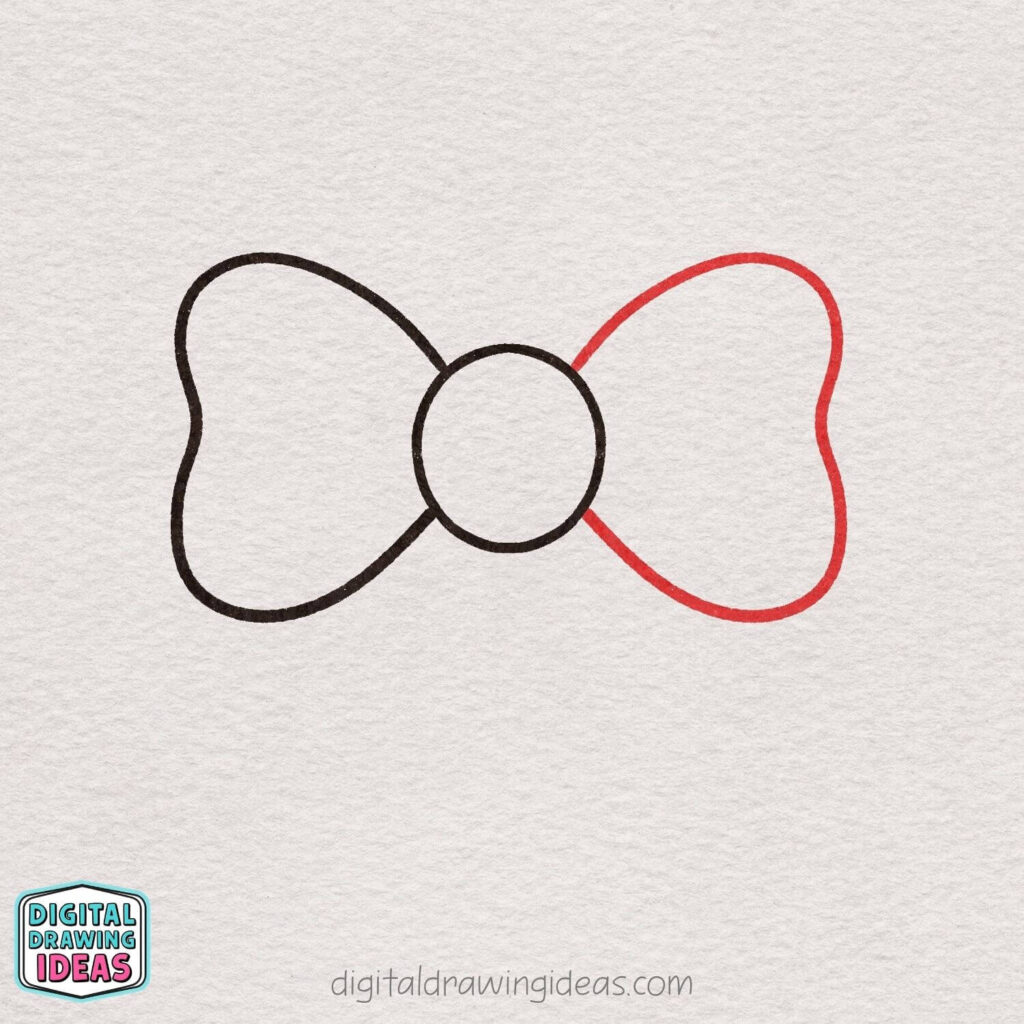
Now draw the second loop on the right side of the center knot.
Make it similar in size and shape to the left loop by curving the line outward, adding a soft inward dip along the side, and then bringing it back to the lower-right side of the circle.
Try to keep both loops balanced so your bow looks cute and even.
Step 4: Draw the First Ribbon Tail
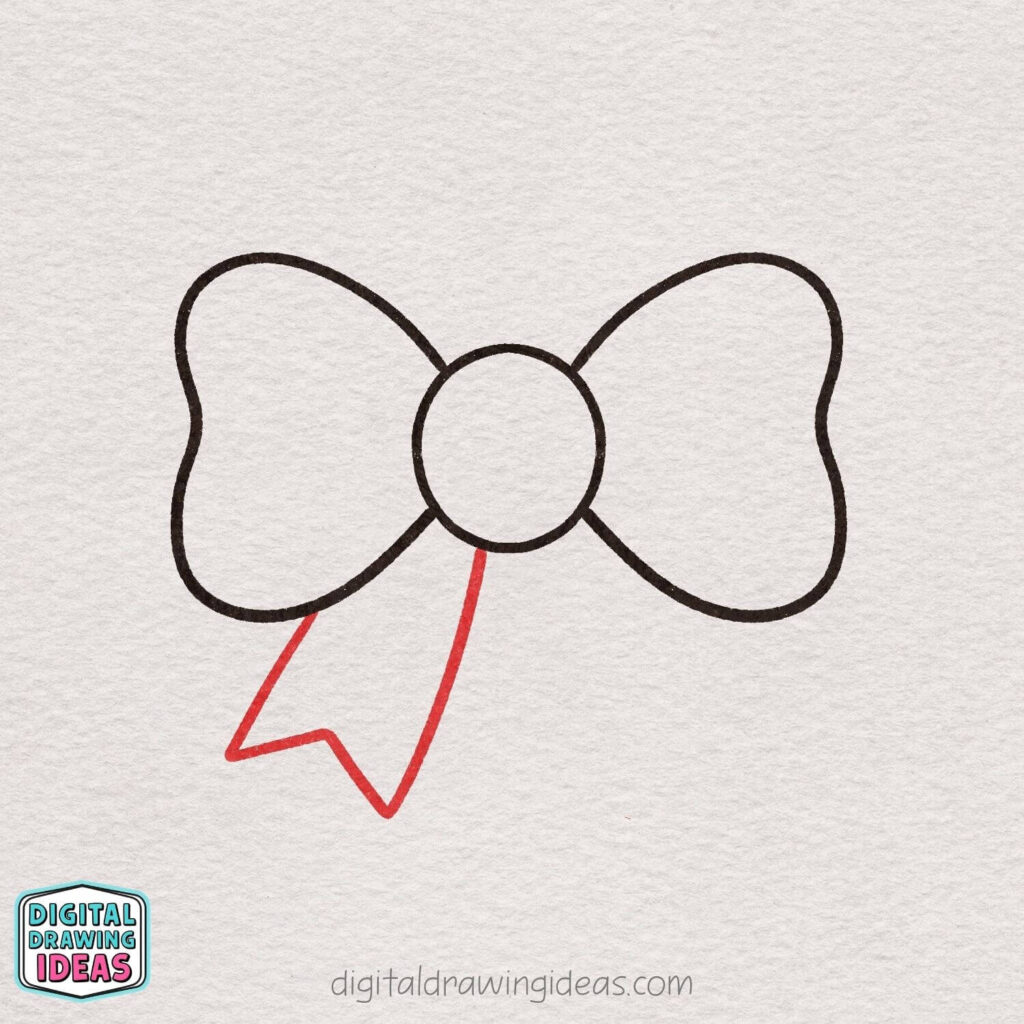
Next, add the left ribbon tail underneath the bow.
Start near the bottom of the center knot, draw a long line slanting down to the left, then create a pointed end with a small inward notch, and bring the line back up to connect under the left loop.
This gives your bow a cute flowing ribbon shape.
Step 5: Add the Second Ribbon Tail
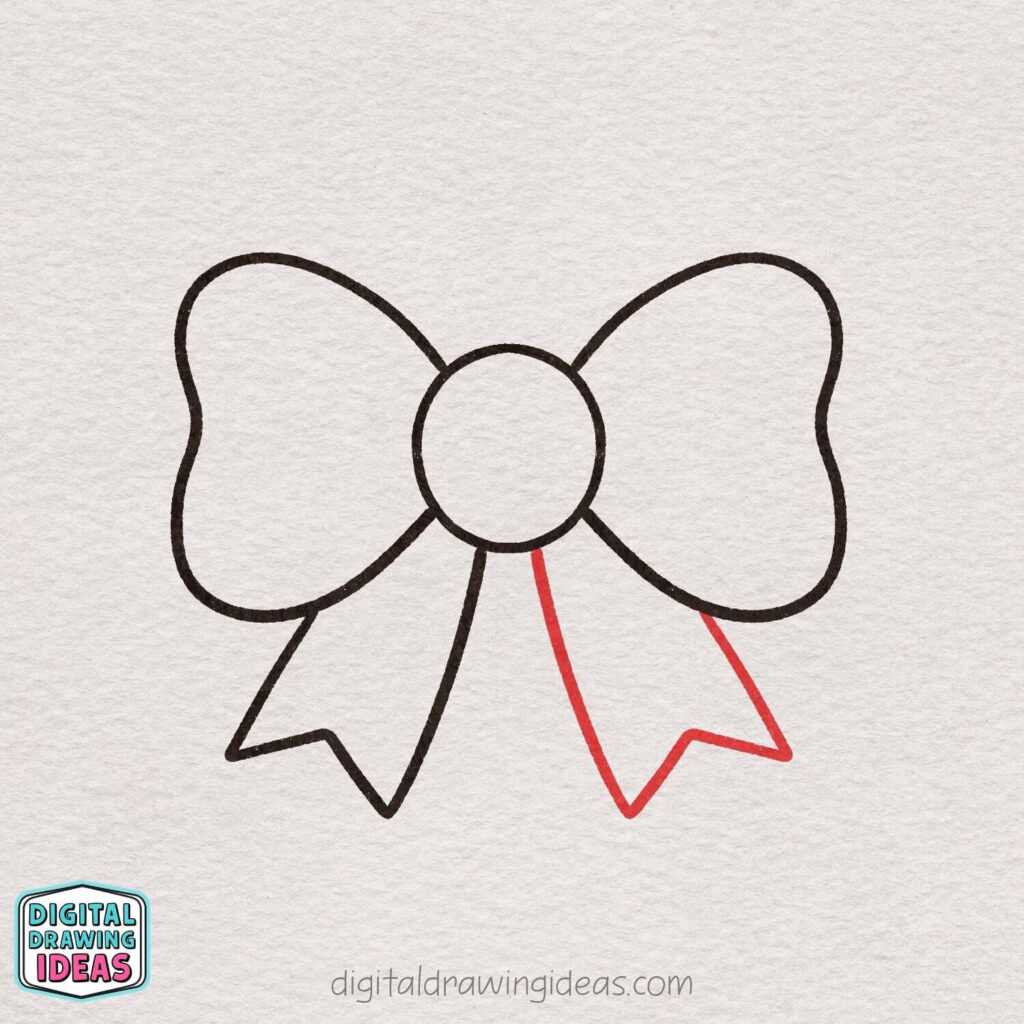
Now draw the ribbon tail on the right side to match the one on the left.
Start at the bottom of the center knot, bring the line down and slightly to the right, make a pointed ribbon end with a small inward cut, and then connect it back up under the right loop.
Try to keep it close in size and angle so both tails look nicely balanced.
Step 6: Add the Inner Fold Details
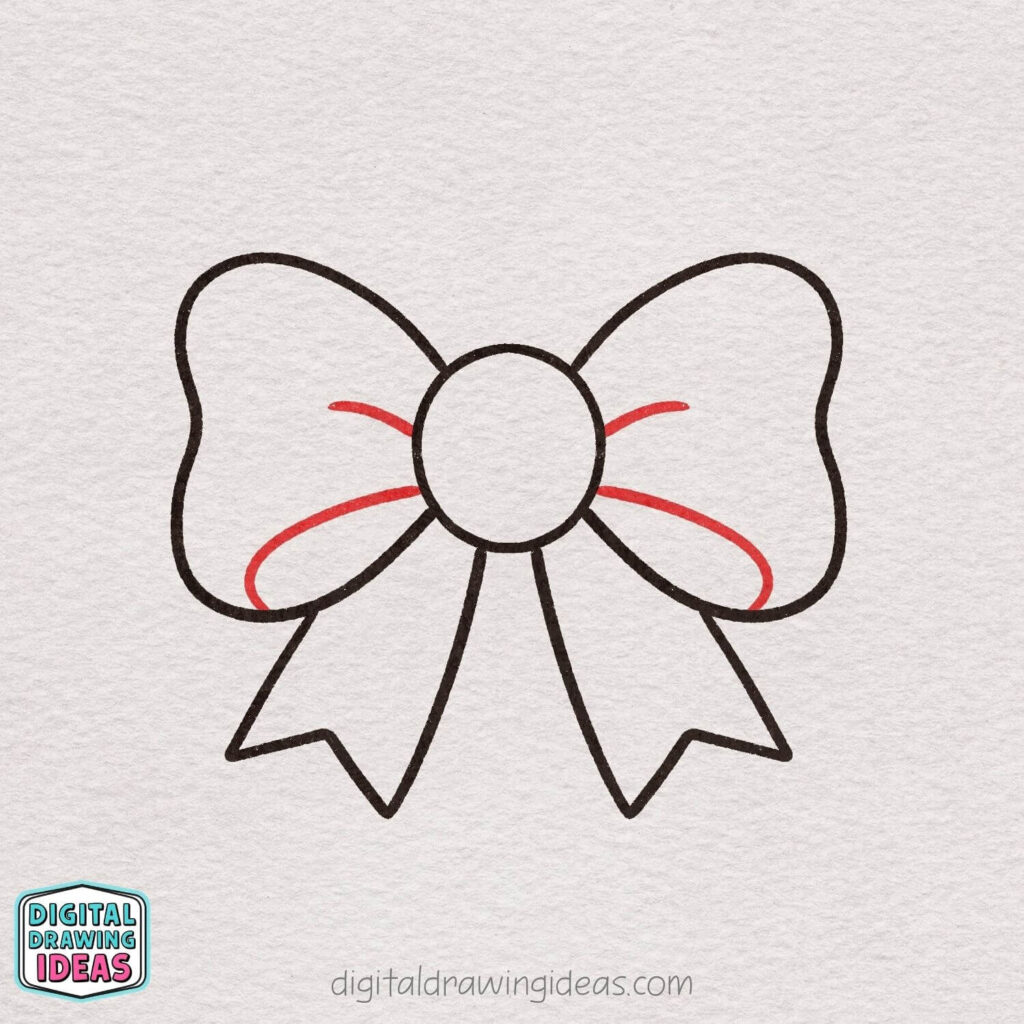
Now give your bow a little more dimension by drawing the fold lines inside each loop.
On both the left and right sides, add one short curved line near the top and one longer curved oval-like line near the bottom, both starting from the center knot and curving outward.
These extra lines make the loops look soft, folded, and more ribbon-like.
Step 7: Add the Cute Decorations
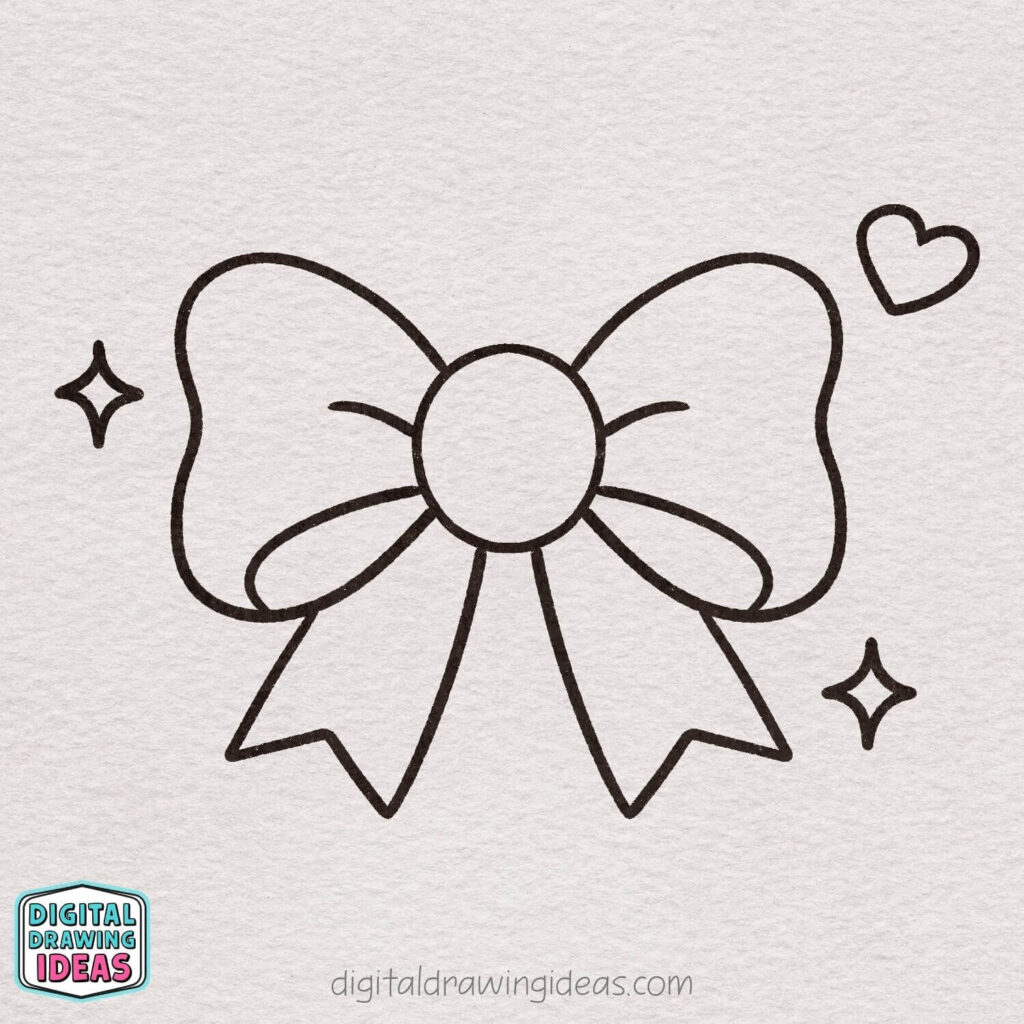
Finish the outline by adding a few simple decorative shapes around the bow.
Draw a small heart near the upper-right side, then add one sparkle on the left and another near the lower-right side.
These playful details make the bow look extra sweet and charming.
Step 8: Color Your Bow
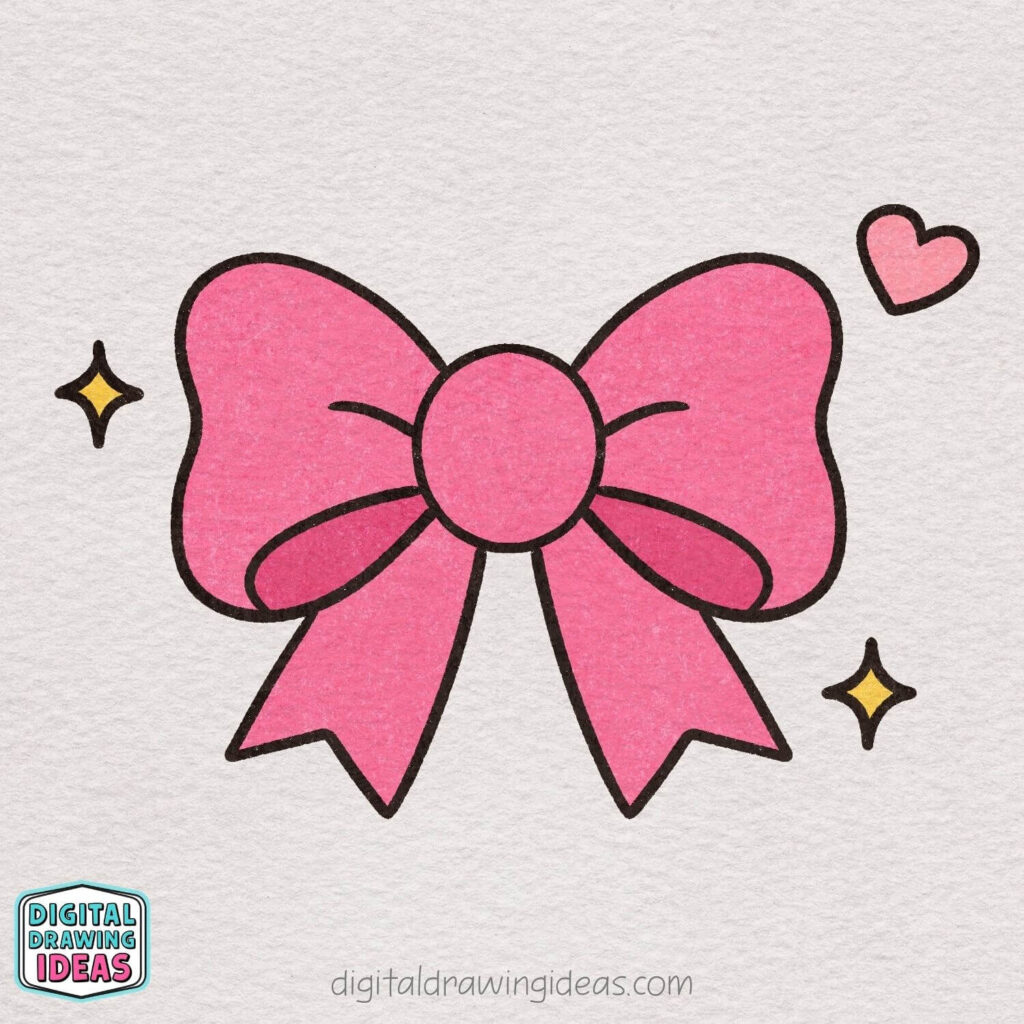
Finish your drawing by coloring the bow in your favorite shades.
Use a bright pink for the loops, center knot, and ribbon tails, then choose a slightly darker pink for the inner folds to add depth.
Color the heart pink and fill the sparkles with yellow for a cheerful final touch.
What to Do When Your Bow Looks Uneven
One of the most common problems when learning how to draw a bow is making one loop larger than the other. I have been in this situation many times, and the best solution is not to erase everything immediately.
Instead, compare the highest, widest, and lowest points of both loops. Adjust only the area that looks noticeably different, then step back from the page for a moment and look again.
A few more tips that may help:
- Draw the center knot first so both sides have the same starting point.
- Sketch the loops lightly before pressing harder.
- Check the overall shape instead of comparing every tiny curve.
- Rotate the page when a curve feels awkward to draw.
- Leave small imperfections alone when they add character.
Symmetry helps, but your bow does not need to look machine-made. A handmade drawing should still feel like it came from your hand.
Easy Ways to Personalize Your Bow Drawing
Once you understand how to draw a bow, you can change the design in many fun ways. Try making the loops rounder, longer, wider, or slightly floppy.
You could also decorate your bow with:
- Polka dots
- Stripes
- Tiny flowers
- Stars
- Hearts
- Plaid patterns
- Glitter-inspired highlights
The bow could become part of a gift box, a hairstyle, a cute animal drawing, a greeting card, or a journal page. I love drawings like this because one simple tutorial can lead to so many completely different creative ideas.
More Easy Drawing Tutorials to Try
Once you finish this bow drawing, you may enjoy practicing a few other step-by-step designs from my website.
Learn how to draw a grape with a simple cluster of rounded shapes, or try my easy car drawing tutorial for something a little more structured.
For another cute and magical project, follow my tutorial on how to draw a unicorn.
You can also find more drawing inspiration on my Pinterest page and watch creative tutorials on the Digital Drawing Ideas YouTube channel.
Your Cute Bow Drawing Is Complete
Now you know how to draw a bow using a simple center knot, two large loops, ribbon tails, fold details, and a few playful decorations. I especially love the moment when the black-and-white outline finally gets its bright pink color because the whole drawing suddenly feels cheerful and complete.
Do not worry when your first attempt looks different from mine. Every bow drawing develops its own personality, and sometimes the slightly uneven version ends up being the cutest one.
Which colors or patterns would you use for your bow? Share your finished drawing on Pinterest, or tag me on Instagram at @digitaldrawingideas so I can see what you created.