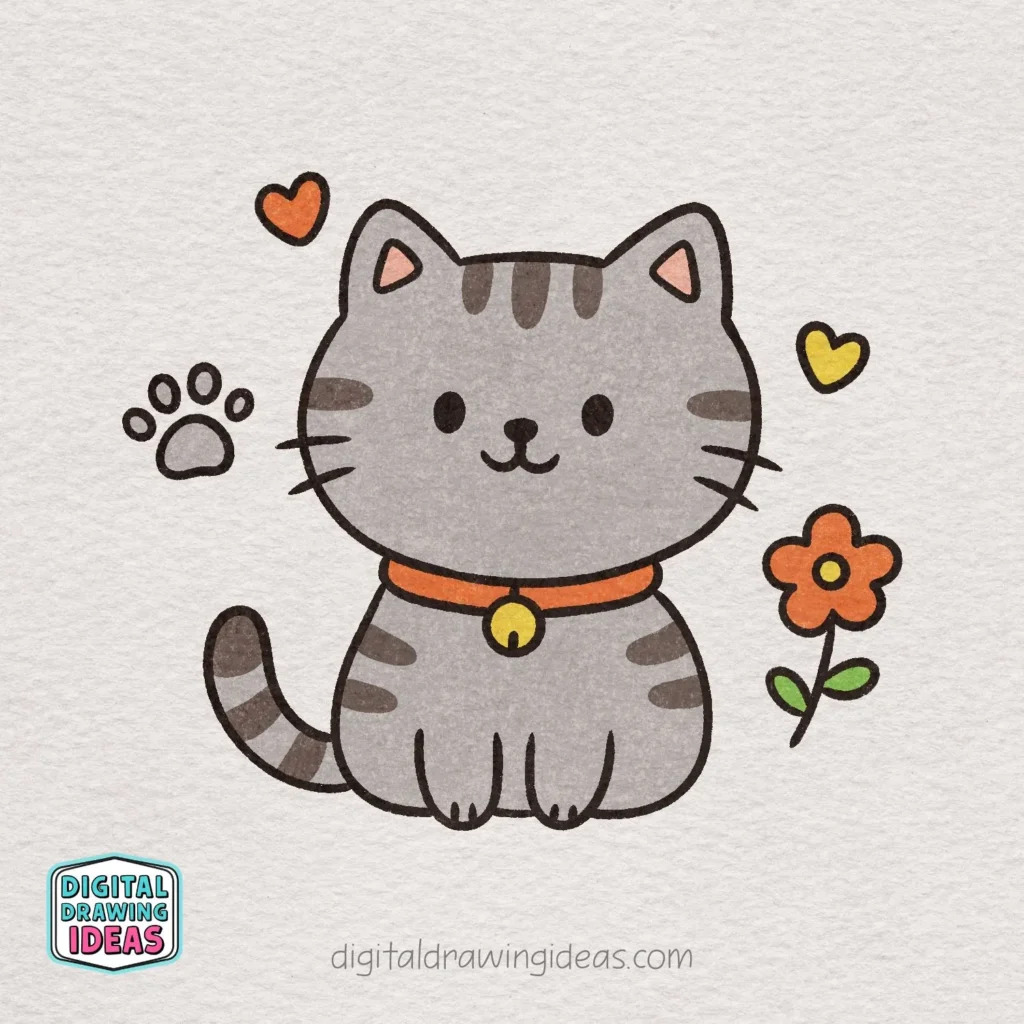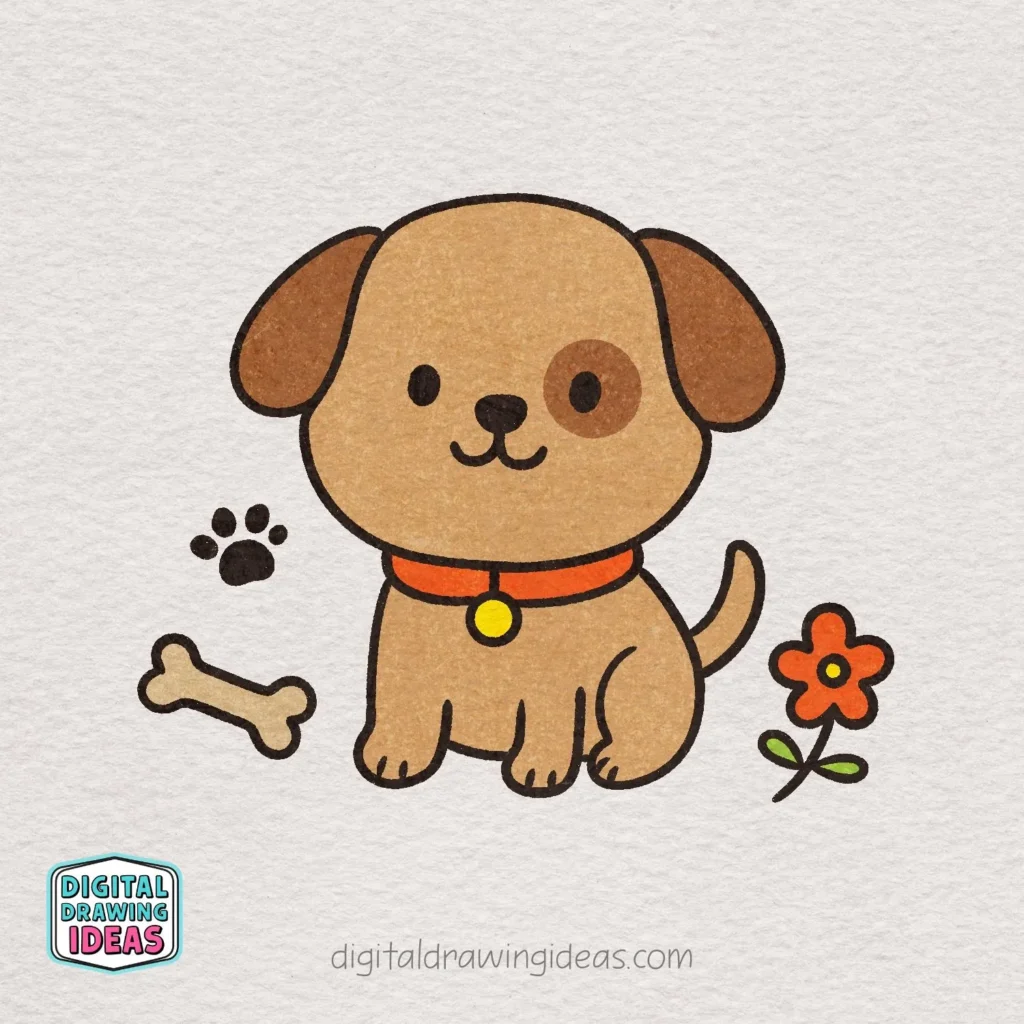
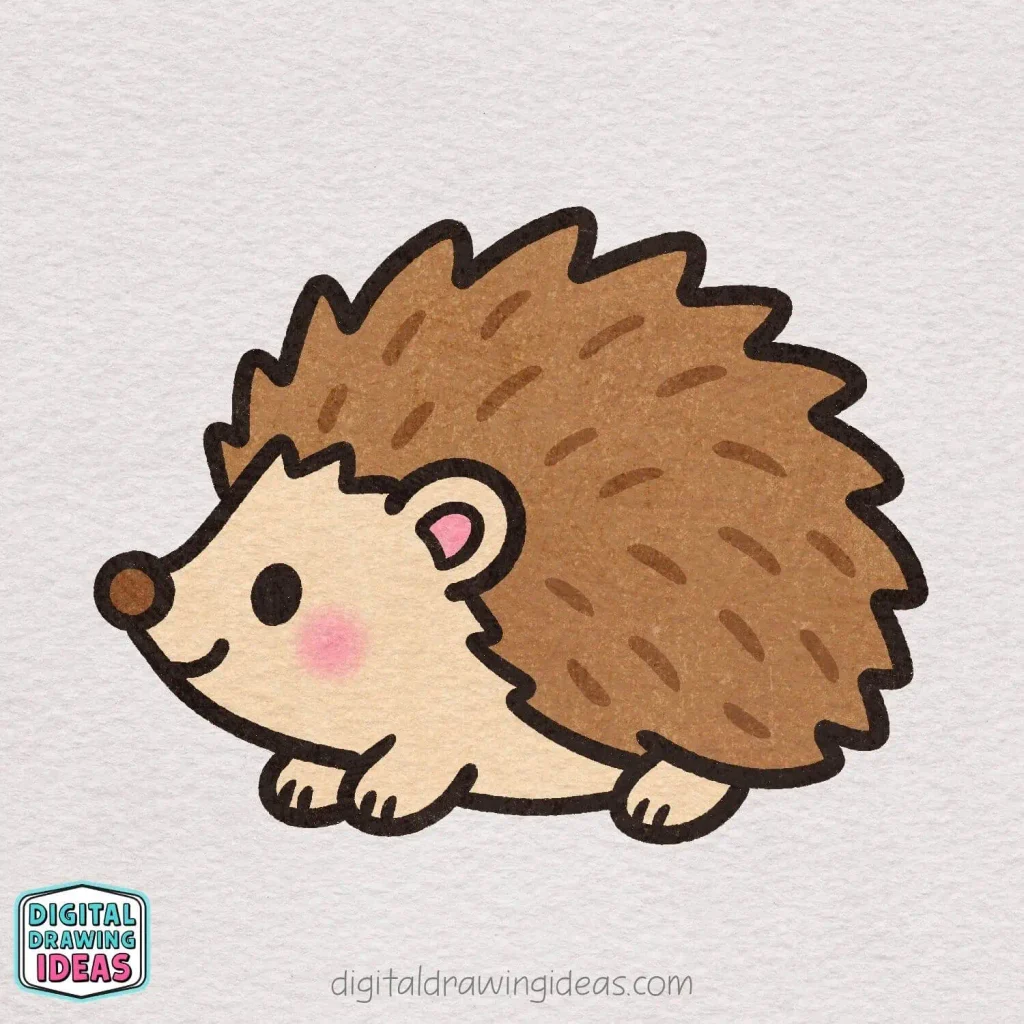
If you’ve ever wondered how to draw a hedgehog without turning all those tiny spikes into a complicated mess, this tutorial is for you. I wanted to create a hedgehog that felt cute and full of personality, but was still simple enough to draw one small shape at a time.
When I started sketching this little guy, I kept coming back to the same idea: a hedgehog doesn’t need hundreds of carefully drawn quills to actually look like a hedgehog. A few playful zigzags, a round nose, tiny feet, and that sweet little face do most of the work.
I love drawings like this because you can watch the character slowly appear on the page. At first, it’s literally just a small circle for the nose, and a few steps later you suddenly have this round, cheerful little hedgehog looking back at you.
And yes, the slightly uneven lines are part of the charm. I’m always much happier with a drawing that feels handmade than one that looks like I spent three hours arguing with a ruler.
Is This Hedgehog Drawing Beginner-Friendly?
Absolutely. I created this hedgehog drawing with beginners in mind, so you won’t need complicated construction lines or advanced shading techniques.
If you usually get stuck because you’re not sure where to place the next line, the step-by-step pictures will help. I add the new part gradually, so you can focus on one small section rather than trying to draw the whole animal at once.
A few things that will make this tutorial easier:
- Start with light pressure if you’re drawing with a pencil.
- Don’t worry about making the spikes identical.
- Use simple curved shapes for the feet, ear, and face.
- Take your time when you reach the coloring stage.
- If one line looks a little different from mine, keep going instead of starting over.
That last tip is probably the one I use most myself. Tiny differences rarely ruin a drawing; they usually just give it its own personality.
What You’ll Need
You can keep your supplies very simple for this tutorial. Use whatever you already enjoy drawing with.
You might like to have:
- A pencil or drawing pen
- An eraser
- Paper or a sketchbook
- Black or very dark brown for the outline
- Light and dark brown for the quills
- Cream or beige for the face and belly
- A little pink for the ear and cheek
You can also make this as a digital drawing if that’s more your style. The important part isn’t the exact tool—it’s following the shapes and having fun with them.
How to Draw a Hedgehog Step by Step
Learning how to draw a hedgehog gets much easier when you stop thinking about the finished animal and focus on the next tiny shape instead. That’s exactly how I built this drawing.
Start with the nose, slowly work your way around the face and body, and leave the color and texture until the end. By the time you reach the final steps, most of the hard work is already done.
Step 1: Start With the Nose

Begin by drawing a small circle near the left side of your page. This little shape will become the hedgehog’s nose, so keep it fairly small and simple.
Don’t worry if your circle isn’t perfectly round—a slightly hand-drawn shape will give your hedgehog even more personality.
Step 2: Sketch the Top of the Head and First Spikes

From the upper right side of the nose, draw a line that slopes gently upward. Once you reach the top, turn that line into a soft zigzag with a couple of small points.
This begins the top of the hedgehog’s head and the first little spikes on its back. Keep the points rounded rather than too sharp so the hedgehog stays cute and friendly.
If your zigzag looks slightly uneven, that’s completely fine—it adds charm to the drawing.
Step 3: Add a Rounded Little Ear
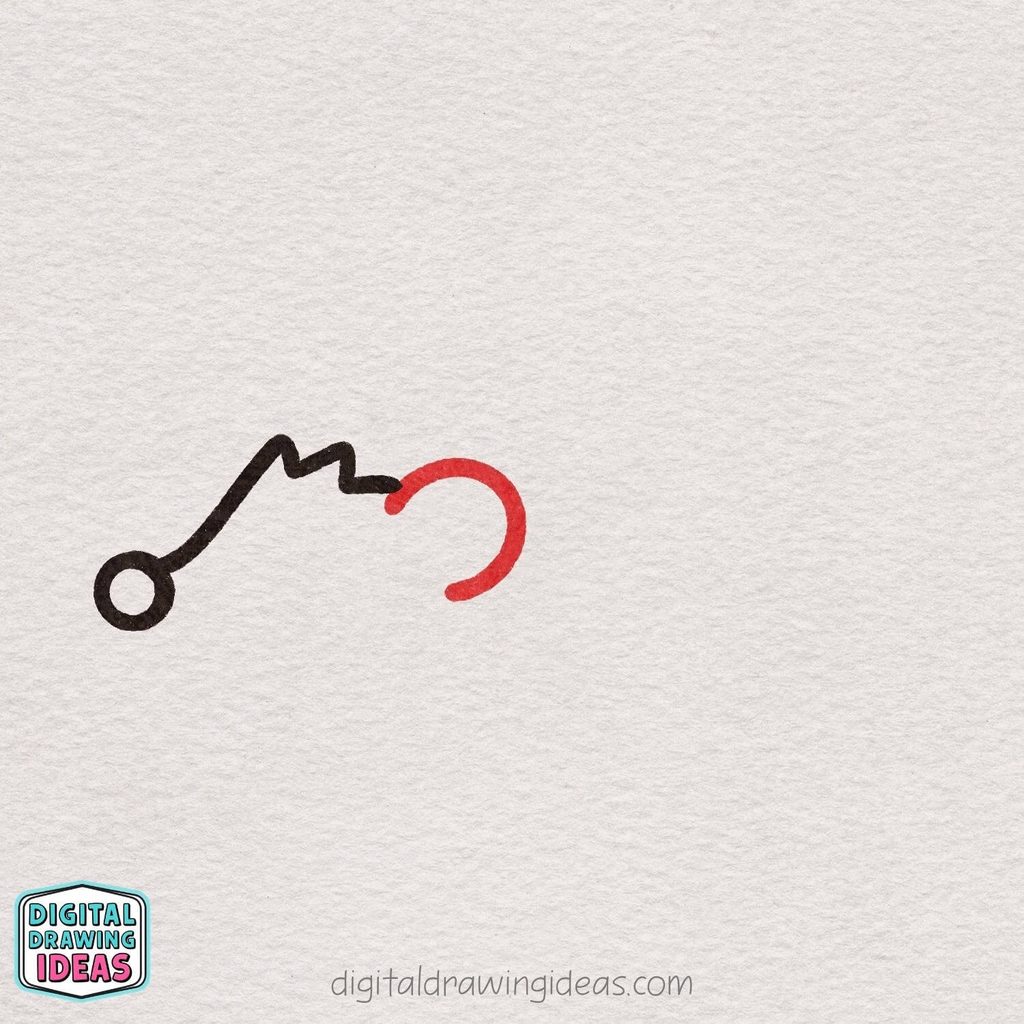
At the end of the spiky head line, draw a rounded “C” shape to create the hedgehog’s ear. Let it curve outward and back down in a soft, open circle shape.
This part helps make your hedgehog look extra sweet, so aim for a smooth, gentle curve rather than a stiff line.
Don’t worry about making it perfectly symmetrical—cute drawings often look even better when they feel a little natural and hand-drawn.
Step 4: Draw the Curved Face Line
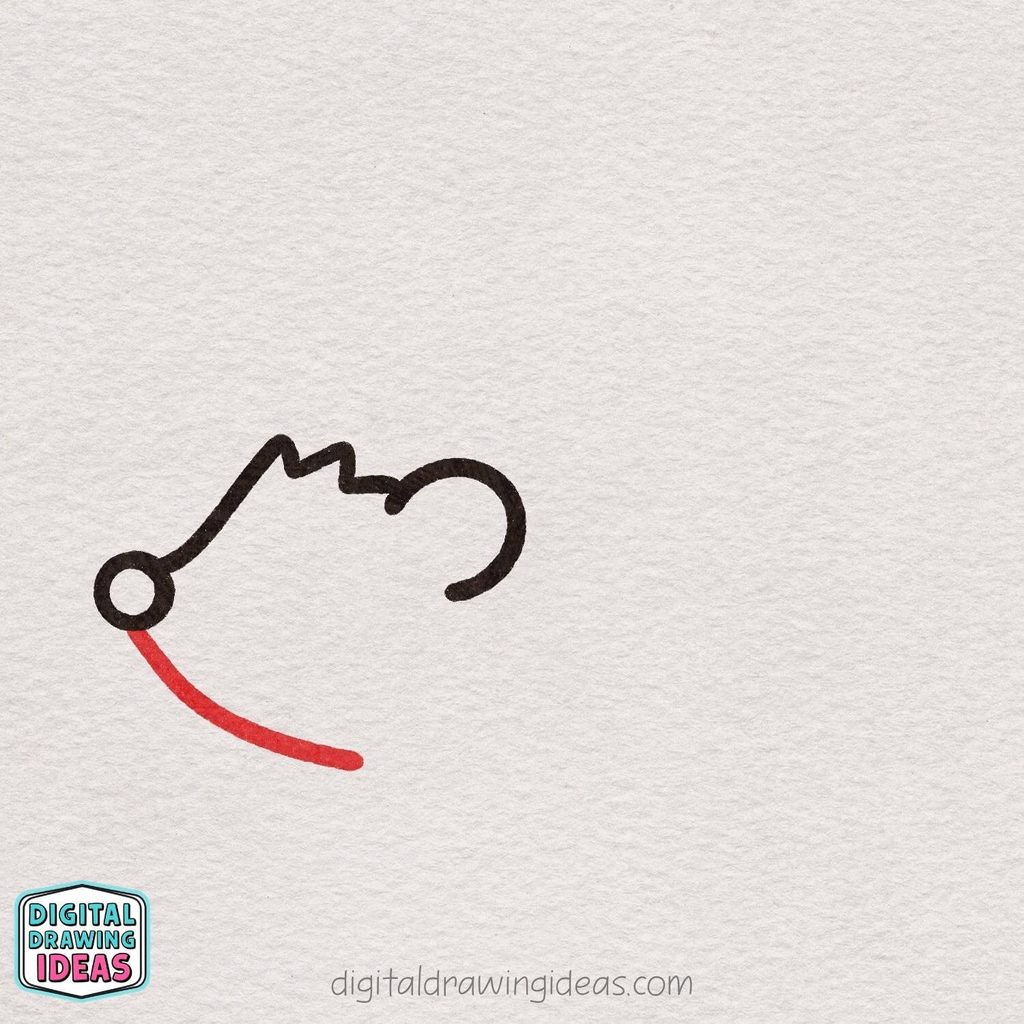
Now, starting from the lower edge of the nose, draw a long, smooth curve that sweeps gently down and to the right. This line forms the lower part of the hedgehog’s face and begins shaping the body.
Try to keep the curve soft and relaxed so the hedgehog looks calm and cute.
If the line isn’t perfectly smooth, that’s okay—small imperfections can make your drawing feel more warm and handmade.
Step 5: Add the Eye and a Little Smile
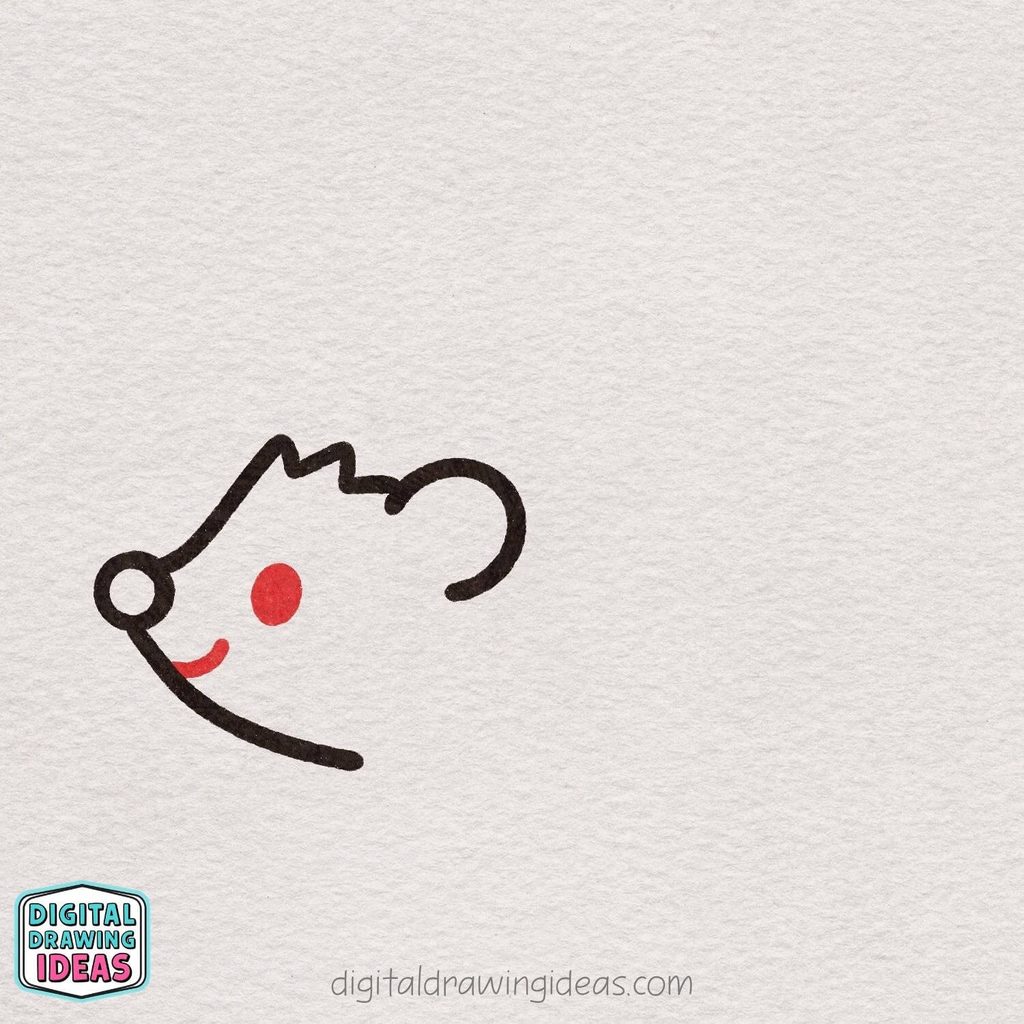
Now it’s time to give your hedgehog some personality. Draw a small filled-in circle for the eye, placing it between the nose and the ear.
Then add a short curved line just below the nose to create a sweet little smile.
Keep both details simple and soft—these tiny features will make the face instantly feel much more expressive and friendly.
Step 6: Build the Spiky Back
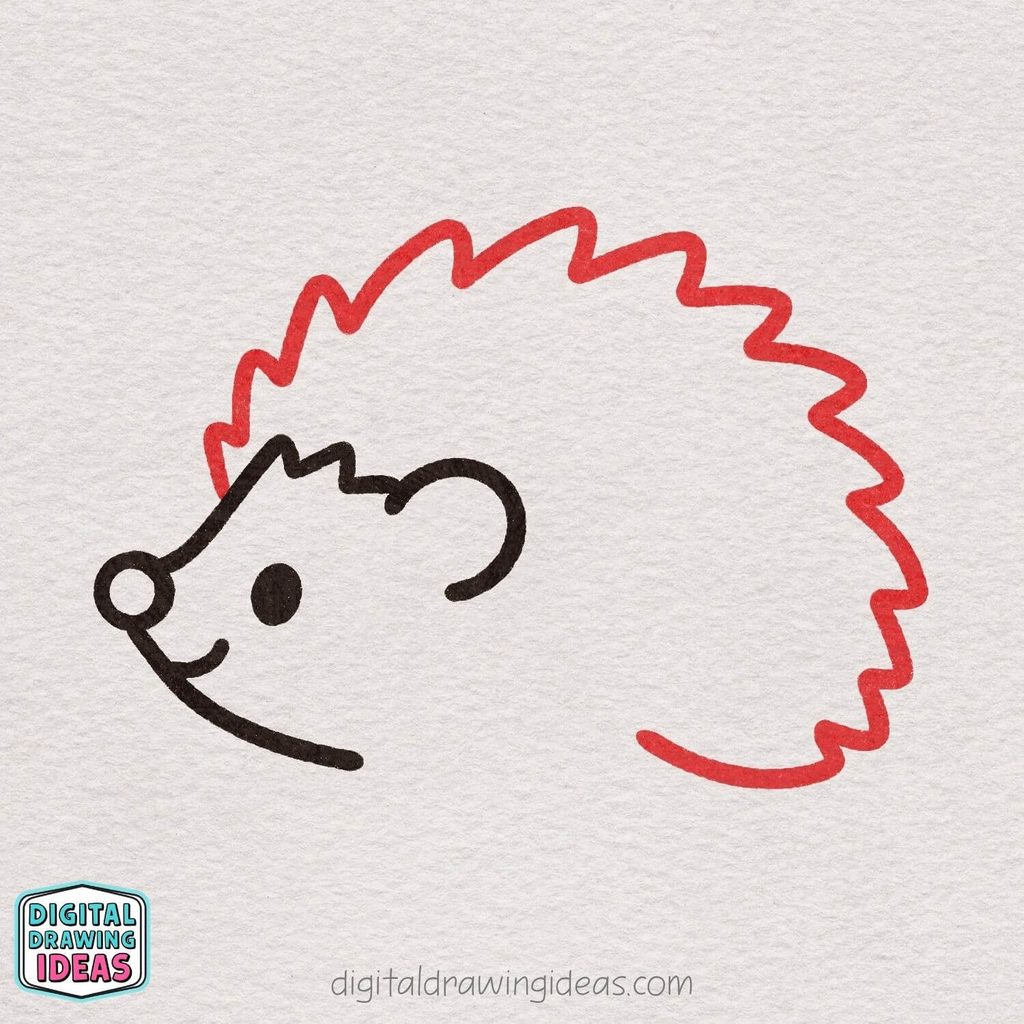
Starting just behind the head, draw a large zigzagging outline that arches up and around the hedgehog’s body.
Use a series of uneven, softly pointed spikes as you work your way across the top and down the back. Near the bottom, finish with a smooth curved line that turns inward slightly.
The spikes don’t need to match perfectly—in fact, a little variation will make the hedgehog look more natural and playful.
Step 7: Add the Little Feet
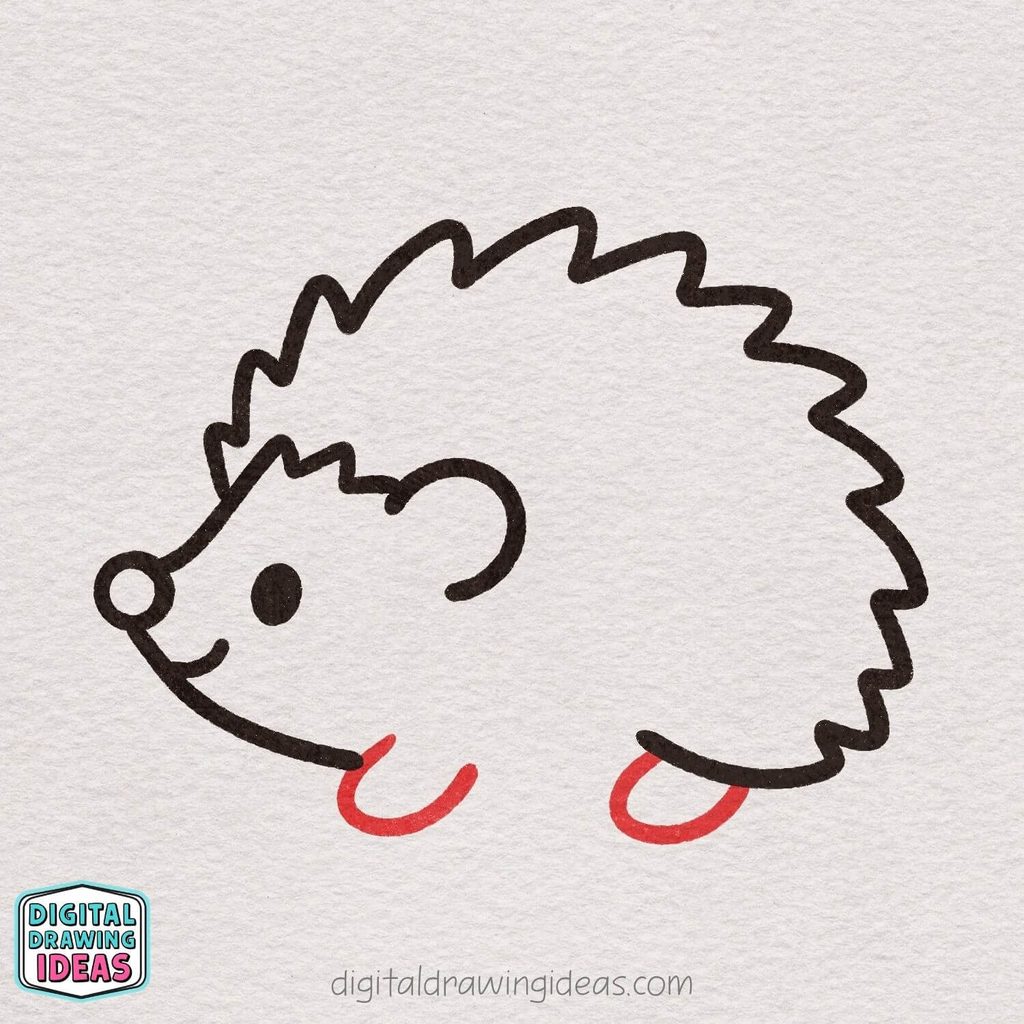
Now give your hedgehog two tiny feet along the bottom of the body. Draw one small rounded U-shape near the front, then add a second one closer to the back.
Keep the feet soft and simple rather than perfectly even—they should look small and tucked underneath the body.
These little shapes help the hedgehog feel grounded and make the whole pose look extra cute.
Step 8: Add the Second Front Foot
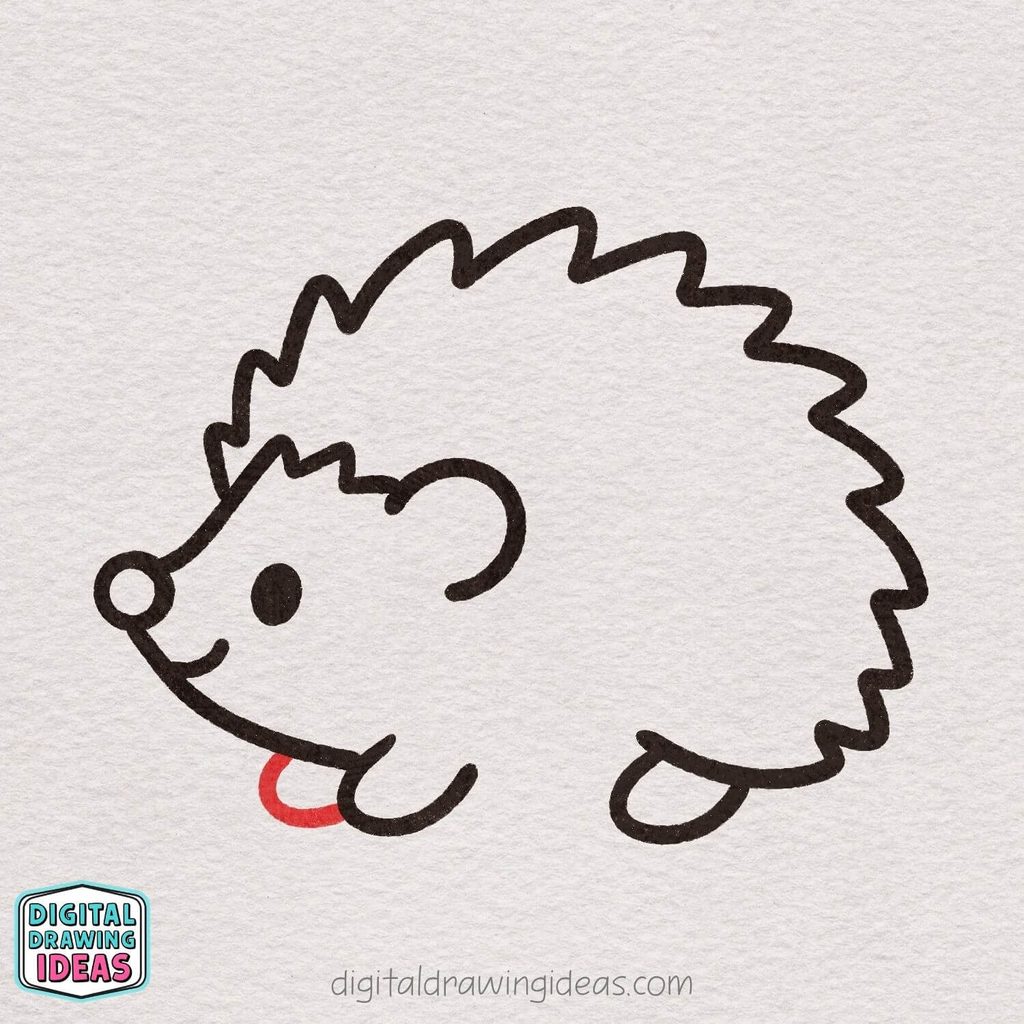
Draw another small rounded foot just behind the first front foot, tucking it slightly underneath the body. Keep the shape simple and curved, almost like a small sideways “U.”
Let it overlap naturally with the first foot so the two legs feel connected to the body.
This extra little foot helps give the hedgehog a more balanced, finished pose.
Step 9: Connect the Belly
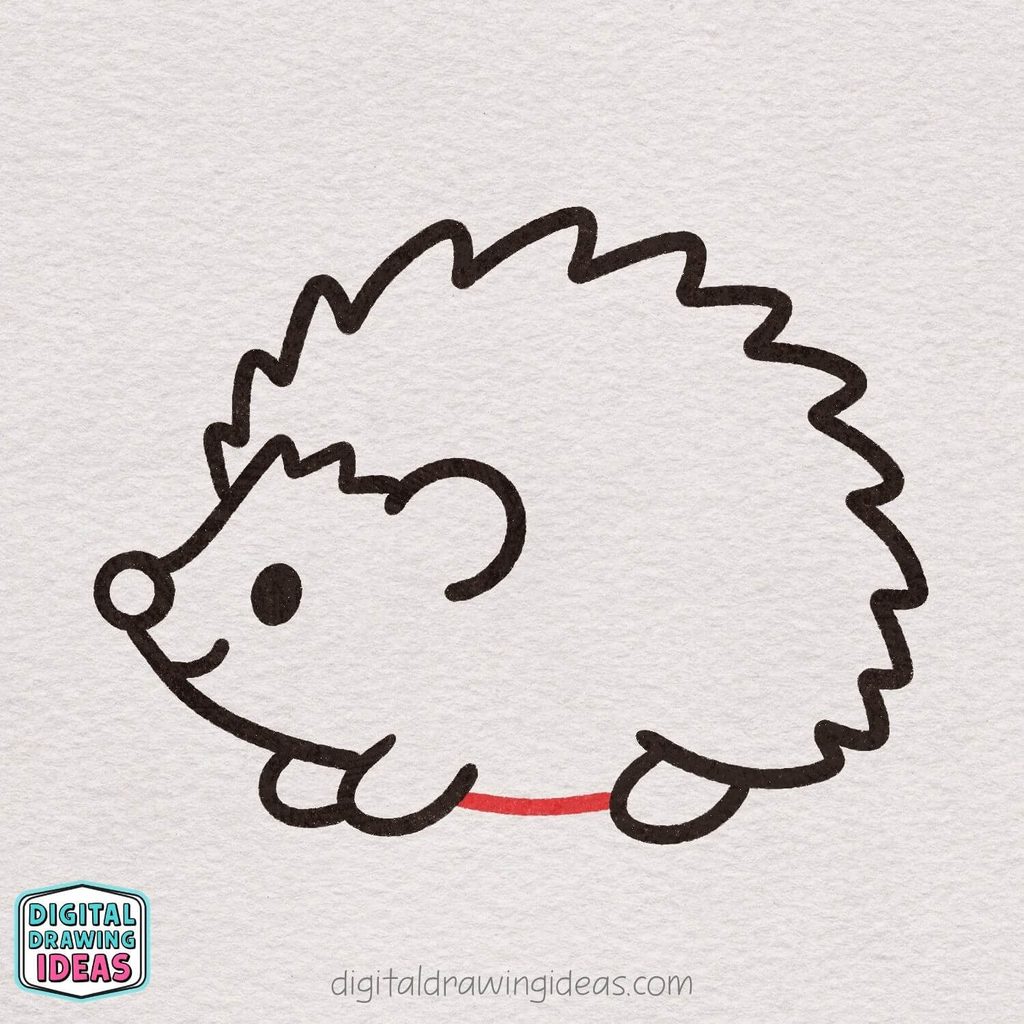
Draw a gentle curved line between the front and back feet to form the hedgehog’s belly. Keep the line low and slightly rounded so it follows the shape of the body without looking too stiff.
This simple connection helps bring the lower half of the hedgehog together and makes the body feel complete.
Step 10: Define the Face and Belly
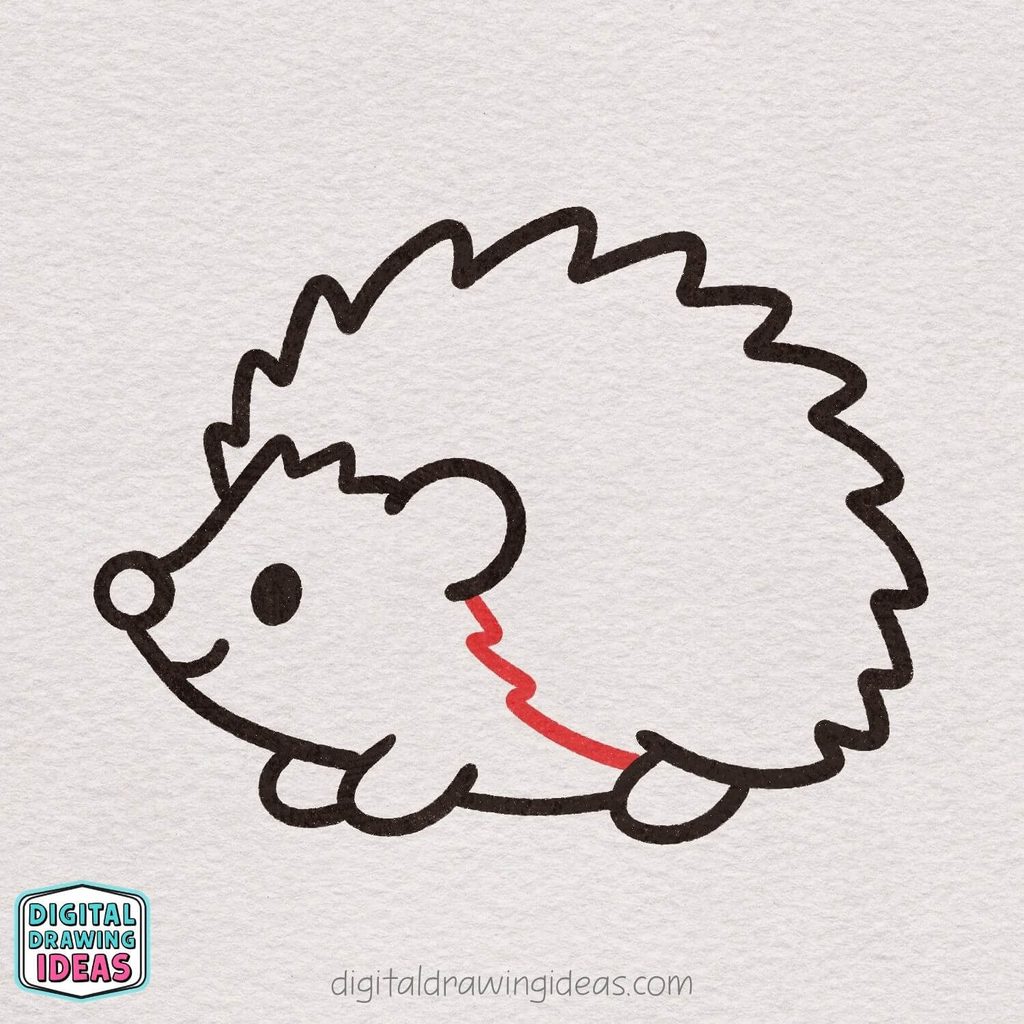
Starting just below the ear, add a short zigzag line to continue the hedgehog’s spines down toward the belly. Then curve the line smoothly toward the back leg to complete the lower edge of the spiky coat.
This helps separate the soft face and belly from the prickly back while keeping the whole body shape neat and connected.
Step 11: Add the Tiny Toes
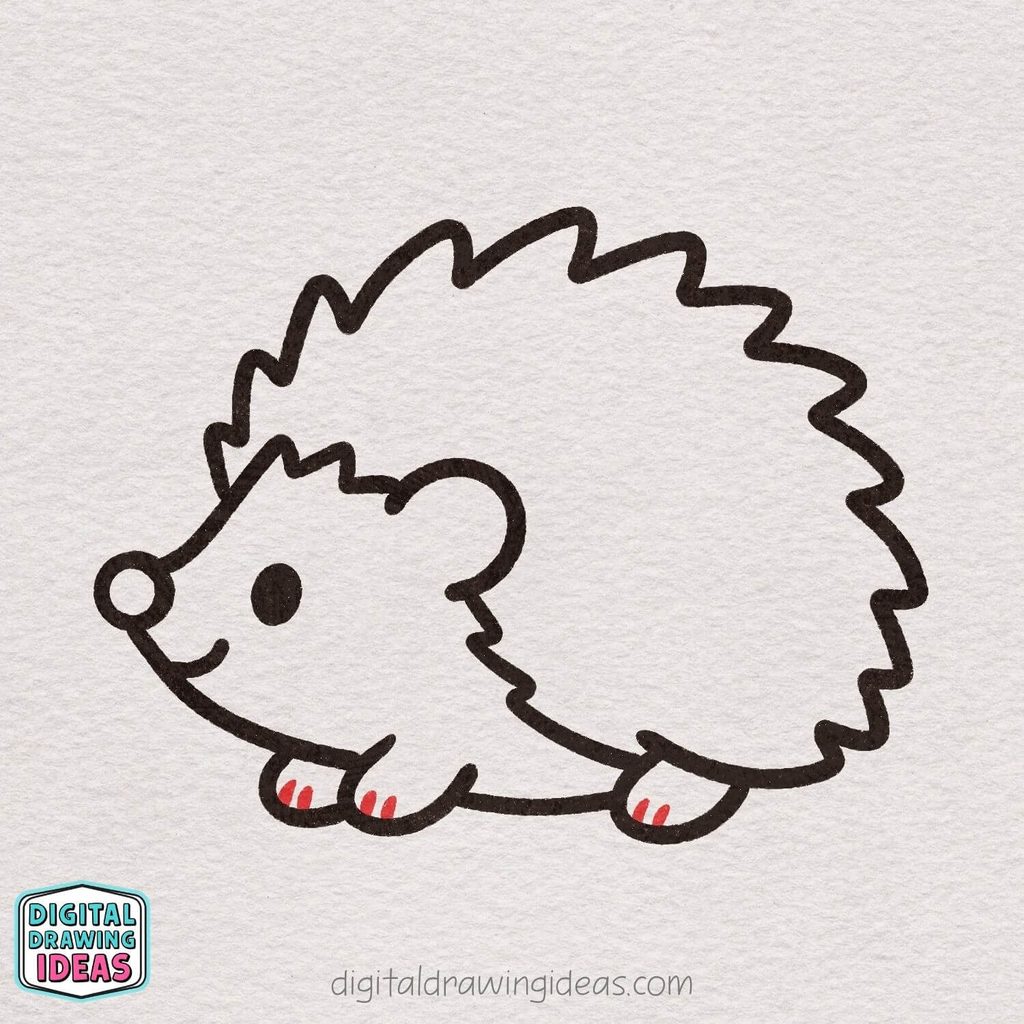
Give your hedgehog a little extra detail by adding two short curved lines inside each visible foot. These small marks create the toes and make the feet feel more complete without overcomplicating the drawing.
Keep the lines simple and slightly uneven so they match the soft, hand-drawn style of the rest of the hedgehog.
Step 12: Add the Inner Ear
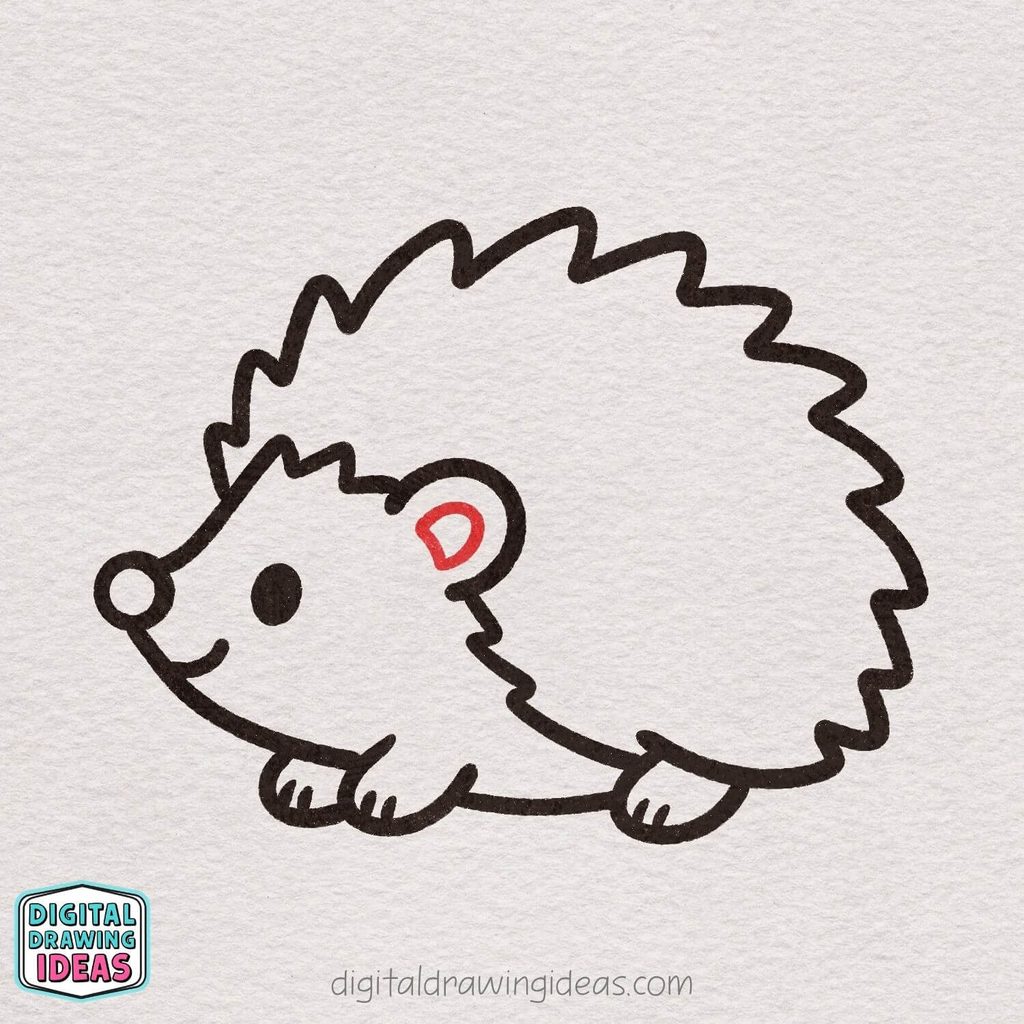
Inside the larger ear shape, draw a smaller curved teardrop-like shape to create the inner ear. Follow the general curve of the outer ear, but leave a little space around it so the detail stays clear.
This small addition gives the hedgehog’s face more depth while keeping the design simple and cute.
Step 13: Clean Up and Strengthen the Lines
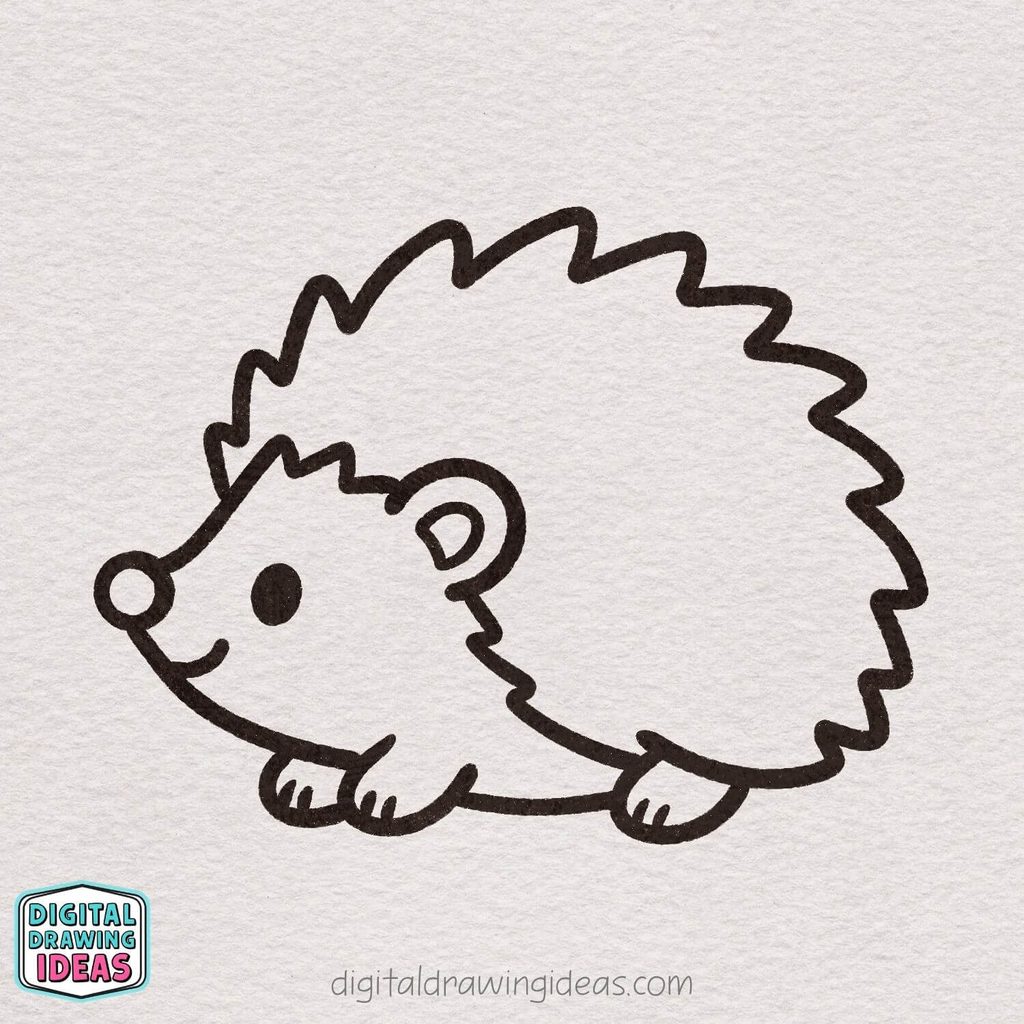
Take a moment to go back over the main outline of your hedgehog and make the lines a little cleaner, darker, and more consistent.
Smooth out any wobbly sections, tidy up the shapes around the face, feet, ear, and spiky coat, and gently reinforce the parts you want to stand out.
This step is all about polishing the drawing, so don’t rush—small adjustments can make the whole hedgehog look much more finished and confident.
Step 14: Add Dark Brown Quill Texture
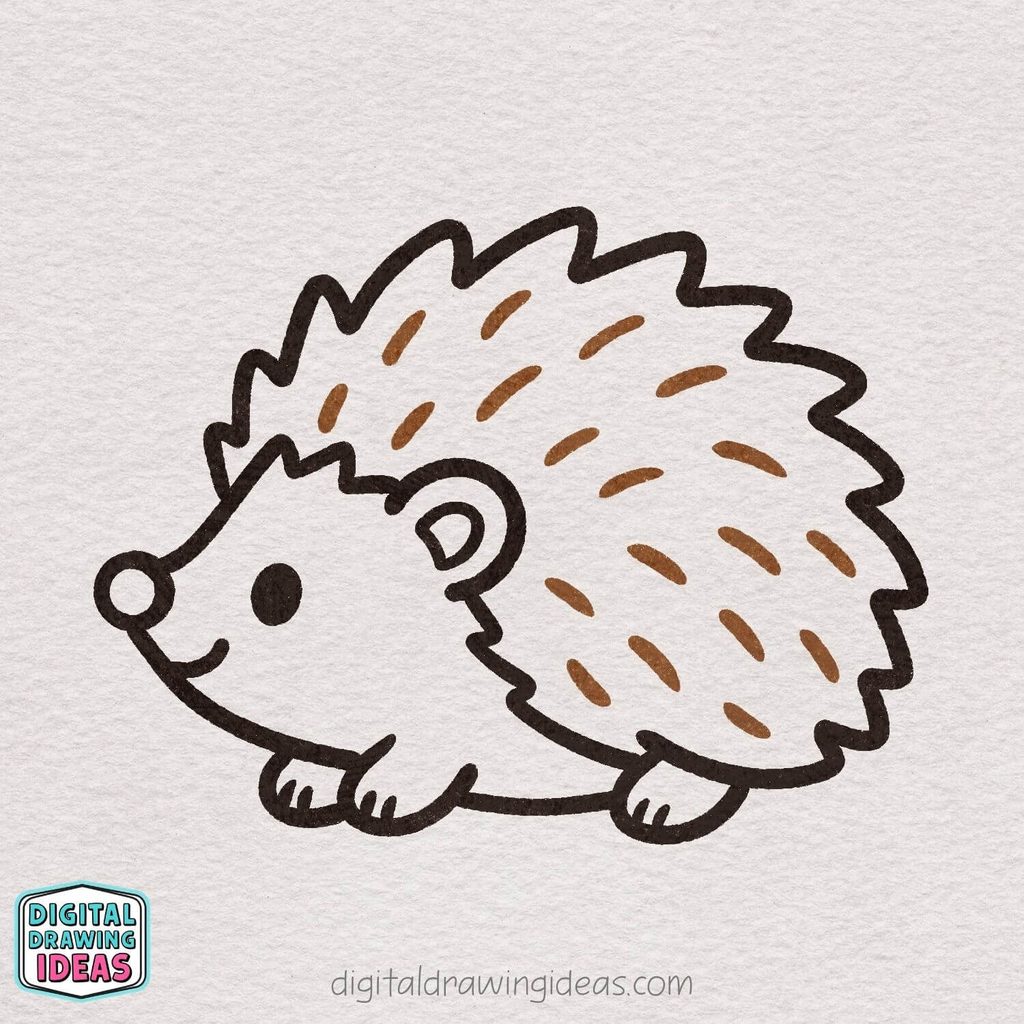
Now, using a dark brown color, draw small curved dash marks all across the hedgehog’s spiky back. Spread them out nicely from the top of the back down toward the lower spiky area, following the overall curve of the body.
These little strokes help suggest the texture of the quills without making the drawing look too busy. Try to keep the marks simple, soft, and slightly varied in direction so the hedgehog feels more natural.
This darker brown layer will also stand out nicely later, since the rest of the hedgehog will be colored with a lighter brown shade.
Step 15: Add Color and the Finishing Touches
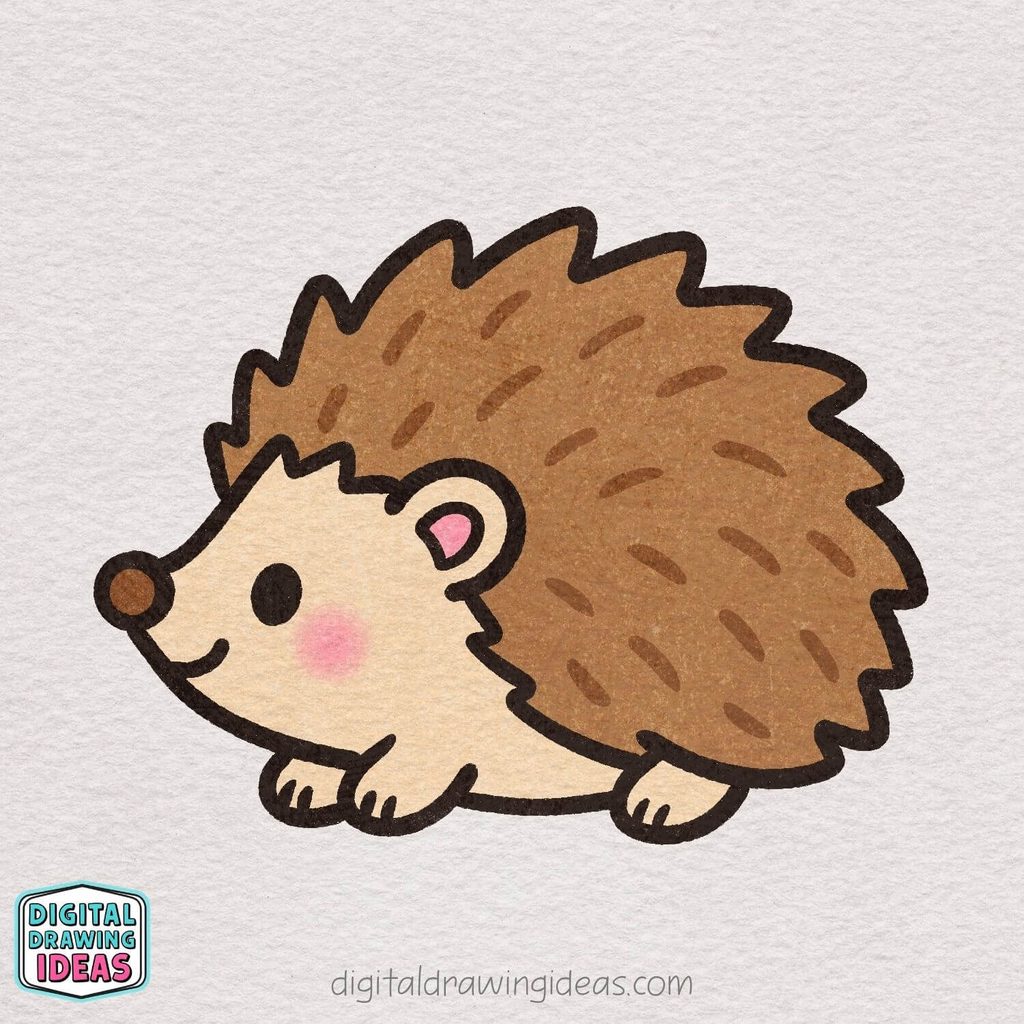
Finish your hedgehog by adding color to bring the whole drawing to life. Use a lighter brown for the spiky coat so the darker brown quill marks from the previous step stay visible.
Color the face, belly, and feet with a soft cream or light beige shade, then add a warm brown to the nose and a little pink inside the ear. For an extra cute touch, softly blend a pink blush onto the cheek.
Take your time with the coloring and try to keep it gentle rather than too heavy.
Once the colors are in place, your sweet little hedgehog is complete!
The Part Beginners Usually Overthink
The spikes are probably the first thing people worry about when learning how to draw a hedgehog, but they’re actually one of the most forgiving parts of the drawing.
Your zigzags do not need to have the same height, angle, or spacing. Real quills aren’t lined up like little fence posts either, so a bit of variation makes the drawing feel more lively.
The same goes for the little brown marks inside the spiky coat. Scatter them instead of arranging them into perfect rows, and angle a few in different directions.
If your hedgehog ends up a little fluffier, rounder, sleepier, or more mischievous than mine, I’d call that a success.
Make Your Hedgehog Your Own
Once you know how to draw a hedgehog using the basic shapes in this tutorial, you can start playing around with the design.
You could try:
- Giving your hedgehog a tiny mushroom or flower
- Drawing autumn leaves around it
- Adding a little scarf for a cozy fall version
- Changing the expression
- Making the quills darker or warmer
- Creating a baby hedgehog beside it
- Turning the finished drawing into a handmade card or journal decoration
This is one of my favorite things about simple drawing tutorials. The first version teaches you the shapes, but the second or third version is usually where your own ideas start sneaking in.
Want Another Easy Drawing to Try?
If you enjoyed this one, I have a few other step-by-step tutorials that use the same relaxed, beginner-friendly approach.
You can try my cute snail drawing tutorial if you want another adorable little creature. The snail is especially fun if you enjoy adding tiny details without making the drawing too complicated.
For something completely different, try my easy tree drawing tutorial. It’s a nice one to practice when you want to loosen up your lines and work with more organic shapes.
And if you’re in the mood for another cute animal, take a look at my Highland cow drawing tutorial. That fluffy hair gives you plenty of room to embrace imperfect, playful lines.
Final Thoughts on This Easy Hedgehog Drawing
I hope this tutorial showed you that learning how to draw a hedgehog doesn’t have to involve complicated anatomy or dozens of tiny quills. Breaking the drawing into simple shapes makes the whole process much more relaxed—and, for me, a lot more enjoyable.
What I love most about this particular hedgehog is how much personality comes from such small details: the round nose, tiny smile, pink cheek, little feet, and those loose brown quill marks. It’s a simple drawing, but it still feels like a little character rather than just a collection of shapes.
If your finished hedgehog looks different from mine, please don’t “fix” it just for the sake of matching the tutorial. Keep the parts that make yours unique. That’s often where the most charming drawings come from.
For more drawing ideas and step-by-step inspiration, you can follow Digital Drawing Ideas on Pinterest and visit my Digital Drawing Ideas YouTube channel.
And I’d genuinely love to see what you create. Which part of your hedgehog turned out to be your favorite—the face, the little feet, or the spiky coat? Share your drawing on Pinterest, or tag me on Instagram at @digitaldrawingideas so I can see your version.