Learning how to draw a tree can look surprisingly intimidating when you start thinking about every branch, leaf, and little twist in the trunk. I’ve definitely had those moments when a simple drawing idea suddenly starts feeling much more complicated than it needs to be. That is exactly why, when I created this tree drawing, I decided to forget about realistic leaves and tiny branches and build the whole thing from a few soft, easy shapes instead.
I love creative projects that look cute without requiring an hour of sketching and erasing. With this tutorial, I wanted to make a tree that you could actually enjoy drawing rather than worrying about whether every branch sits in the “correct” place. The fluffy canopy is especially forgiving, which is always a win when your curved lines decide to develop personalities of their own.
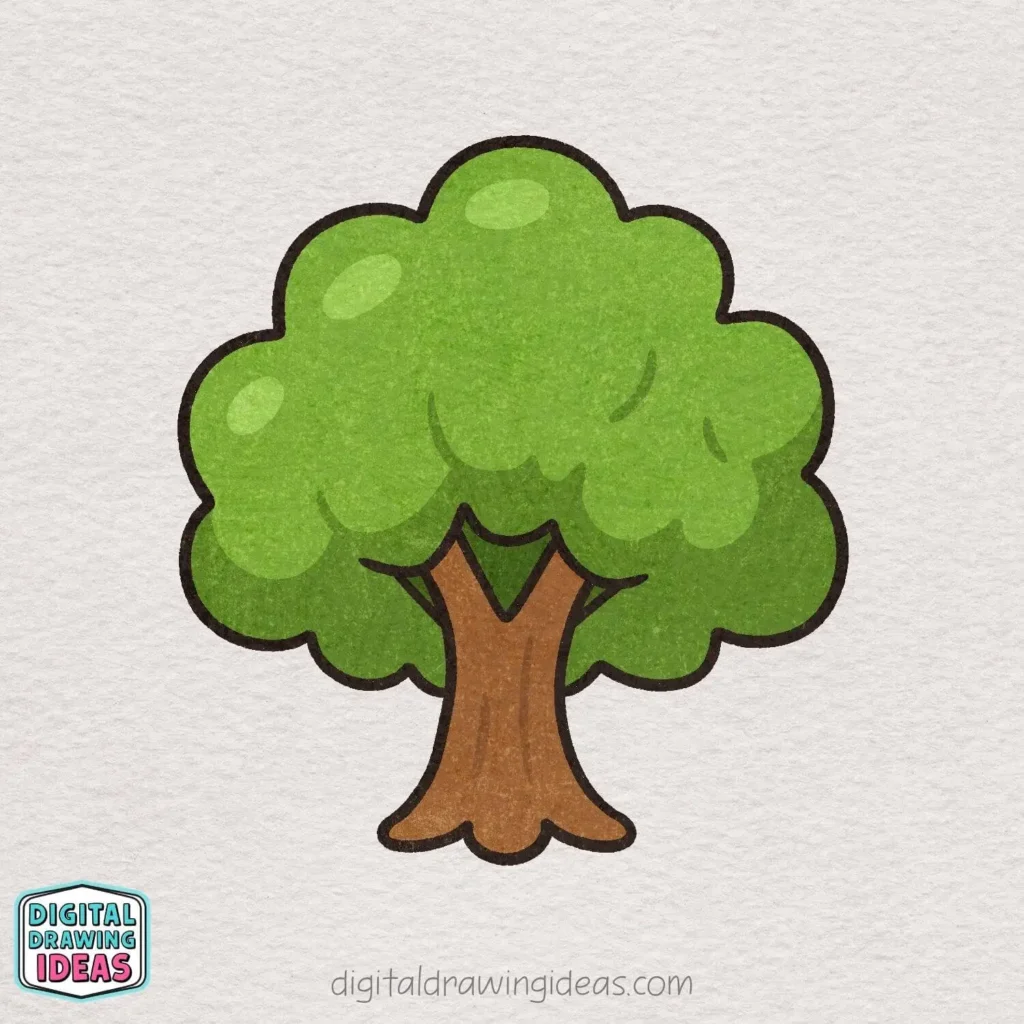
If you have been wondering how to draw a tree without getting caught up in complicated details, this tutorial is a great place to start. We’ll build the trunk first, add the large leafy canopy, create a few simple details, and then finish everything with two shades of green.
What You’ll Need for This Tree Drawing
You really don’t need many supplies for this tutorial. Use whatever drawing tools you already enjoy working with.
- A pencil or drawing pen
- An eraser if you like sketching first
- Black pen or marker for the final outline
- Brown for the trunk
- Dark green for the shaded leaves
- Lighter green for the main canopy
- An even lighter green if you want to add highlights
- Paper, a sketchbook, or your favorite digital drawing app
If you are drawing digitally, you can also put your sketch and final lines on separate layers. I find that little bit of flexibility especially helpful when I want to adjust the canopy without disturbing the trunk underneath.
How to Draw a Tree Step by Step
When you are learning how to draw a tree, one of the easiest ways to keep the process manageable is to stop thinking of it as one big object. Instead, look at it as a collection of simple curves: two lines for the trunk, a few rounded shapes for the canopy, and small connecting details.
You also do not need to make your drawing perfectly symmetrical. Trees are naturally irregular, and even this cute simplified version looks better when the curves have a little variation.
Step 1: Draw the Sides of the Trunk

Begin by drawing two gently curved vertical lines near the center of your page. Leave a small gap between them, because these lines will become the left and right sides of the tree trunk.
Let each line curve outward slightly so the trunk looks soft and natural instead of perfectly straight.
Keep the shape simple for now—this first step is just about setting up the basic trunk form.
Step 2: Shape the Bottom of the Trunk
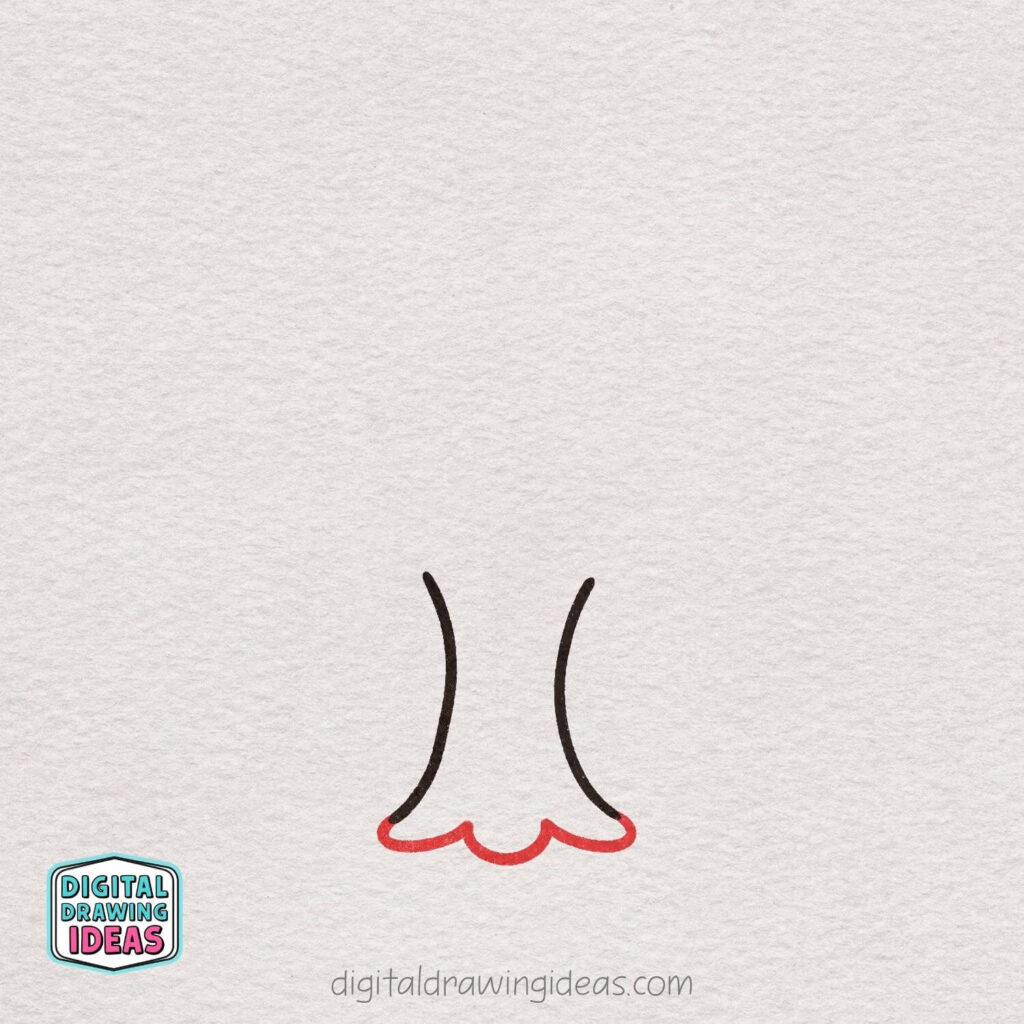
Now connect the two trunk lines by drawing a soft, wavy line across the bottom. Create three rounded bumps so the base looks a little like spreading roots or a gently scalloped edge.
Keep the middle bump centered and let the two side bumps curve outward toward the trunk lines.
This small detail makes the trunk feel cuter and gives your tree a more finished, playful foundation.
Step 3: Start the Tree Canopy
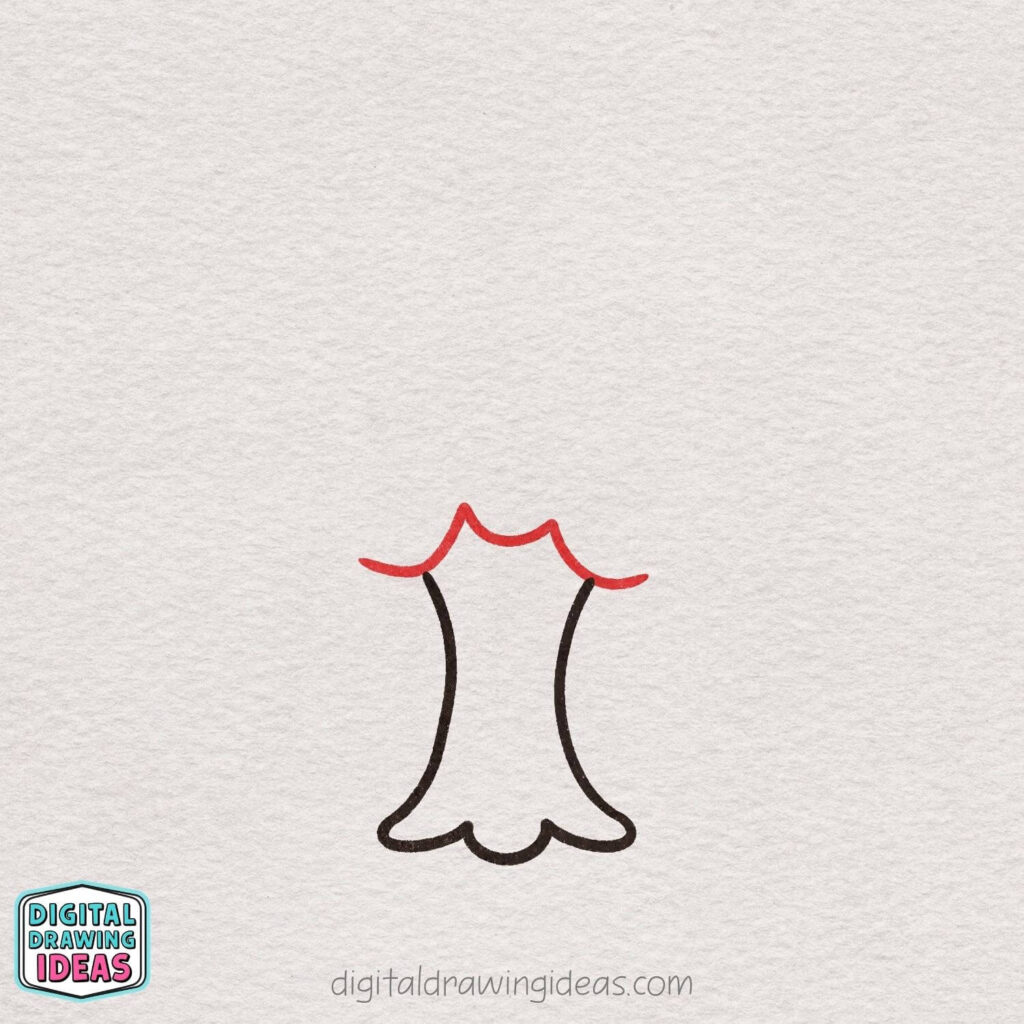
Now begin forming the leafy top of the tree by drawing a gently curved, wavy line above the trunk. Create a soft dip in the middle and let both sides rise into rounded points before extending slightly outward.
This line will become the lower edge of the tree canopy, so keep the curves loose and natural rather than perfectly even.
Step 4: Outline the Full Canopy
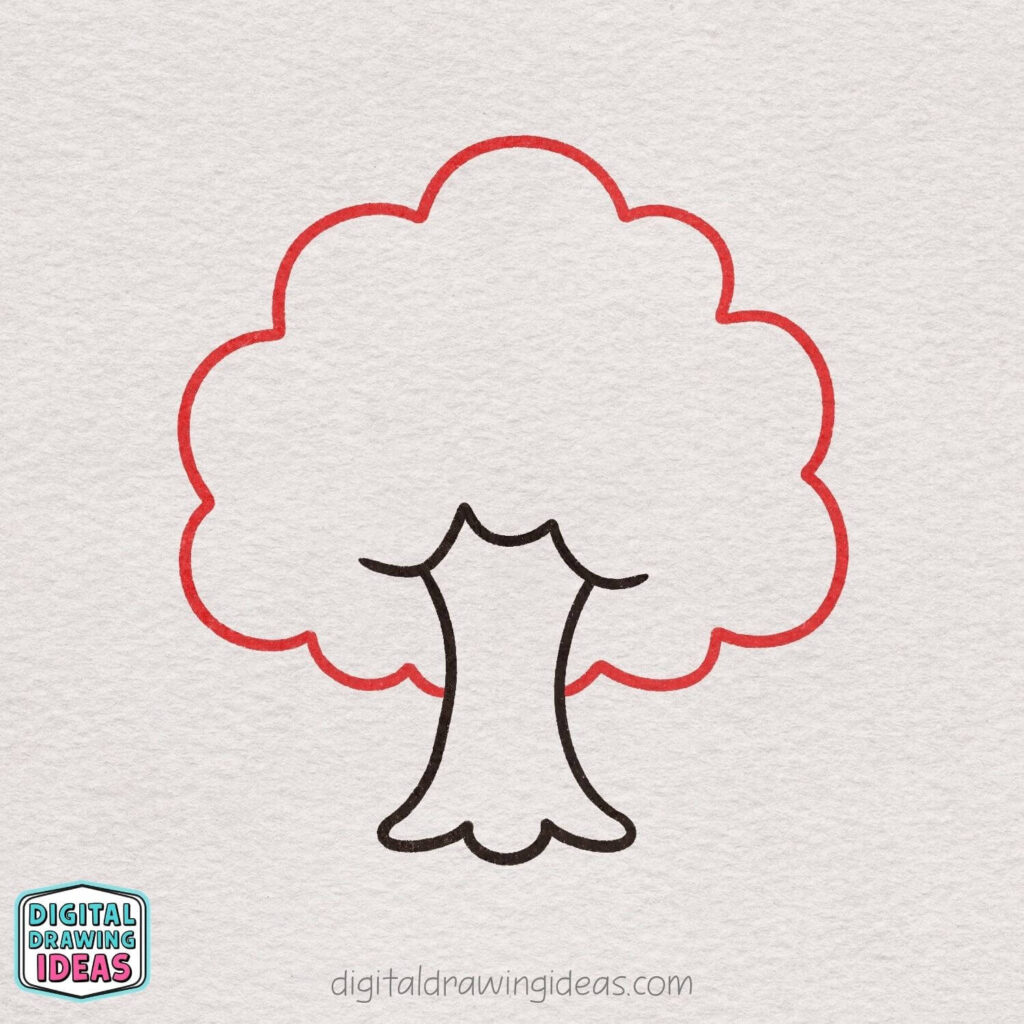
Now draw the rest of the tree’s canopy by surrounding the top of the trunk with a large, fluffy outline. Use a series of big rounded bumps to create a cloud-like shape, starting on one side of the lower canopy and continuing all the way around to the other side.
Make the top section a little taller and fuller so the tree looks balanced and leafy.
Try to keep the curves soft and smooth, because this is what gives the tree its cute and friendly look.
Step 5: Add the Center Branch
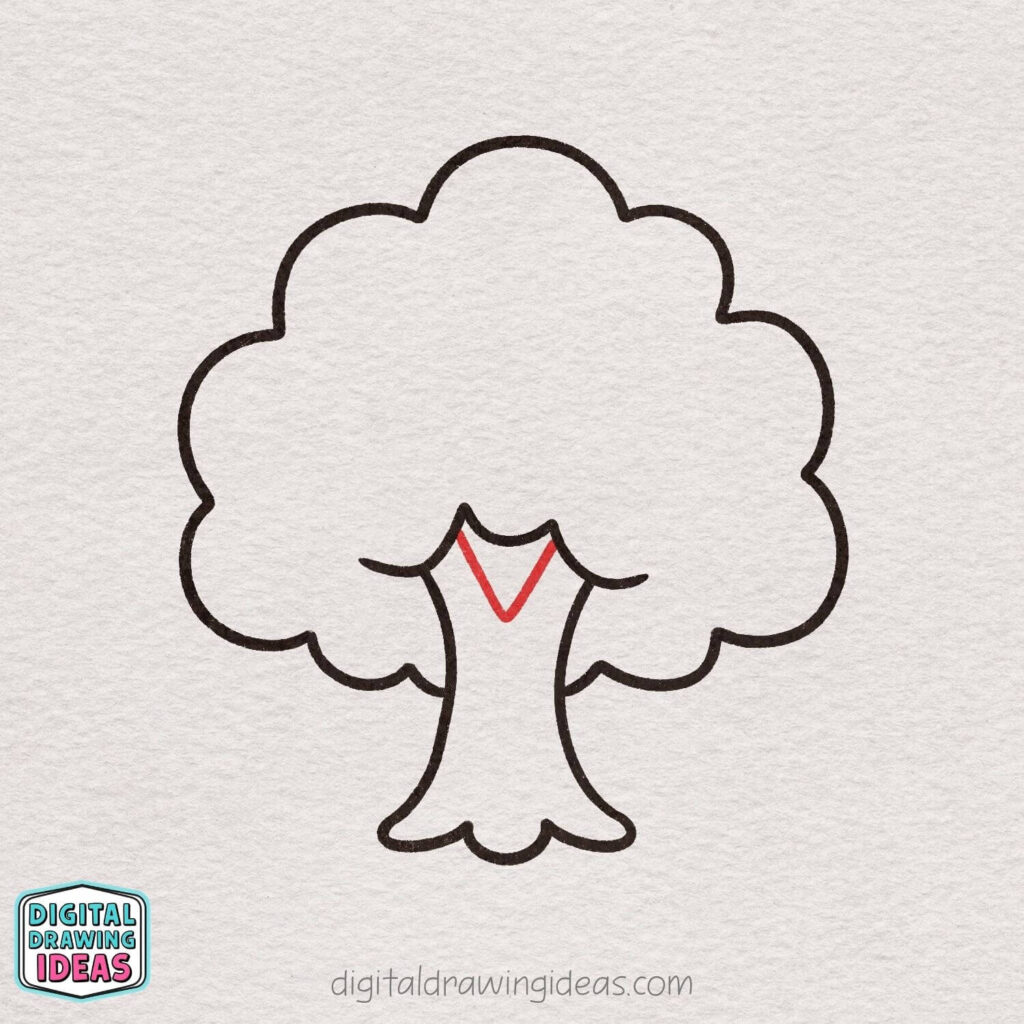
Inside the top of the trunk, draw a simple V-shaped line that points downward toward the center. Start each side of the V near the upper edges of the trunk and bring the lines together in a soft point below.
This small detail suggests where the trunk begins to split into branches underneath the leafy canopy.
Keep the shape narrow and centered so it fits naturally inside the trunk.
Step 6: Connect the Canopy to the Trunk
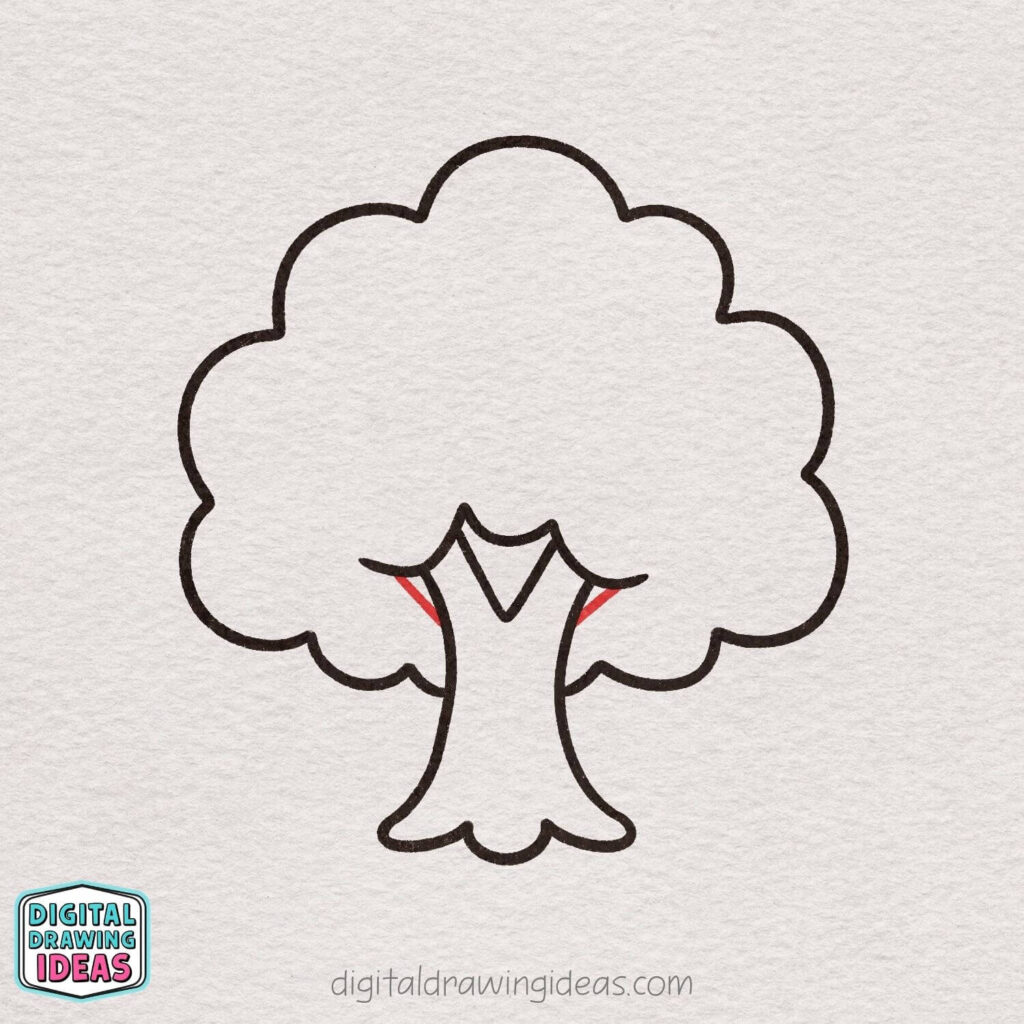
Now add two short diagonal lines on the left and right sides, connecting the lower edge of the canopy to the sides of the trunk.
Angle the lines gently inward so the leafy top flows smoothly into the trunk below.
These small connecting lines help close the shape and make the canopy feel naturally attached to the tree.
Step 7: Start Coloring the Canopy
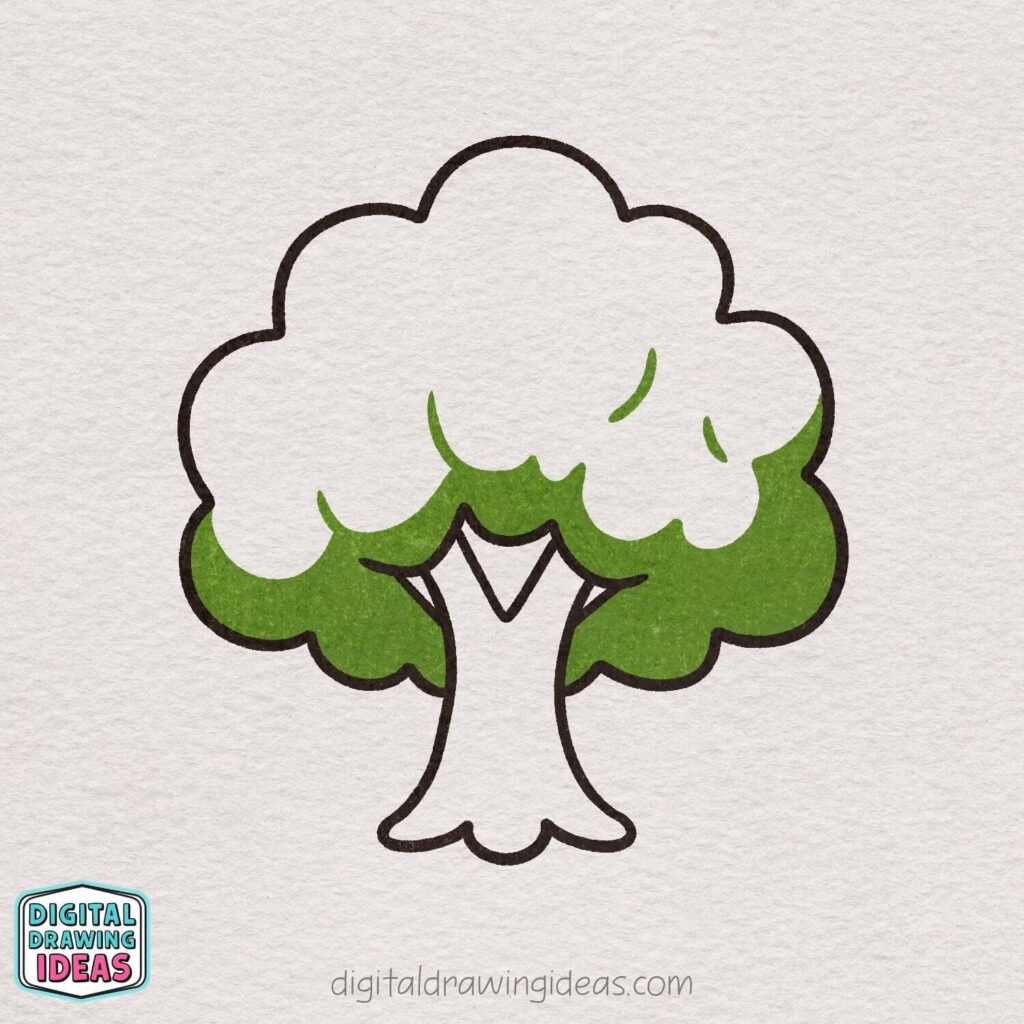
Now it’s time to begin adding color to the tree. Fill in the lower section of the canopy with a darker green, following the rounded shapes around the trunk and along the bottom edge of the leaves.
Keep this darker shade mostly in the lower part, since it will act like a shadow and create more depth once the rest of the canopy is colored.
Leave the upper section uncolored for now so you can add a lighter green in the final step.
Step 8: Finish with Color and Highlights
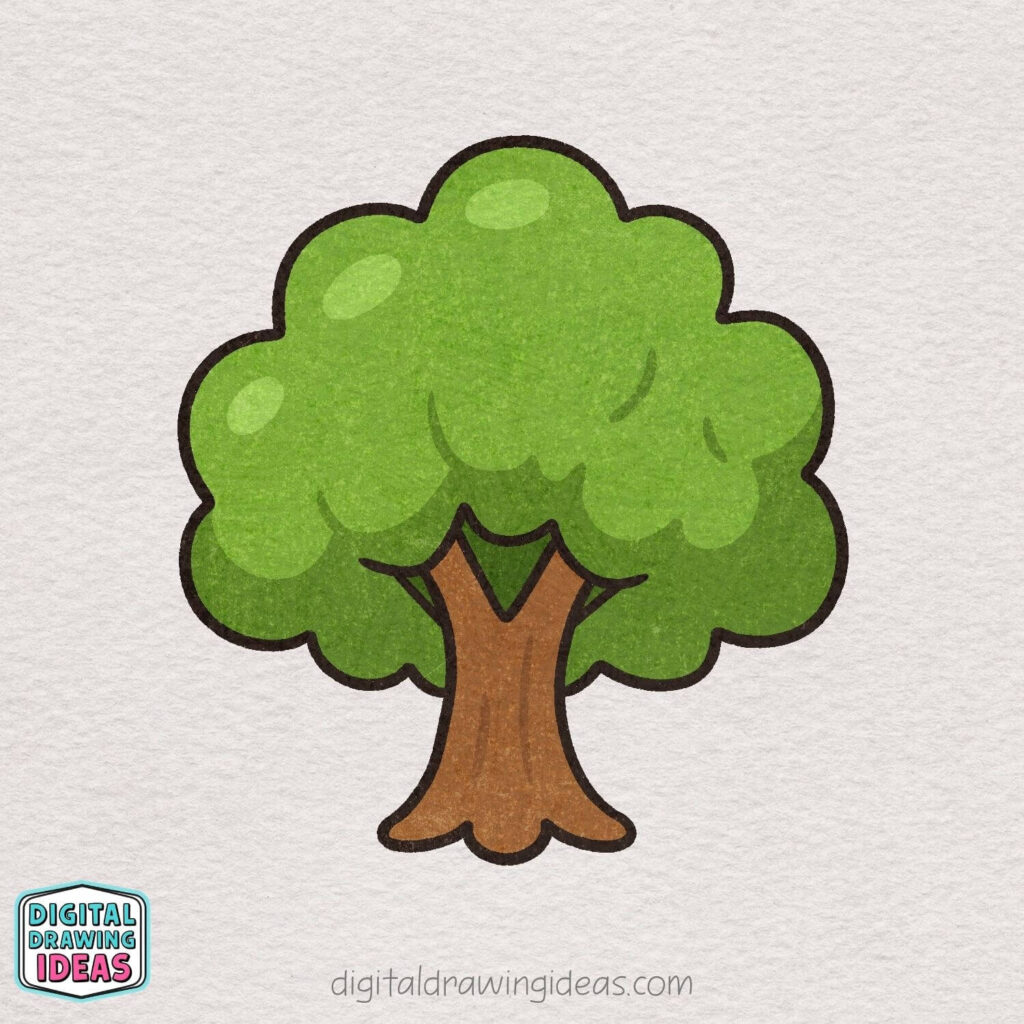
Complete your tree by filling the rest of the canopy with a lighter green, leaving the darker green visible along the lower section to create depth and contrast.
Color the trunk and branches with a warm brown, making sure the black outline stays clean and visible.
Add a few soft, lighter green highlight shapes across the canopy to give the leaves a brighter, more dimensional look.
Once everything is colored, your cute and simple tree drawing is complete!
My Favorite Trick for Making a Simple Tree Look Better
One thing I especially like about this tree drawing is that the depth comes mostly from color rather than complicated line work. The darker green underneath makes the lighter canopy stand forward, even though the shapes themselves stay very simple.
If your first version looks a little flat, you probably do not need to redraw the whole thing. Try these small changes first:
- Make the bottom of the canopy slightly darker.
- Add a few light green highlights near the upper sections.
- Keep the trunk a warm brown rather than a very dark shade.
- Vary the size of the rounded canopy bumps slightly.
- Leave some breathing room around your highlights instead of covering the whole tree with details.
That last one is something I remind myself of often when I draw. It is very easy to reach the “maybe it needs just one more detail” stage and suddenly discover that one more detail has brought twelve friends.
What If Your Tree Doesn’t Look Like Mine?
That is completely fine. In fact, I would rather you use this tutorial as a starting point than feel like you have to recreate every line exactly.
If your canopy comes out wider, your trunk curves more dramatically, or your rounded leaves look slightly different, you still have a tree. When learning how to draw a tree, the goal is to understand how the main shapes fit together—not to copy every curve perfectly.
You can also experiment with the colors once you understand the basic structure. Try autumn orange and yellow leaves, pale spring greens, or even a whimsical pink canopy if that fits your sketchbook better.
Turn Your Tree Into a Tiny Woodland Drawing
Once you know how to draw a tree like this one, it becomes really easy to build a larger nature scene around it. I love tutorials like this because one simple drawing can quickly turn into an entire little world.
You could add:
- Falling leaves around the canopy
- Grass or flowers near the roots
- Mushrooms beside the trunk
- Acorns scattered on the ground
- A tiny woodland animal nearby
- Clouds, sunshine, or a simple background
If you want to continue that woodland theme, try my cute boar drawing tutorial next. A little boar beside this tree would make an adorable forest scene.
You can also learn how to draw an acorn and leaf if you want some smaller nature details to scatter around the base of the tree. And if your imaginary forest needs something even cozier, my cute mushroom drawing tutorial fits perfectly with this style.
Save More Easy Drawing Ideas
If you enjoy simple drawing tutorials like this one, you can find even more inspiration on my Digital Drawing Ideas Pinterest page. I’m always collecting and sharing creative ideas there, so it is a handy place to save tutorials you want to come back to later.
You can also visit my Digital Drawing Ideas YouTube channel for more drawing inspiration. Sometimes it is much easier to understand a shape when you can watch how the lines come together instead of only looking at the finished picture.
Your Tree Is Finished
Now you know how to draw a tree using just a handful of curved lines, a fluffy canopy, and some simple color layering. I especially love how the darker green at the bottom creates depth without turning this into a complicated shading exercise.
The most important thing I hope you take away from this tutorial is that a cute drawing does not need dozens of tiny details. Sometimes a few confident shapes, cheerful colors, and a little patience are more than enough to create something you genuinely enjoy looking at.
If you try this tree drawing, I’d love to know how you made yours your own. Did you keep the green canopy, turn it into an autumn tree, or add a whole little forest around it?
Share your version on Pinterest, or tag me on Instagram at @digitaldrawingideas so I can see what you create. I always enjoy seeing how the same tutorial turns into completely different drawings once another creative person puts their own spin on it.