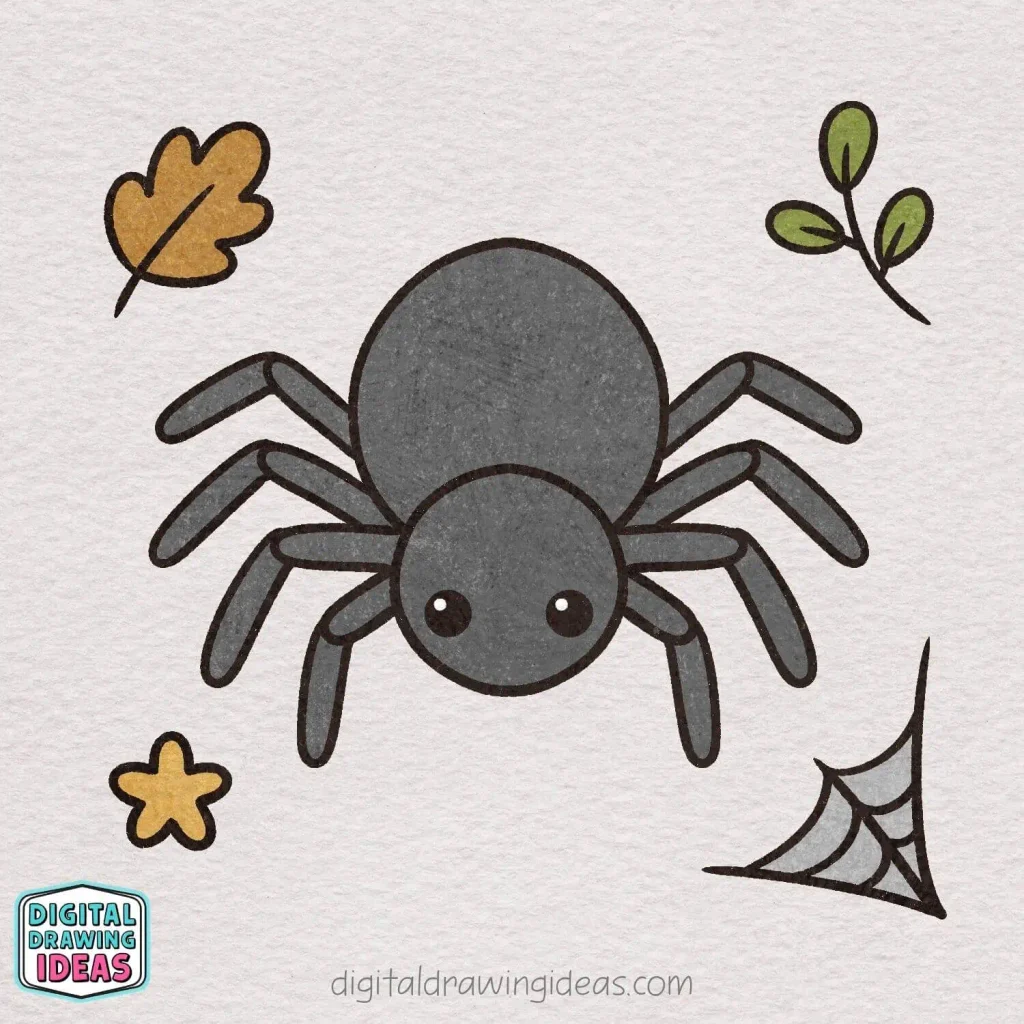
How to draw a spider without turning eight legs into a confusing tangle of lines? That was exactly what I wanted to solve when I created this little spider drawing. I love taking something that looks complicated at first and breaking it into simple shapes that feel much more manageable once you actually put pencil to paper.
Spiders are funny drawing subjects because the basic idea sounds easy: a body, a head, and eight legs. Then you start adding those legs and suddenly your cute spider looks like it is trying to escape in eight different directions. I have definitely had drawings reach that awkward middle stage where I wondered whether I should keep going or quietly pretend the sketch never happened.
That is why I designed this how to draw a spider tutorial around rounded shapes and easy-to-follow leg sections. Instead of trying to draw each leg in one perfect movement, we build them a piece at a time. It makes the drawing much easier to control and gives the finished spider a soft, friendly look rather than a realistic, slightly-too-close-to-my-desk kind of spider.
Why This Spider Drawing Is Easier Than It Looks
One of my favorite things about creating drawing tutorials is finding the simplest possible way to build a subject. For this spider drawing, you really do not need complicated anatomy, detailed shading, or perfectly symmetrical lines.
We will mainly use:
- simple circles and rounded shapes
- short curved leg sections
- easy jointed legs built in stages
- a few small nature doodles around the spider
- simple colors to finish everything off
If your circles are not perfectly round or one leg ends up slightly different from the other, keep going. I actually think those tiny differences often make hand-drawn illustrations feel more charming and personal.
The biggest challenge when learning how to draw a spider is usually keeping all eight legs organized. My trick is not to think of them as eight complete legs at once. Draw the first sections first, then add the outer sections afterward, and suddenly the whole thing feels much less intimidating.
What You’ll Need
You can keep your supplies very simple for this tutorial. Use whatever you already enjoy drawing with.
A few options are:
- pencil and eraser for sketching
- a black fineliner or marker for clean outlines
- colored pencils or markers
- a drawing tablet and your favorite digital drawing app
I created these drawings myself, and I kept the shapes deliberately clean and beginner-friendly. Whether you work digitally or prefer the feeling of pencil moving across paper, you can follow the exact same basic process.
How to Draw a Spider Step by Step
Ready to try it? Here is my easy how to draw a spider tutorial from the first circle to the finished colored illustration.
Step 1: Draw the Head Shape
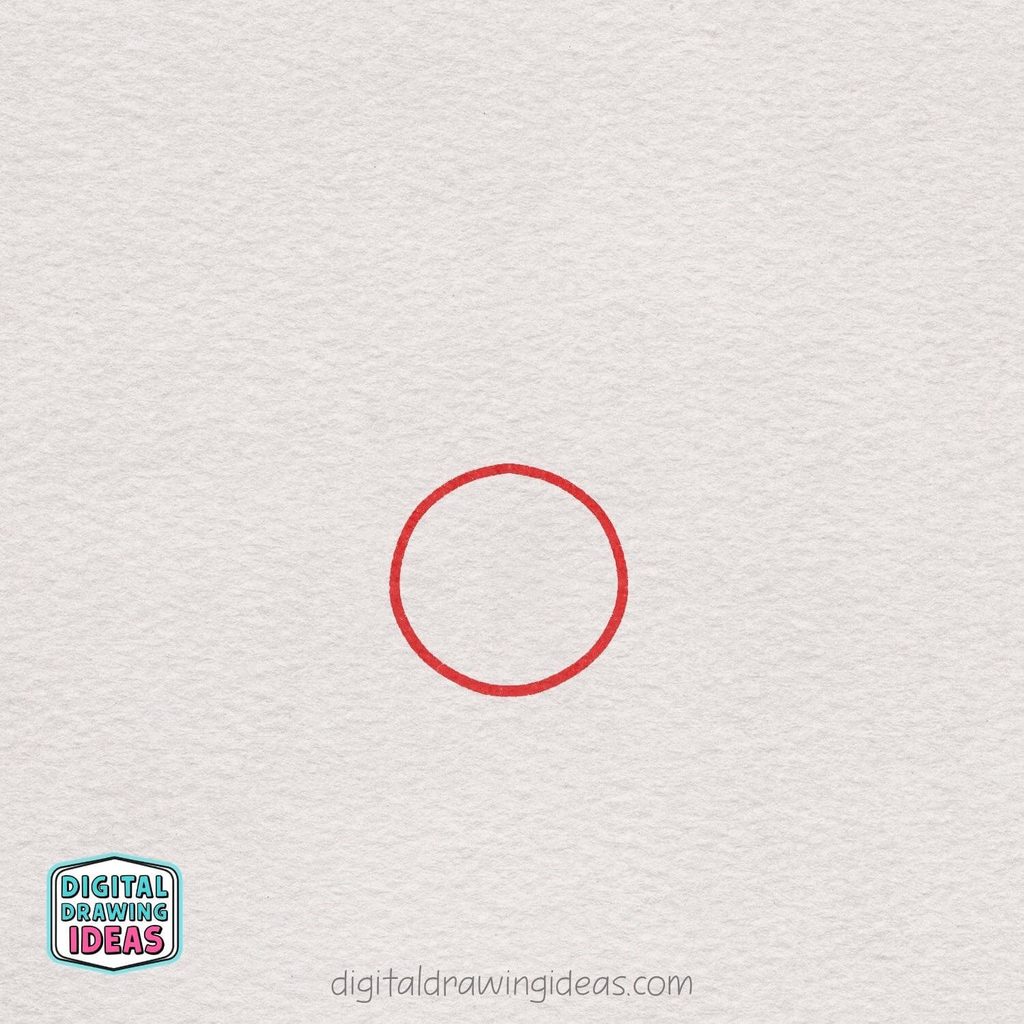
Start by drawing a medium-sized circle near the lower middle part of your page.
This will become the spider’s head, so try to keep the shape nice and round, but it does not have to be perfectly perfect.
A smooth, simple outline works best for this cute drawing style. Leave plenty of space around it, because we will be adding the spider’s body, legs, and little details in the next steps.
Step 2: Add the Cute Eyes
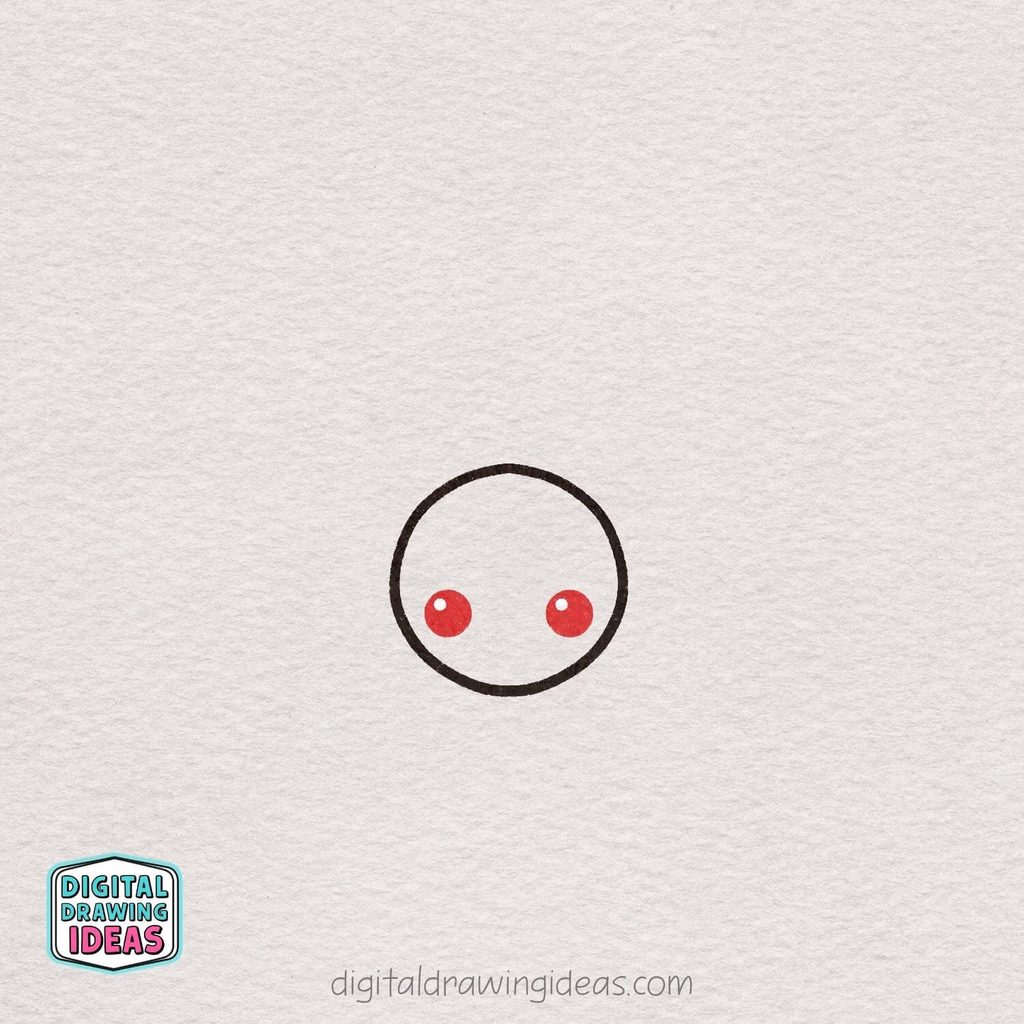
Now draw two small round eyes inside the circle.
Place them near the lower half of the head, leaving a little space between them so the spider looks balanced and friendly.
If you want the same cute style, add a tiny white highlight inside each eye to make them look shiny. Try to keep the eyes similar in size, but a tiny difference is completely fine and still looks adorable.
Step 3: Draw the Spider’s Body
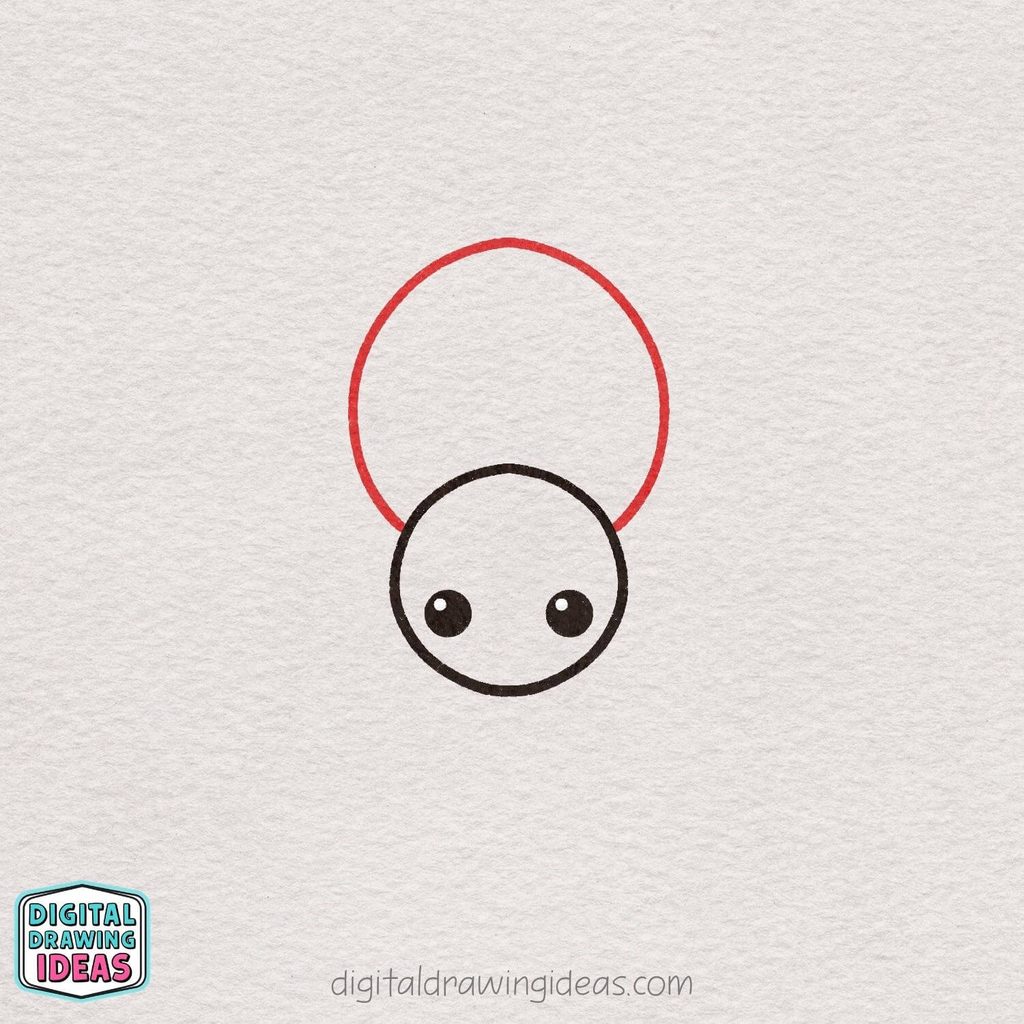
Next, draw a much larger circle above the head to create the spider’s body.
Let the bottom of this bigger shape overlap slightly behind the head so the two parts connect nicely and feel like one character.
Try to keep the body round and smooth, even if it is a little taller or wider than a perfect circle. This larger shape gives your spider that cute, simple cartoon look, so keeping it big and rounded works really well here.
Step 4: Start the First Pair of Legs
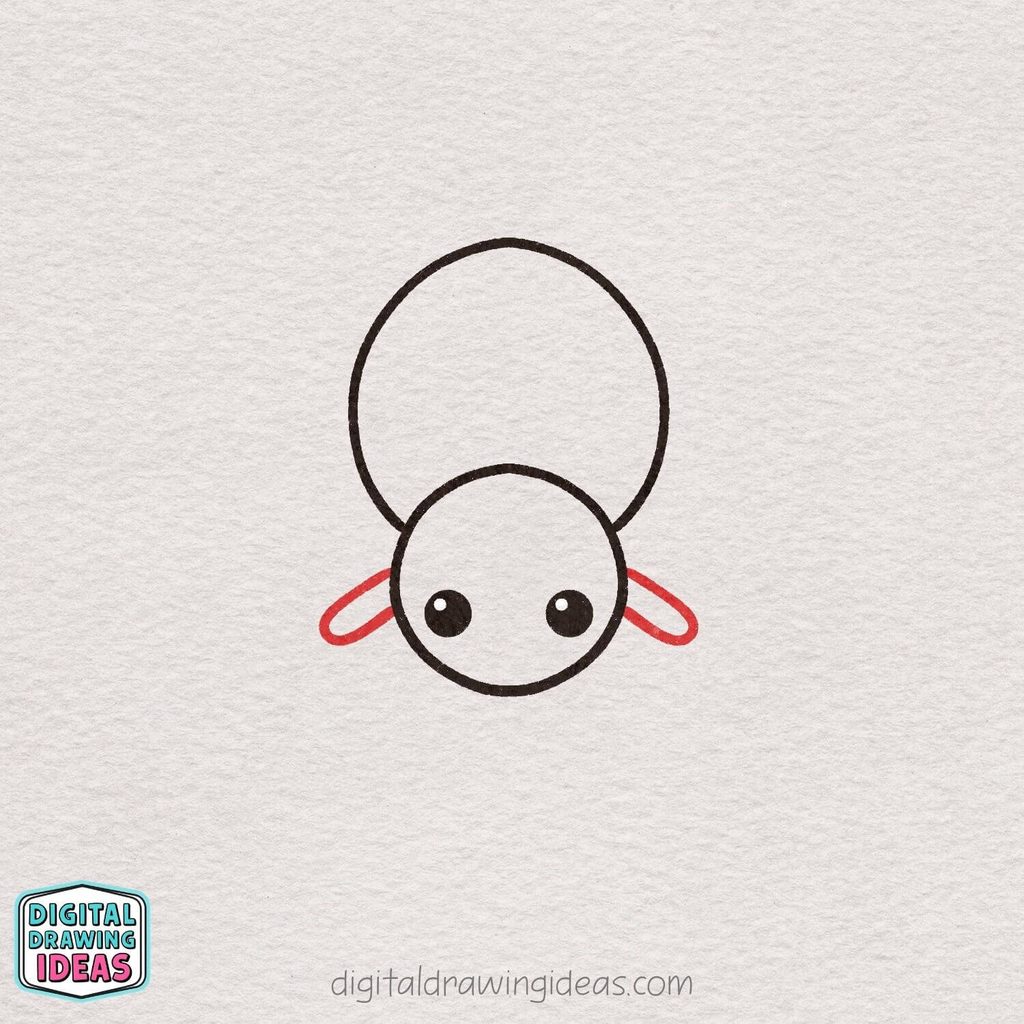
Now begin the spider’s first pair of legs by drawing one short, rounded segment on each side of the head. Let each segment angle slightly outward and downward, keeping both sides as similar as you can.
These are only the first sections of the jointed legs, so leave enough room at the ends to continue them in the next step.
Step 5: Finish the First Pair of Legs
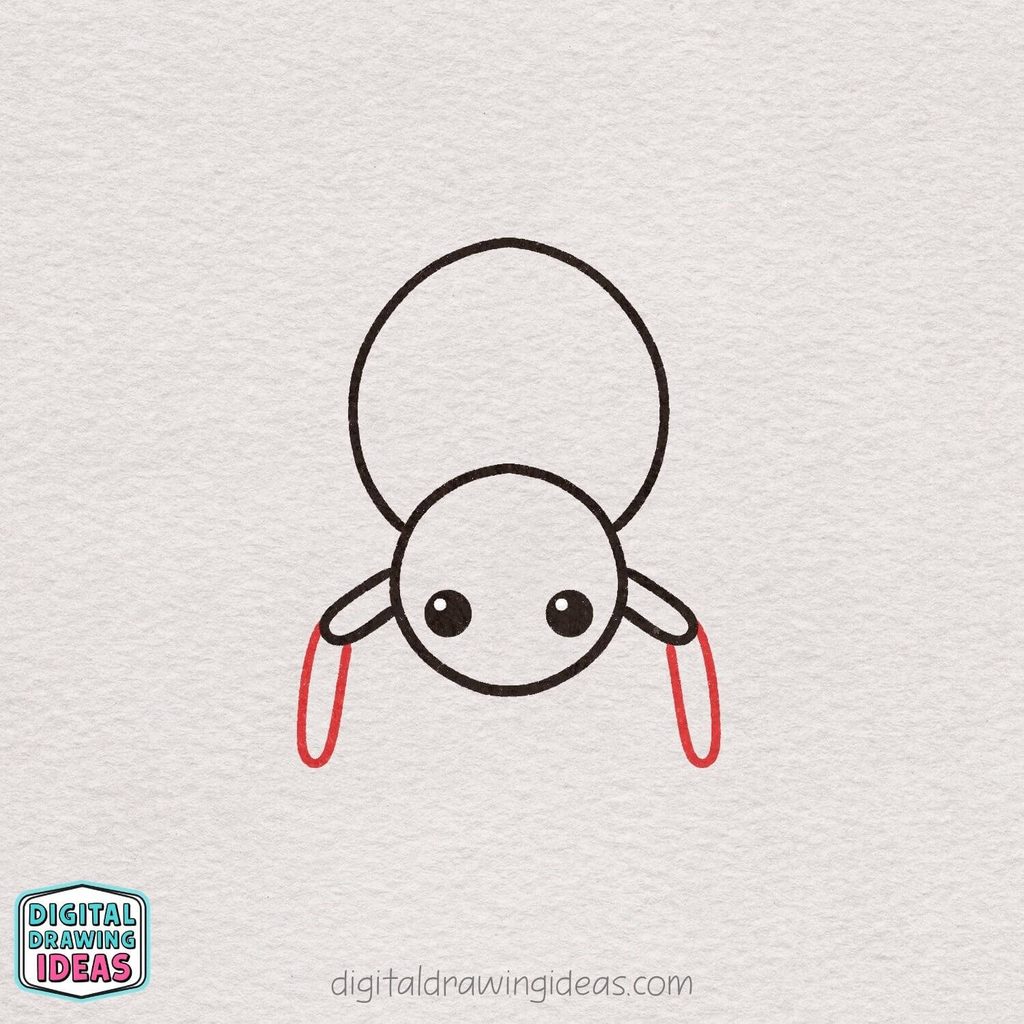
Continue the first pair of legs by adding a longer rounded segment to the end of each section you drew in the previous step.
Angle these new pieces downward so the legs bend clearly at the joint and begin to look more spider-like. Keep both sides fairly even in length and shape, but they do not need to match perfectly.
The soft rounded ends help keep the spider looking cute instead of too sharp or realistic.
Step 6: Start the Second Pair of Legs
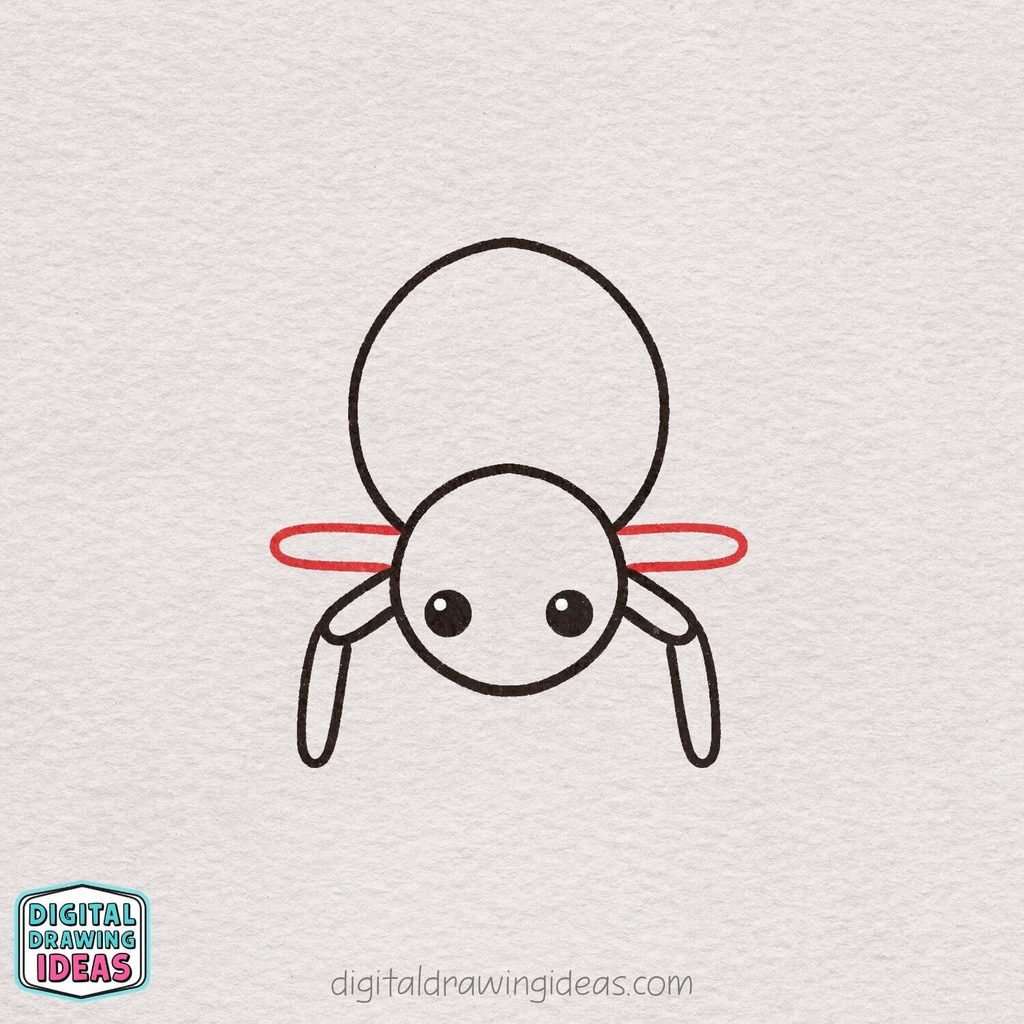
Now add another short rounded segment on each side of the spider, placing this pair just above the legs you already drew.
Let these new sections extend mostly outward from the body, with a gentle curve and rounded ends. Keep them roughly the same length on both sides so the spider stays balanced.
These will form the first sections of the second pair of jointed legs.
Step 7: Add Two More Pairs of Leg Sections
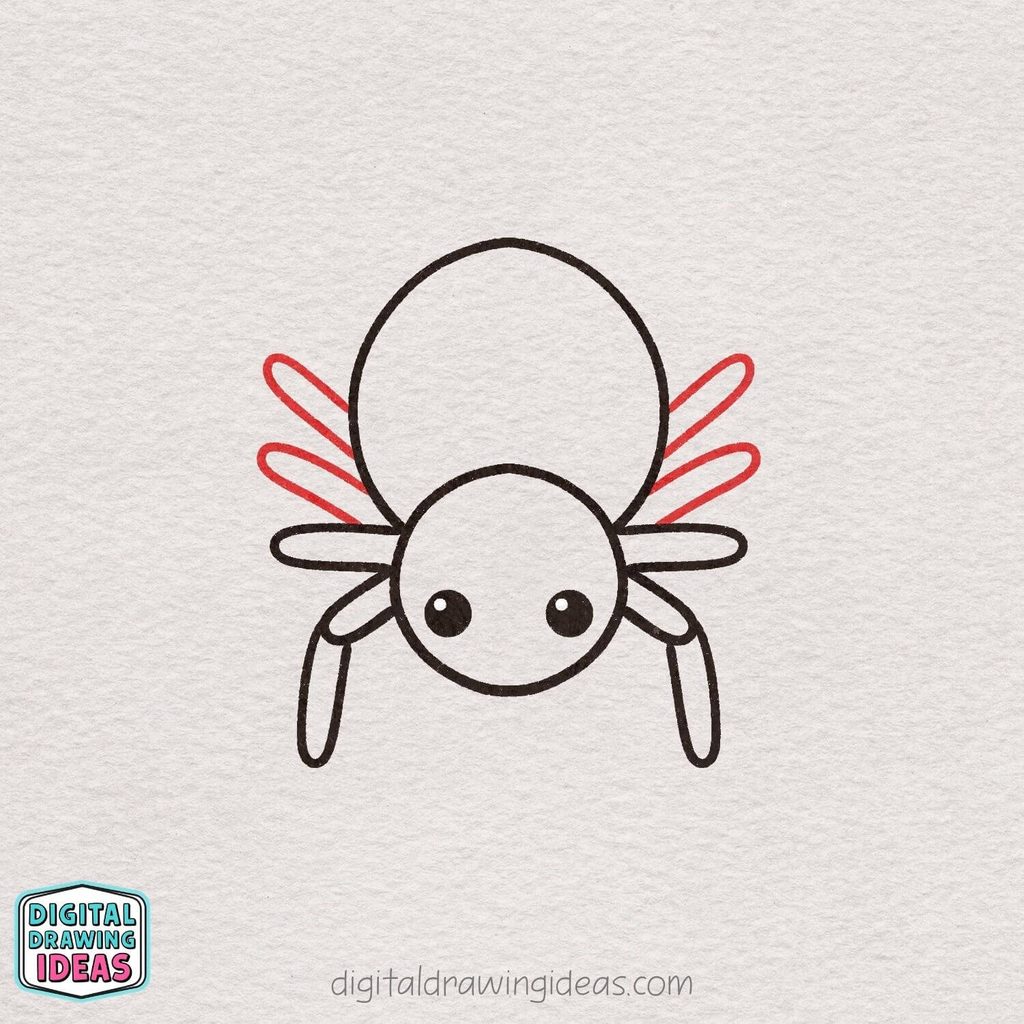
Now draw two more rounded leg sections on each side of the spider, placing them above the pair you added in the previous step.
Angle these new sections upward and outward so they begin to fan around the body. Keep a little space between each pair so the legs stay easy to see and do not blend together.
At this point, you are building the upper sections of the remaining legs, which we will extend in the next steps.
Step 8: Finish the Remaining Legs
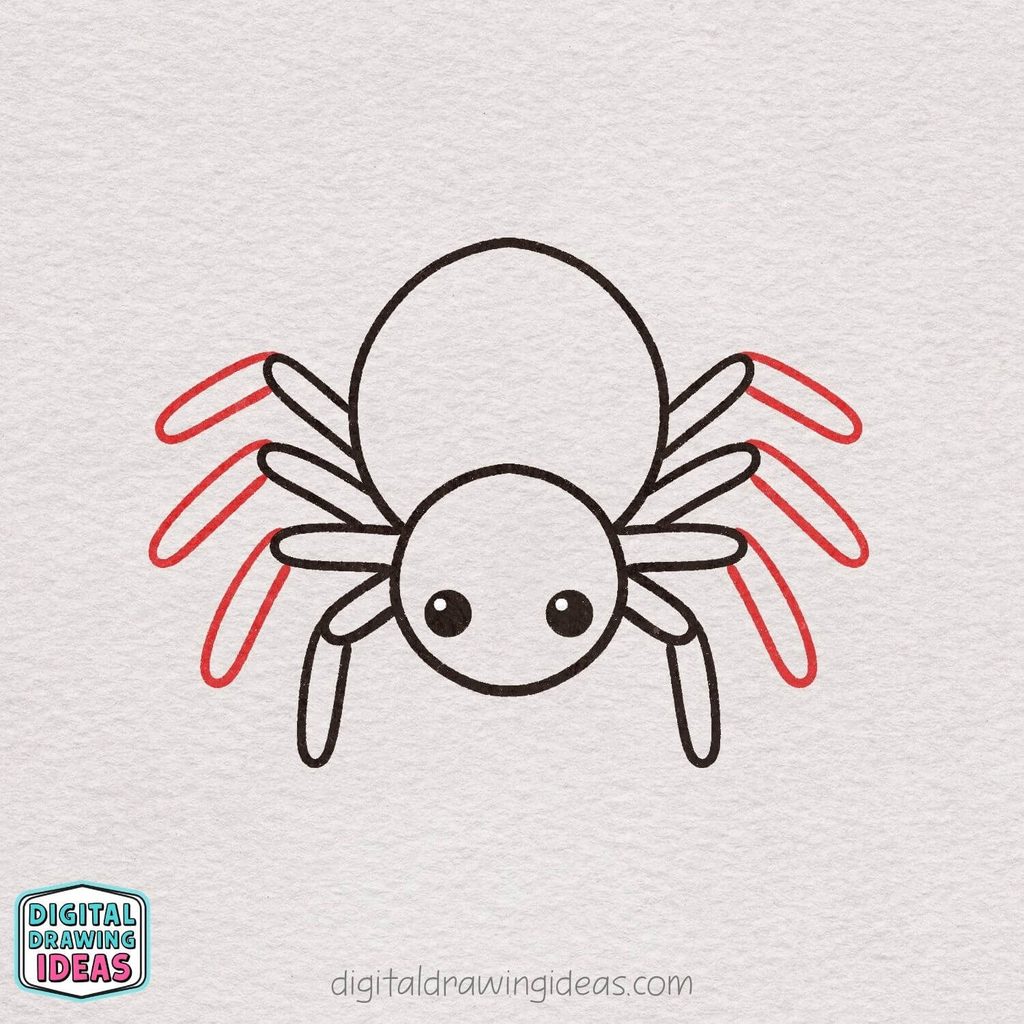
Complete the other three pairs of legs by adding a second rounded segment to the end of each section you drew earlier.
Let the new pieces bend downward and slightly outward, creating clear joints and giving the spider its full eight-legged shape.
Try to keep the spacing between the legs fairly even so the drawing does not feel crowded. Rounded ends and gentle bends will keep the whole spider looking soft, simple, and cute.
Step 9: Add the Little Nature Details
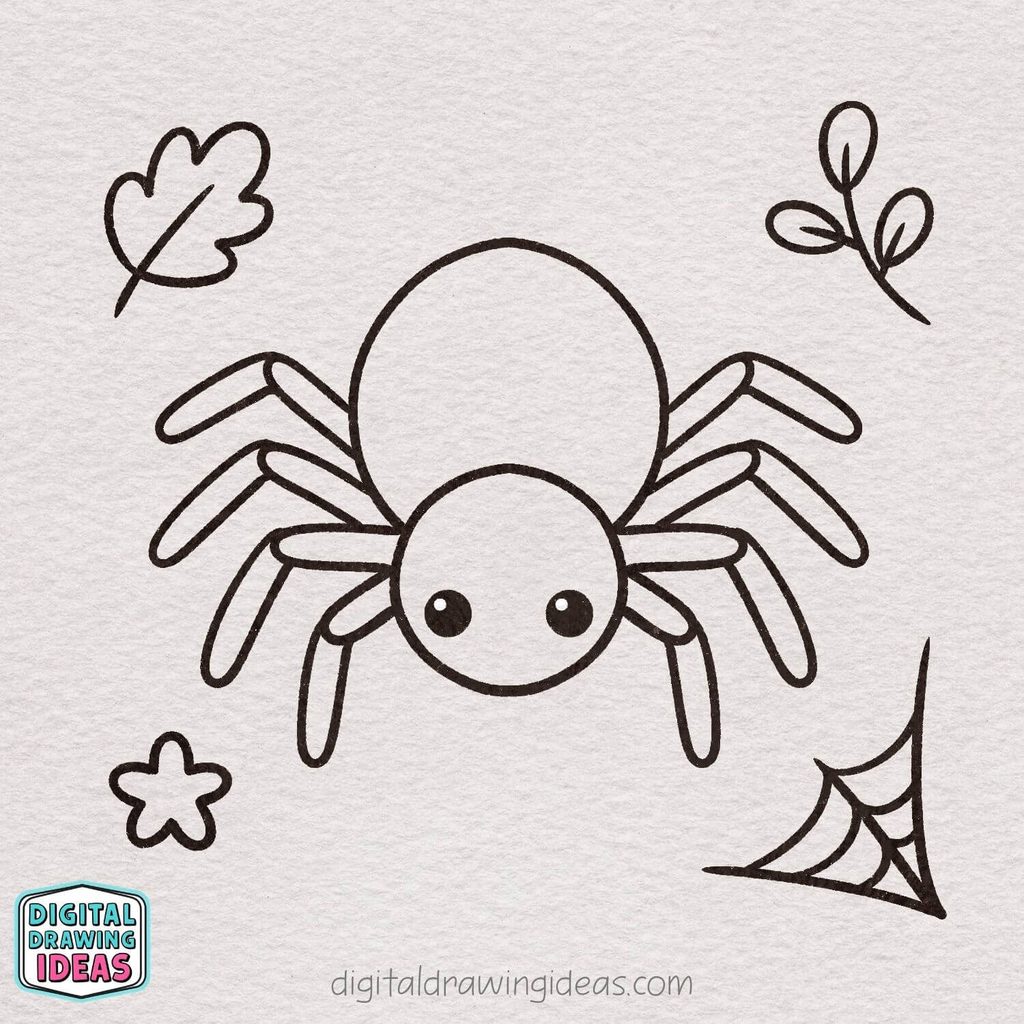
Now decorate the space around your spider with a few simple nature-inspired doodles.
Draw a small leaf in one corner, a tiny leafy twig in another, and add a simple flower shape near the bottom.
Finish the scene with a small spiderweb in the remaining corner to make the whole drawing feel more complete. Keep these extra details light and simple so the spider still stays the main focus.
Step 10: Add Color and Finish Your Spider
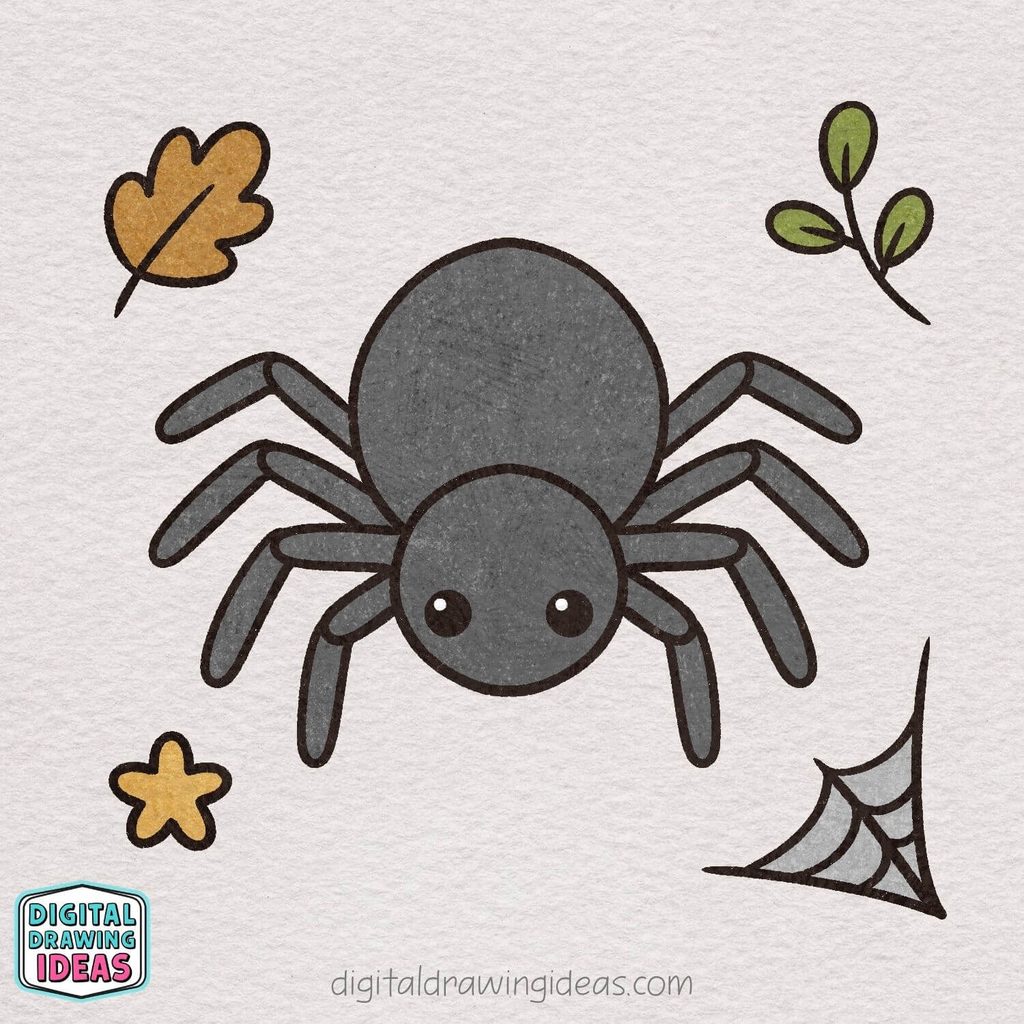
For the final step, bring your spider drawing to life with a few simple colors.
Fill the spider’s body and legs with a dark gray shade, keeping the eyes dark so the little white highlights still stand out.
Then add warm autumn colors to the surrounding details, such as golden yellow for the flower, brown for the leaf, green for the small branch, and a soft gray for the spiderweb.
Once everything is colored, your cute spider drawing is complete!
A Few Tips If Your Spider Doesn’t Look Quite Right Yet
There is a point in almost every drawing where it looks slightly strange before everything comes together. With this one, that usually happens while you are adding the legs. Do not judge your spider too early.
If something feels off, these little fixes usually help:
- The legs look crowded: Leave a little more space between each pair and let the upper legs angle farther outward.
- The spider looks uneven: Compare the overall shape rather than every tiny line. The left and right sides only need to feel balanced, not identical.
- The spider looks too realistic: Make the body rounder, soften the leg ends, and keep the eyes large and simple.
- Your circles are difficult to draw: Sketch them lightly several times before choosing the line you like best.
- The finished drawing feels empty: Add one or two small leaves, a flower, or a simple web around it without overcrowding the spider.
I know that last one can be especially useful if you like turning a basic tutorial into a fuller little illustration. I nearly always enjoy the extra decorating stage because that is where a simple drawing starts to feel like your own.
Make Your Spider Drawing Your Own
Once you know how to draw a spider using these basic shapes, you can change the design in all kinds of ways. Try making the body smaller, changing the expression, experimenting with longer legs, or giving your spider a completely different color palette.
You could also turn it into a Halloween drawing with purple, orange, and black details, or make a softer woodland version surrounded by autumn leaves. There is no rule saying a spider has to be gray, either. A pink spider with tiny boots? I am not stopping you.
That playful part of drawing is one of the reasons I love creative projects so much. Following a tutorial gives you a starting point, but changing one or two details is often what turns the drawing into something that feels completely yours.
More Easy Drawing Ideas to Try
If you enjoyed this tutorial, I have a few more step-by-step drawings that pair really nicely with it.
For another nature-inspired drawing, try my easy tree drawing tutorial. It uses the same idea of breaking a larger subject into simple, friendly shapes.
If you are building a collection of Halloween drawings, you might also like my cute skeleton drawing tutorial and my cute Halloween ghost drawing.
I love creating drawings that look fun without requiring a complicated process, so these are all good options when you want something creative but relaxing.
You can also find more drawing inspiration on my Digital Drawing Ideas Pinterest page and follow my Digital Drawing Ideas YouTube channel for more creative tutorials.
Final Thoughts on How to Draw a Spider
Learning how to draw a spider becomes much easier when you stop thinking about all eight legs at once. Start with the simple round shapes, build the legs in sections, and let the drawing develop gradually. That is exactly why I created this tutorial the way I did.
My favorite part is seeing the spider change from two basic circles into a complete little character. Add the eyes, those chunky jointed legs, a few autumn details, and suddenly the page has much more personality than you might expect from such simple shapes.
Most importantly, do not get stuck trying to make every curve perfect. Your spider drawing should still look like yours, and the tiny differences between hand-drawn lines are part of what makes creative work fun.
If you try this tutorial, I would genuinely love to see what you create. Which part did you enjoy drawing most: the spider itself, the web, or the little autumn details around it?
Share your version with me on Pinterest, or post your drawing on Instagram and tag @digitaldrawingideas so I can see your spider. And if there is another animal, object, or seasonal drawing you would love me to turn into a step-by-step tutorial, tell me what I should draw next.