Have you ever wondered how to draw a graduation cap without getting stuck on tricky angles and complicated details? You’re in the right place. In this easy step-by-step tutorial, I’ll show you exactly how to draw a graduation cap in a simple and beginner-friendly way.
I’ve always loved creating cute drawings that anyone can follow, even if they haven’t picked up a pencil in a while. There’s something special about turning a blank page into a finished illustration with just a few simple lines. Graduation caps are one of those fun little drawings that instantly tell a story. They remind me of celebrations, achievements, and the excitement of finishing something you’ve worked hard for.
When I created this graduation cap drawing, I wanted it to be simple enough for beginners but still cute and recognizable. I know how frustrating it can be when a tutorial skips steps or suddenly becomes complicated halfway through. I’ve been there too. That’s why I break every drawing into small, manageable pieces that help you build confidence as you go.
Whether you’re drawing for a graduation card, a school project, a planner page, or just for fun, this tutorial will help you create an adorable graduation cap in just a few minutes.

What You’ll Need
Before we start, grab a few basic supplies:
- Pencil
- Eraser
- Black pen or marker
- Colored pencils, markers, or digital drawing tools
- A piece of paper
The best part? You don’t need fancy art supplies. Some of my favorite doodles started with nothing more than a simple pencil and a notebook sitting on my desk.
Why Draw a Graduation Cap?
A graduation cap is a great drawing subject because it’s:
- Easy to recognize
- Perfect for beginners
- Fun to customize with different colors
- Great for graduation cards and decorations
- A wonderful way to celebrate achievements through art
If you’re learning how to draw a graduation cap, you’re also practicing basic shapes, curved lines, and simple details like tassels, which are useful skills for many other drawings.
Follow the Step-by-Step Tutorial
Simply follow each step below and don’t worry about making everything perfect. One thing I’ve learned from drawing hundreds of tutorials is that perfection isn’t the goal. Having fun and improving a little with every drawing is what really matters.
By the final step, you’ll have your own cute graduation cap drawing ready to color and personalize.
Step 1: Draw the Top of the Cap
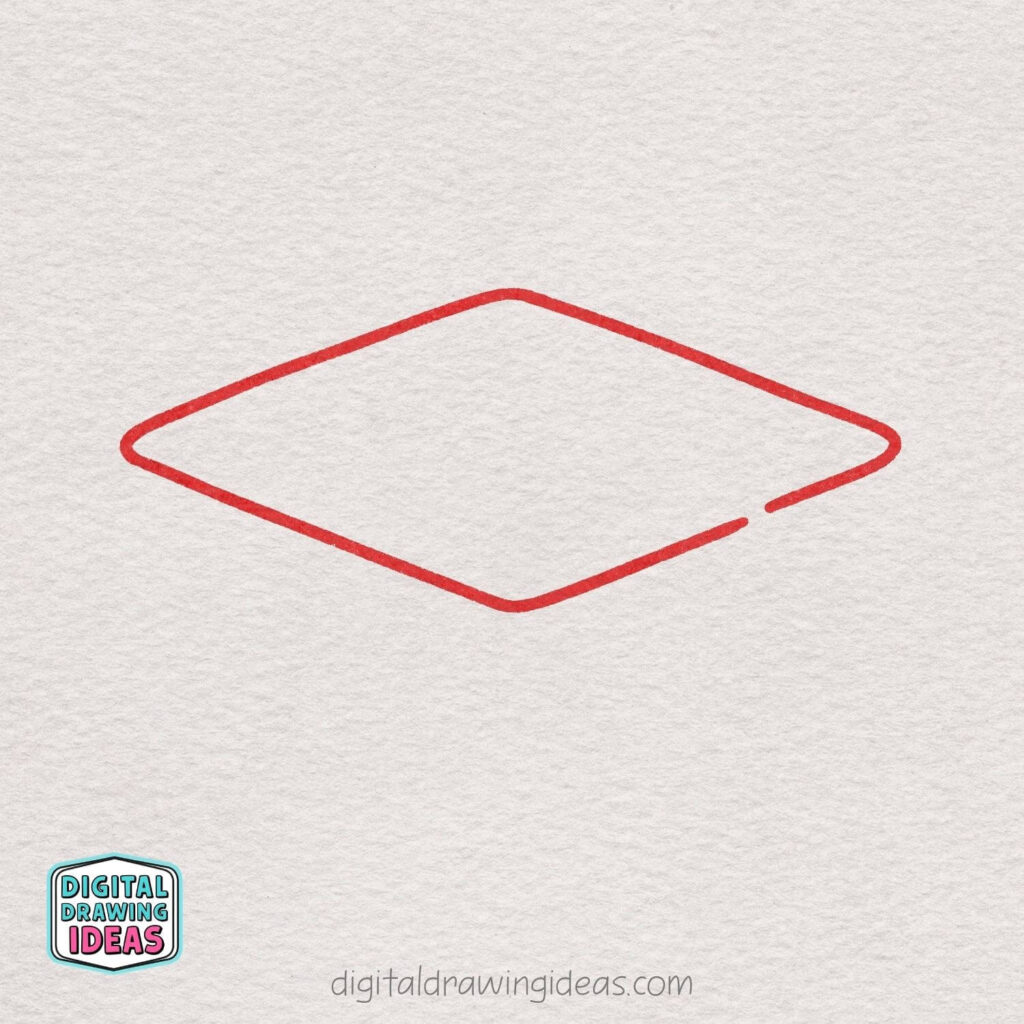
Start by drawing a large diamond shape with rounded corners to create the top of the graduation cap. Leave a small gap on the right side instead of connecting the line completely.
This little opening will be used for the tassel string in a later step, so be sure not to close it yet.
Step 2: Add the Button
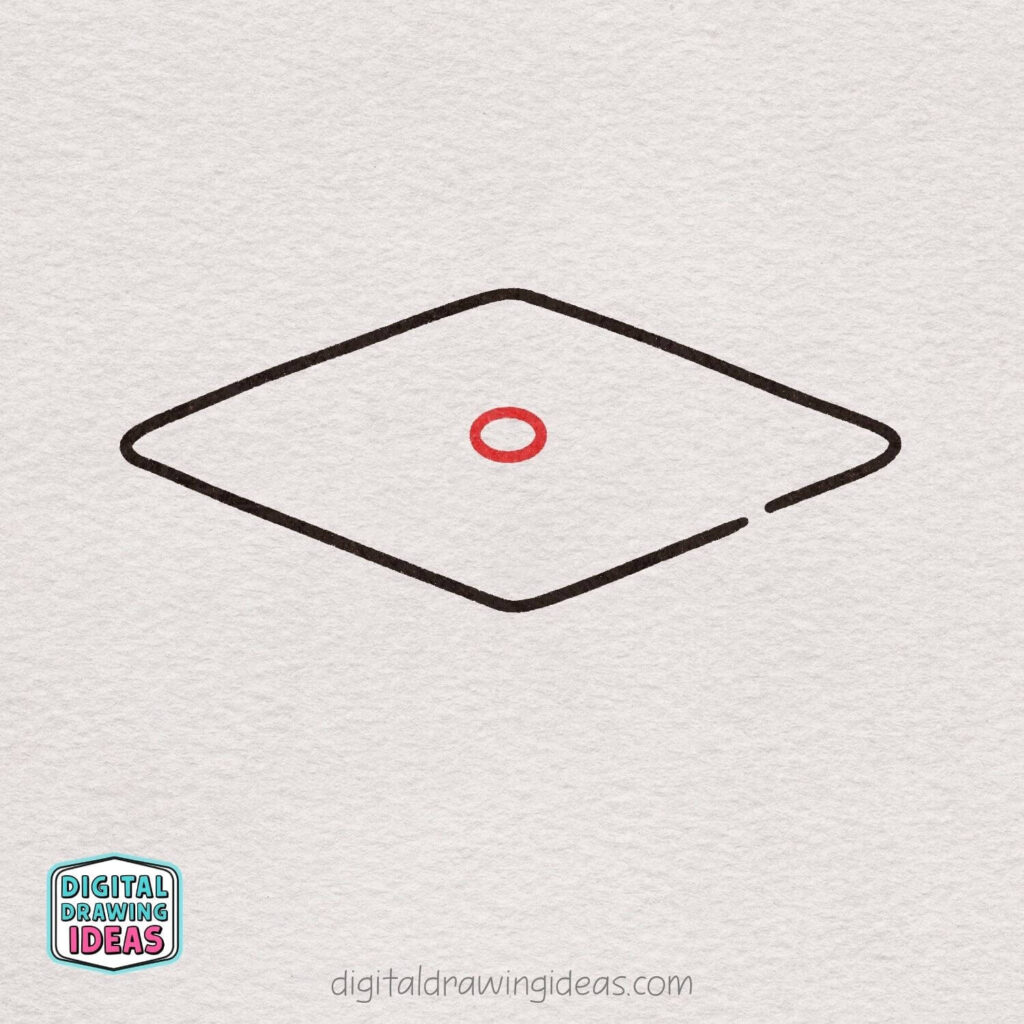
Draw a small circle near the center of the graduation cap. This circle represents the button that holds the tassel in place.
Try to keep it neat and evenly shaped, since it will be an important detail in the finished drawing.
Step 3: Draw the Tassel String
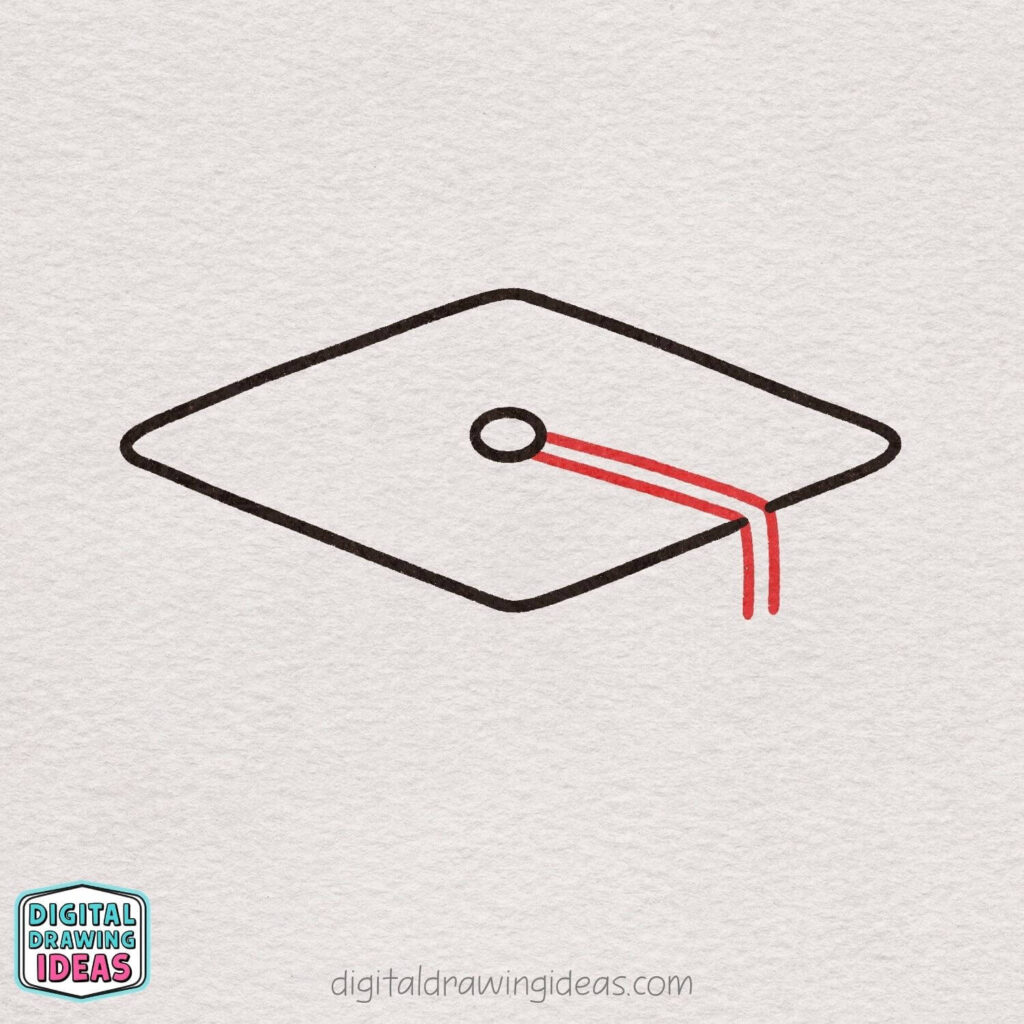
Starting from the button, draw two parallel lines extending toward the small gap on the right side of the cap.
Let the lines bend downward at the edge and continue a short distance below the cap.
This creates the tassel string and begins bringing your graduation cap to life.
Step 4: Add the Tassel Knot

Draw a small circle at the end of the tassel string. Position it just below the edge of the cap where the string hangs down. This simple shape will become the knot that connects the tassel strands in the next steps.
Step 5: Sketch the Tassel

Draw a rounded trapezoid shape hanging below the tassel knot. Make the top slightly narrower and the bottom a little wider to give it the look of a real tassel.
This shape will form the main body of the tassel at the side of the graduation cap.
Step 6: Draw the Hat Band

Starting from the left side under the cap, draw a long curved line that sweeps downward and connects near the tassel.
This line forms the bottom edge of the graduation cap and gives it its classic rounded shape.
Keep the curve smooth and even for a neat, polished look.
Step 7: Add the Decorative Band

Draw a curved line across the front of the cap, following the shape of the bottom edge.
Keep a small, even gap between the two lines to create a decorative band around the graduation cap.
This detail adds depth and makes the hat look more realistic.
Step 8: Add the Tassel Strands

Draw a few short curved lines inside the tassel shape. These lines represent the individual strands and help give the tassel some texture.
Keep the lines evenly spaced and let them follow the shape of the tassel for a neat and polished look.
Step 9: Draw Some Cute Decorations

Add a few simple decorations around your graduation cap, such as sparkles and a heart.
These little details make the drawing feel more cheerful and celebratory.
Feel free to place them wherever you like to give your artwork a personal touch.
Step 10: Color Your Graduation Cap

Great job—you’ve finished the drawing! Color the graduation cap black and use a bright yellow or gold color for the tassel, button, and decorative band.
You can also color the sparkles and heart to make your artwork look even more fun and festive.
Your cute graduation cap is now ready to celebrate a special achievement! 🎓
More Easy Drawing Tutorials You’ll Love
If you enjoyed learning how to draw a graduation cap, I have plenty of other beginner-friendly tutorials you might want to try next.
A few reader favorites include:
I regularly share new drawing ideas, doodles, and step-by-step tutorials, so be sure to follow along:
- Follow me on Pinterest
- Subscribe to my YouTube Channel
Final Thoughts on How to Draw a Graduation Cap
Now that you’ve finished this tutorial, you know exactly how to draw a graduation cap using simple shapes and easy-to-follow steps.
One of my favorite things about drawing is that every sketch tells a little story. A graduation cap isn’t just a hat—it’s a symbol of hard work, growth, and exciting new beginnings. That’s what makes this drawing so much fun to create.
If your first attempt isn’t perfect, don’t worry. Every artist starts somewhere, and every drawing teaches you something new. I still redraw simple objects all the time because practice is how confidence grows.
I hope this graduation cap drawing tutorial helped you create something you’re proud of today.
I’d love to see your finished artwork.
Have you tried drawing this graduation cap? What colors did you choose for the tassel and decorations?
Leave a comment, save this tutorial on Pinterest, and share your drawing with me on Instagram @digitaldrawingideas. Seeing your creations is one of the best parts of running this site and creating new tutorials for fellow drawing lovers.
Happy drawing!

