Learning how to draw a diamond can look a little intimidating at first, especially when you see all those sharp edges and tiny facets. I used to think every line had to be perfectly measured, or the whole gemstone would somehow collapse into a strange blue potato. Thankfully, this diamond drawing is much simpler than it appears.
I created this tutorial from one of my own drawings and broke the process into eight manageable steps. We will begin with one horizontal line, build the outer shape, add the inner sections, and finish everything with color and sparkling details.
The best part is that you do not need complicated tools or advanced drawing skills. Just take your time with the slanted lines and remember that a handmade drawing does not need to be perfectly symmetrical to look charming.
What You’ll Need for This Diamond Drawing
You can keep your supplies simple:
- A pencil or drawing pen
- An eraser
- Paper or a digital drawing app
- Light and medium blue coloring tools
- A yellow pencil or marker for the sparkles
- A white pencil, paint marker, or digital brush for the highlights
I usually prefer sketching the main shape lightly before tracing the final lines. This makes it easier to adjust the bottom point or straighten one of the sides without feeling as though the first line has already decided the fate of the entire drawing.
Before You Start: A Few Helpful Tips
The biggest challenge when learning how to draw a diamond is keeping the shape reasonably balanced. You do not need a ruler, but you can use one if straight lines make the process more relaxing for you.
Try to place the bottom point beneath the center of the top edge. If it sits slightly to one side, simply adjust one of the slanted lines before adding the inner facets.
It also helps to:
- Draw with light pressure at first.
- Compare the left and right sides as you work.
- Add the inner details only after you are happy with the outline.
- Use slightly different blue shades to separate the facets.
- Leave small white areas to create a reflective, polished look.
Ready to see how to draw a diamond one easy line at a time? Let’s begin.
Step 1: Draw the Base Line
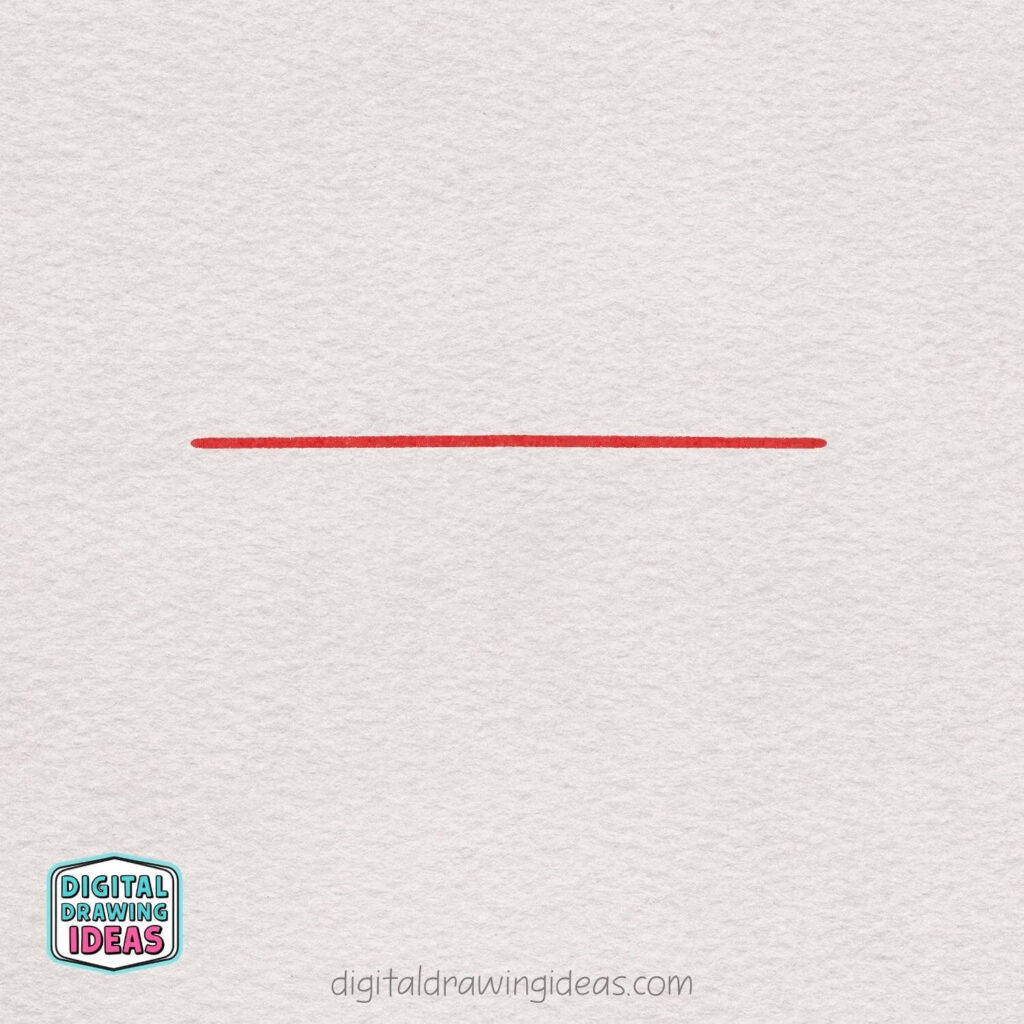
Start by drawing a straight horizontal line across the middle of your page.
Try to keep it nice and even, since this line will become the top edge and main guide for the diamond shape.
Don’t worry if it isn’t absolutely perfect—just make it fairly long and centered so you have enough space to build the rest of the gem around it.
This simple line is the foundation for everything that comes next.
Step 2: Build the Top Shape
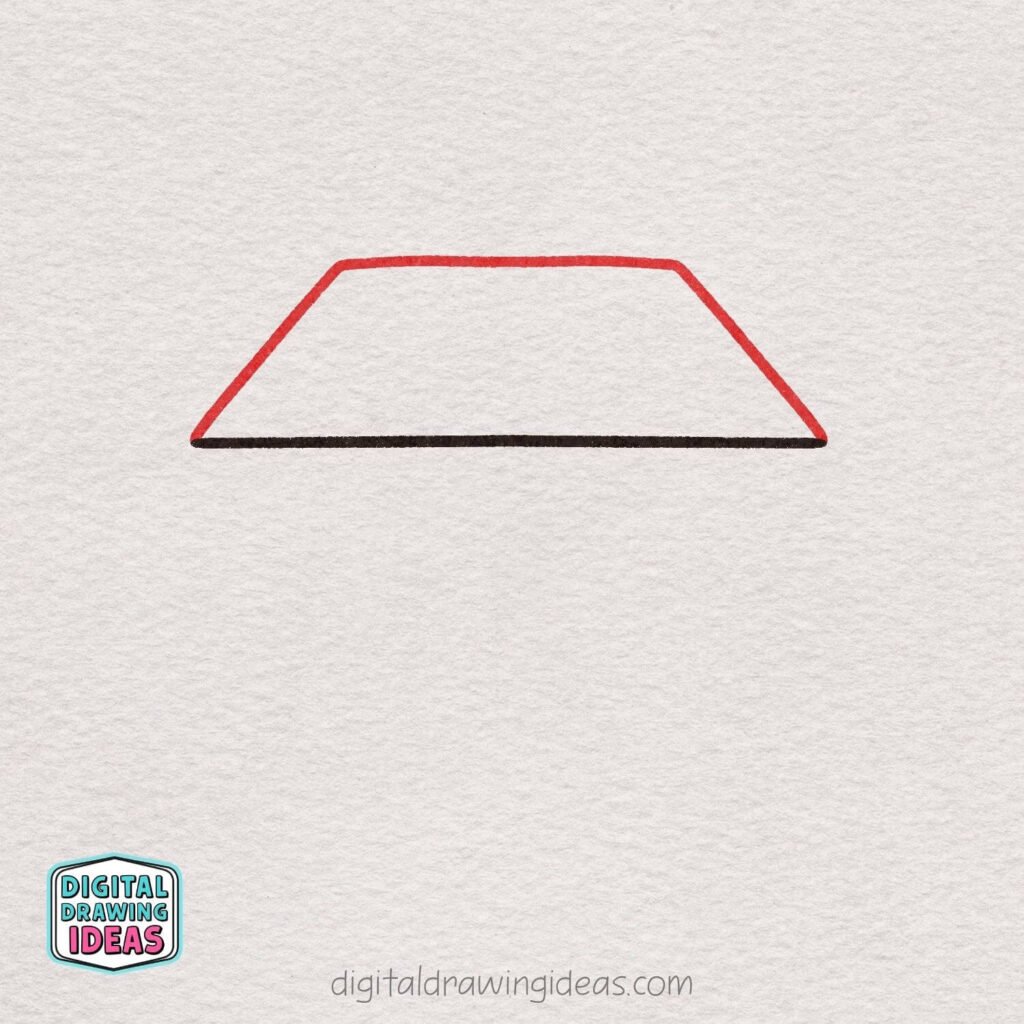
Now turn that line into the top part of the diamond. From each end of the original line, draw a short slanted line going upward and inward, then connect those two new points with another horizontal line across the top.
This creates a trapezoid shape, which forms the crown of your diamond. Try to keep both slanted sides similar so the shape looks balanced and neat.
Step 3: Sketch the Bottom Point
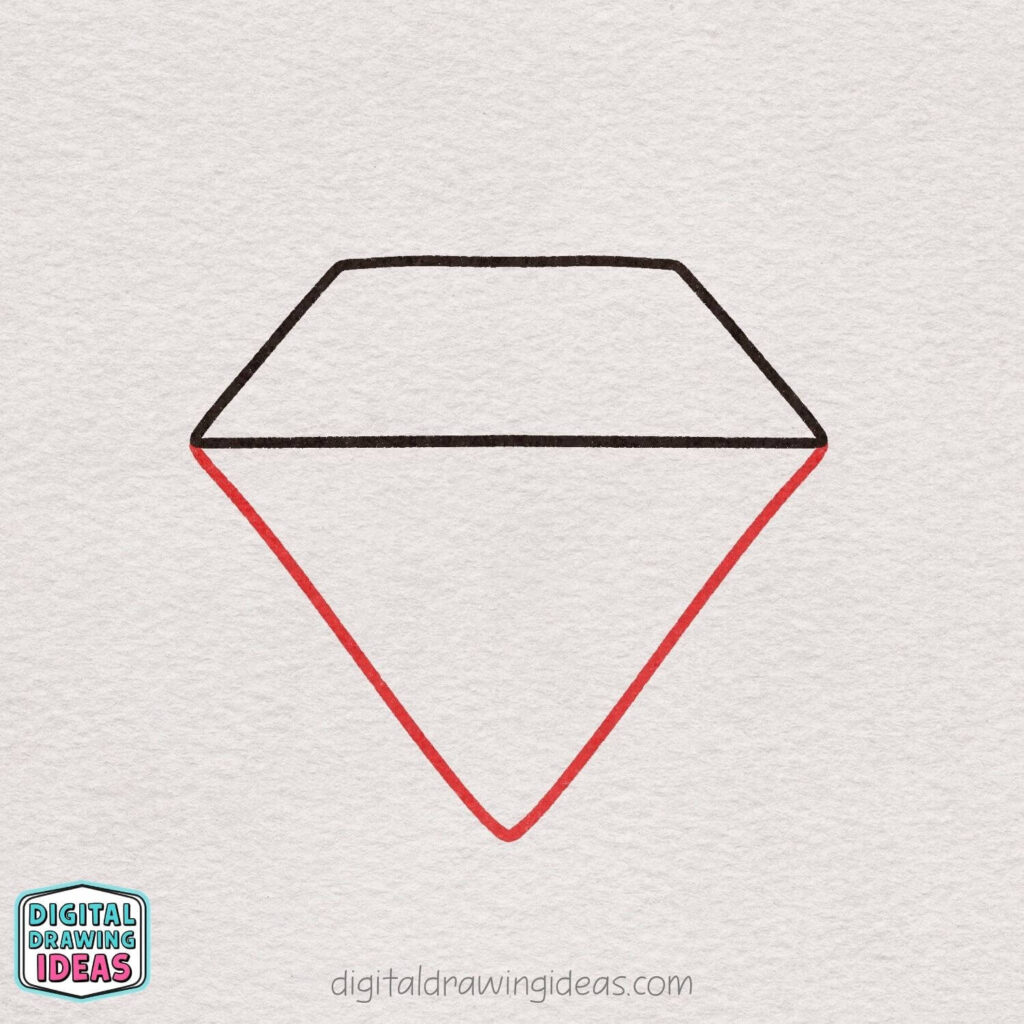
Next, draw the lower half of the diamond by extending two long slanted lines downward from the left and right ends of the middle line. Let both lines angle inward until they meet at a single point below, creating an upside-down triangle shape.
This gives your diamond its classic pointed bottom. Try to place the bottom point near the center so the whole shape looks even and nicely balanced.
Step 4: Add the Top Facet Lines
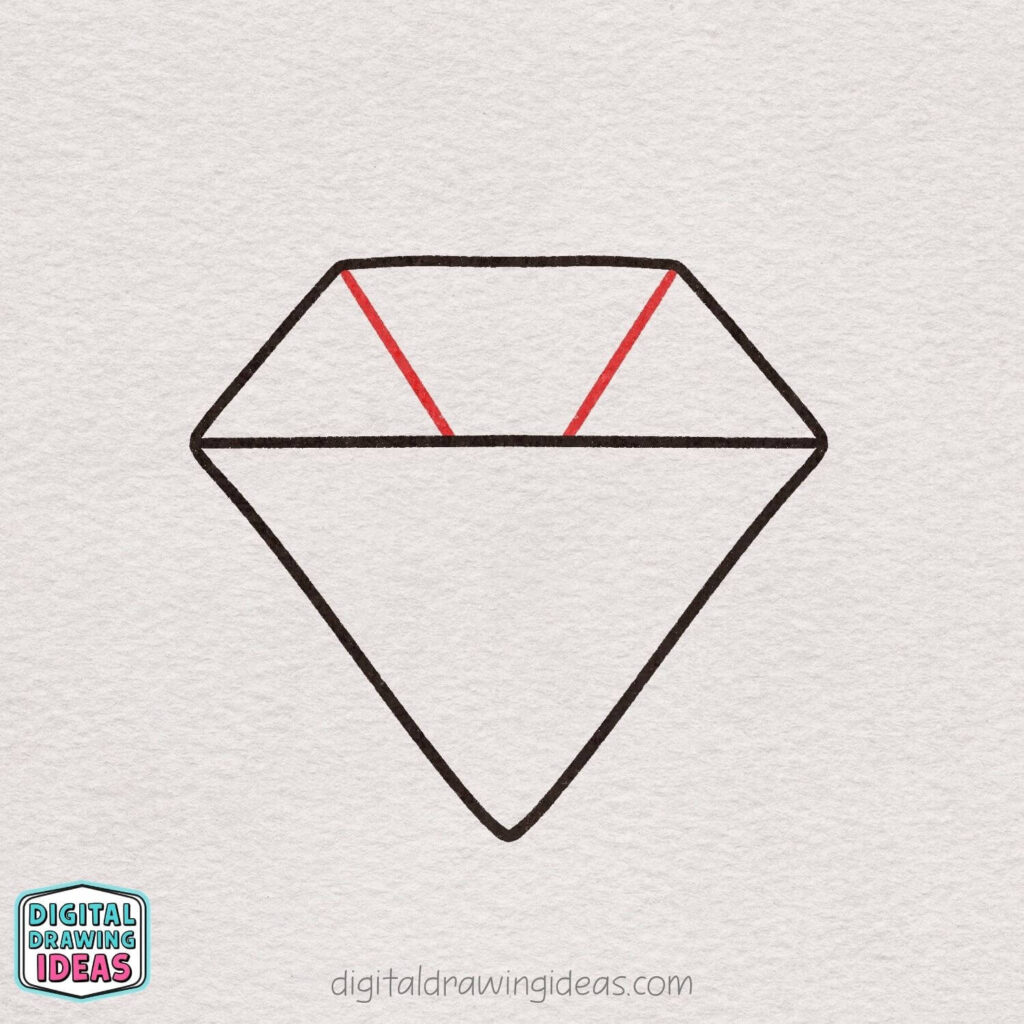
Now begin drawing the inner details that make the diamond look shiny and faceted. From the top edge, draw two short slanted lines downward toward the middle horizontal line, placing one on the left side and one on the right.
These lines should angle inward and stop before the center, leaving a small gap between them.
This helps divide the top section into neat crystal-like panels and gives the diamond more structure.
Step 5: Add the Lower Facet Lines
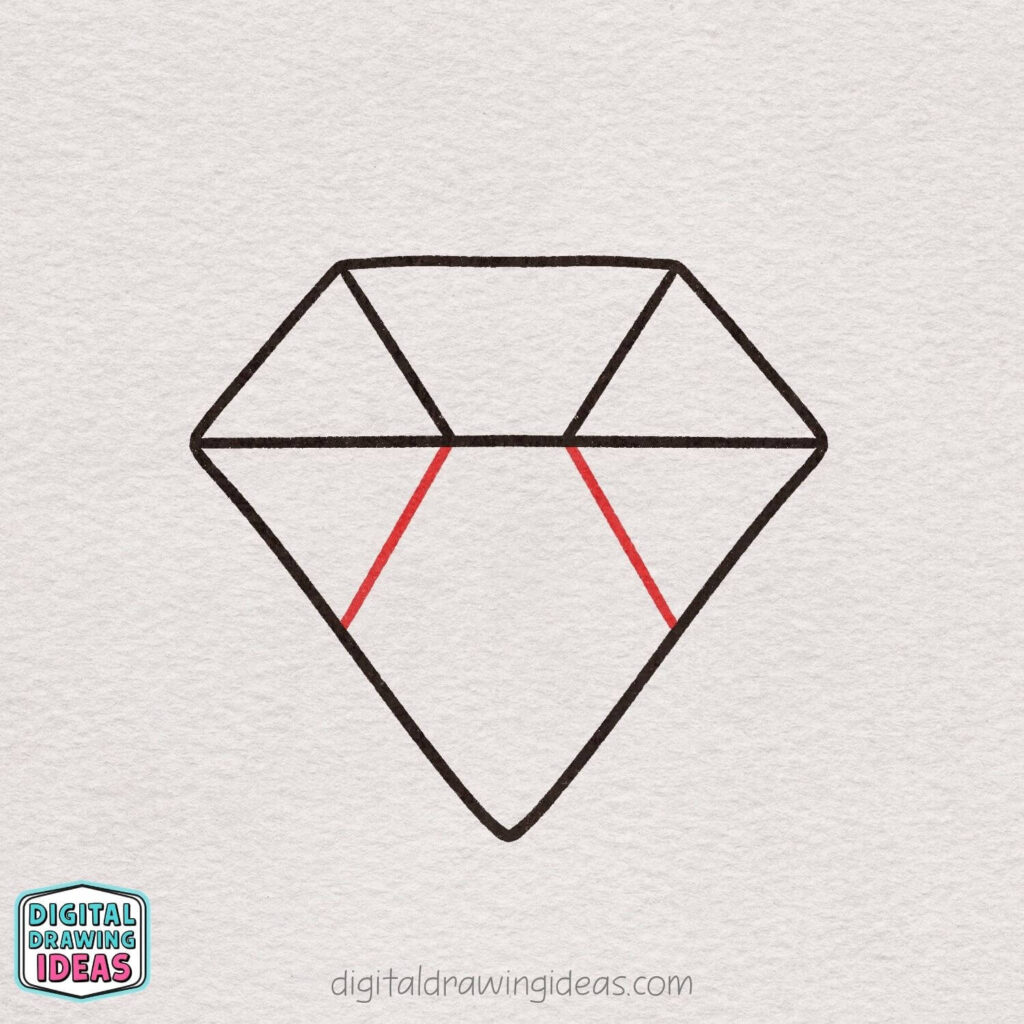
Next, draw two more slanted lines in the bottom half of the diamond to create the inner crystal sections.
Start at the two points in the middle where the top facet lines meet the horizontal center line, then draw each line downward and outward toward the left and right outer edges of the diamond.
These lines should stop partway down the sides, not at the very bottom point. Once they’re in place, the diamond will start to look much more detailed and gem-like.
Step 6: Connect the Center to the Tip
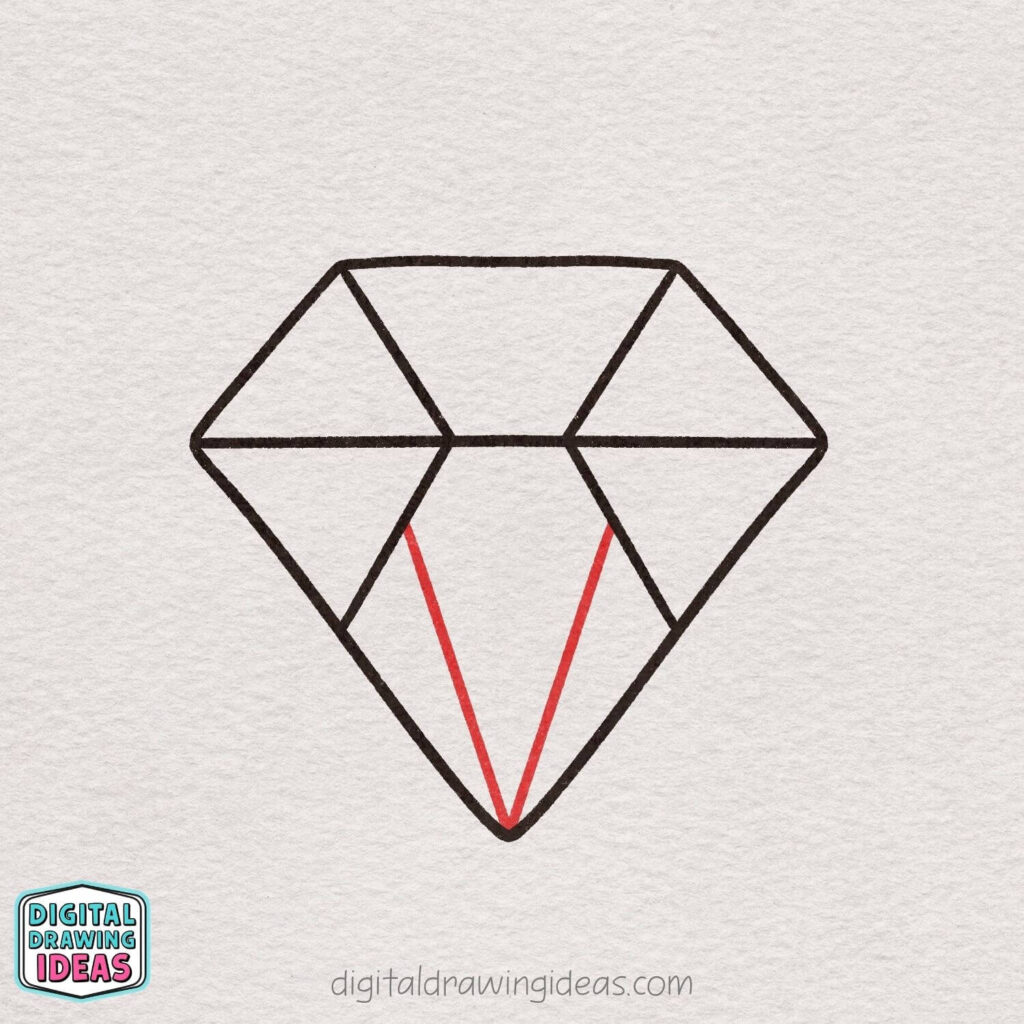
Now add the final inner lines in the bottom section of the diamond. Draw two straight lines starting from the lower inner corners of the center shape, then bring both lines down to meet at the bottom point of the diamond.
This creates the tall middle facet and makes the gem look more polished and dimensional.
Try to keep the two lines evenly spaced so the center section stays nice and symmetrical.
Step 7: Add the Sparkling Details
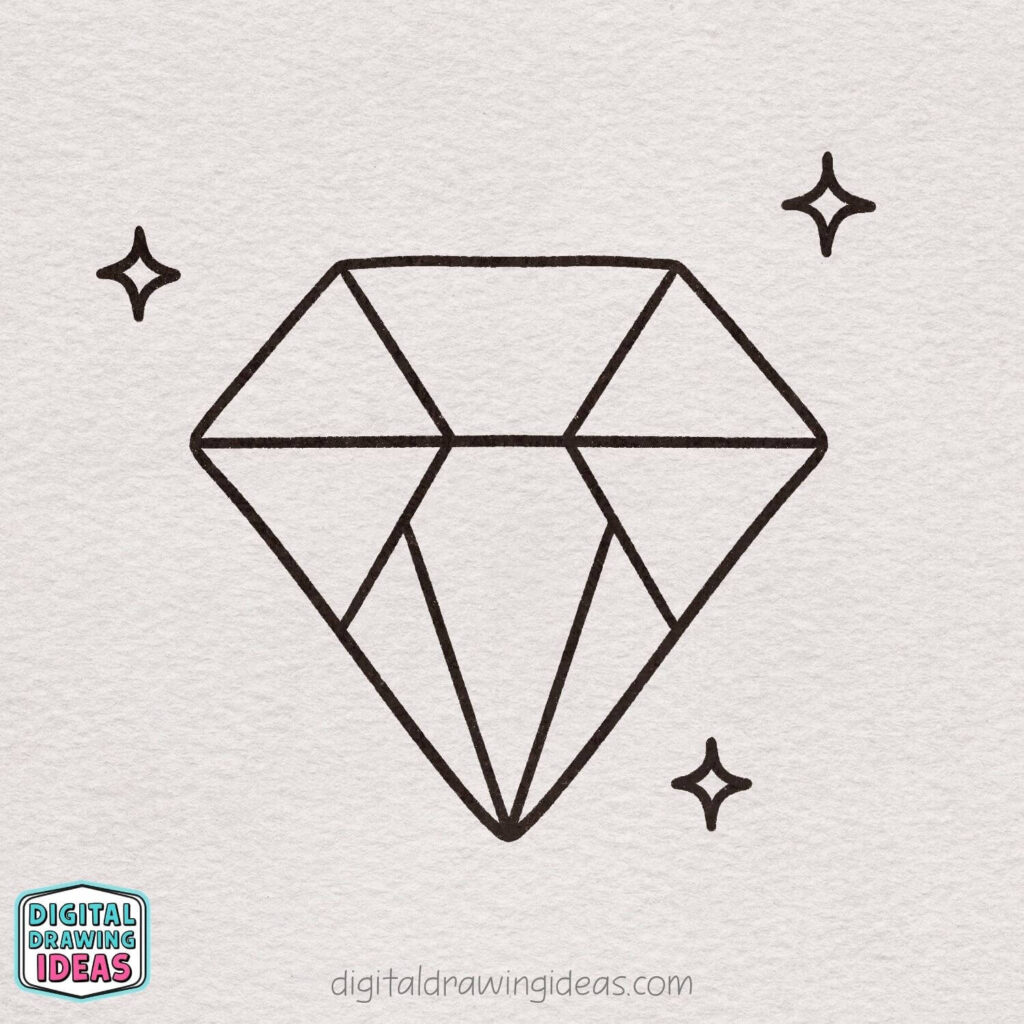
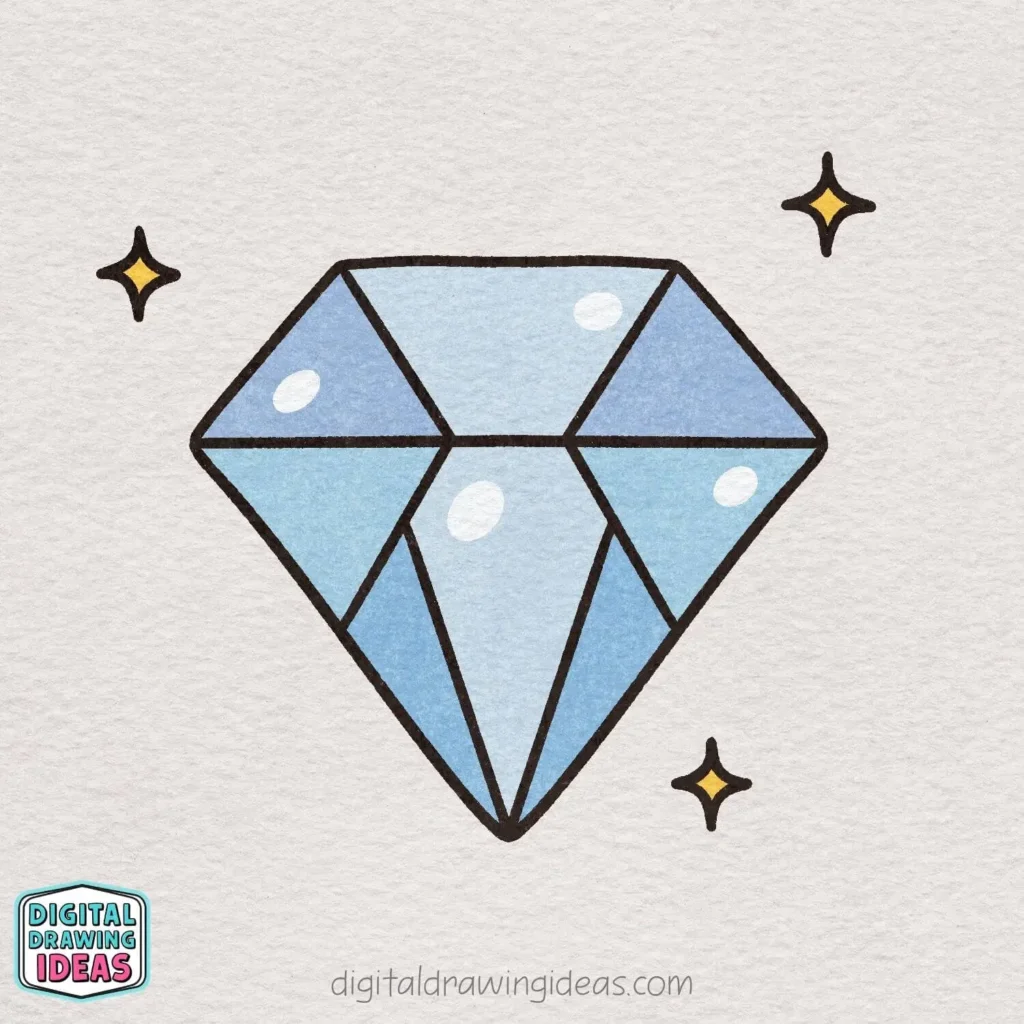
To make your diamond look extra bright and polished, draw three small four-point sparkle shapes around it. Place one near the upper left, another near the upper right, and the last one beside the lower right edge.
Keep the sparkles simple and leave a little space between them and the diamond so the design does not feel crowded. These finishing details instantly give the gem a shiny, magical appearance.
Step 8: Color and Finish Your Diamond
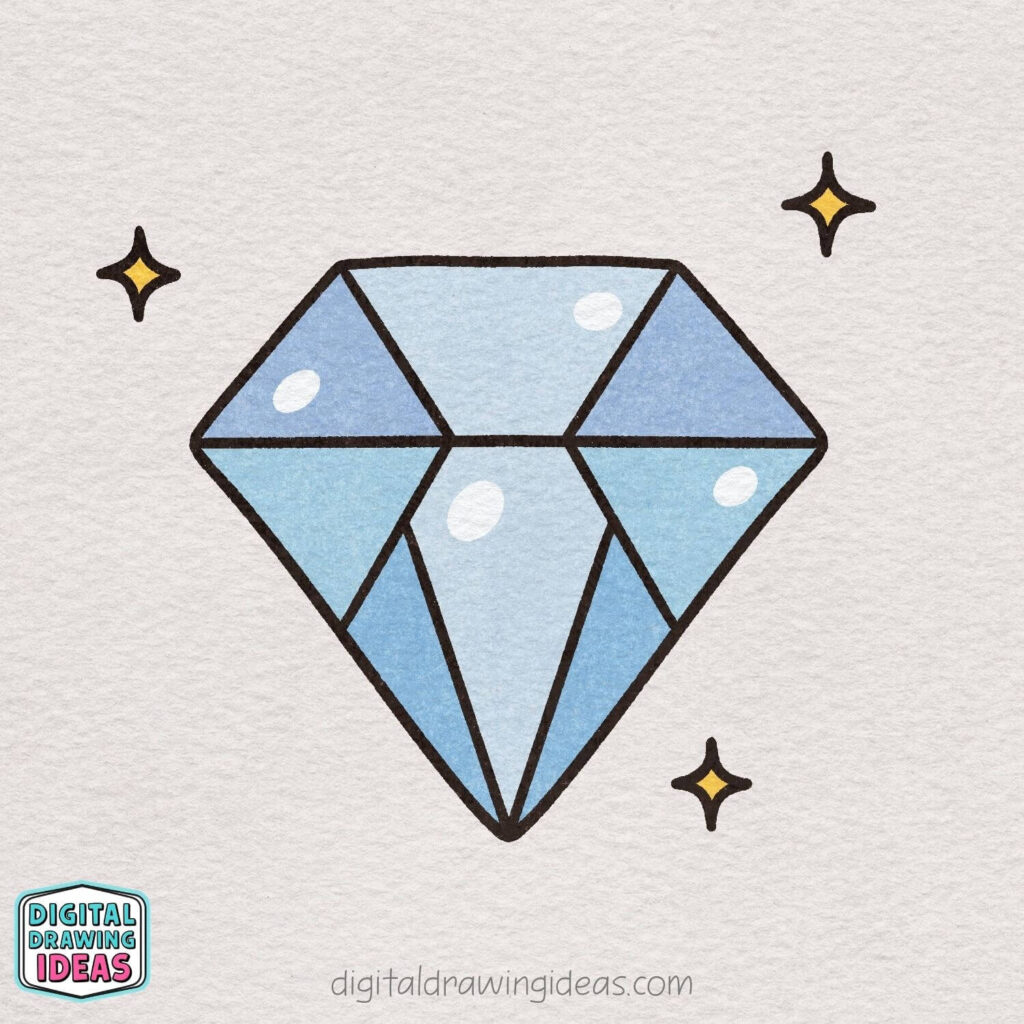
Now it’s time to bring your drawing to life with color.
Fill in the diamond with light blue shades, using slightly different tones in each section to help the facets stand out and give the gem more dimension.
Add a few small white oval highlights inside the diamond to make it look shiny and reflective, then color the centers of the sparkles yellow for an extra glowing effect.
Once you finish coloring, your sparkling diamond drawing is complete and ready to show off.
How to Make Your Diamond Look Extra Shiny
Once you understand how to draw a diamond, you can experiment with the coloring rather than using the exact same blue in every section. I like choosing two or three similar shades because the small color changes make the facets easier to see.
You can also leave a few parts almost white, as though bright light is hitting the surface. There is no need to blend everything perfectly—the visible sections and simple highlights suit this friendly drawing style.
Try one of these variations:
- Use pink and purple for a magical gemstone.
- Choose pale turquoise for an icy crystal.
- Color the diamond yellow to turn it into a golden jewel.
- Use dark blue around the edges and lighter blue in the center.
- Add more small sparkles around the finished drawing.
You could even draw several gemstones together and create a tiny treasure collection. I always enjoy seeing how one simple tutorial can lead to a completely different creative idea once the colors and details begin changing.
What If the Diamond Looks Uneven?
An uneven diamond is probably the most common problem with this drawing, and I have definitely had to redraw my own slanted lines more than once. Usually, the issue comes from placing the bottom point too far to the left or right.
Before drawing the inner details, pause and look at the entire outline. Check whether the bottom point appears centered and whether the two upper corners sit at roughly the same height.
If something looks unusual, you can:
- Move the bottom point slightly.
- Shorten one outer edge.
- Widen or narrow the top section.
- Adjust the inner facets to match the outline you already created.
Do not keep erasing tiny differences until the paper becomes tired before you do. A small amount of unevenness can make your diamond drawing feel hand-drawn and full of character.
More Easy Drawing Tutorials to Try
After learning how to draw a diamond, you might enjoy adding a few more stylish objects to your sketchbook.
Try my easy bow drawing tutorial for another simple design with clean lines and a cute finished shape. You can also learn how to draw a cowboy hat or create a seaside-inspired picture with my easy shell drawing tutorial.
For even more drawing inspiration, follow Digital Drawing Ideas on Pinterest. You can also visit my Digital Drawing Ideas YouTube channel to find more creative tutorials.
Your Sparkling Diamond Is Complete
Now you know how to draw a diamond by starting with one simple line and gradually building the shape around it. The outline creates the structure, the inner lines form the facets, and the colors and highlights give the finished gem its sparkle.
I hope this tutorial showed you that a detailed-looking drawing does not always require a complicated process. Sometimes the most satisfying drawings begin with the simplest shapes—and, in this case, just one horizontal line.
What colors did you choose for your diamond drawing? Share your finished artwork on Pinterest, or post it on Instagram and tag @digitaldrawingideas so I can see what you created.