Learning how to draw a cowboy hat can feel tricky at first, especially when you try to balance the tall crown, curved brim, and decorative details. I had the same problem when I began sketching this tutorial: my first few hats looked either too flat or suspiciously like oversized bowls. Once I broke the shape into a few simple lines, everything became much easier.
I created every drawing in this tutorial myself and designed the steps for anyone who enjoys cute, relaxed, hand-drawn illustrations. You do not need perfect lines or advanced drawing skills. A pencil, a piece of paper, and a willingness to let your drawing have a little personality are more than enough.
The tutorial below follows the six illustrated steps from your original draft, including the sheriff star, crown, wide brim, hat band, decorations, and final coloring.
What You Will Need
Before we start learning how to draw a cowboy hat, gather a few simple supplies:
- A pencil or black drawing pen
- An eraser
- Drawing paper or a sketchbook
- Brown, yellow, and pink colored pencils or markers
- A fine black pen for tracing the final outline
I like using slightly textured brushes or pencils because they keep the finished illustration soft and handmade. Smooth digital brushes work just as well, though, so use whichever tools make drawing feel comfortable and enjoyable for you.
A Quick Tip Before You Begin
The hardest part of a cowboy hat drawing is usually getting the proportions right. The crown should sit above the brim without looking too narrow, while the brim needs to extend far enough on both sides to create that recognizable Western shape.
Draw lightly during the first few steps. This makes it much easier to adjust a curve without turning your paper into an archaeological site made entirely of eraser marks.
Step 1: Draw the Sheriff Star
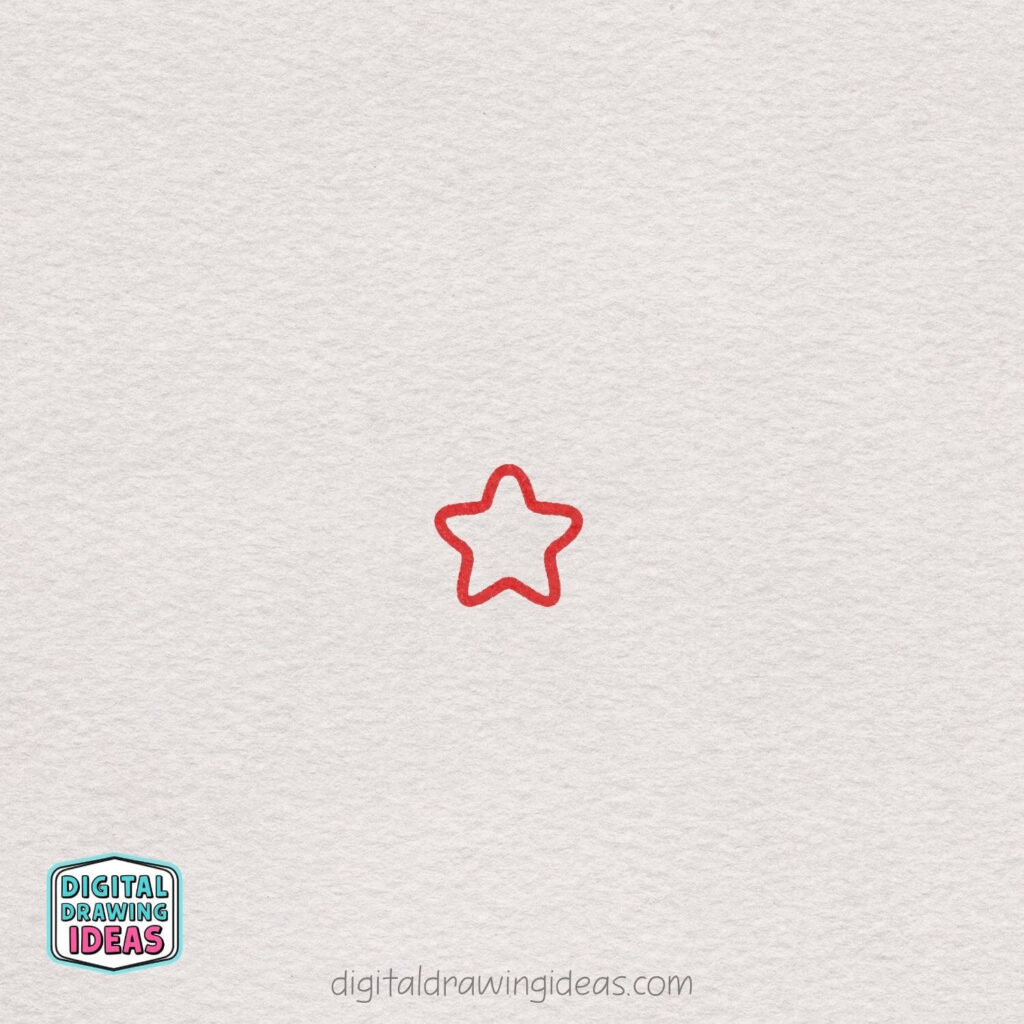
Start by drawing a small five-pointed star near the center of your page. Make each point slightly rounded instead of sharp so the finished drawing feels soft and playful.
Try to keep the star balanced, but do not worry if every side is not perfectly even—small differences will make it look hand-drawn and charming.
This star will later become the decorative badge on the front of the cowboy hat, so leave plenty of empty space around it for the rest of the design.
Step 2: Shape the Crown of the Hat
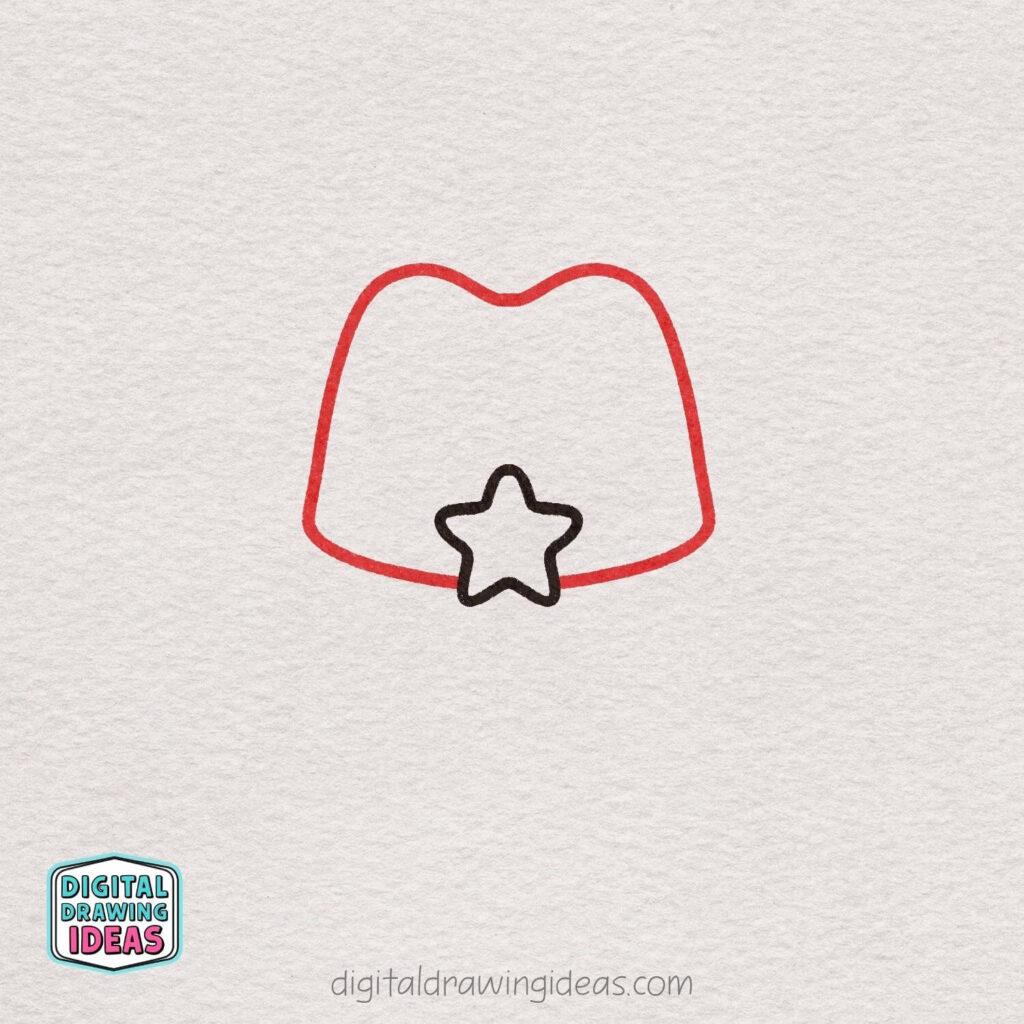
Now draw the main crown of the cowboy hat around the star. Start on one side and sketch a wide, rounded shape that rises upward, curves gently across the top, and dips slightly in the middle before coming back down on the other side.
Keep the sides soft and slightly angled outward so the crown looks cute and relaxed rather than stiff.
Bring the line down toward the bottom and connect it with a gentle curved line behind the star, leaving the star visible in front so it becomes part of the hat’s decoration.
Step 3: Draw the Wide Brim
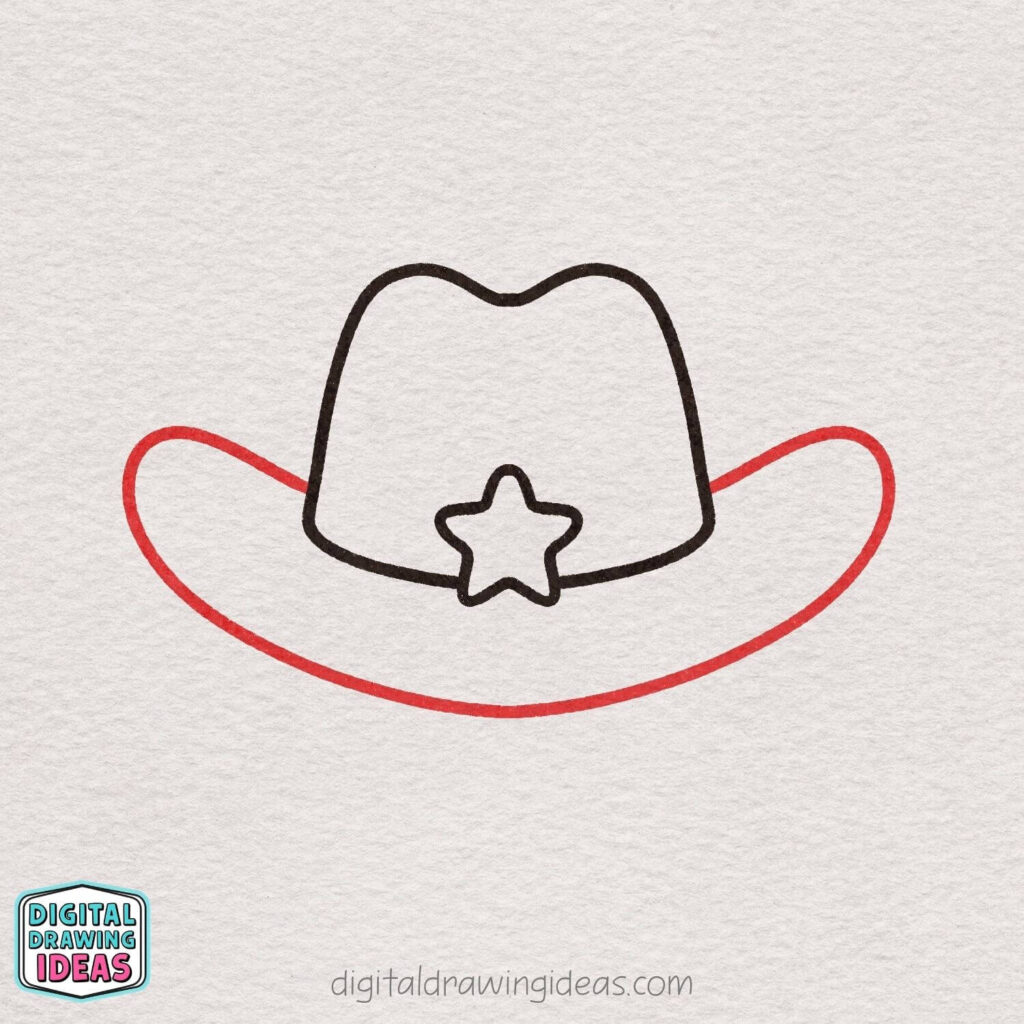
Next, draw the large brim of the cowboy hat. Starting from the left side of the crown, sketch a long, smooth line that curves outward and slightly upward, then sweeps down into a wide rounded curve across the bottom before rising again on the right side.
Let the brim extend well past both sides of the crown so the hat gets that classic cowboy shape.
Keep the line soft and flowing, with gently lifted ends, so the brim looks relaxed, playful, and balanced.
Step 4: Add the Hat Band
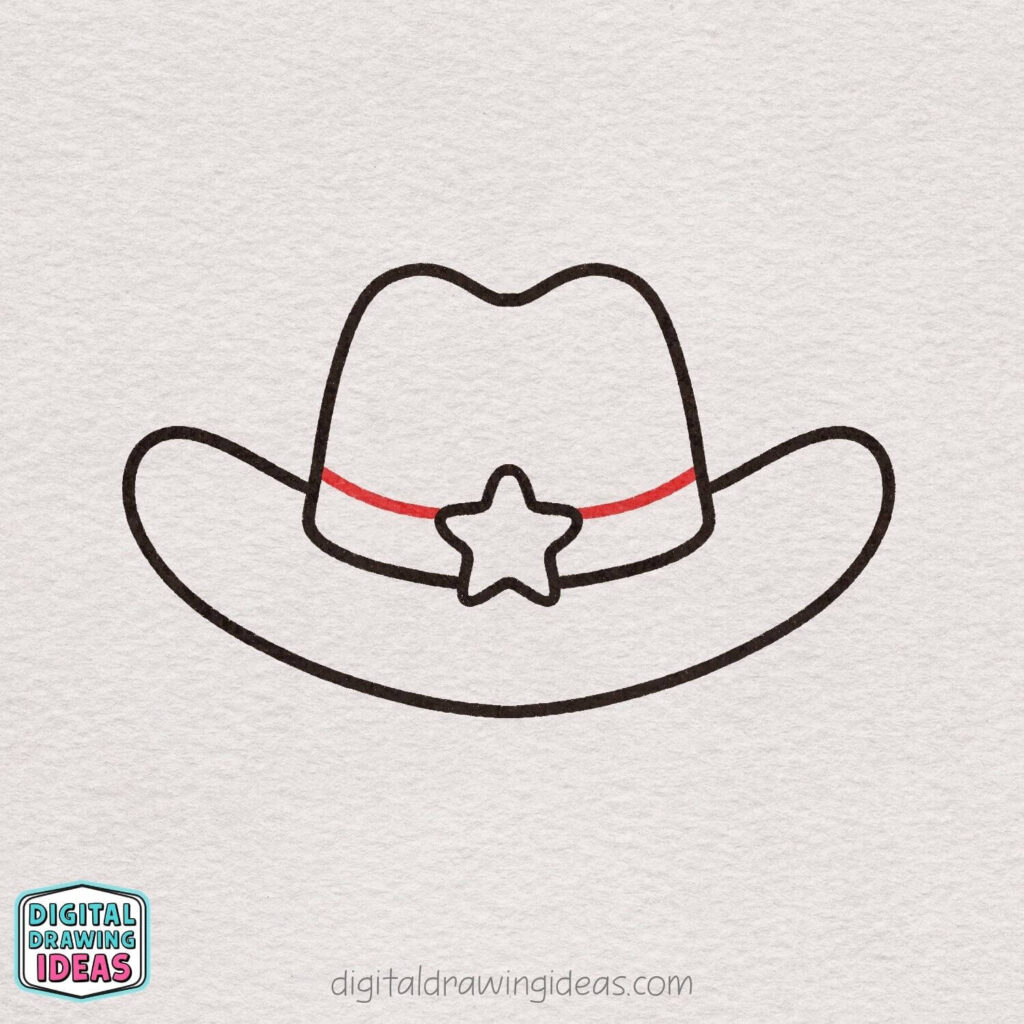
Now draw the band that wraps around the front of the cowboy hat. Start on the left side of the crown and sketch a gentle curved line across the middle, letting it dip slightly as it moves toward the center and then rise softly again on the right side.
Keep the line smooth and narrow so it looks like a simple hat band sitting just above the brim. Let the band pass behind the sheriff star so the star stays in front as the main decorative detail.
This small addition helps define the hat and makes the overall drawing look more finished.
Step 5: Add the Final Decorative Details
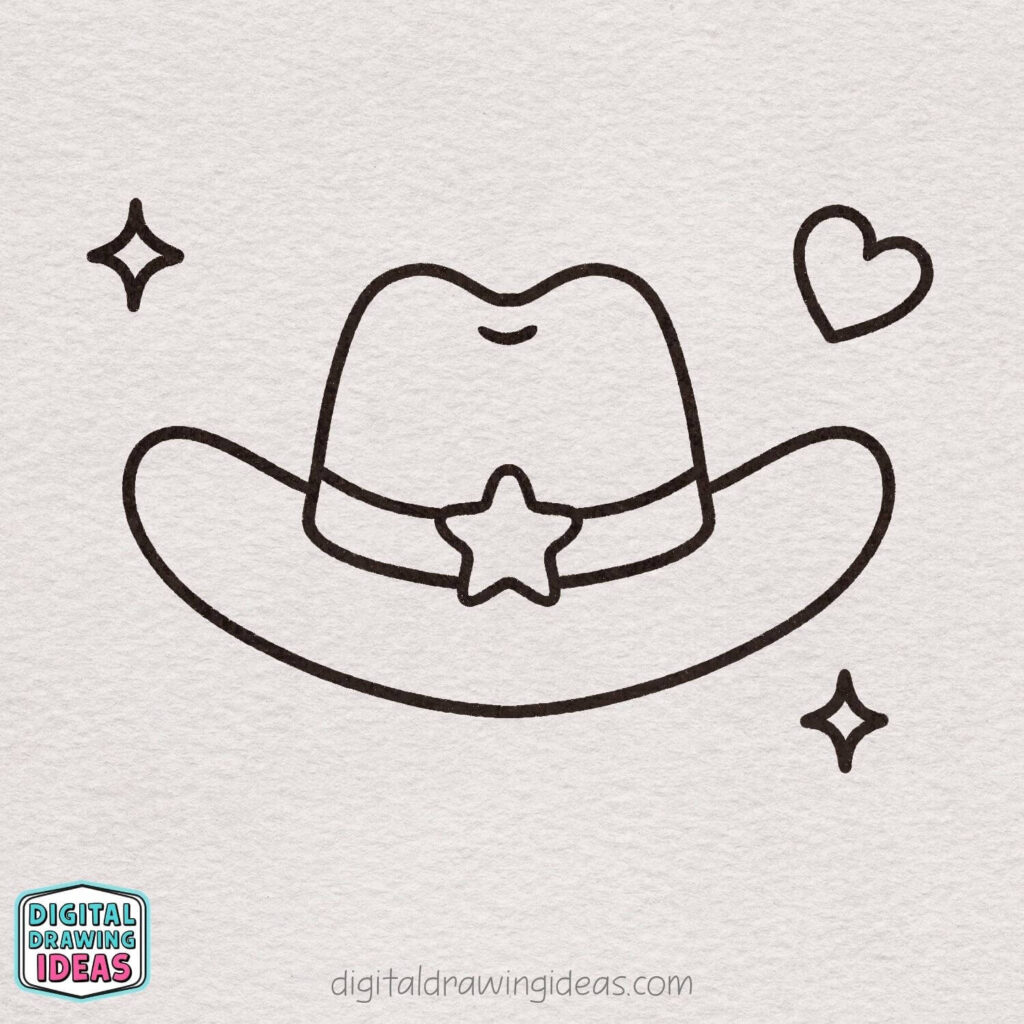
Give your cowboy hat a little extra personality by adding a few simple decorations around it. Draw a small curved line near the top center of the crown to suggest a soft crease in the hat.
Then add a heart beside the hat and two small sparkling shapes in the open spaces around it. Keep these details simple and slightly uneven so they match the cute, hand-drawn style of the tutorial.
These playful finishing touches make the illustration feel warmer, more cheerful, and complete.
Step 6: Color Your Cowboy Hat
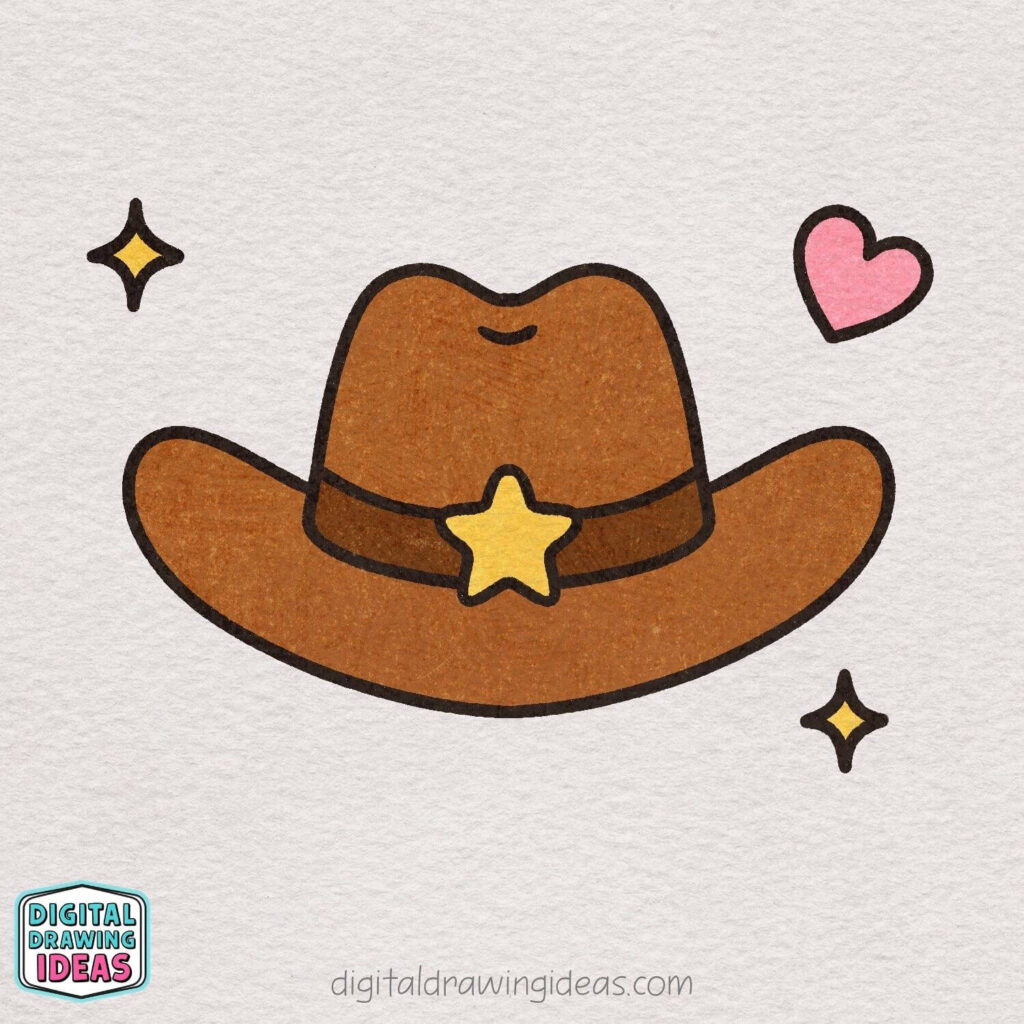
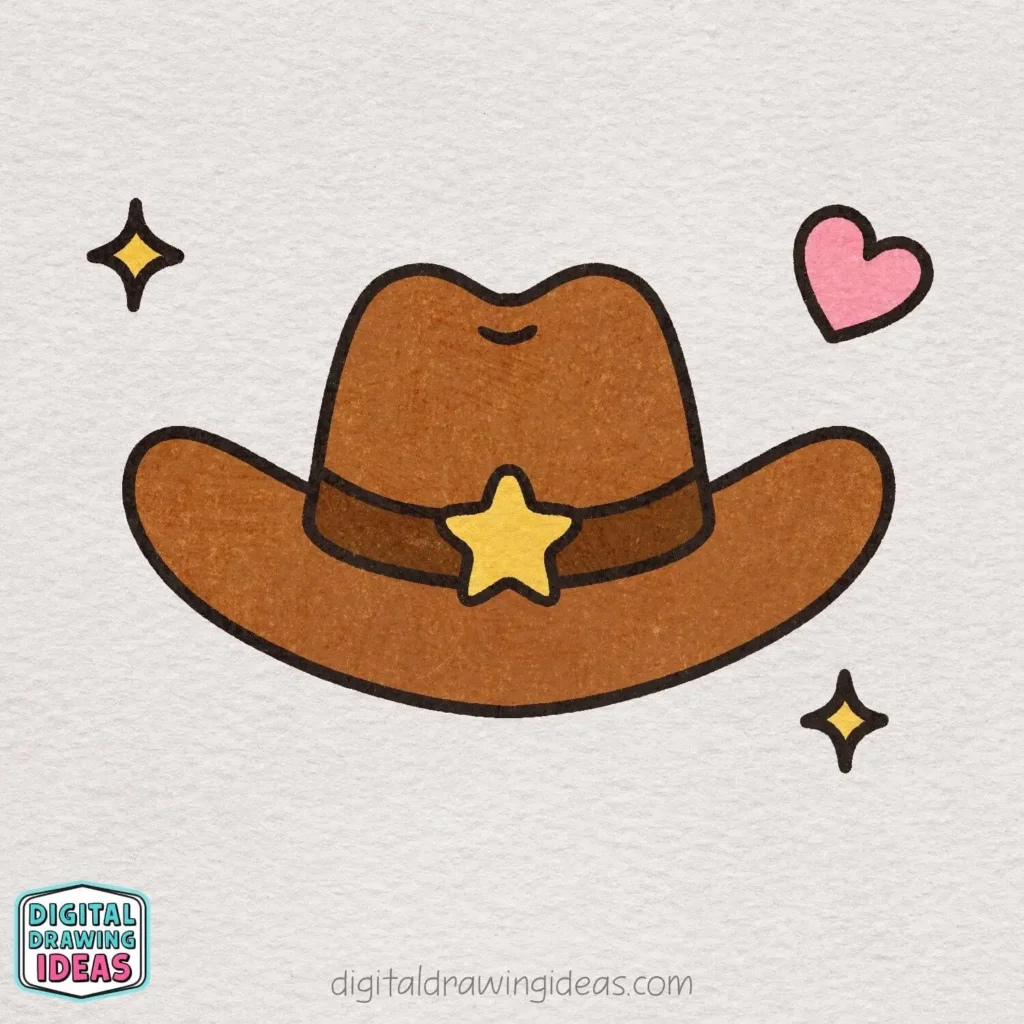
Finish your drawing by adding warm, cheerful colors. Shade the crown and wide brim with a medium brown, then use a slightly darker brown for the hat band so it stands out clearly.
Color the sheriff star and the two sparkles yellow, and fill the heart with a soft pink.
Take your time and color inside the outlines, but do not worry about making everything perfectly smooth—the slightly textured finish gives the drawing a cozy, handmade look.
Your cute cowboy hat is now complete!
How to Fix Common Cowboy Hat Drawing Problems
Even a simple drawing can feel frustrating when one part refuses to cooperate. I have definitely redrawn the same curve several times while wondering why it looked perfect in my head and completely different on the page.
Here are a few easy fixes that may help:
- The crown looks too narrow: Gently widen both sides instead of making it taller.
- The brim looks flat: Raise the outer ends slightly and deepen the curve along the bottom.
- The hat looks uneven: Compare the left and right sides, but do not chase perfect symmetry.
- The star feels too large: Keep it smaller than the width of the hat band so it stays decorative.
- The drawing feels empty: Add tiny stars, hearts, dots, or Western-inspired decorations around it.
When you learn how to draw a cowboy hat, focus more on the overall silhouette than on perfect measurements. The wide brim and gently dipped crown do most of the work, so once those two shapes look right, the rest becomes much easier.
Make Your Cowboy Hat Drawing Your Own
I chose warm brown shades because they give the hat a classic Western look, but you can take the design in any direction you like. A pink cowgirl hat would look playful, while turquoise and cream could create a softer desert-inspired palette.
You could also experiment with:
- Flowers around the hat band
- A heart-shaped badge
- Small stitched lines along the brim
- A patterned ribbon
- Tiny cactus or horseshoe decorations
- A name or initial inside the sheriff star
This is one of my favorite parts of creating drawing tutorials. The basic steps give you a starting point, but your personal choices turn the final sketch into something that feels completely yours.
More Easy Drawing Tutorials to Try
After finishing this cowboy hat drawing, you may enjoy another small object tutorial with simple curves and friendly details.
Try my easy shell drawing tutorial for a calm, beach-inspired sketch. The soft shell lines make it a lovely choice when you want something relaxing to draw.
You can also learn how to draw a bow. It is a cute tutorial for practicing loops, curves, and decorative shapes.
For another themed accessory, visit my easy graduation cap drawing tutorial. It works especially well for cards, school projects, planners, and celebration pages.
You can find even more ideas on my Digital Drawing Ideas Pinterest page and follow my step-by-step videos on the Digital Drawing Ideas YouTube channel.
Final Thoughts
Now you know how to draw a cowboy hat using six simple and approachable steps. We began with a small sheriff star, built the crown around it, added the wide curved brim, and finished everything with a hat band, playful decorations, and warm colors.
Do not worry when your first version looks slightly different from mine. Hand-drawn lines naturally have small variations, and those little differences often give a drawing the most charm.
I hope this tutorial helps you feel more confident the next time you sit down with your pencil or drawing tablet. Once you understand how to draw a cowboy hat, try creating a second version with new colors, decorations, or a completely different hat band.
What color would you choose for your cowboy hat? Share your finished drawing in the comments on Pinterest, or post it on Instagram and tag @digitaldrawingideas so I can see what you created.